

Prerequisites
- A portal you’ve already created (see Creating a Portal)
Portal Studio
Open a portal from the Portals page at app.statisfy.com/portals to open it in Portal Studio. The editor is organized into five tabs: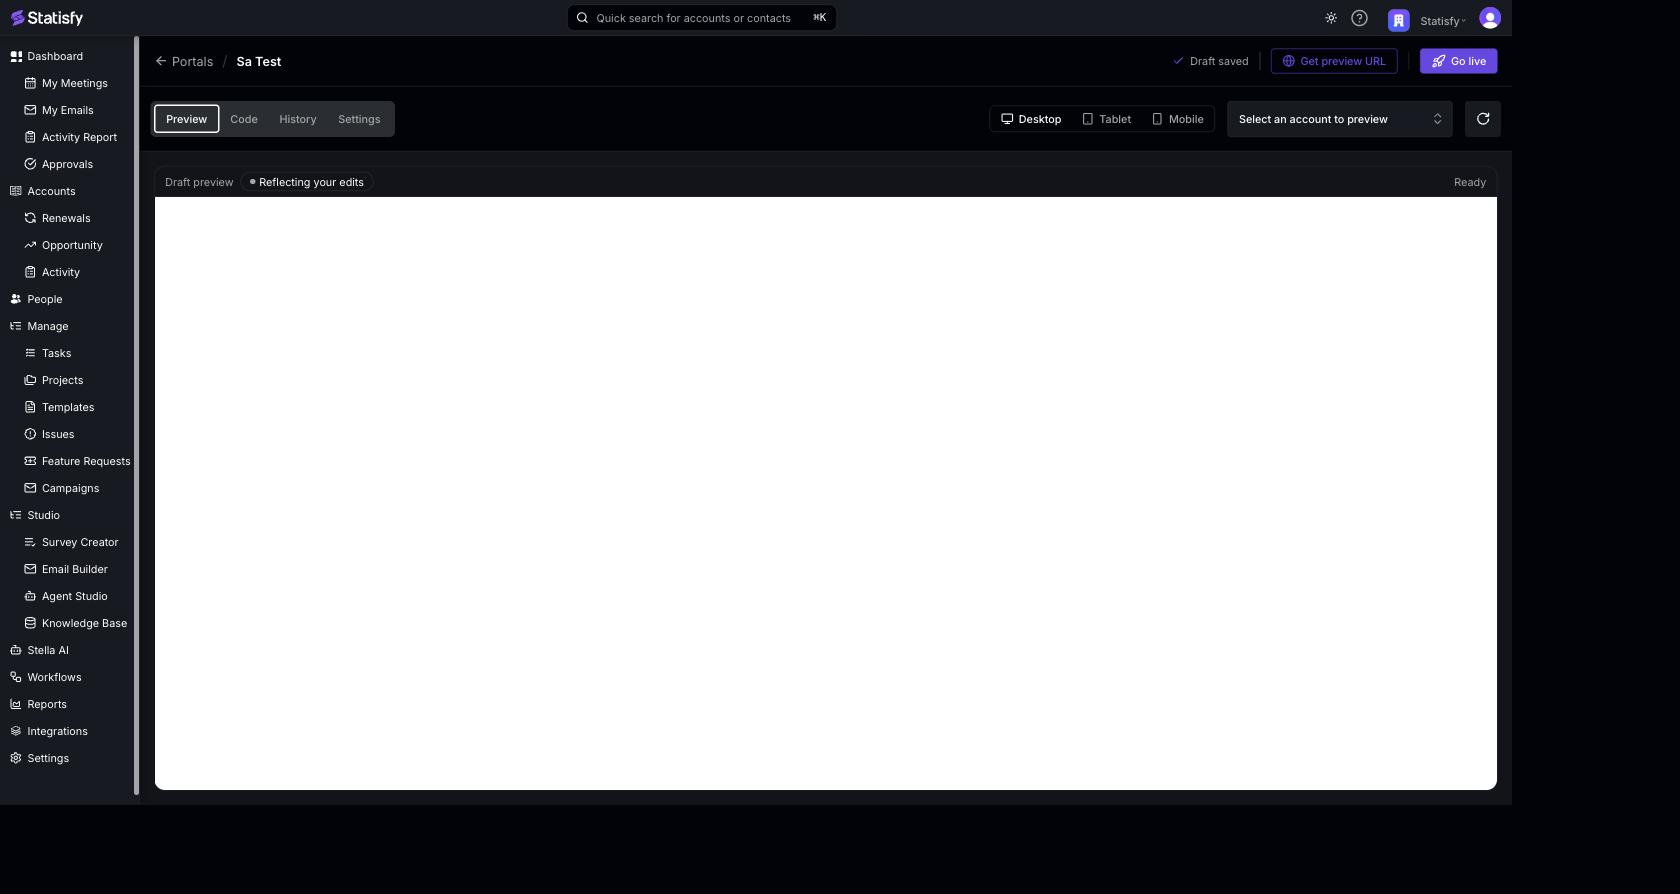 Your edits are saved automatically as a draft shortly after you stop typing. The editor header shows Saving draft… while it saves and Draft saved once it’s done. Drafts are kept separate from the live version, so:
- You can leave and come back later, and your in-progress work is still there.
- The live version your customers see does not change until you go live.
Previewing Your Work (Preview tab)
The Preview tab renders your draft live as you edit — it’s labeled Draft preview and updates to reflect your latest changes. You can:- Switch the preview between Desktop, Tablet, and Mobile to check how your portal looks on different screens.
- Refresh the preview if you want to reload it.
- Use Preview as to pick a specific account (and person) and see the live, account-specific data your customers would see when signed in.
Editing Code (Code tab)
The Code tab shows your portal’s files in a tree alongside an editor. A problems bar under the editor reports compile issues as you type — when everything is valid you’ll see No problems — preview compiles cleanly. Use Split preview to view your changes next to the code.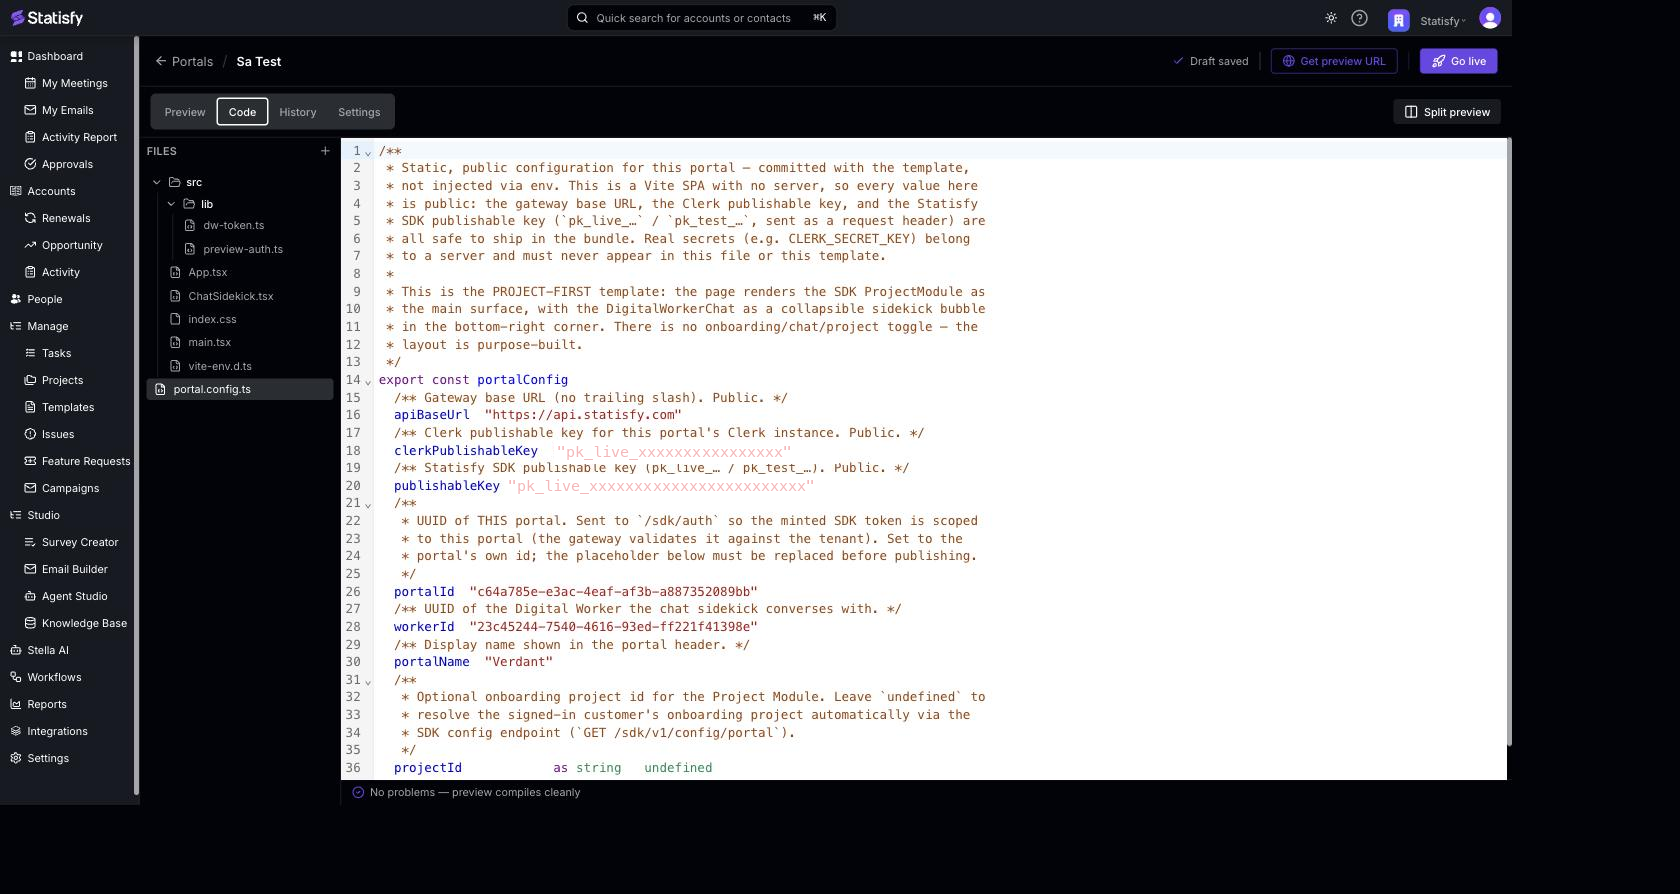 Portals are built with React and TypeScript. A small set of packages is ready to use right away — there’s nothing to install:
- React — for creating your pages and components.
- Statisfy packages — anything that starts with
@statisfy/, such as ready-made components for showing customer data, the Digital Worker chat, and the customer sign-in screen.
Configuring Components (Settings tab)
Some of the ready-made Statisfy components you can drop into a portal — like the Digital Worker chat or the onboarding project module — need to be told which Digital Worker or data they should use before they’ll work. You set that in Settings → Components, without touching code. The Components panel has two views:- Draft — the settings you’re editing. These are what your draft Preview uses.
- Live — a read-only look at the settings your published portal is using right now. Use Copy to draft to pull a live value back into your draft.
- Set a value — type or pick a fixed value (for example, choose a Digital Worker from the list).
- From a field — bind the value to an account field, so it resolves per customer when they sign in.
Editing component settings needs permission to manage portals. Without it, the Components panel is read-only.
Every configurable component needs a configId
Settings can only configure a component that names itself in code. Each config-driven Statisfy component must carry a literal configId prop — <DigitalWorkerChat configId="support" /> — and that id is what the Components panel shows as the instance’s slot:
- A component with no
configId, or one built from a variable (configId={id}), fails the save and build. It has to be a plain string in the source. - Two components sharing a
configIdintentionally share one set of settings. - Don’t pass an identity prop such as
workerIdnext to aconfigId— the SDK ignores it and the save gate rejects it, so the value can’t silently diverge from what Settings shows.
Where the onboarding module gets its project
The onboarding module doesn’t take a project id — it resolves one per signed-in customer from an account field. That field is the Onboarding Project field on the Account (onboarding_project__c_), a system lookup field pointing at a project, provisioned automatically — you never create it.
In Settings → Components it appears as the shared, Locked property “Onboarding project source”: read-only, because re-pointing it would change onboarding for every portal at once. What you do control is the value per account:
- Set each account’s Onboarding Project field to that customer’s project (on the account record, or in bulk via import, the API, or field automation).
- An account with the field empty resolves to no project, and the module renders its empty/not-configured state rather than another customer’s data.
GET /sdk/v1/config/portal — see Portal SDK: Project API.
Saving Versions
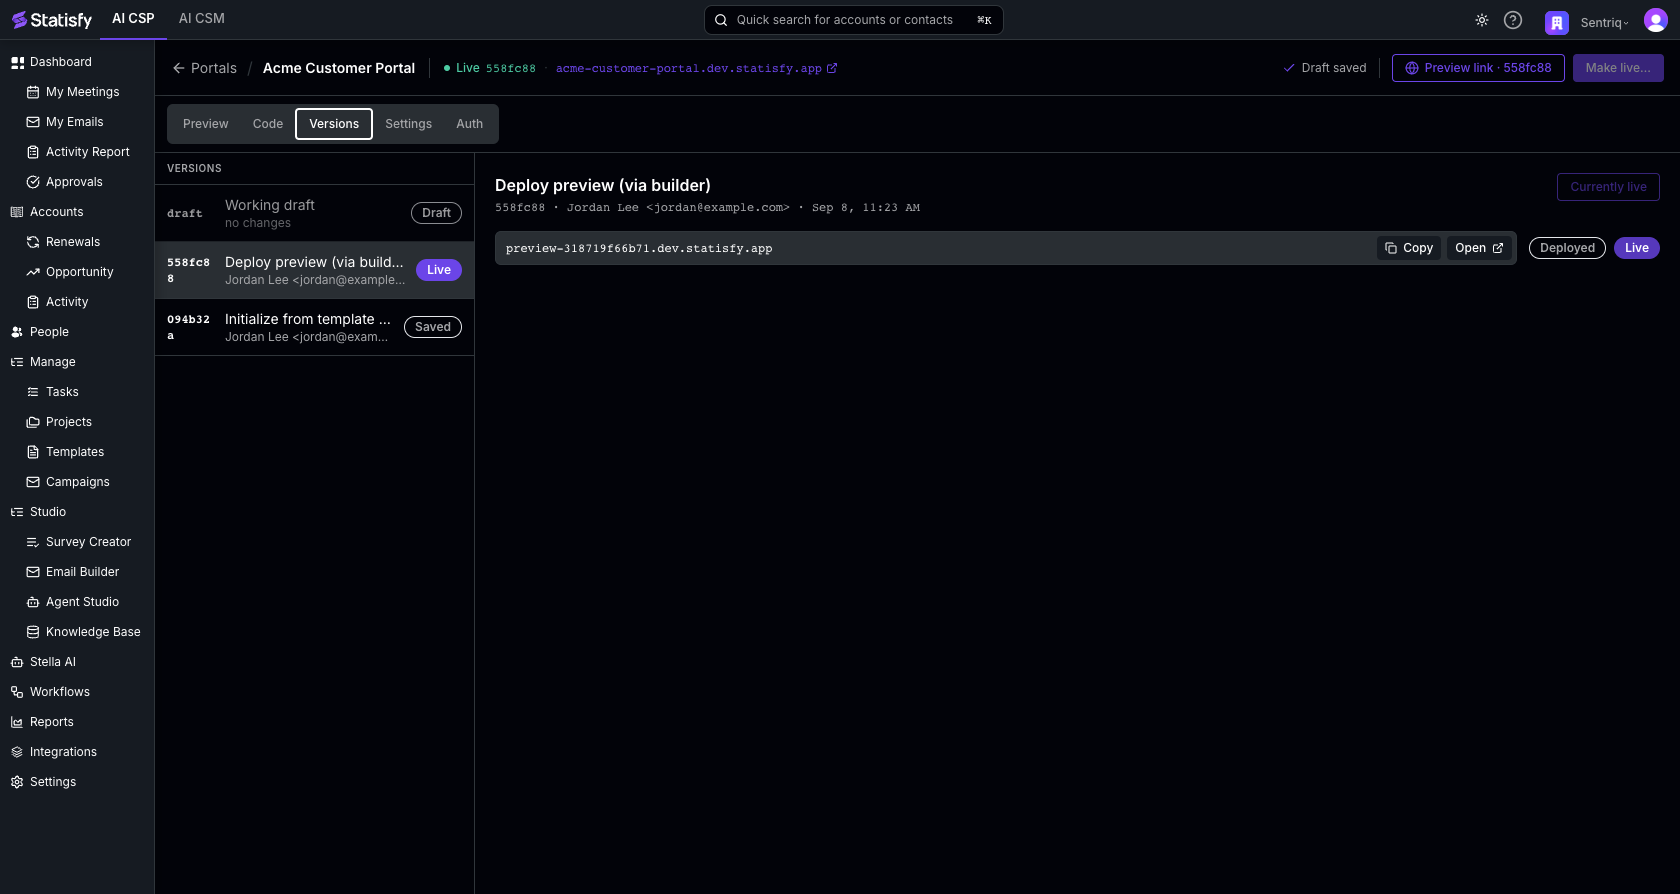
Autosave keeps your latest work as a Working draft, shown at the top of the Versions tab with the files you’ve changed. When you reach a milestone you want to keep, the draft row gives you two ways to record it:- Save as version — Record a named checkpoint, nothing more. A saved-only version has no preview URL and can’t go live until it’s built.
- Build preview — Record the checkpoint and build it. The version gets its own preview URL, and that same build is what goes live.
Customizing the Login Email (Auth tab)
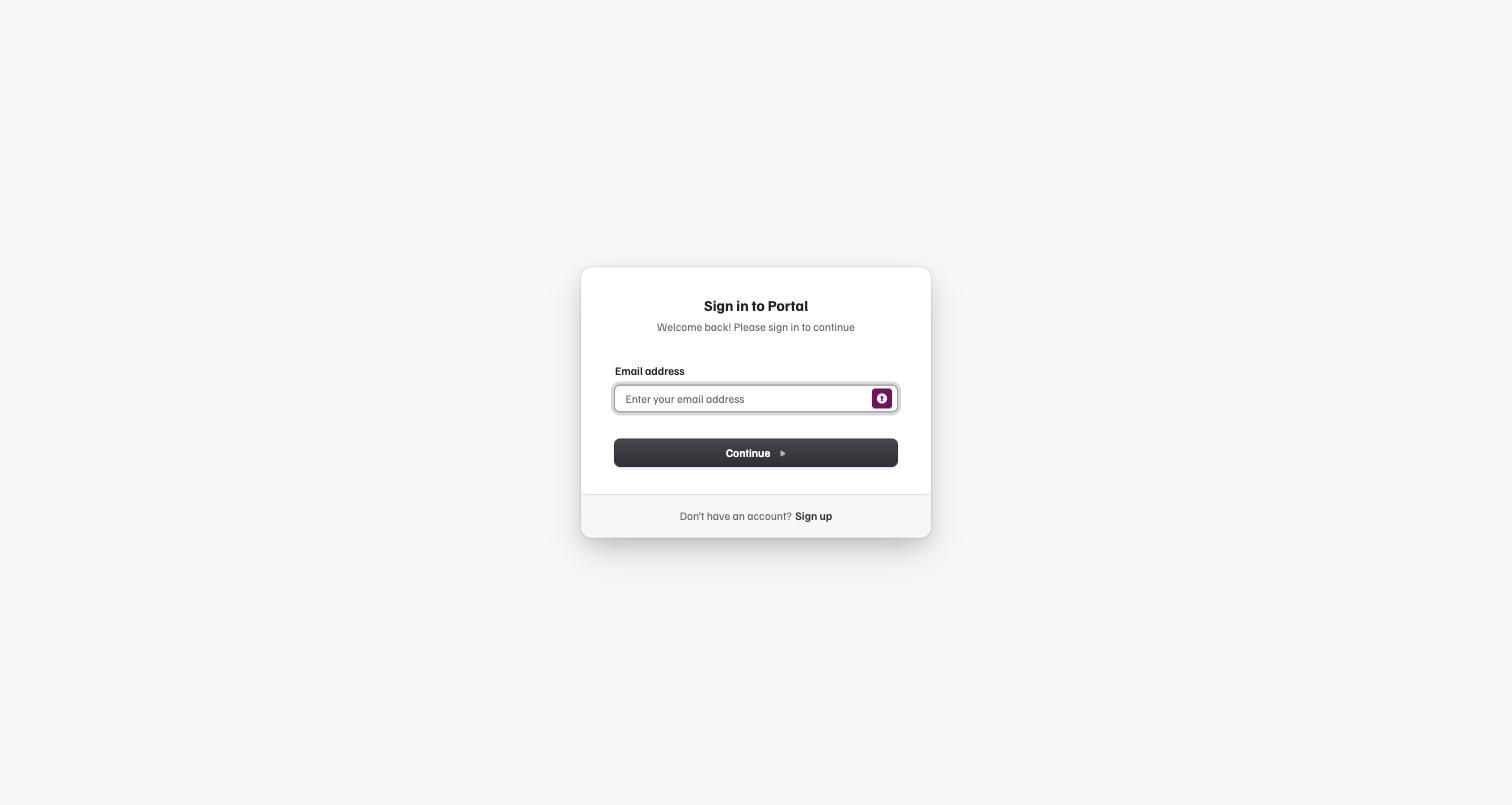
When a customer signs in to your portal, Statisfy emails them a one-time sign-in code. The Auth tab lets you tailor that email to match your brand — who it comes from, its subject, and its full HTML body. You can set:- Sender email — the “From” address customers see. It must be on one of your verified sending domains; an address on an unverified domain is rejected when you save. A good pattern is
login@your-domain.com. - Sender name — the display name shown next to the address (for example, your company name).
- Subject — the email’s subject line.
- Code expires after (minutes) — how long a sign-in code stays valid (1–60, default 10). This sets both the
{{expiry_minutes}}value shown in the email and the code’s real lifetime, so the email never misstates when the code stops working. - Email body (HTML) — the full HTML of the message.
Placeholders
Use these tokens anywhere in the subject or body — Statisfy fills them in when it sends each email:
Include
{{otp_code}} somewhere in the body so customers can see their code — for example:
Send a test
Enter any email address and select Send preview to receive a sample of the login email (with a placeholder code) using your currently saved template — so you can see exactly what customers will get.You don’t have to customize this email. If you leave it as is, Statisfy sends a clean built-in default, so customer sign-in works out of the box.
Previewing and Going Live
Taking a portal live is a two-step flow, so you can review your changes at a real URL before any customer sees them:- Build a preview link. Select Preview link in the editor header. The popover names what the current link contains; when your draft has edits that aren’t built yet, select Build a new link from your draft to save your draft, build it, and deploy it to a preview address. Nothing is copied automatically — use Copy for the link, or Open to view it. This does not change your live site.
- Go live. When the preview looks right, select Make live… in the editor header and confirm — the confirmation names the exact version, for example Make 558fc88 live, the address it publishes to, and which version it replaces — or that it’s your first go-live. Promoting an older version is labelled as a rollback and tells you which version stops serving. Statisfy promotes that deployed version to your live, customer-facing site, and the portal’s status changes from Draft to Live. This step needs the manage portals permission (admins and builders). Make live… stays clickable for everyone, so without the permission it fails with a permission error rather than being hidden — you’ll need someone who has it to publish for you.
A preview deploy is for your review only — going live is always a separate, deliberate step. Your customers only ever see the version you’ve taken live.
Choosing Your Portal’s Address
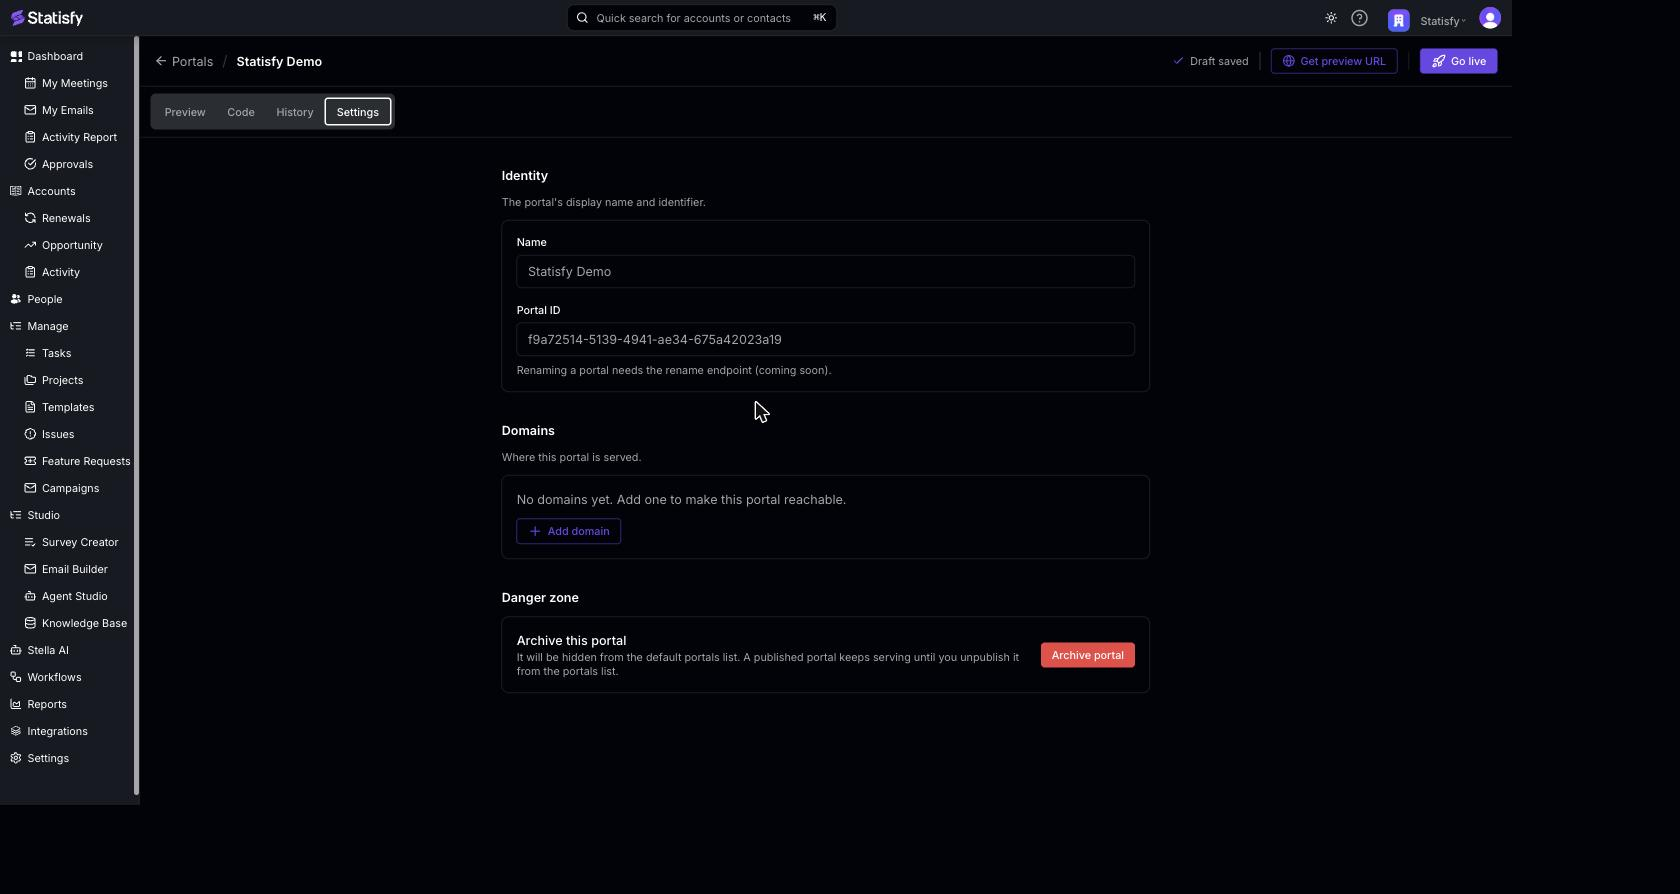
When you go live, you choose the subdomain your portal is served at. Under Settings → Domains → Add domain, enter a subdomain — your portal is then served on Statisfy’s managed portal domain, which in production iscustomer.site, so acme becomes acme.customer.site. Leave it blank to get an auto-generated address.
Subdomains use lowercase letters, numbers, and hyphens (up to 63 characters); the domain shown next to the field is appended automatically. Adding and removing a portal’s address needs the manage portals permission (admins and builders).
Live portals and previews sit on different domains: a live portal is served at
<subdomain>.customer.site, while preview builds stay on statisfy.app. The suffix shown in the dialog is always the authoritative one for your environment.Rolling Back to a Previous Version
If you need to undo a change after going live, open the Versions tab, select an earlier built version, and choose Make live. Statisfy re-publishes that version to your live site. The version that’s currently live is shown as Current live.Managing Portals
- Open a portal — On the Portals page, select its card to return to Portal Studio.
- Archive a portal — Use the ⋮ (more) menu on a portal card and choose Archive, or open Settings → Danger zone in the editor and select Archive portal, then confirm. Archiving needs the manage portals permission (admins and builders); without it the Archive action isn’t shown.
 What archiving does
- An archived portal that’s still live keeps appearing in the list — in both views, and with an Archived badge — so you can notice it and unpublish it if that wasn’t intended. One that was also unpublished drops out of the list entirely, since there’s nothing left to manage.
- An archived portal can’t be edited — saving, previewing, and going live are all blocked. The editor will tell you the portal is archived if you try.
- The git history and built versions are kept, so nothing is destroyed — but Portal Studio has no un-archive action. Recovering an archived portal means contacting support@statisfy.com.
- It clears the live pointer and removes the portal’s host mapping, so its URL stops serving and the subdomain frees up for reuse.
- This is recorded in your audit trail.
- It can’t be undone automatically — you’d publish the portal again to bring it back online.
A live portal that’s archived without unpublishing keeps serving at its URL. The Archived badge in the list is there so you can notice and unpublish it if that wasn’t intended.
Next Steps
- Portals Overview — Lifecycle, statuses, developer keys, and portal addresses
- Publishable Keys & Secrets — Authenticate embedded portal experiences