Video Tutorial
In this article, you’ll learn how to export a record of people who engaged with you before a specific date and how to save and manage these views. Step 1: Navigate to the location shown in the following screenshot.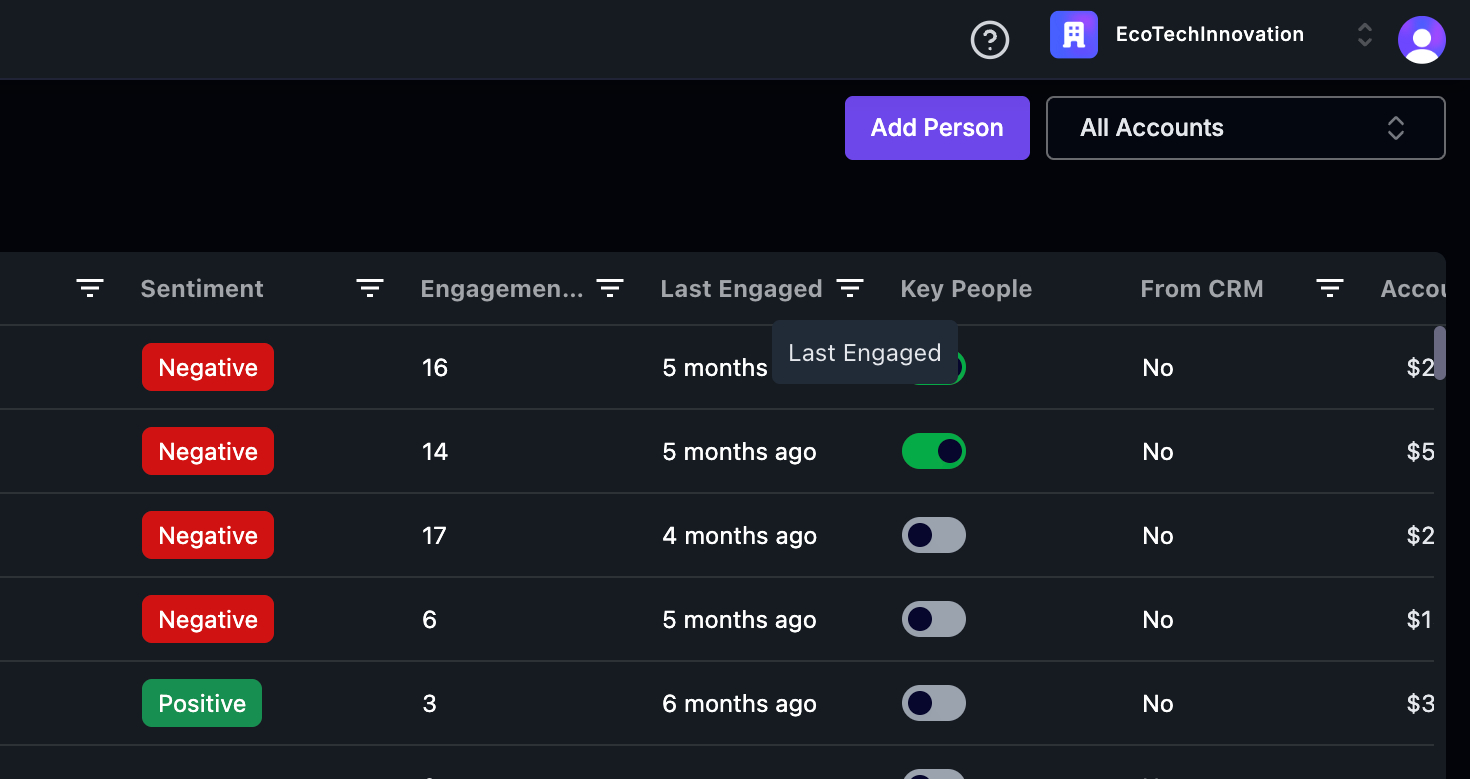 Step 2: Apply the necessary filters.
 Step 3: Specify that you want to fetch all customer data.
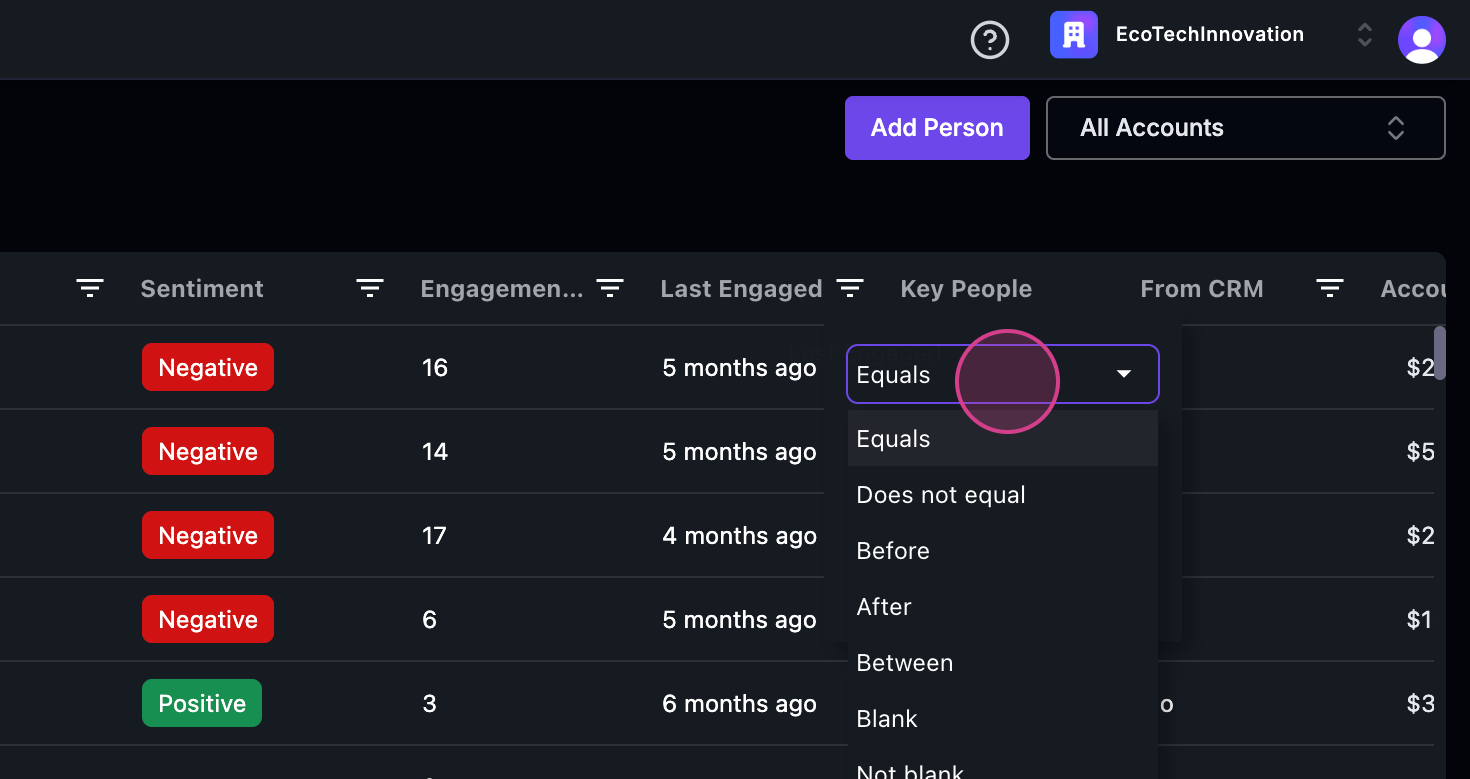
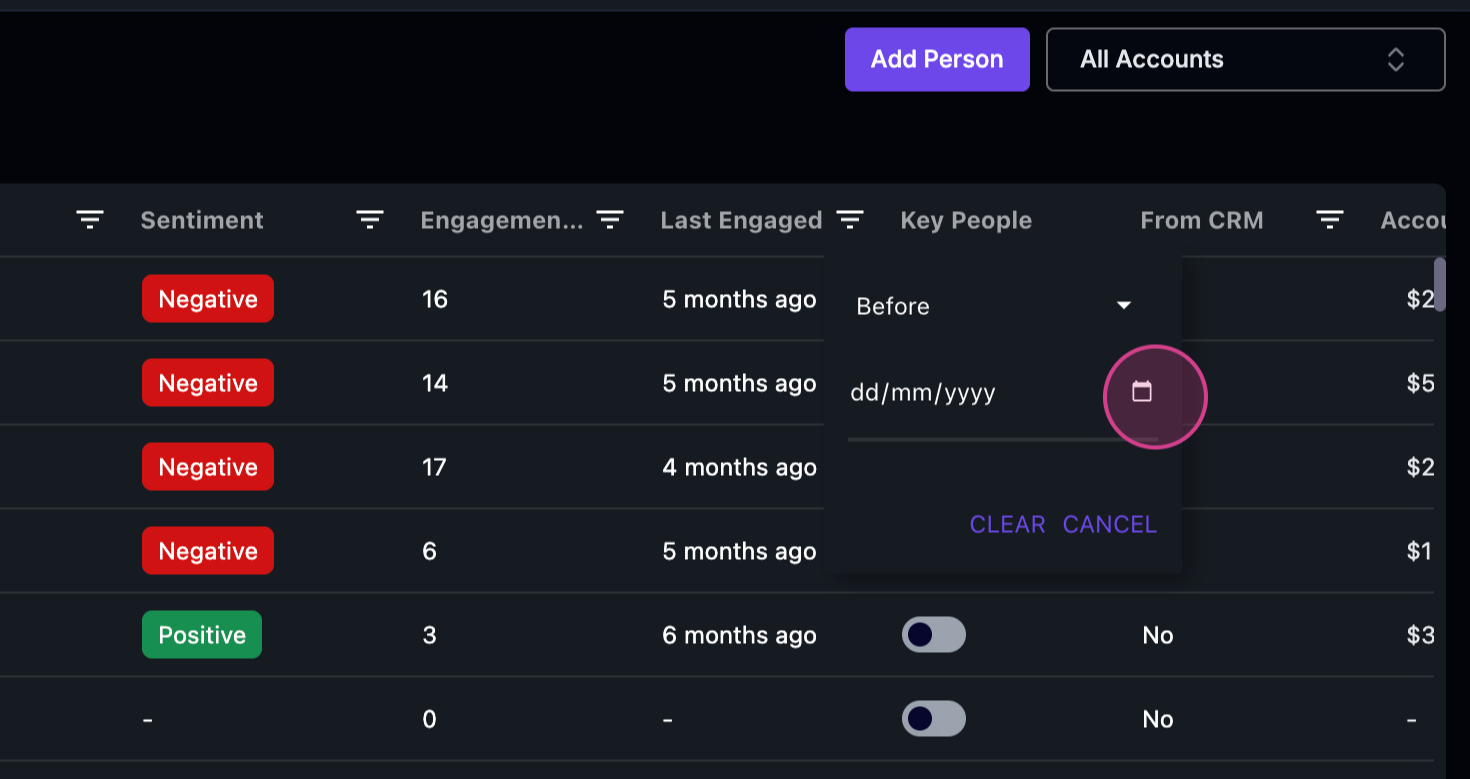
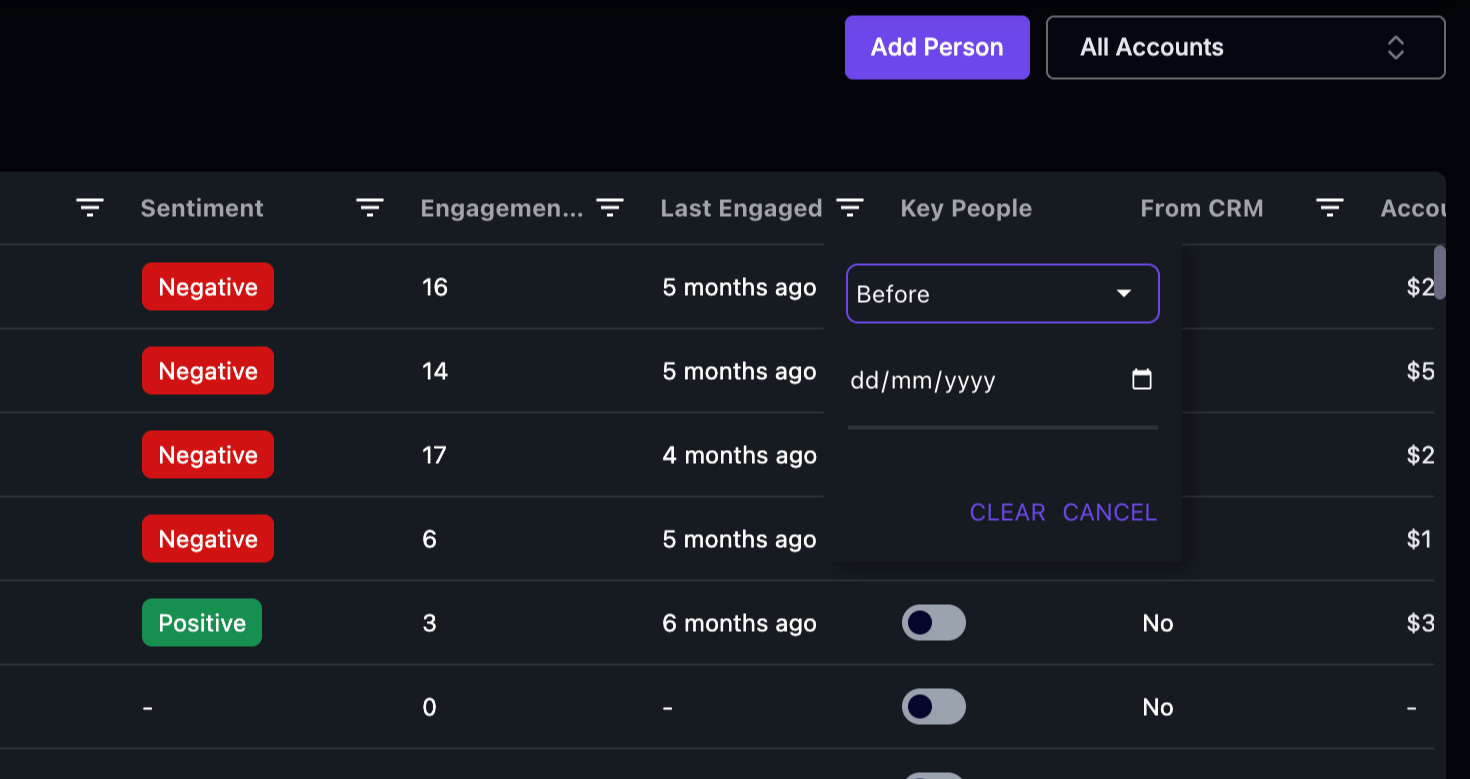 Step 4: Define the time period. In this case, we’re looking for customers who contacted you before January of the current year.
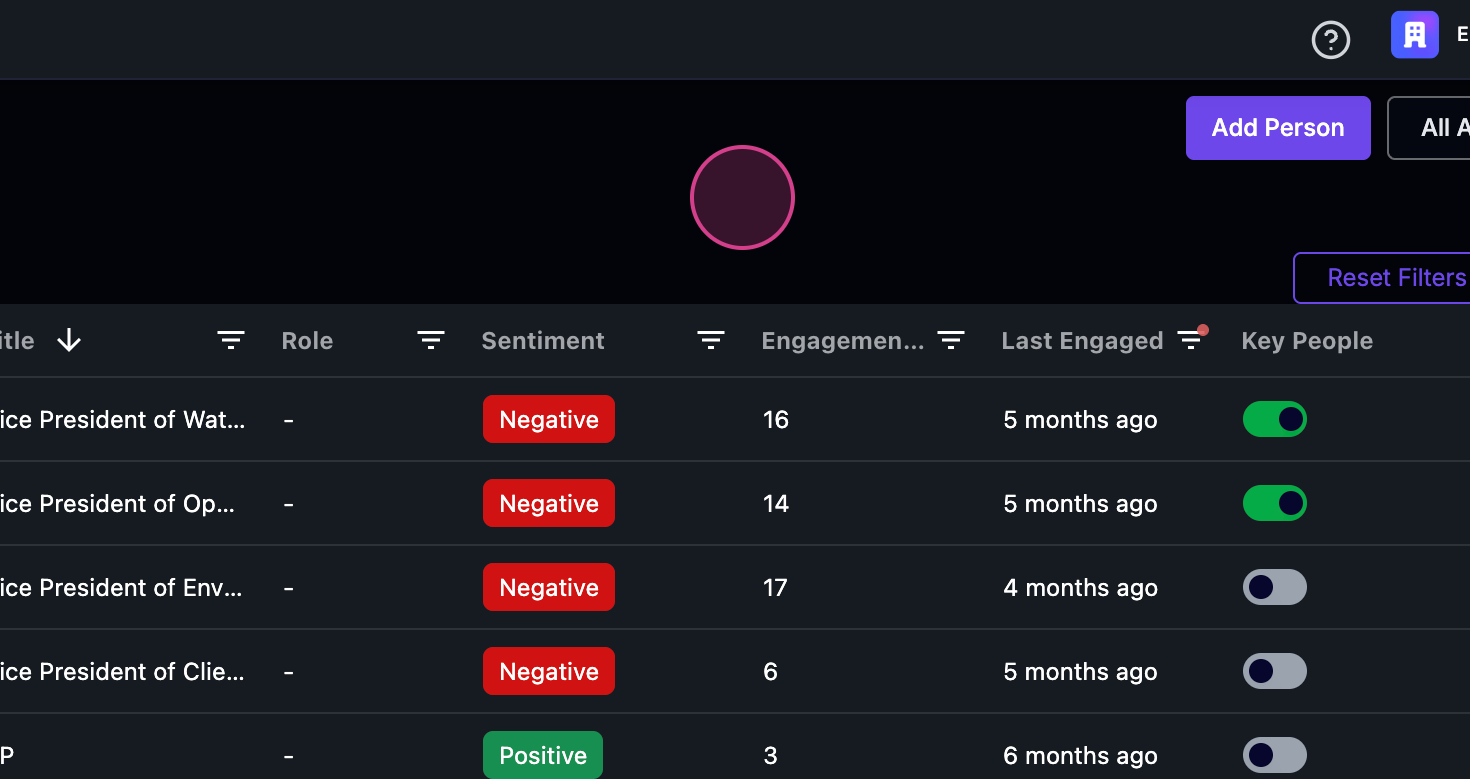
 Step 5: After applying the filters, you’ll have a list of all the people who fit your criteria.
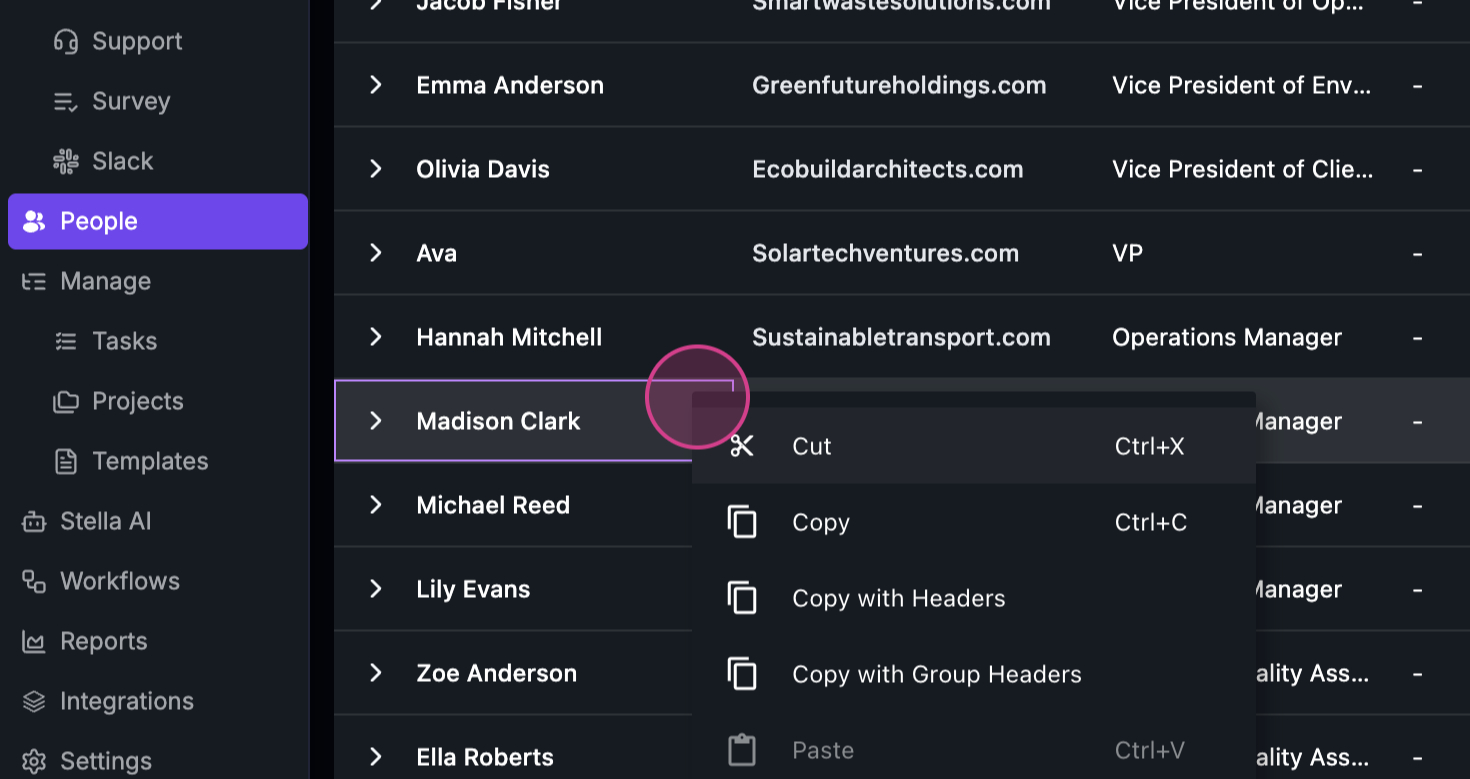 Step 6: To export this list, right-click anywhere on the page and select the export option. You’ll have the choice to export the data in CSV or Excel format.
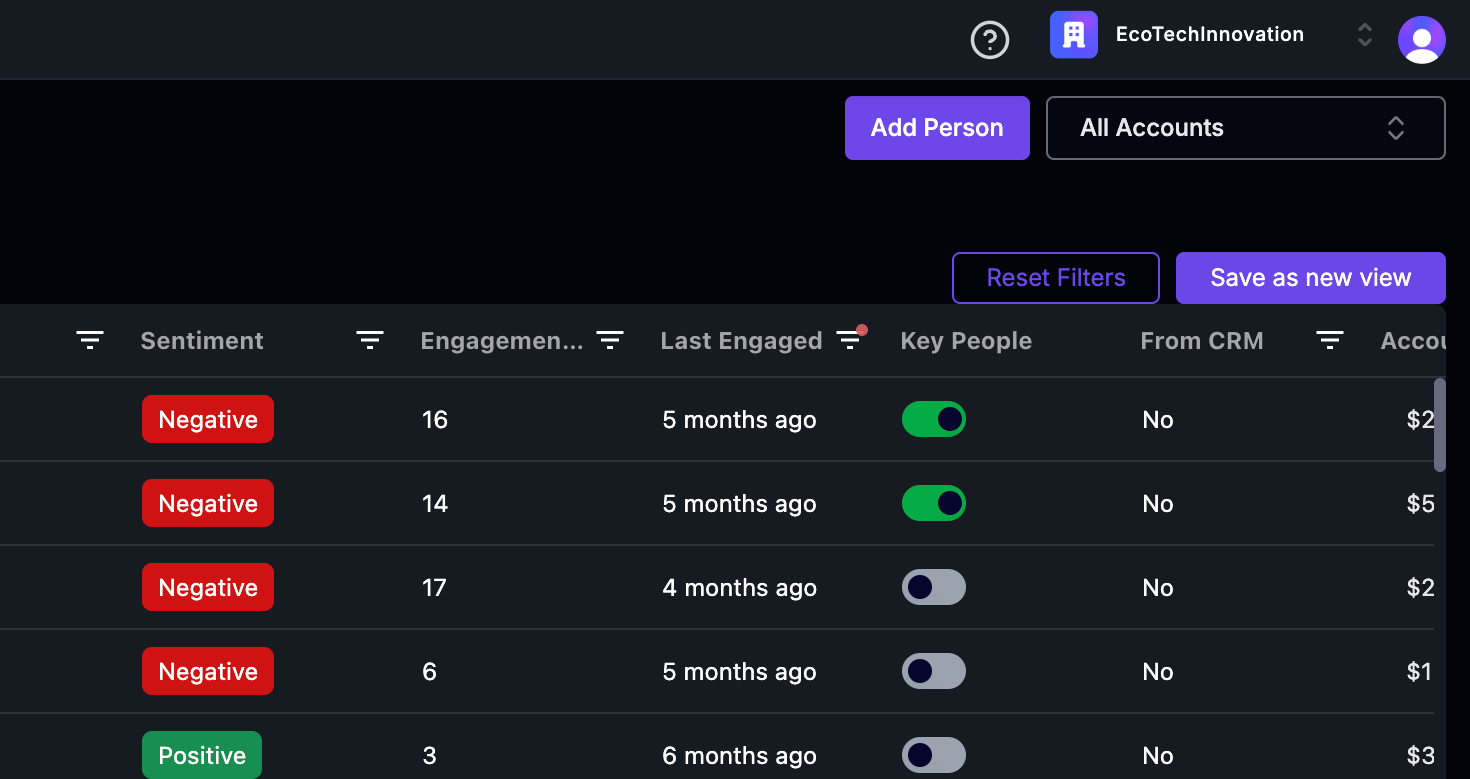
 Step 7: If you want to use this filtered view again in the future, save it as a new view.
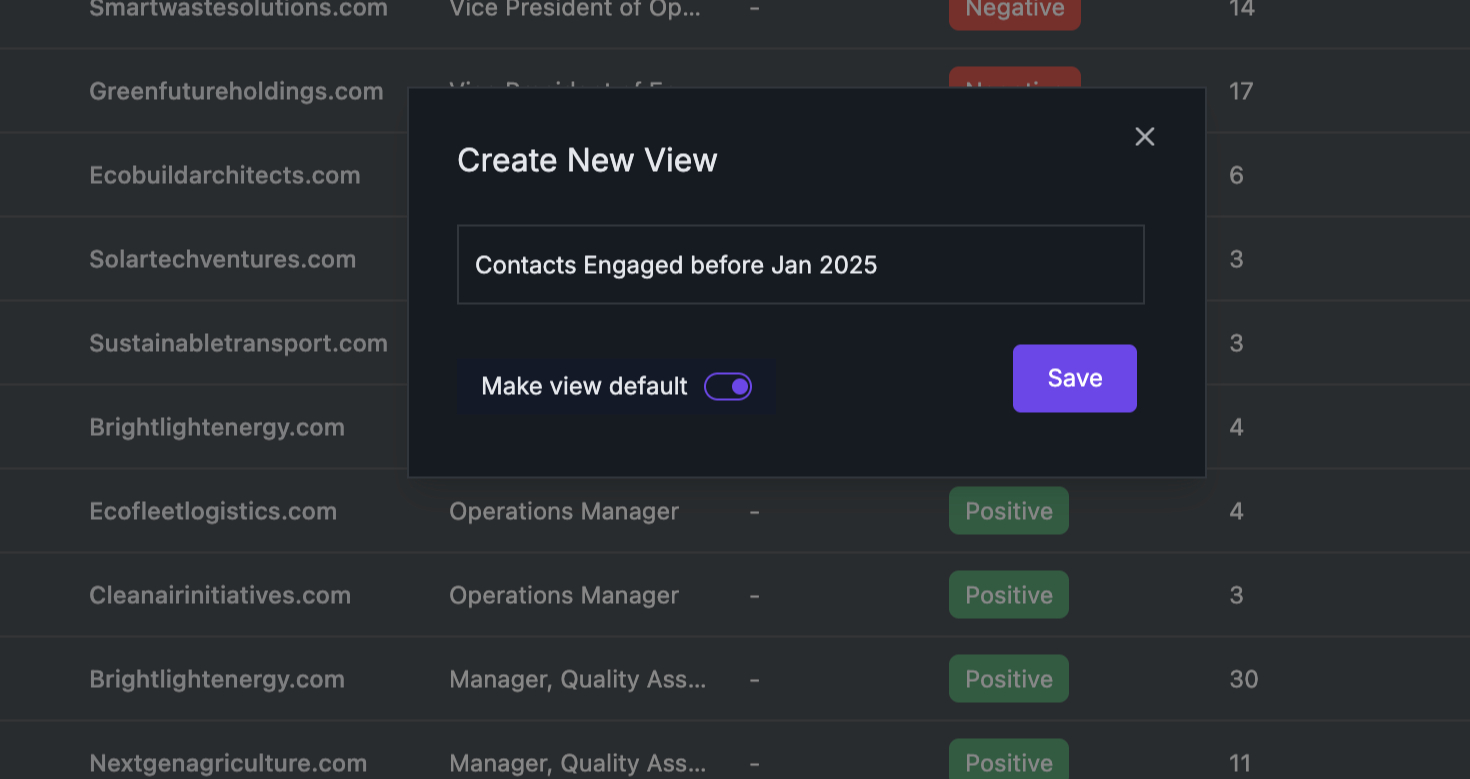
 Step 8: Name your new view. In this example, it’s named “Contacts engaged before Jan 2025”.
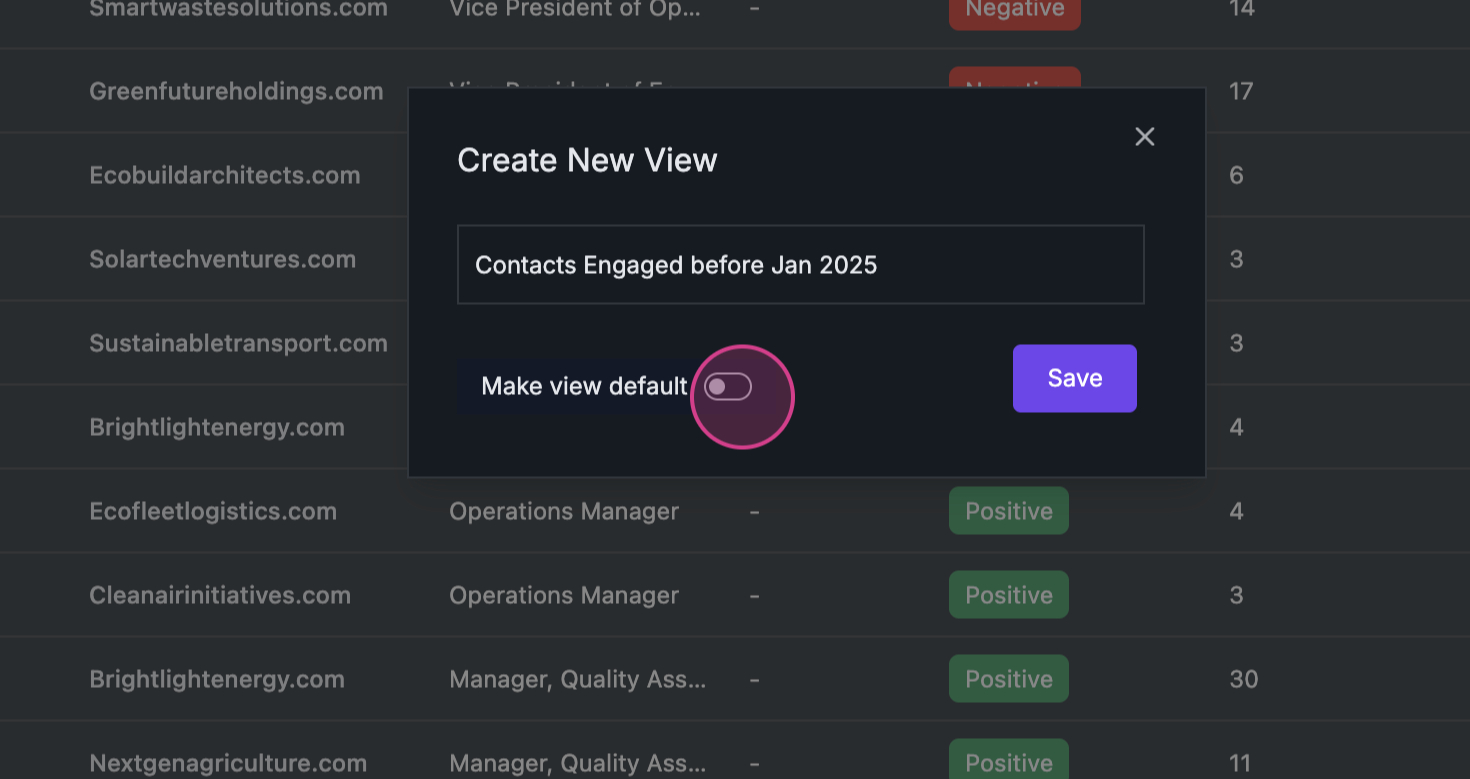 Step 9: If you want this view to be your default, mark it as “View Default”. If not, leave it unmarked.
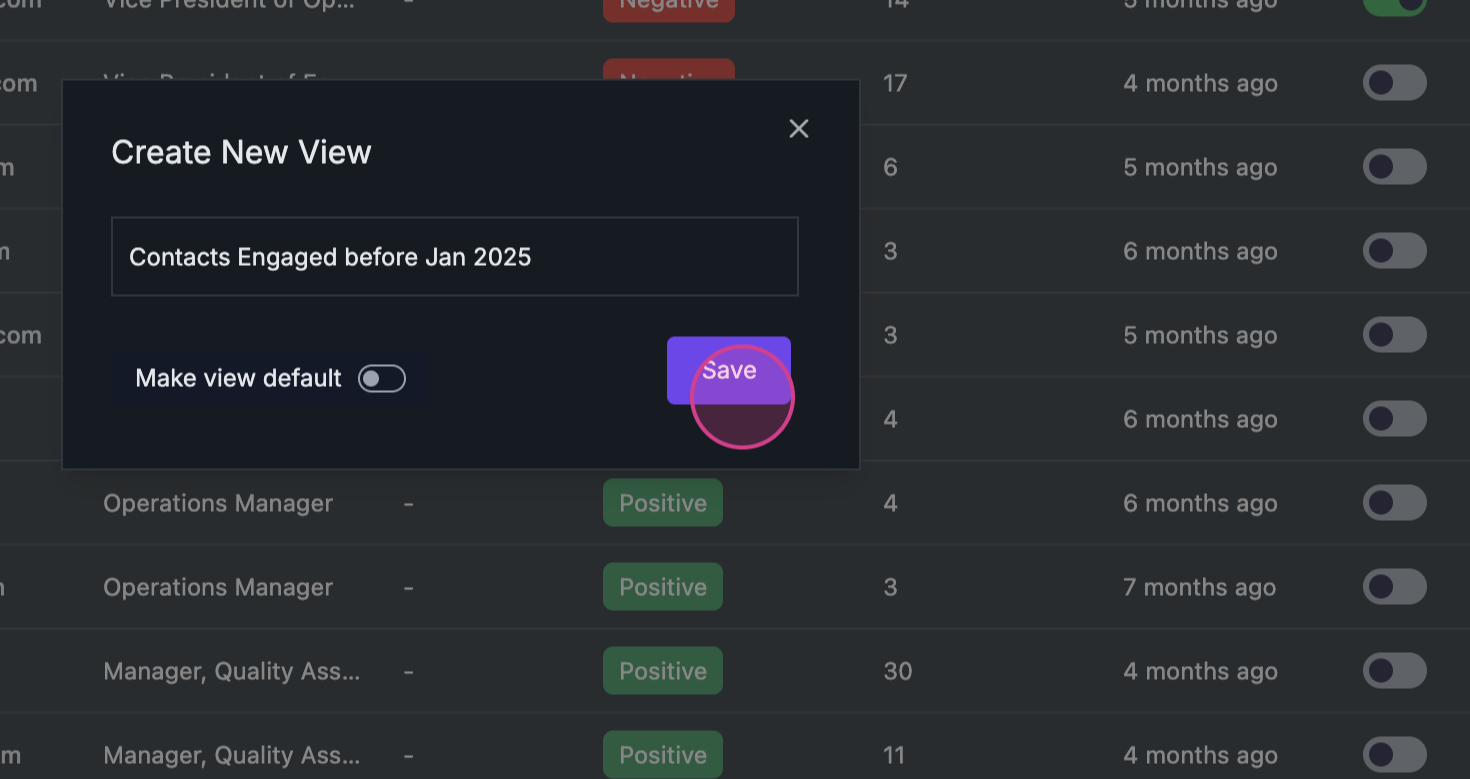
 Step 10: Confirm your settings.
 Once you’ve completed these steps, a green popup will appear, confirming that your view has been successfully updated. That’s it! You’re now ready to export your data and start sending surveys.