Video Tutorial
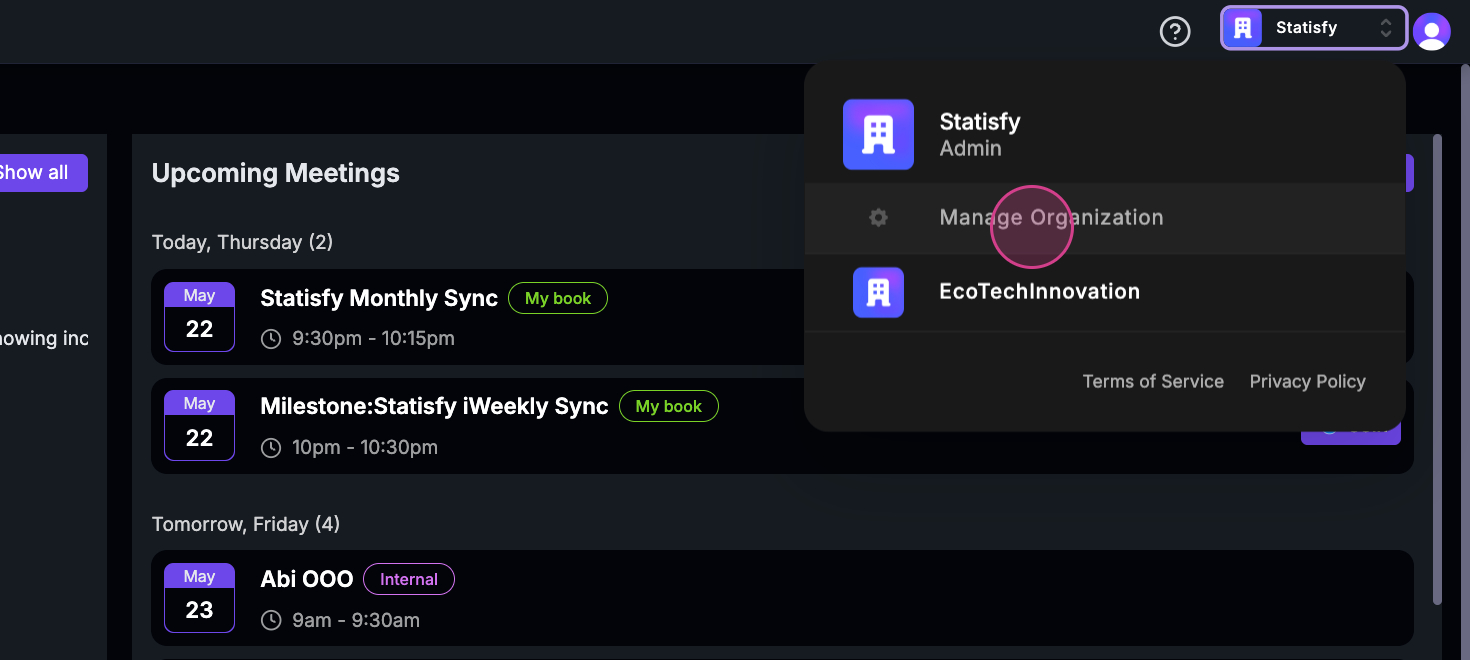
In this article, you’ll learn how to add and manage users, as well as understand the different roles available in Statisfy. Step 1: Begin by clicking on the company logo located on the right side of your screen. Step 2: This will open the Manage Operate organizations page.
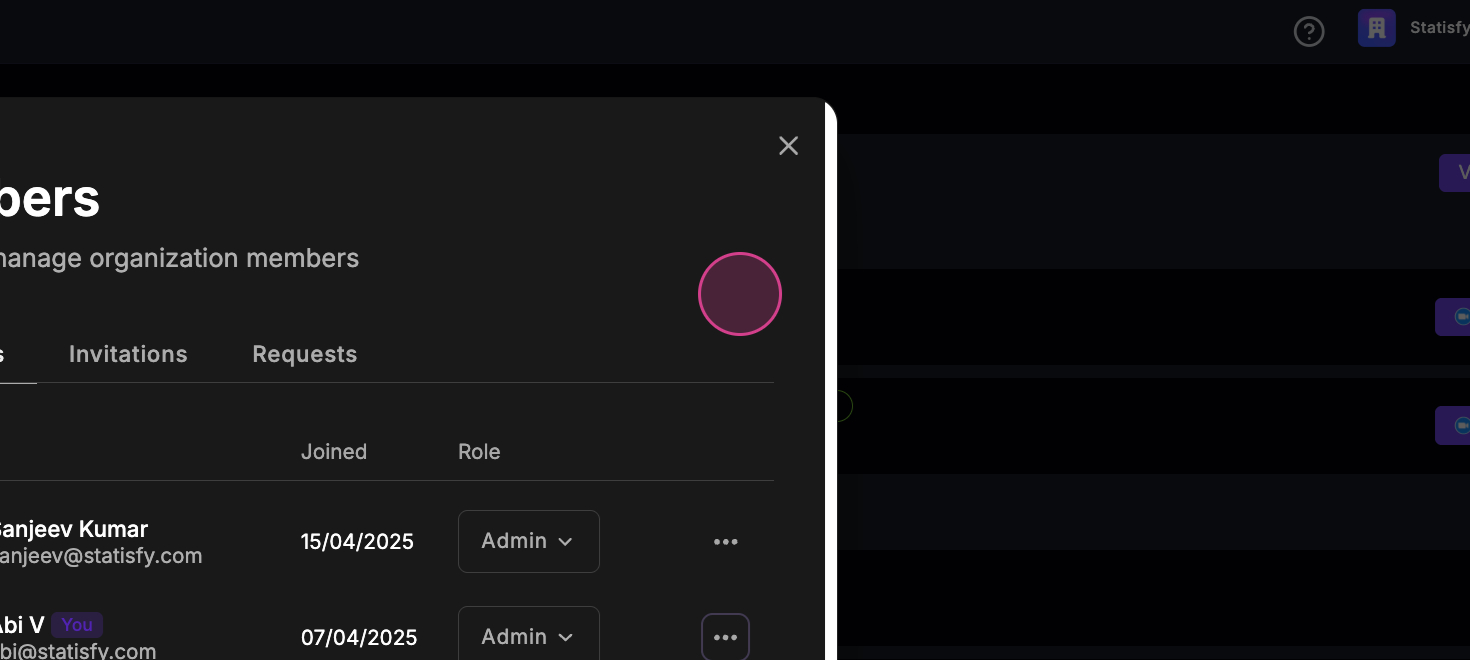
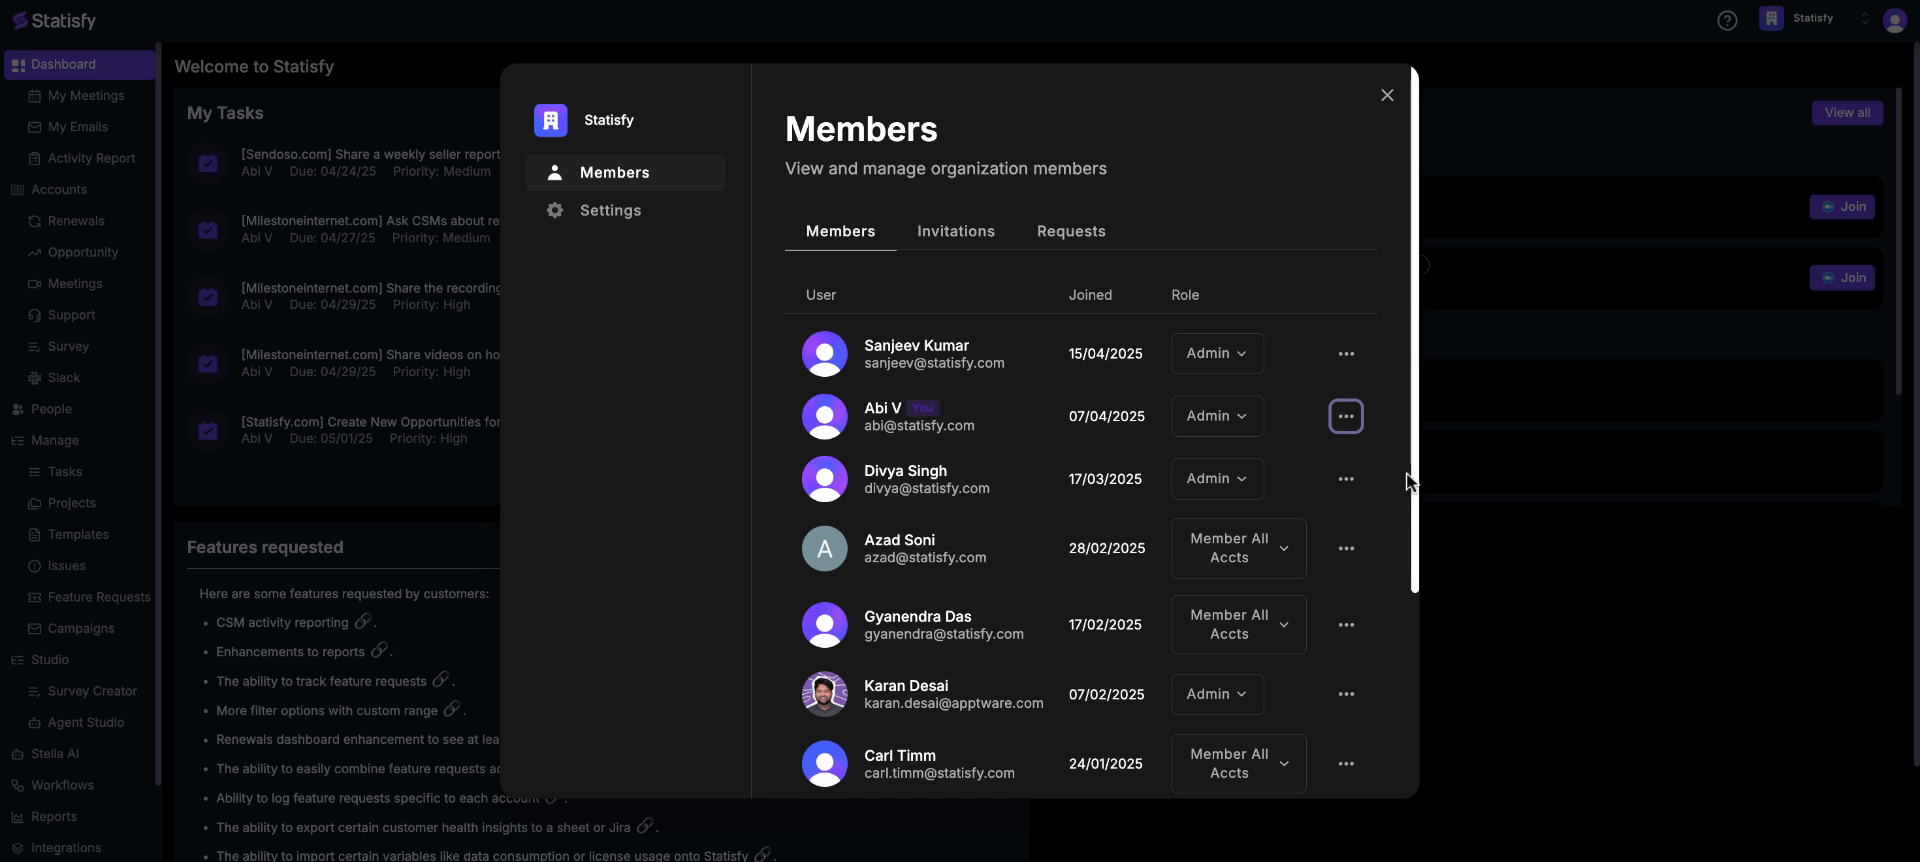
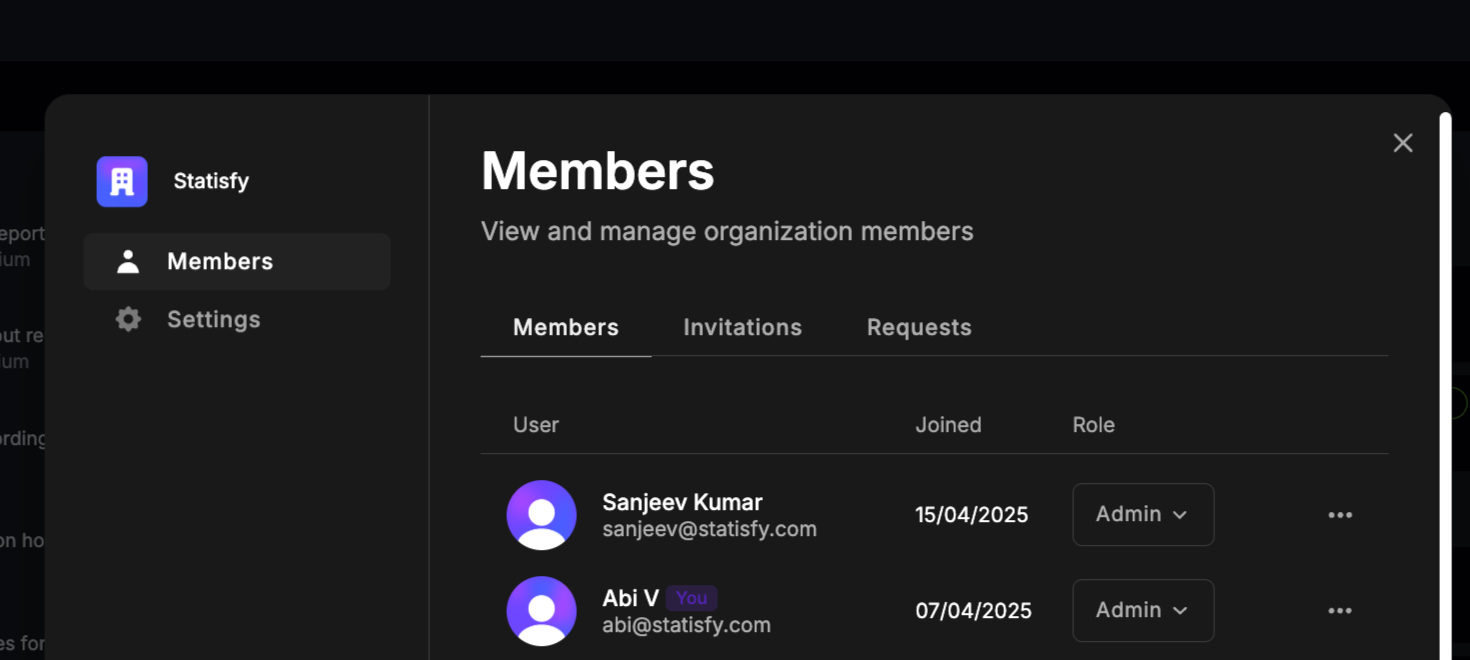
 Step 3: On the first page, you’ll see any existing members, their roles, and when they joined. If you need to remove a user, look for the three dots.
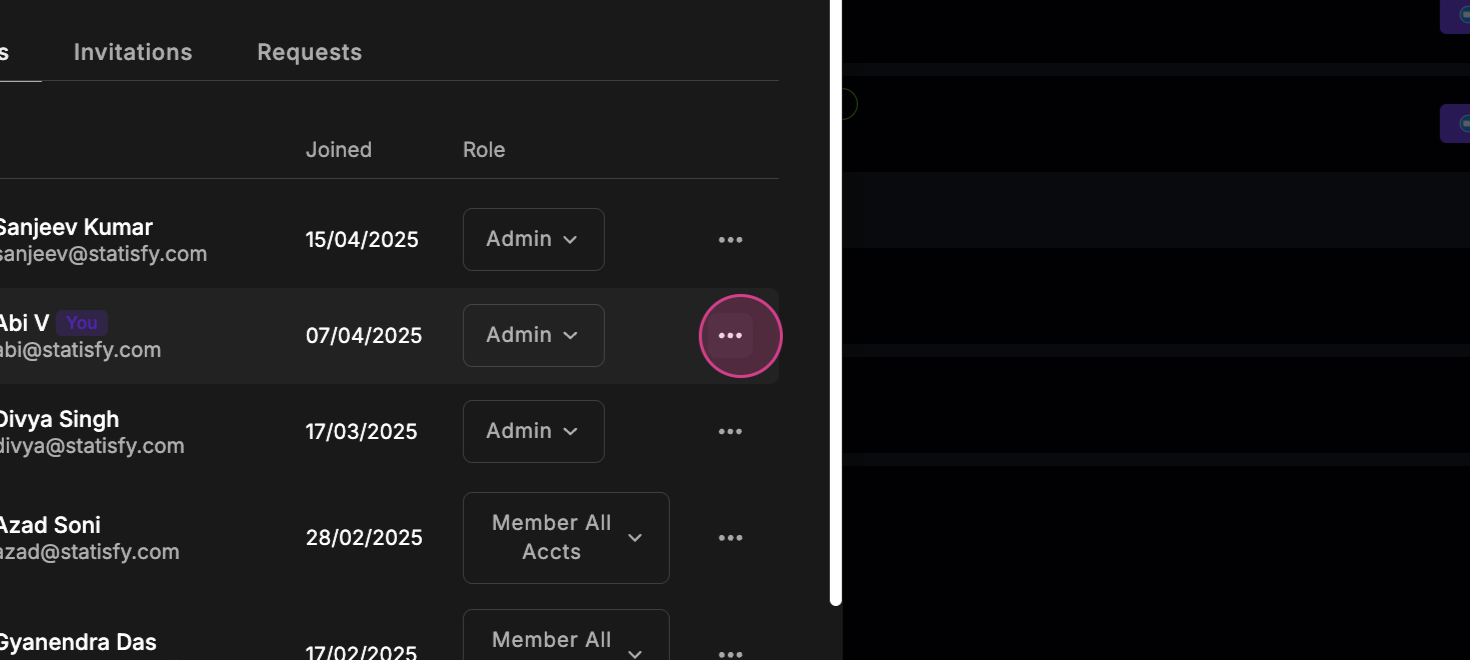 Step 4: Click on the three dots to remove a user.
 Step 5: Understand the roles available. Statisfy has six roles:
| Role | Best for | What they can do |
|---|---|---|
| Admin | Statisfy owners | Everything — all settings, integrations, and configuration |
| Member | CSMs and account managers | Day-to-day work (view and edit data, reports, workflows, campaigns) on their own book of accounts |
| Member All Accounts | Team leads | Same as Member, but across every account in the organization |
| Builder | Ops and enablement | Everything a Member All Accounts can do, plus build in Agent Studio, the Email Builder, Survey Creator, and Knowledge Base — without full admin access |
| Integration Admin | IT / data owners | Connect and manage integrations, with read-only access to customer data |
| Viewer | Executives and observers | Read-only — can browse all accounts and reports but can’t change anything |
 Step 6: When in doubt: give CSMs Member, leads Member All Accounts, the person building automations Builder, and anyone who only needs to look Viewer.
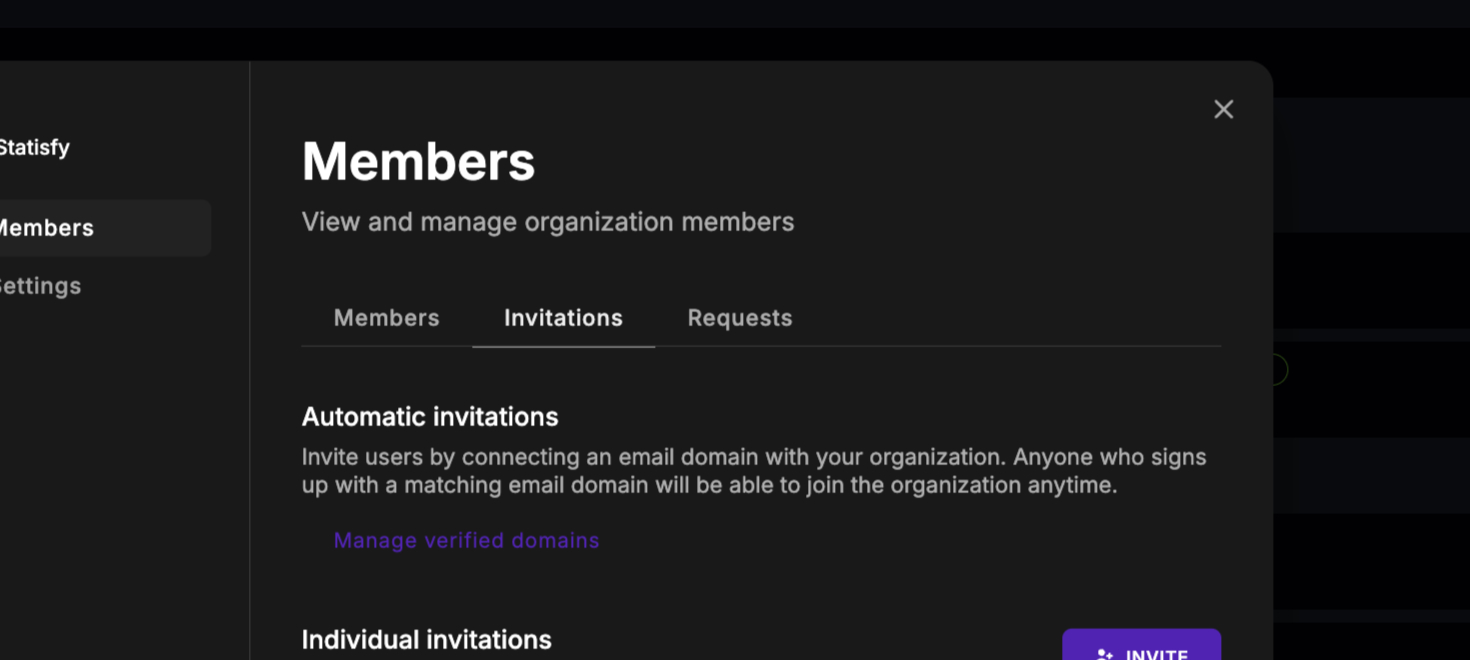
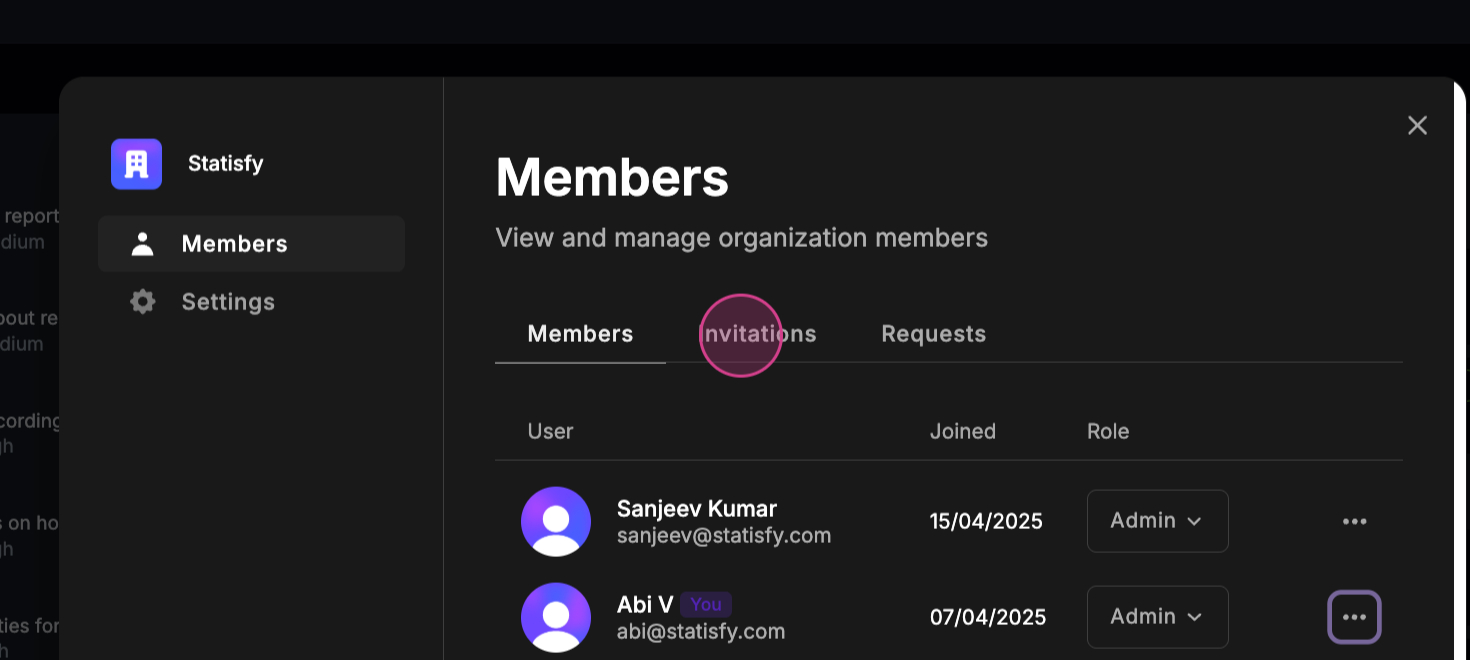 Step 7: To invite new members, navigate to the Invitations section. Here, you can invite new members to the system.
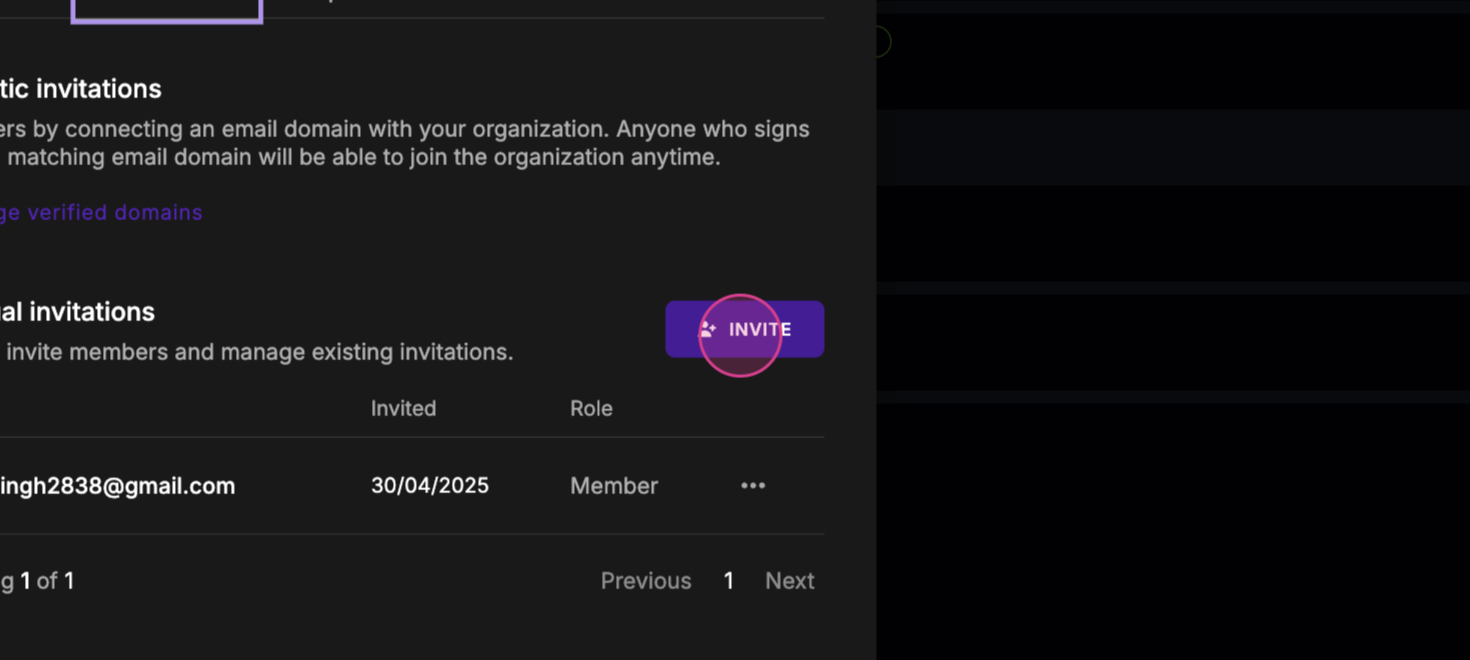 Step 8: Click on Invite.
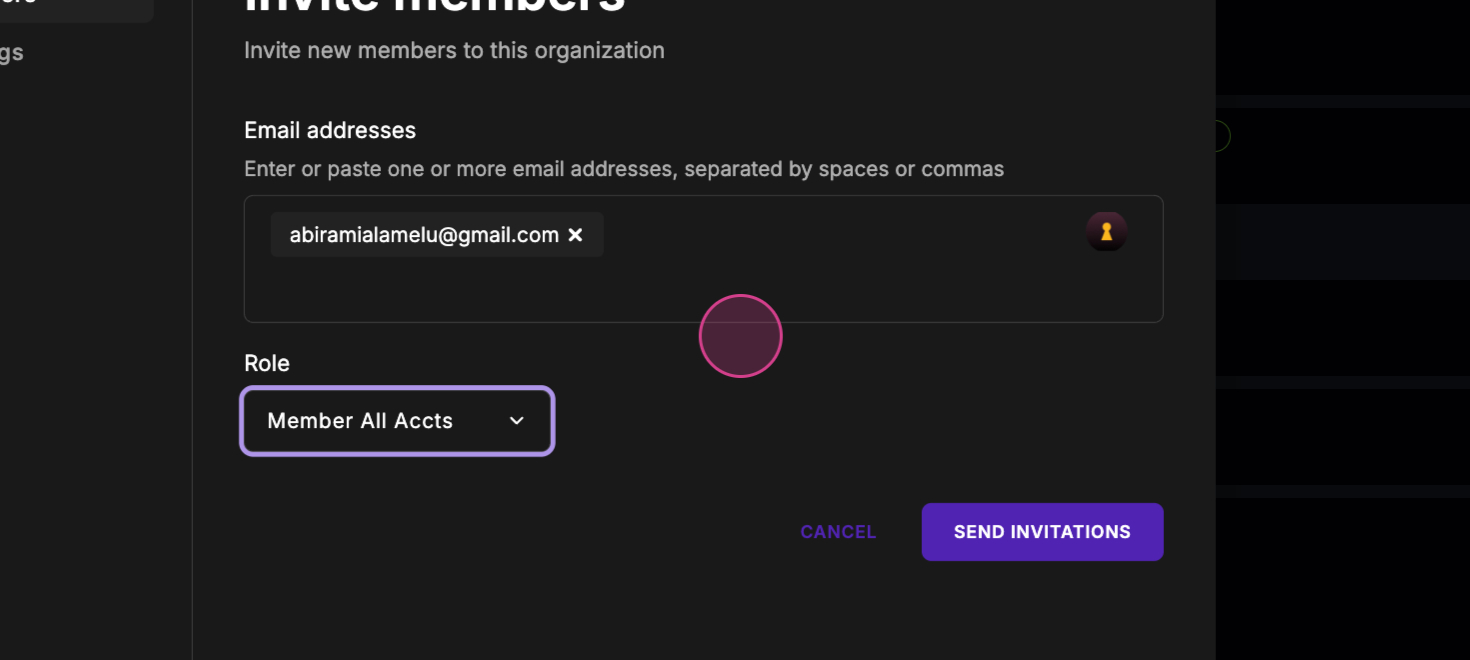
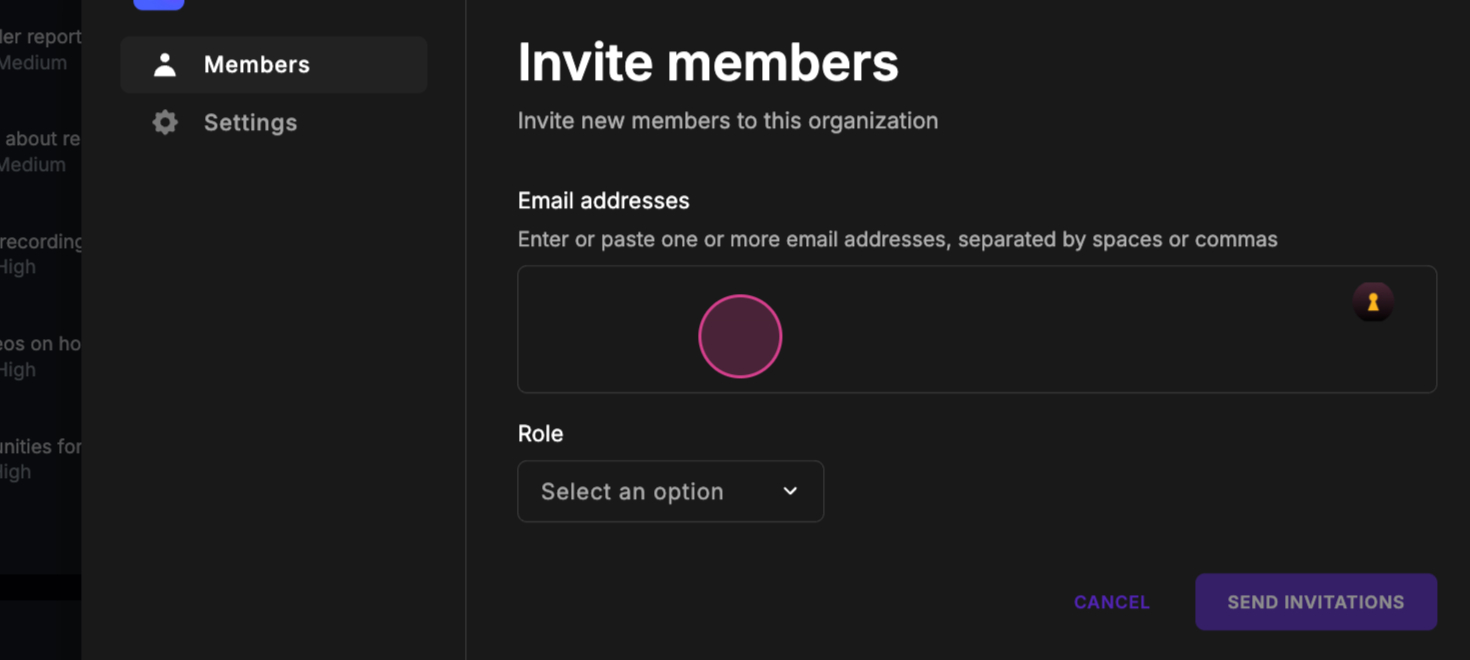 Step 9: Enter the email IDs of the people you want to invite. If you have multiple email IDs, separate them with a comma or a space.
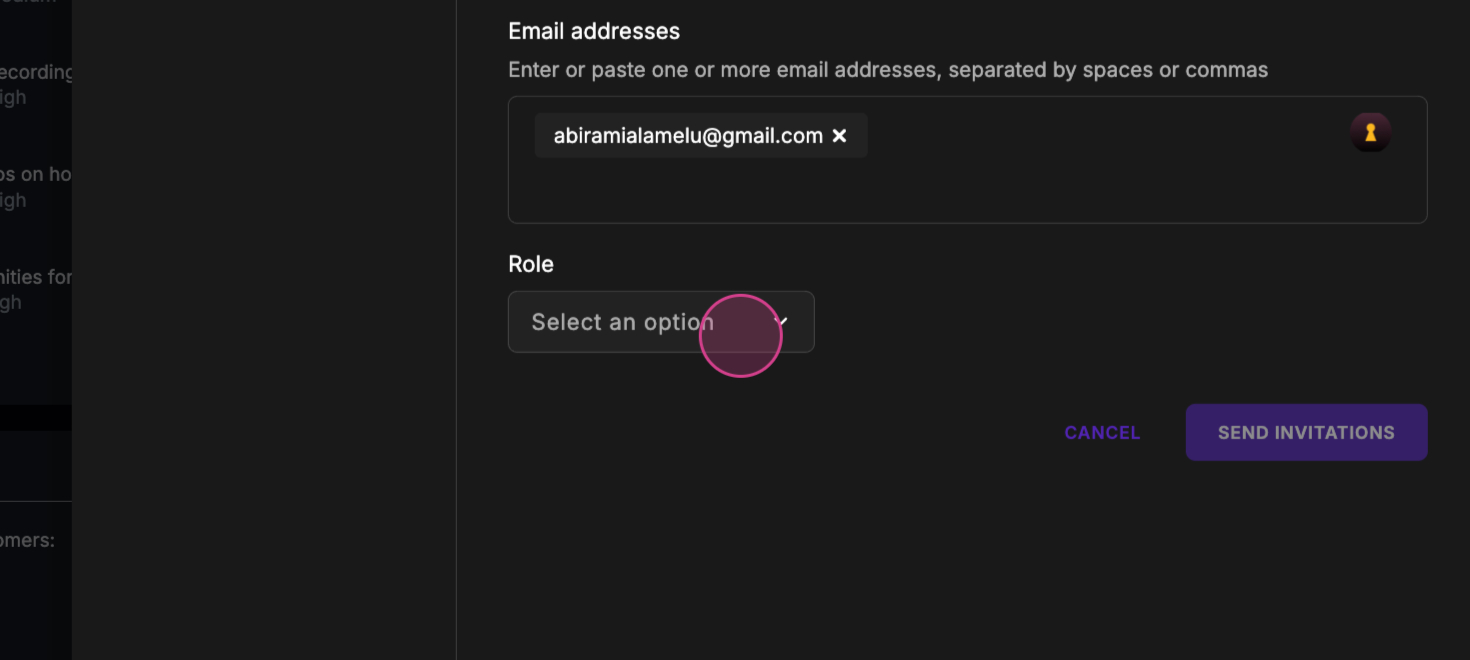 Step 10: Select the role you want to assign to the new member.
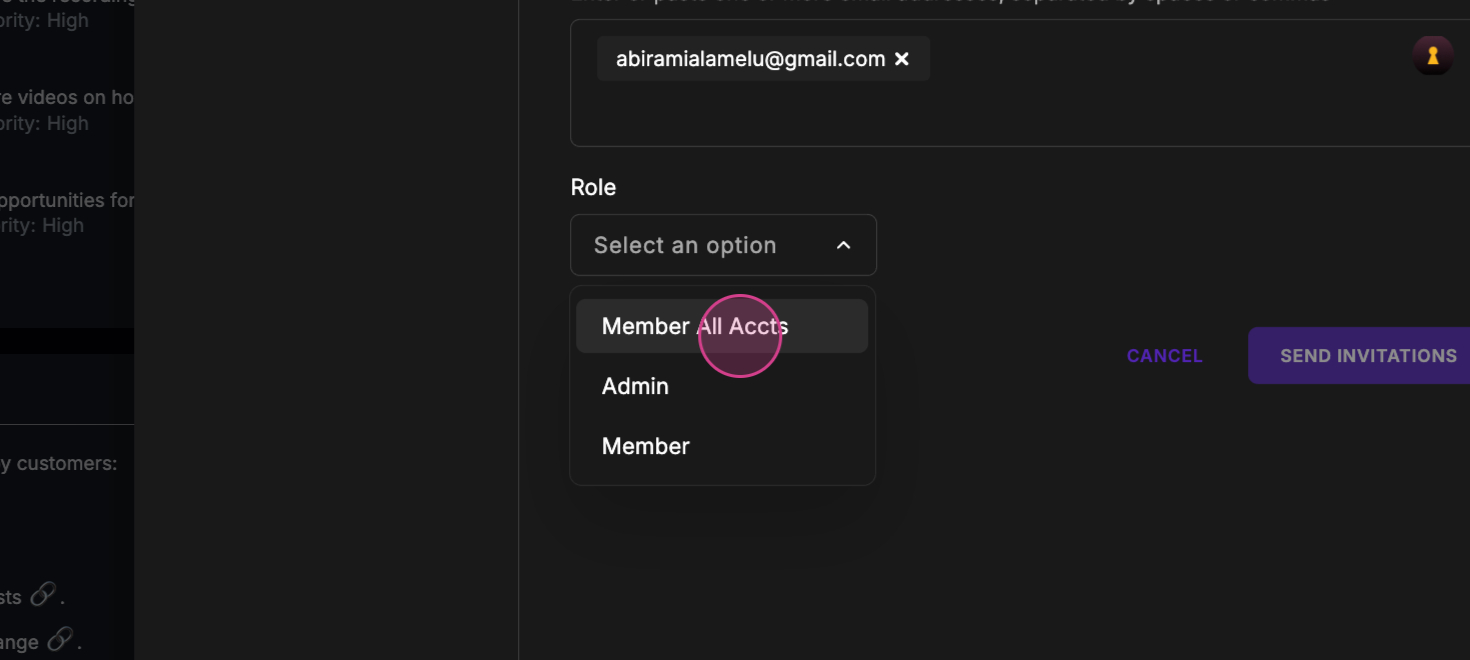 Step 11: For this example, we’re assigning the Member All Accounts role.
 Step 12: Click on Send Invitation.
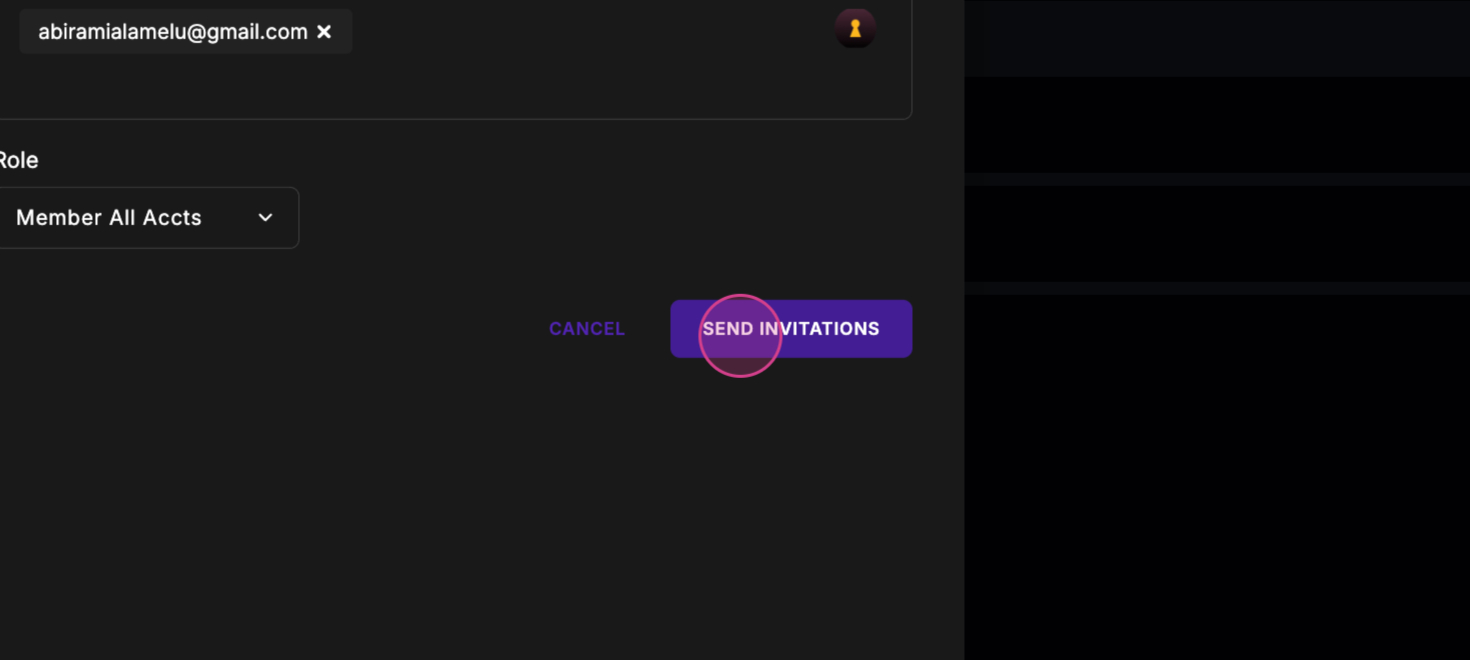 Step 13: The invitation will be sent.
 Step 14: Click on Finish. You can view all pending invitations in the Invitations section.
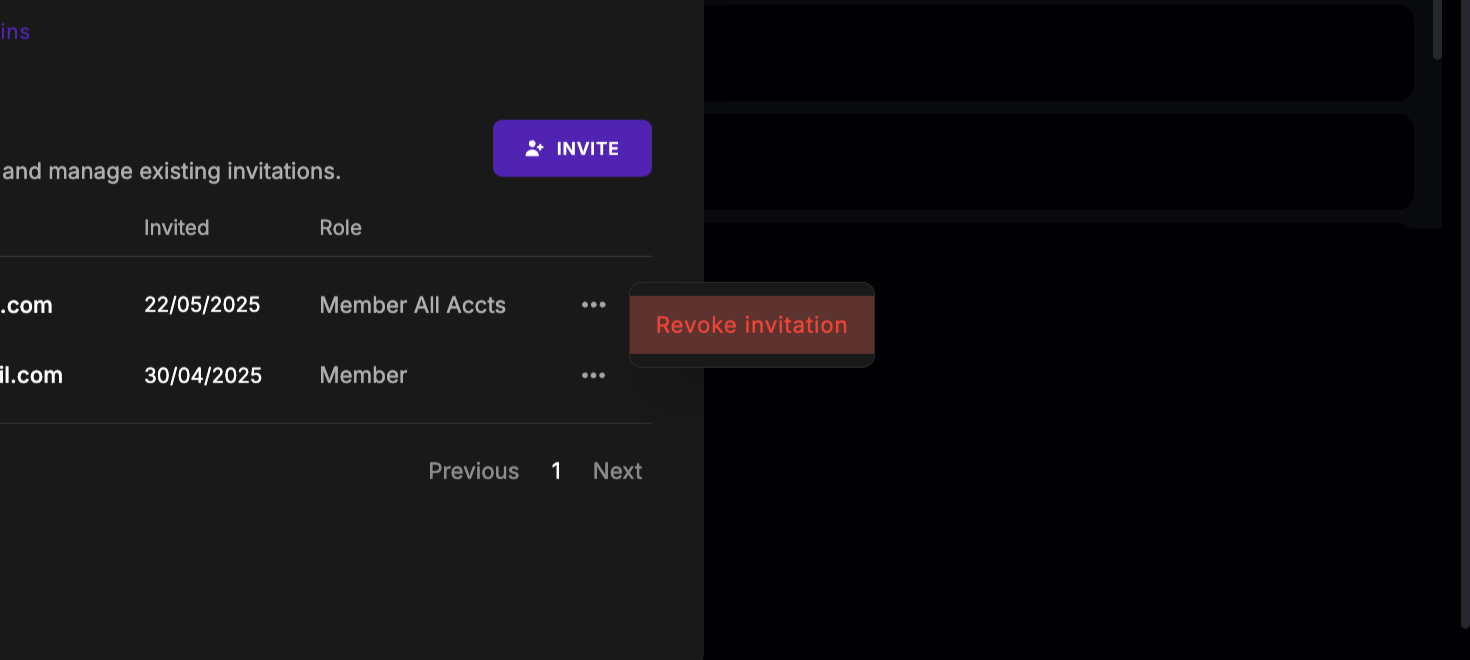
 Step 15: If you need to revoke an invitation, you can do so from this section.
 Step 16: Click on Remove to revoke an invitation.
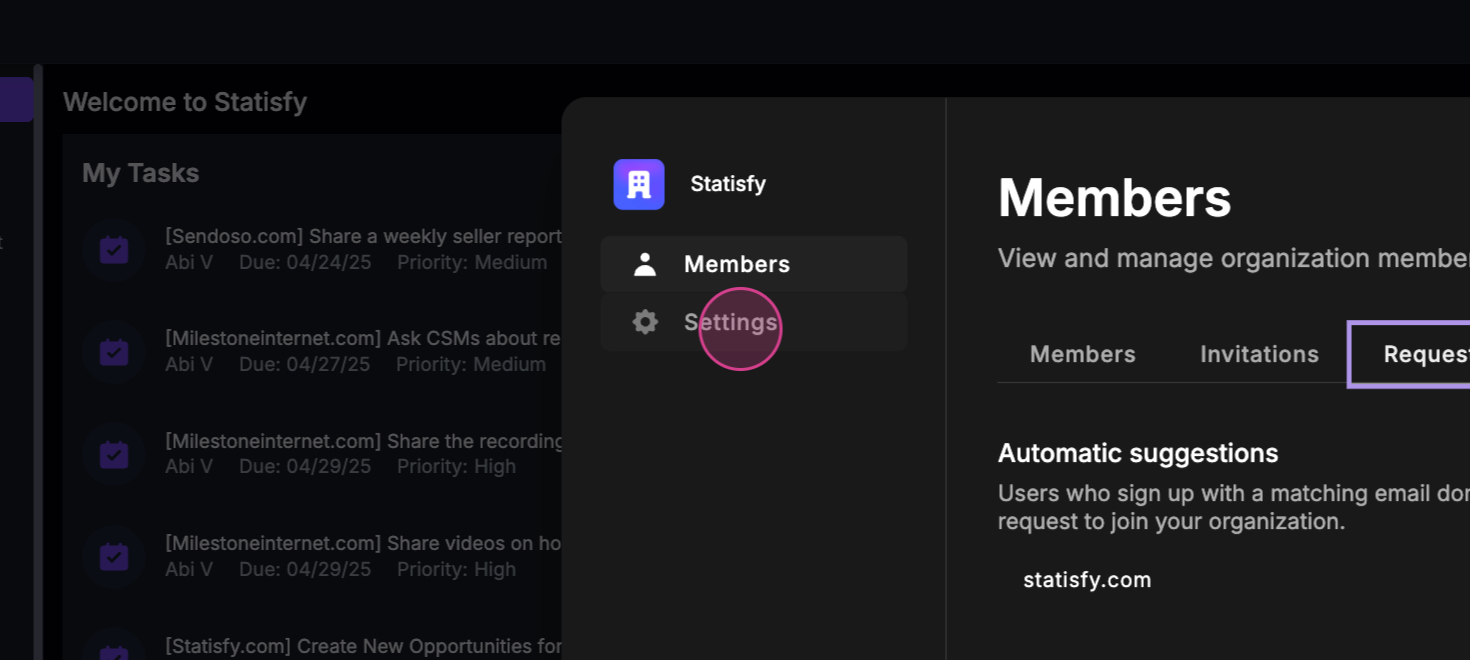
 Step 17: The Requests section is where you can manage requests from your organization domain.
 Step 18: Lastly, you have the Settings option where you can set up the organization profile and manage different domains if you have multiple.
 That’s all there is to managing users and roles in Statisfy. Thank you for reading!