Video Tutorial
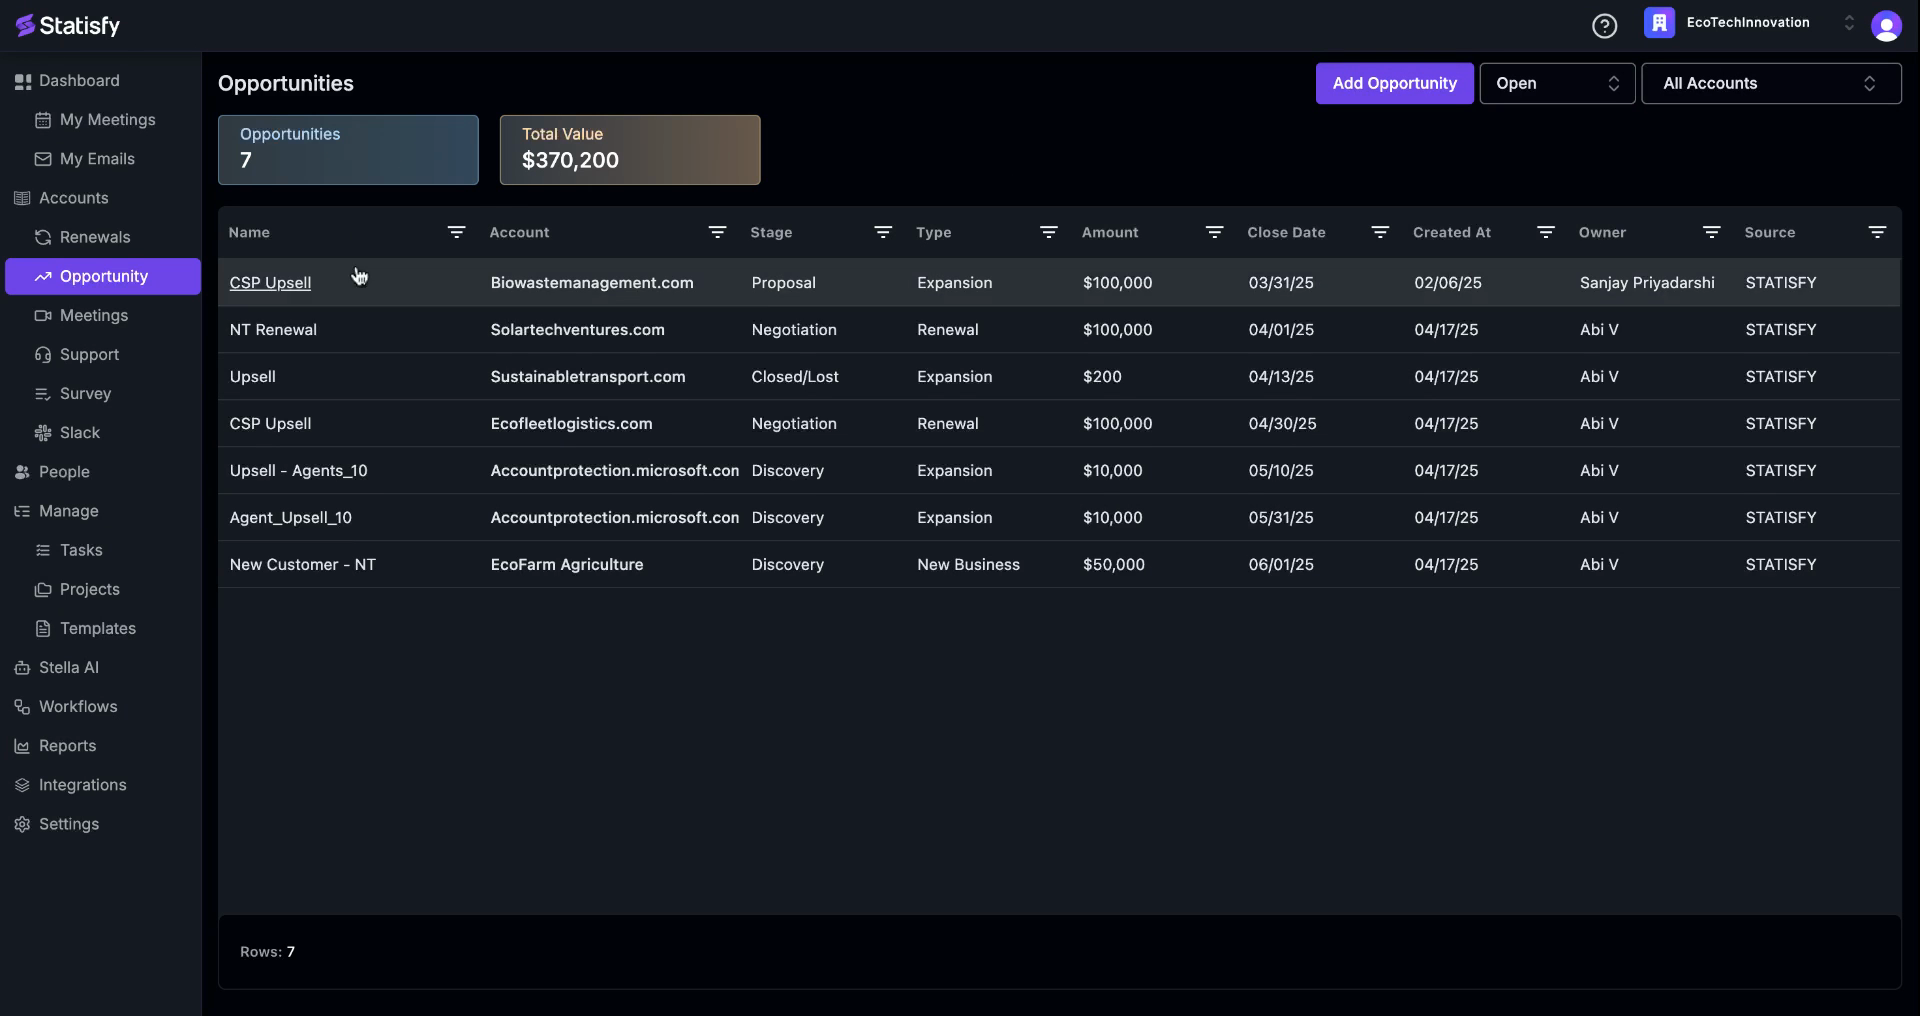
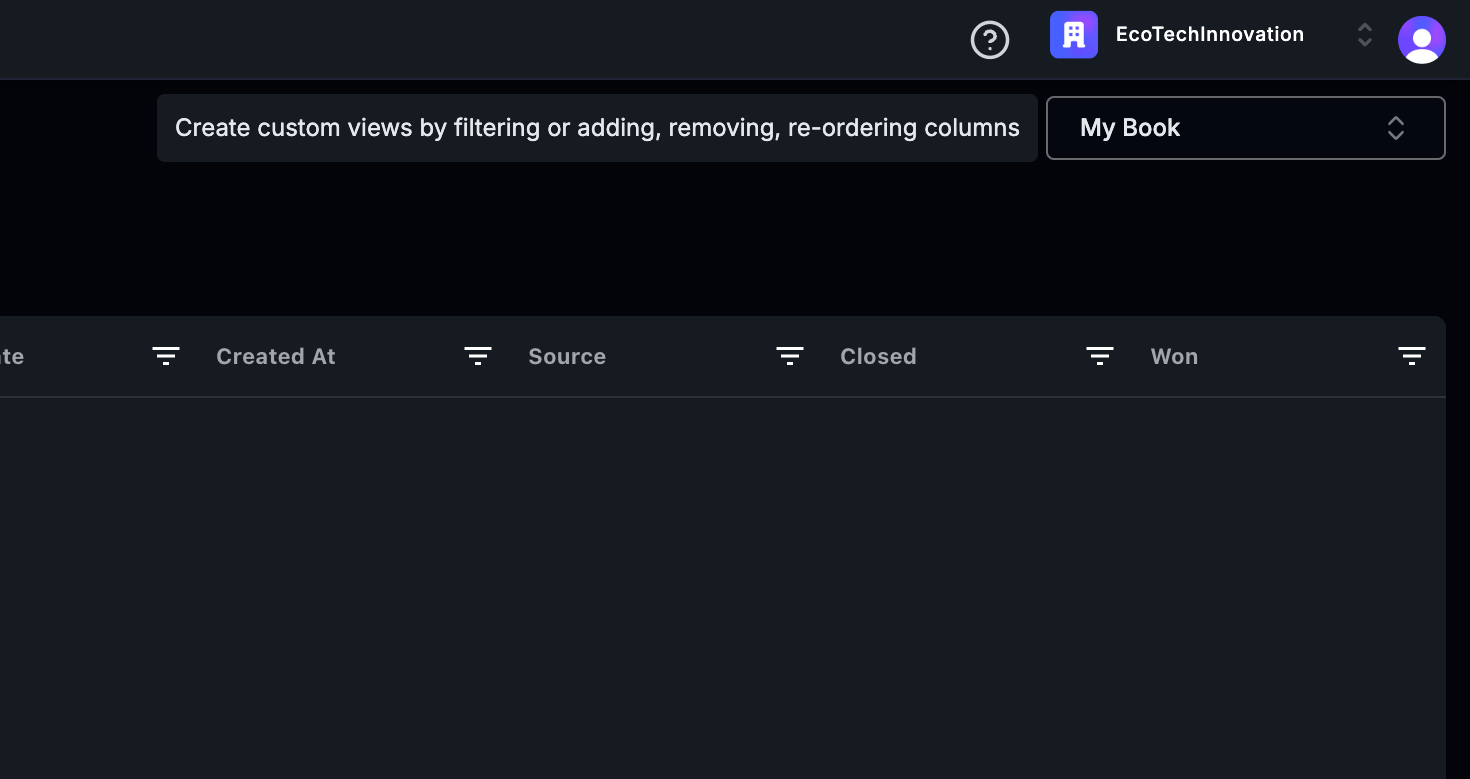
This article will guide you through the Opportunities Overview feature, helping you understand its various views and their significance. Step 1: Start by exploring the Opportunities Overview. This view displays all open opportunities, their count, and their total current value.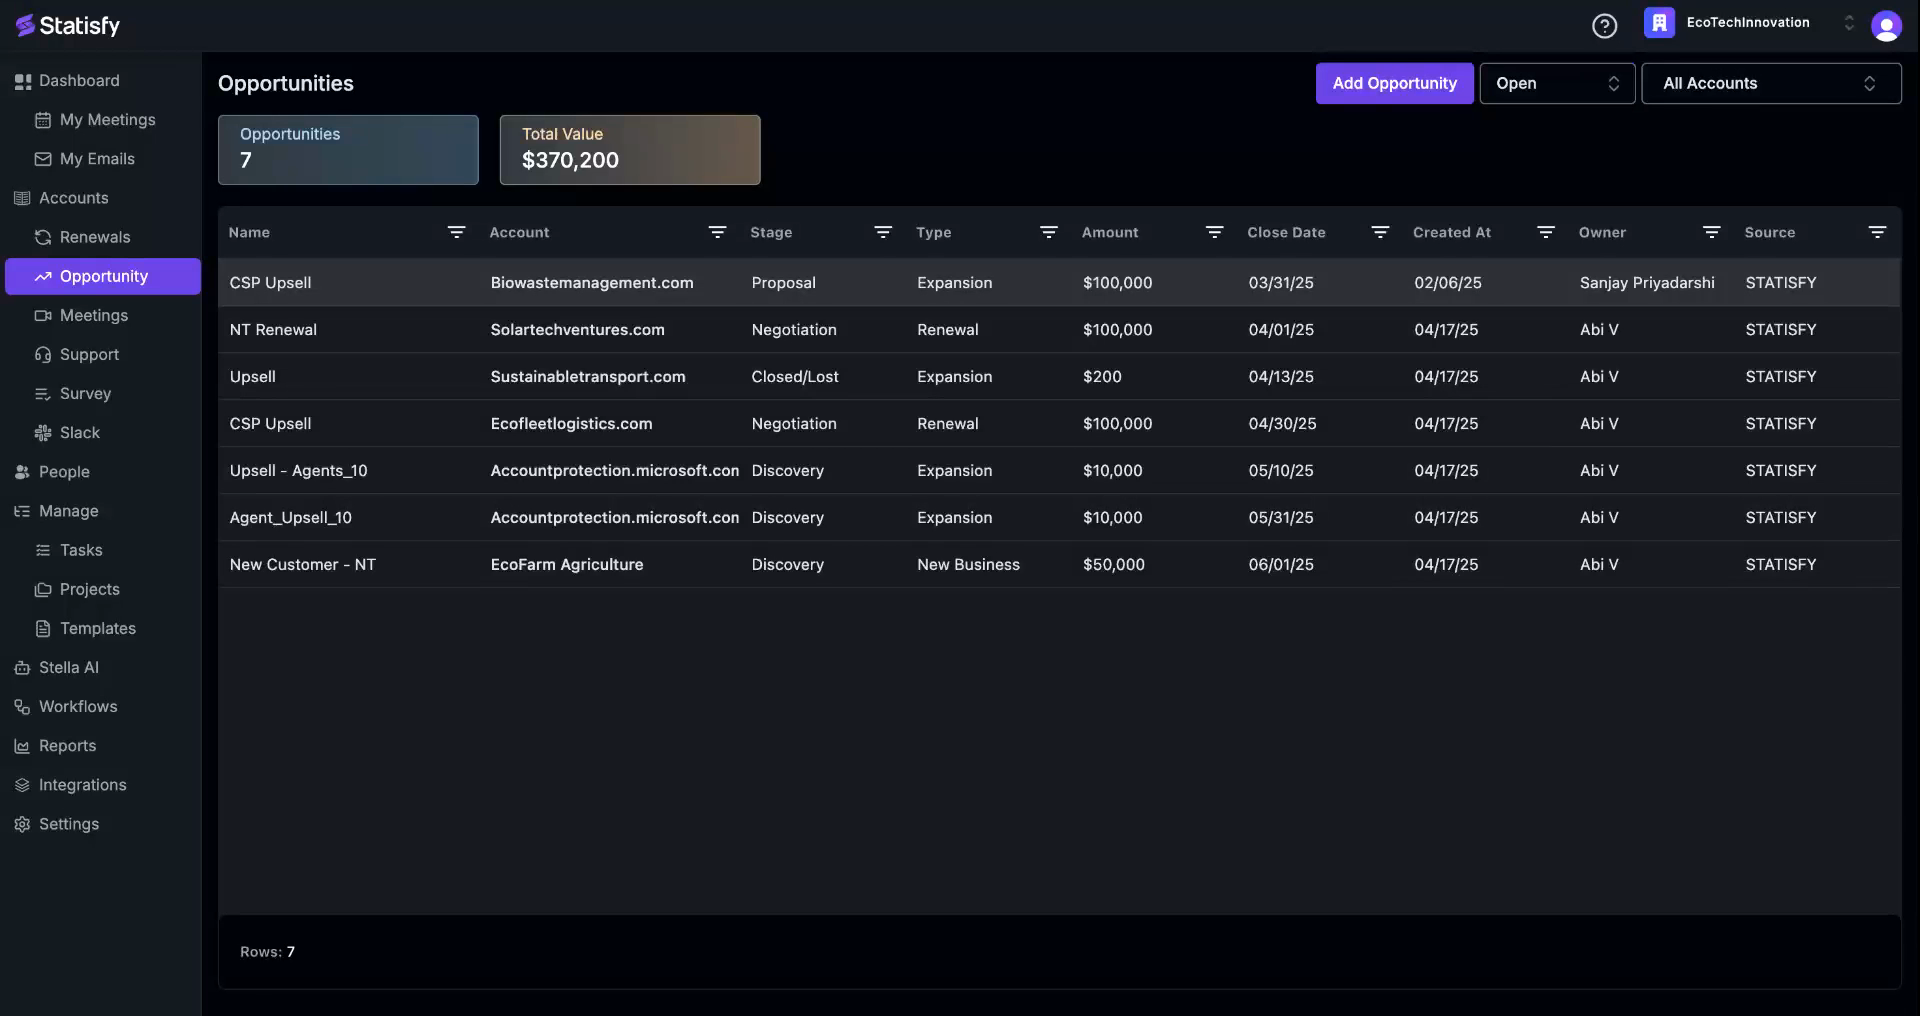 Step 2: Take note of the first column. It provides the opportunity’s name, associated account, current stage, type, total value, expected closure date, creation date, owner, and source. If the opportunity was manually created, the source will be marked as ‘Statisfy’. If it’s integrated with a CRM tool, the source will be ‘CRM’.
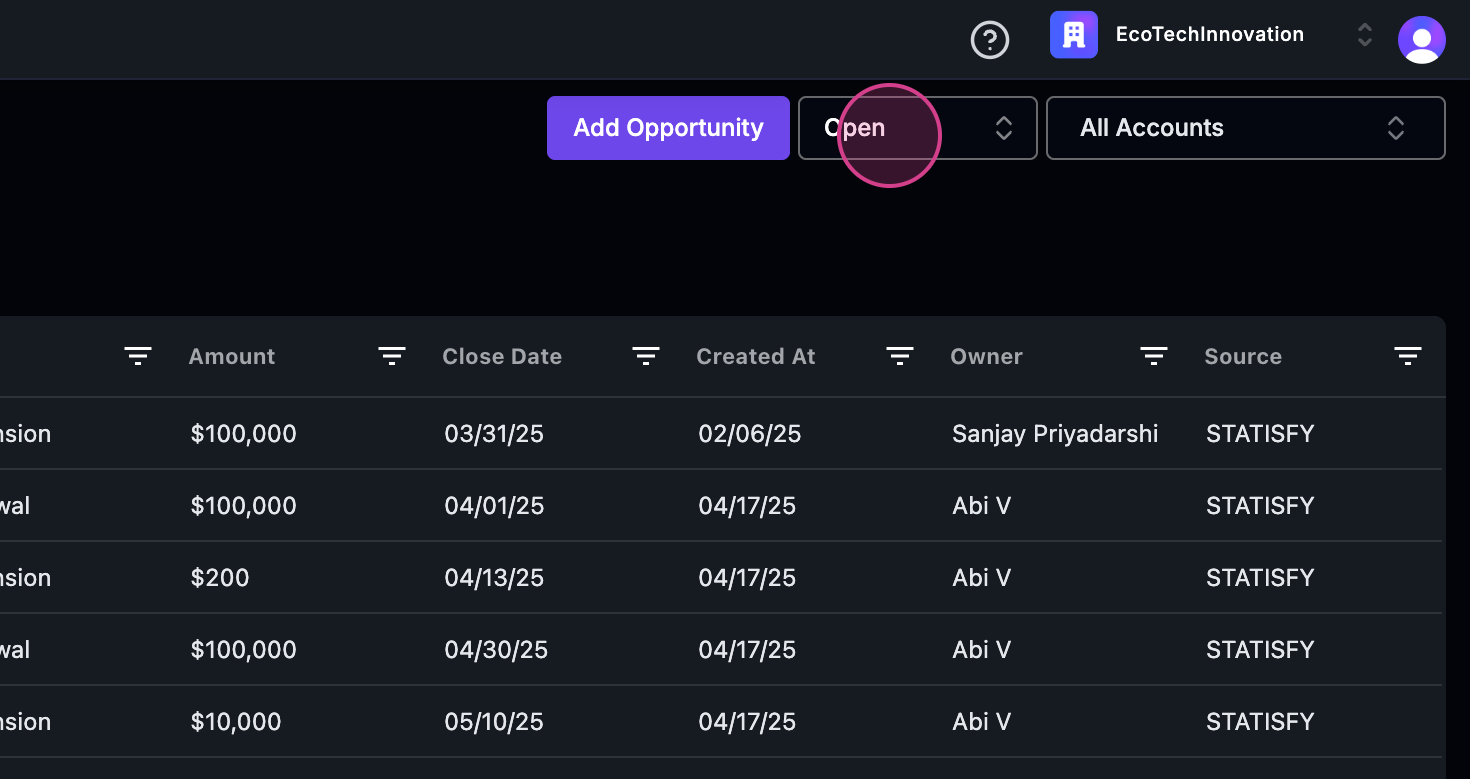
 Step 3: Move to the next view, the ‘Open’ view.
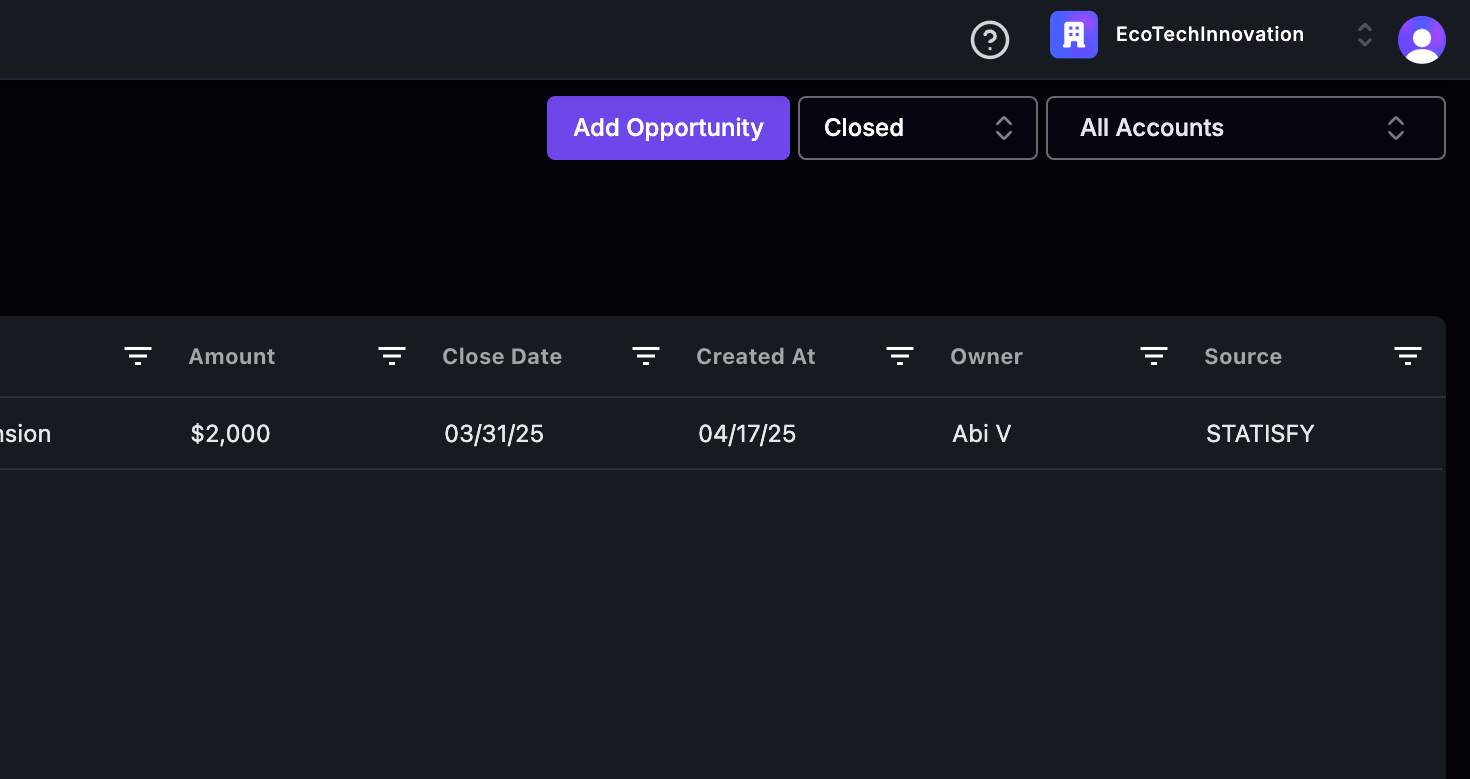
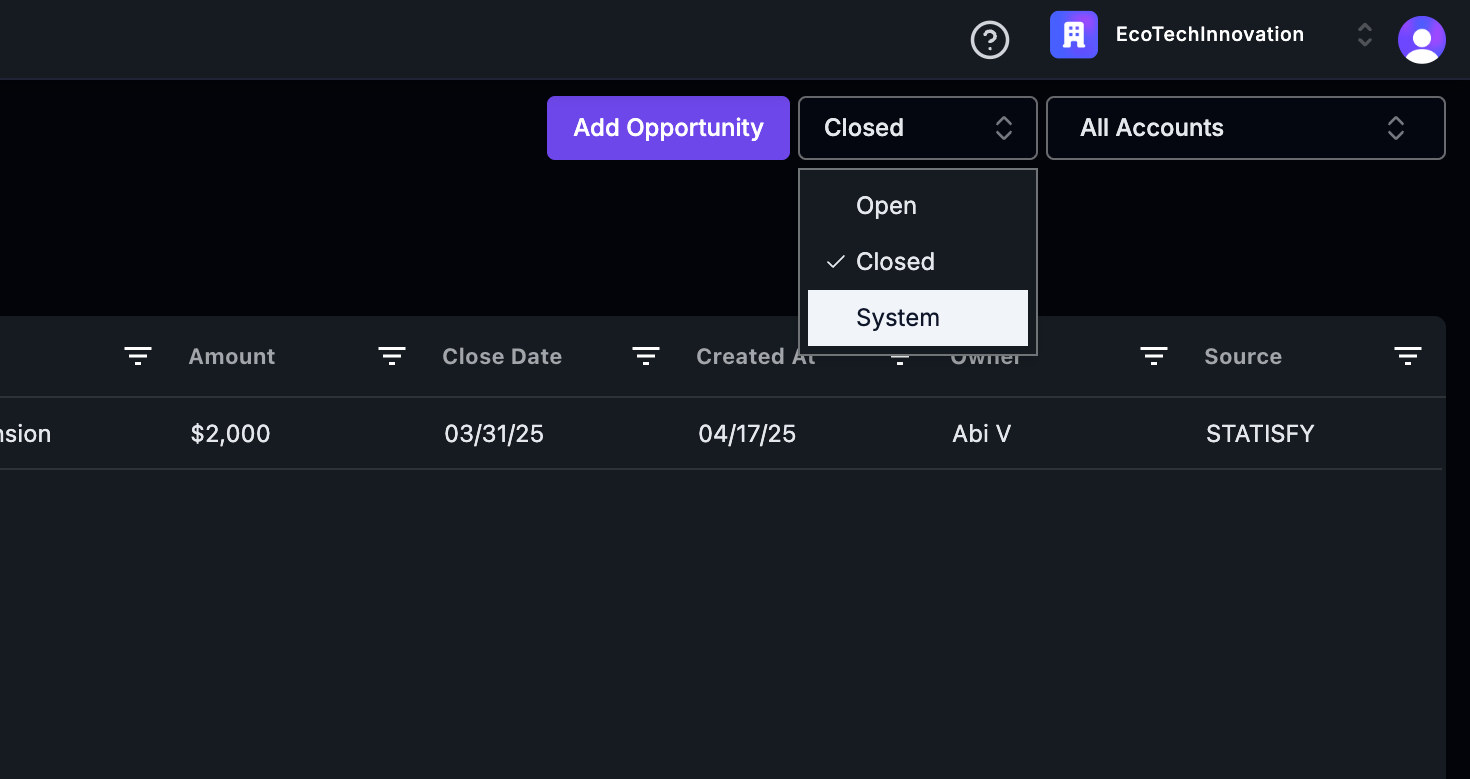
 Step 4: Switch to the ‘Closed’ view. This view displays two options: ‘Closed Won’ and ‘Closed Lost’. Currently, only ‘Closed Won’ data is available. As you gather more data, it will populate here. The top of the view shows the number of closed opportunities and their total value.
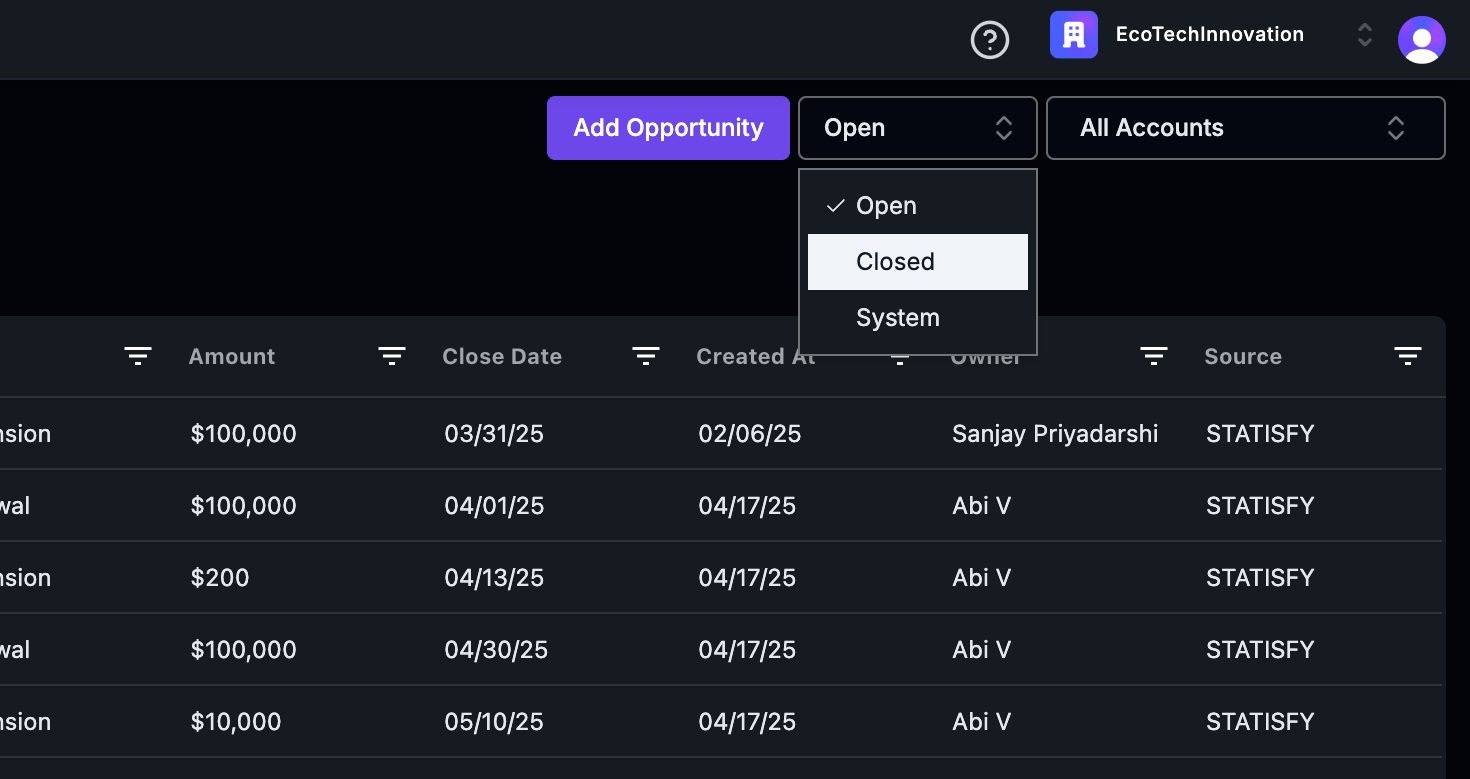
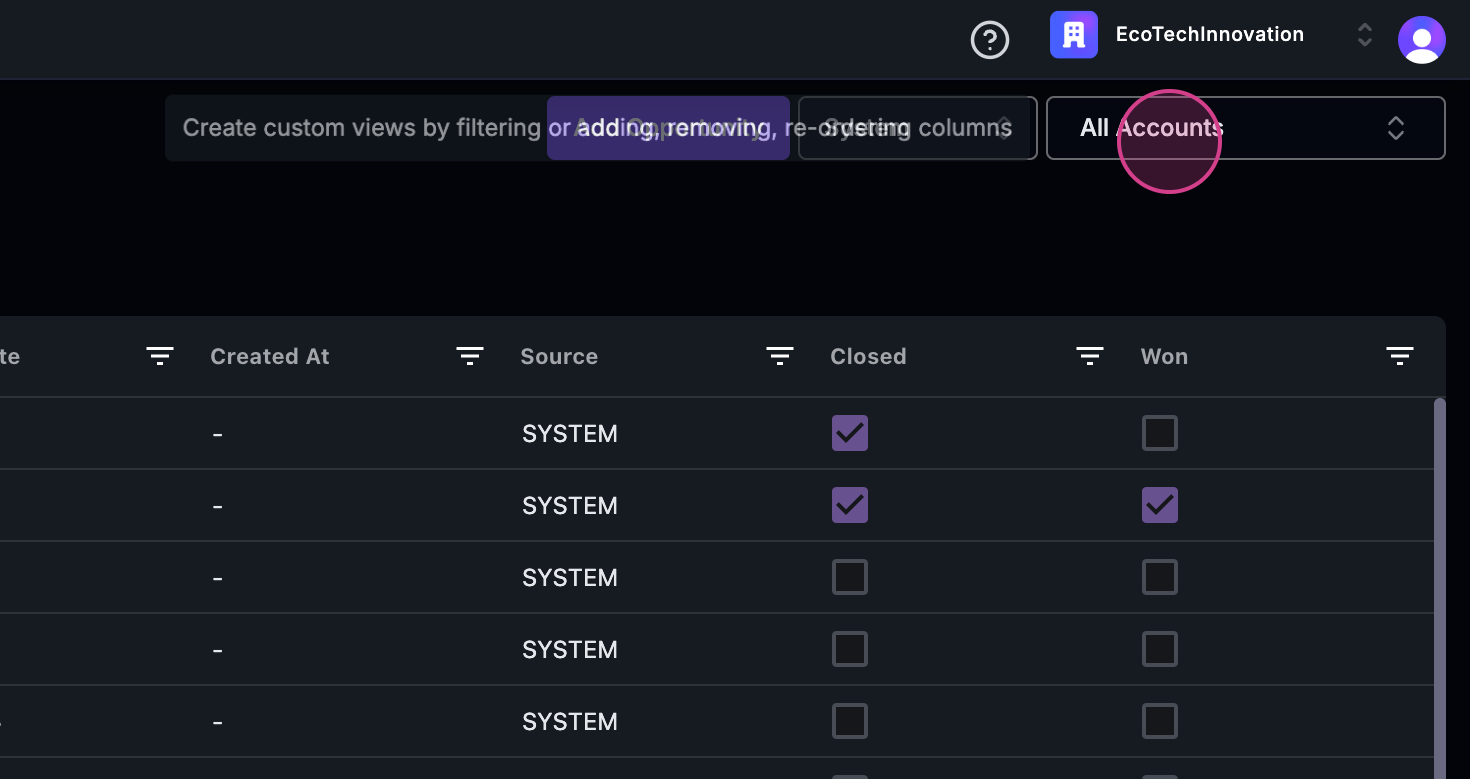
 Step 5: Finally, explore the ‘System Value’ view. This view creates an opportunity with an account link whenever an account has an upcoming renewal. The type will be marked as ‘Renewal’. The MRR value and Close date will be provided, but the Created date will be empty. The source will always be ‘System’. If the opportunity is closed, the checkbox will be checked. If the renewal has occurred, it will be checked here. The ‘Won’ status will also be checked.
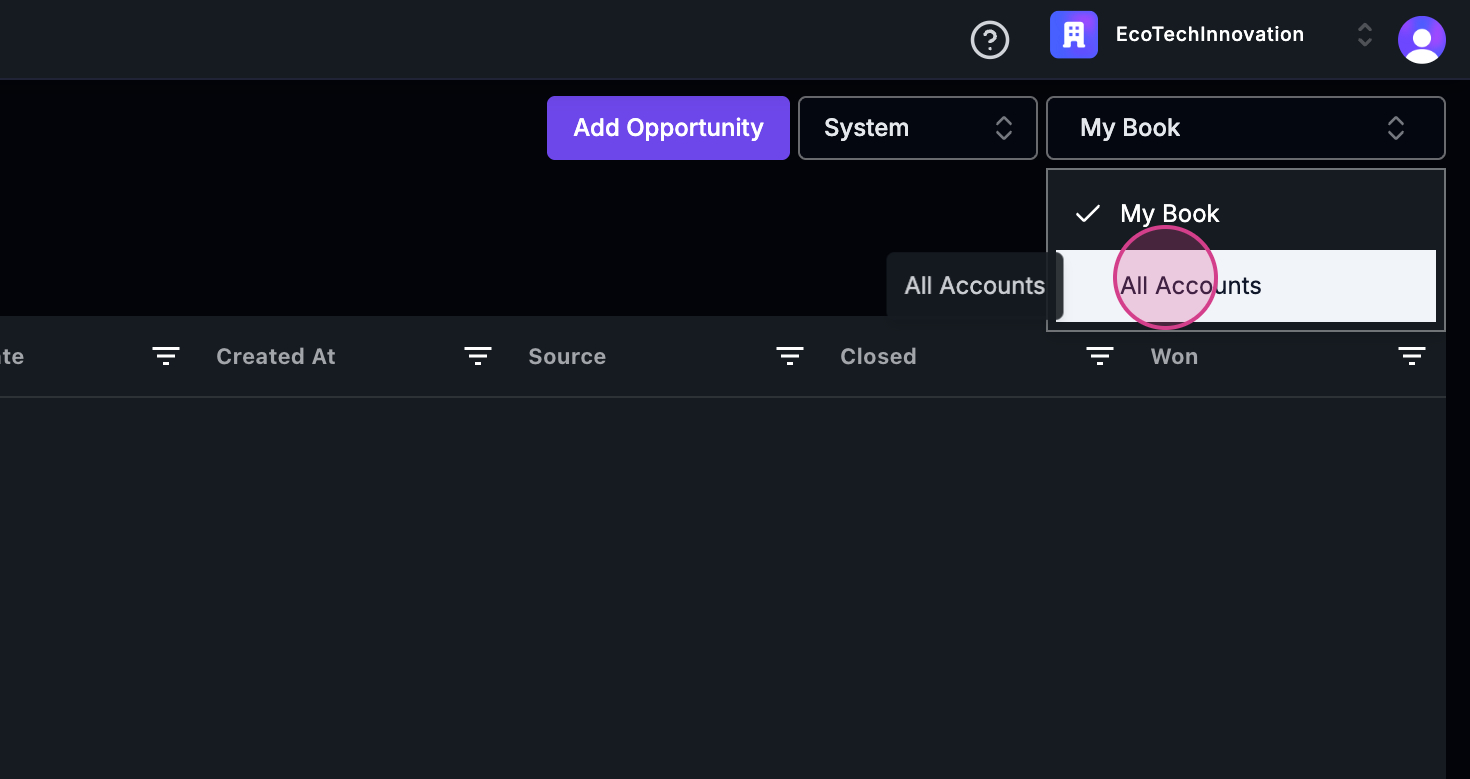
 Step 6: Understand that all CSMs have their own account books. Therefore, the ‘My Book’ view will be visible to the CSMs.
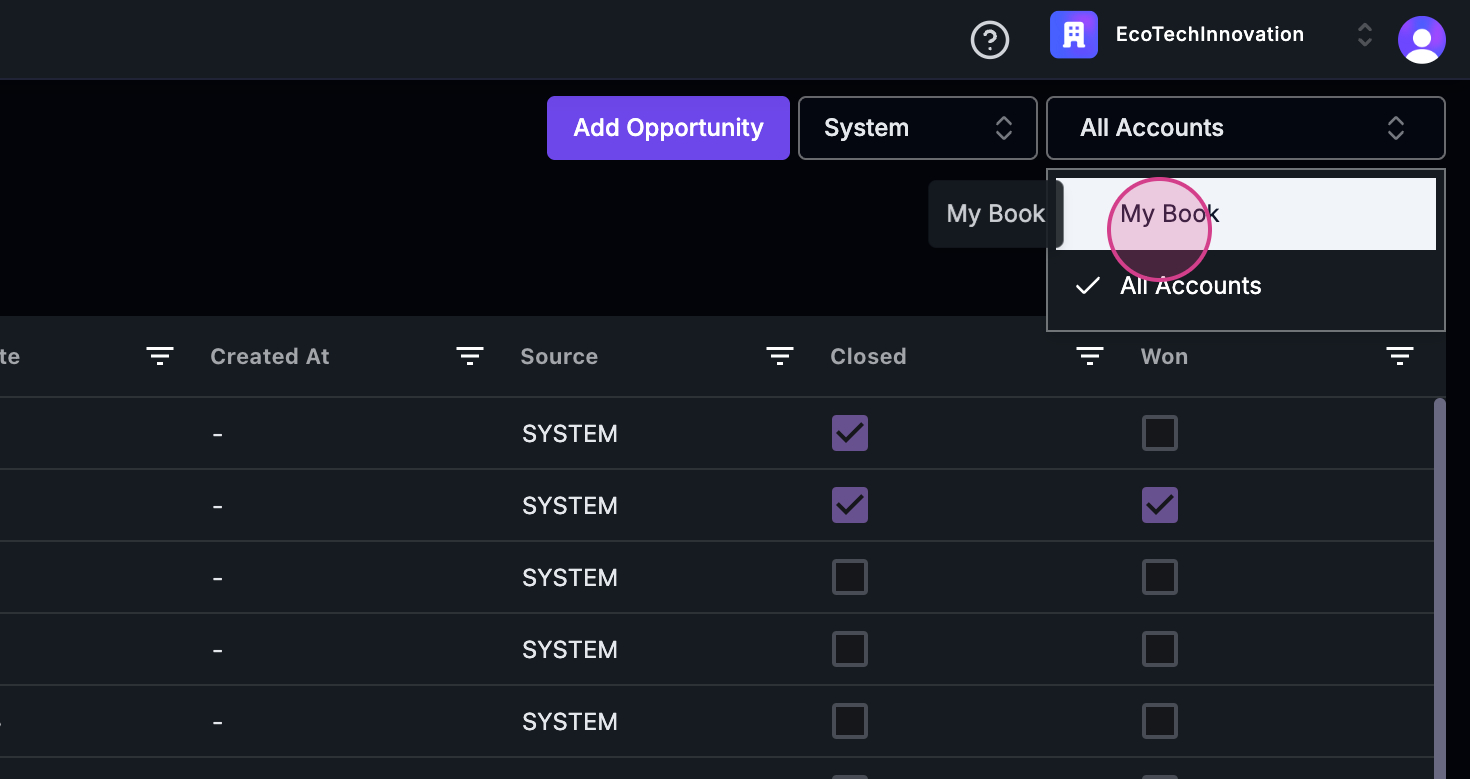 Step 7: If you’re an admin, you’ll see all the opportunities created in your book of accounts.
 By following these steps, you’ll gain a comprehensive understanding of the Opportunities Overview feature.
Cloning and Archiving Opportunities
Every row in the Opportunities table has an Actions column. Click the ⋯ (ellipsis) button on a row to open a menu with two options:- Clone — Opens the opportunity form pre-filled with a copy of the record so you can adjust the details and save it as a new opportunity. The copy’s name starts with Copy of followed by the original name, and it always starts as an open opportunity — even if the original was closed or won.
- Archive — Removes the opportunity from your active views. A confirmation dialog titled Archive Opportunity asks “Are you sure you want to archive…?” before anything happens; click Archive to confirm or Cancel to back out. On success, you’ll see a confirmation message and the record moves to the Archived view.
Archived Opportunities
Use the type selector at the top of the Opportunities page to switch between Open, Closed, System, and Archived views. The Archived view shows opportunities that are no longer active — either because you archived them in Statisfy using the Archive action described above, or because the source record was removed from your CRM. Statisfy keeps them so you retain historical context for pipeline reporting, prior renewals, and win/loss analysis.What You Can Do with Archived Opportunities
| Action | Available? |
|---|---|
| Open the record and view all fields, owner, stage history, and the linked account | Yes |
| Use them in dashboards and reports for historical analysis | Yes |
| Edit fields, change stage, or push changes back to your CRM | No — archived records are read-only |
| Restore manually from inside Statisfy | No — there’s no unarchive action, so confirm before you archive |
For CRM-synced opportunities, restoring the record upstream (e.g., un-deleting it in Salesforce or HubSpot) automatically moves the Statisfy opportunity back into its original view (Open / Closed / System) on the next sync. Opportunities created in Statisfy and archived manually have no CRM record to restore from — if you need the record again, clone it before archiving or recreate it.
Exporting Opportunities
Click Export Table above the opportunities list to download what you’re looking at as a CSV file.- The export matches the view you’re on. If the type selector is set to Open, you get open opportunities; switch to Closed, System, or Archived to export those instead.
- Your column choices carry over — the file contains the columns currently shown in the table.
- Stage names are readable. The Stage column exports the friendly stage labels you see on screen (e.g., Closed Won), not internal codes.