Video Tutorial
In this tutorial, you’ll learn about the structure and functionality of the account page in Statisfy. This will help you understand how to navigate and use the page effectively. Step 1: Start by landing on the account page. Here, you’ll first encounter the AI Hub. This section displays all the major account details, which can be configured by an admin. The details might be a mix of fields from Statisfy, CRM, or other sources.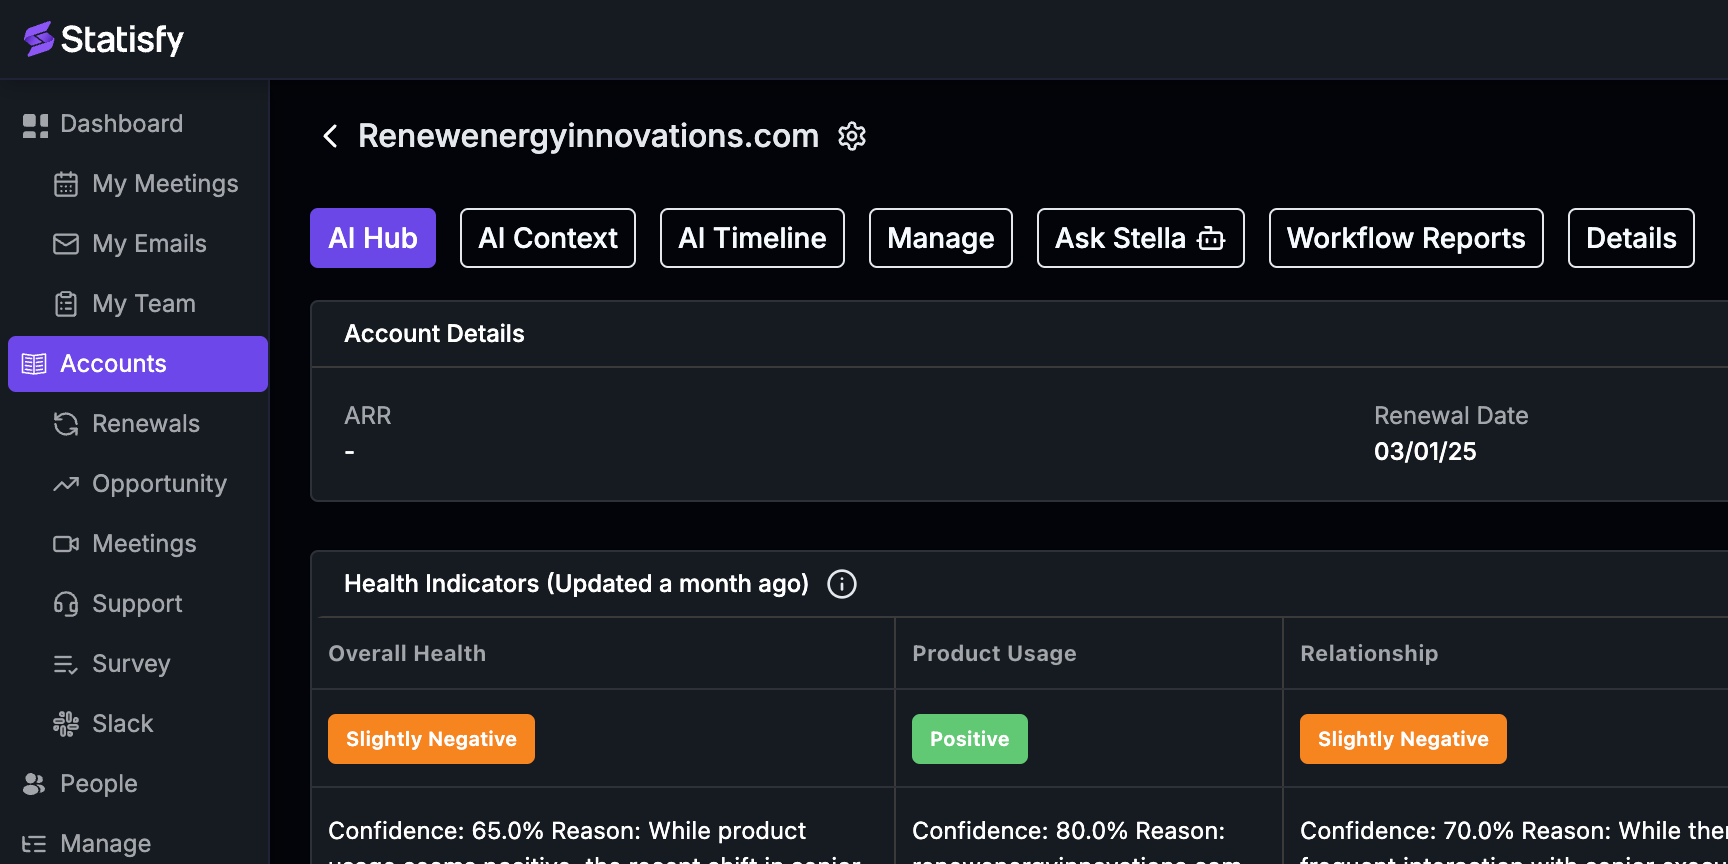 Step 2: Next, observe the health indicator widget. This provides an AI-generated overall health status of the account. For a more detailed explanation of the health indicator, refer to our separate guide.
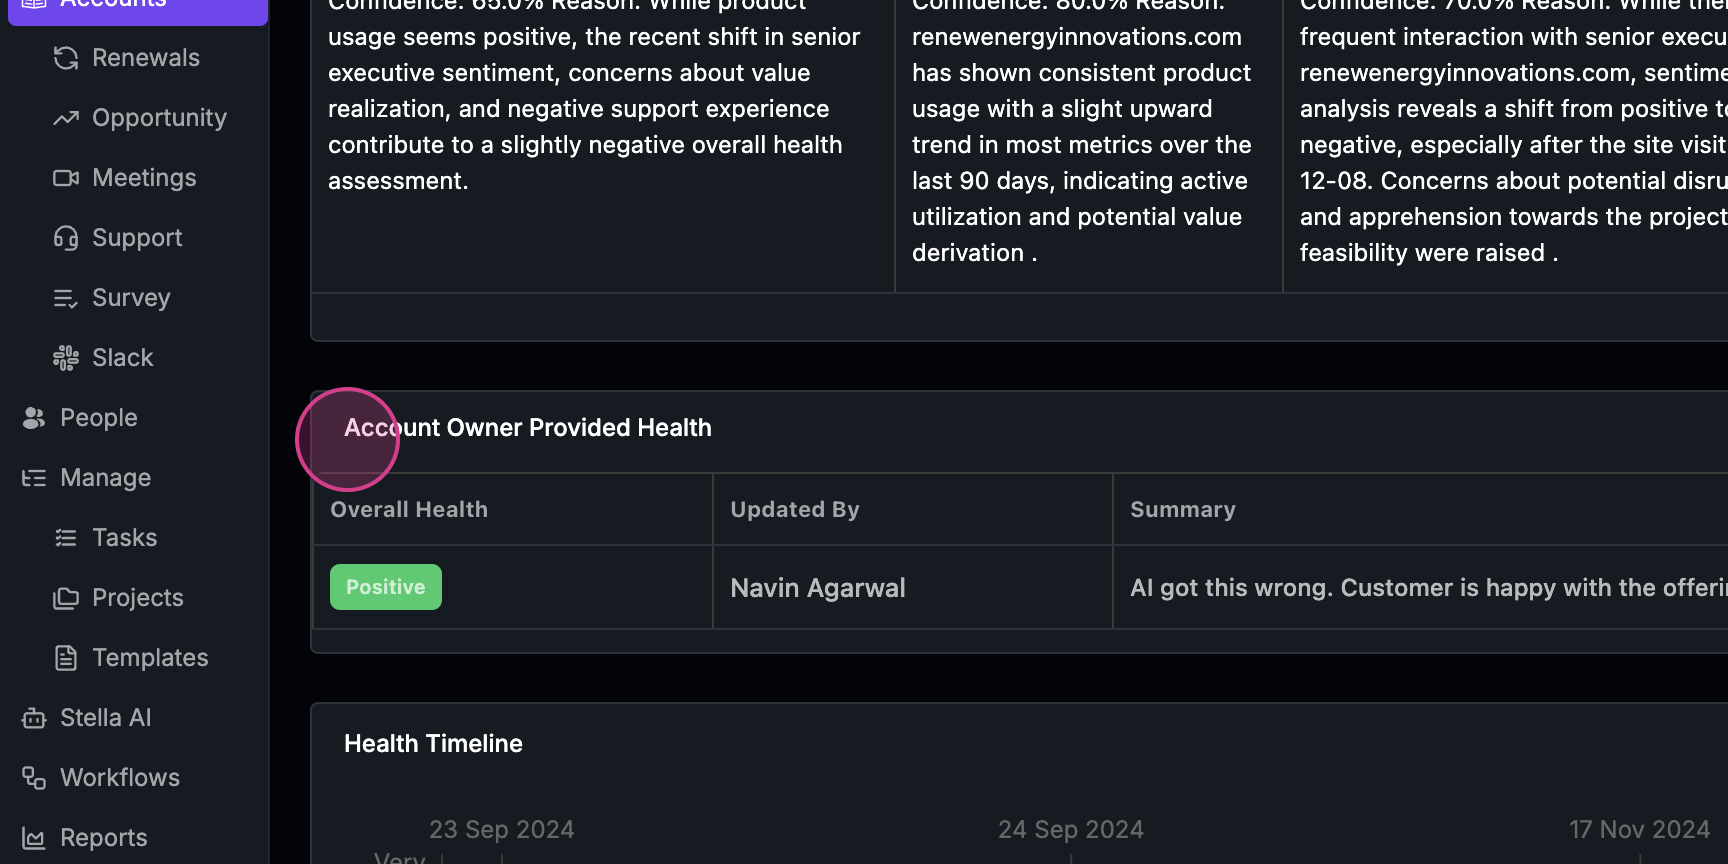
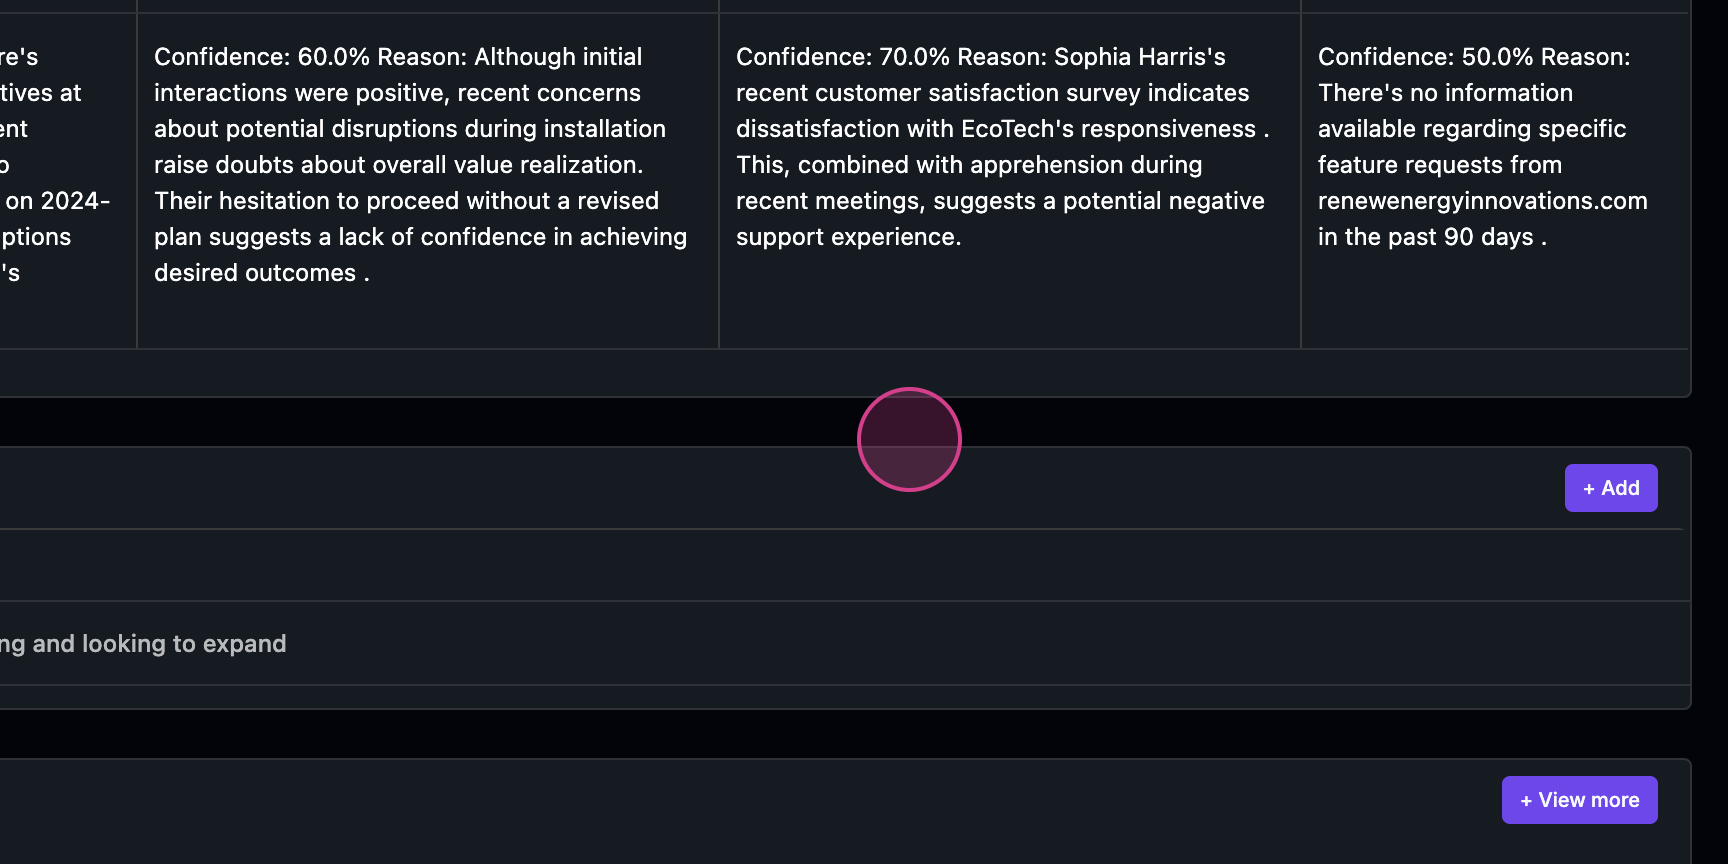
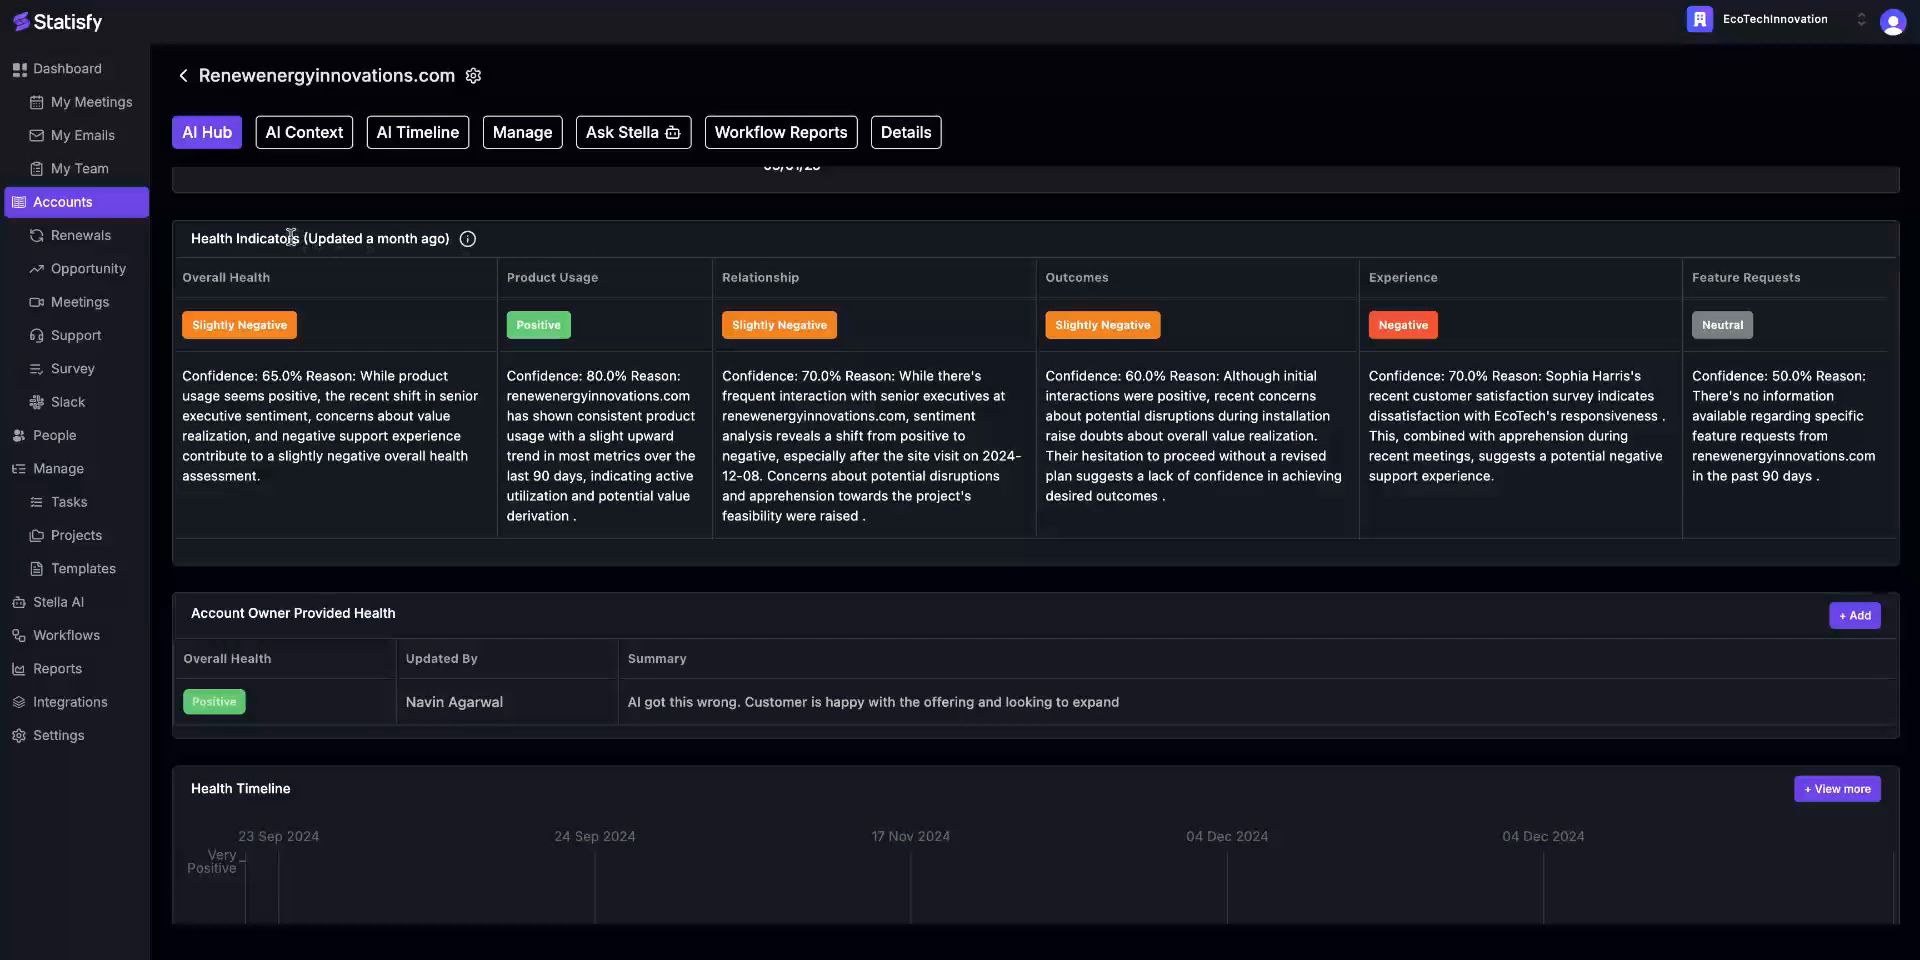 Step 3: Look for another widget where the account owner can provide help by clicking on the add button.
 Step 4: Check out the health timeline. This shows how the health of the account has been trending over time.
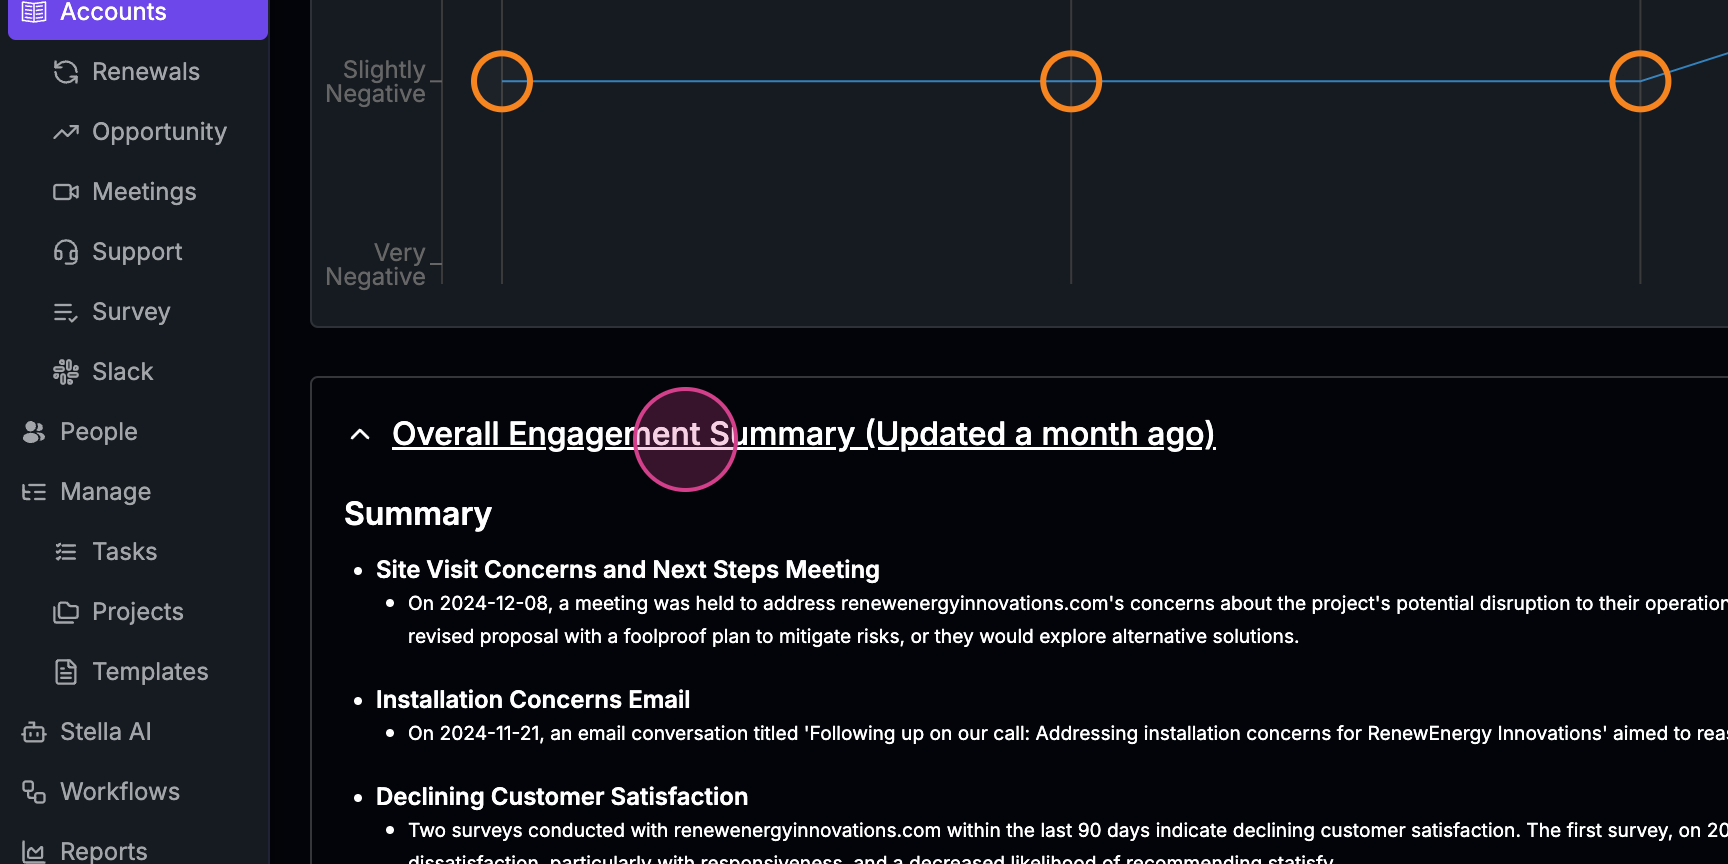
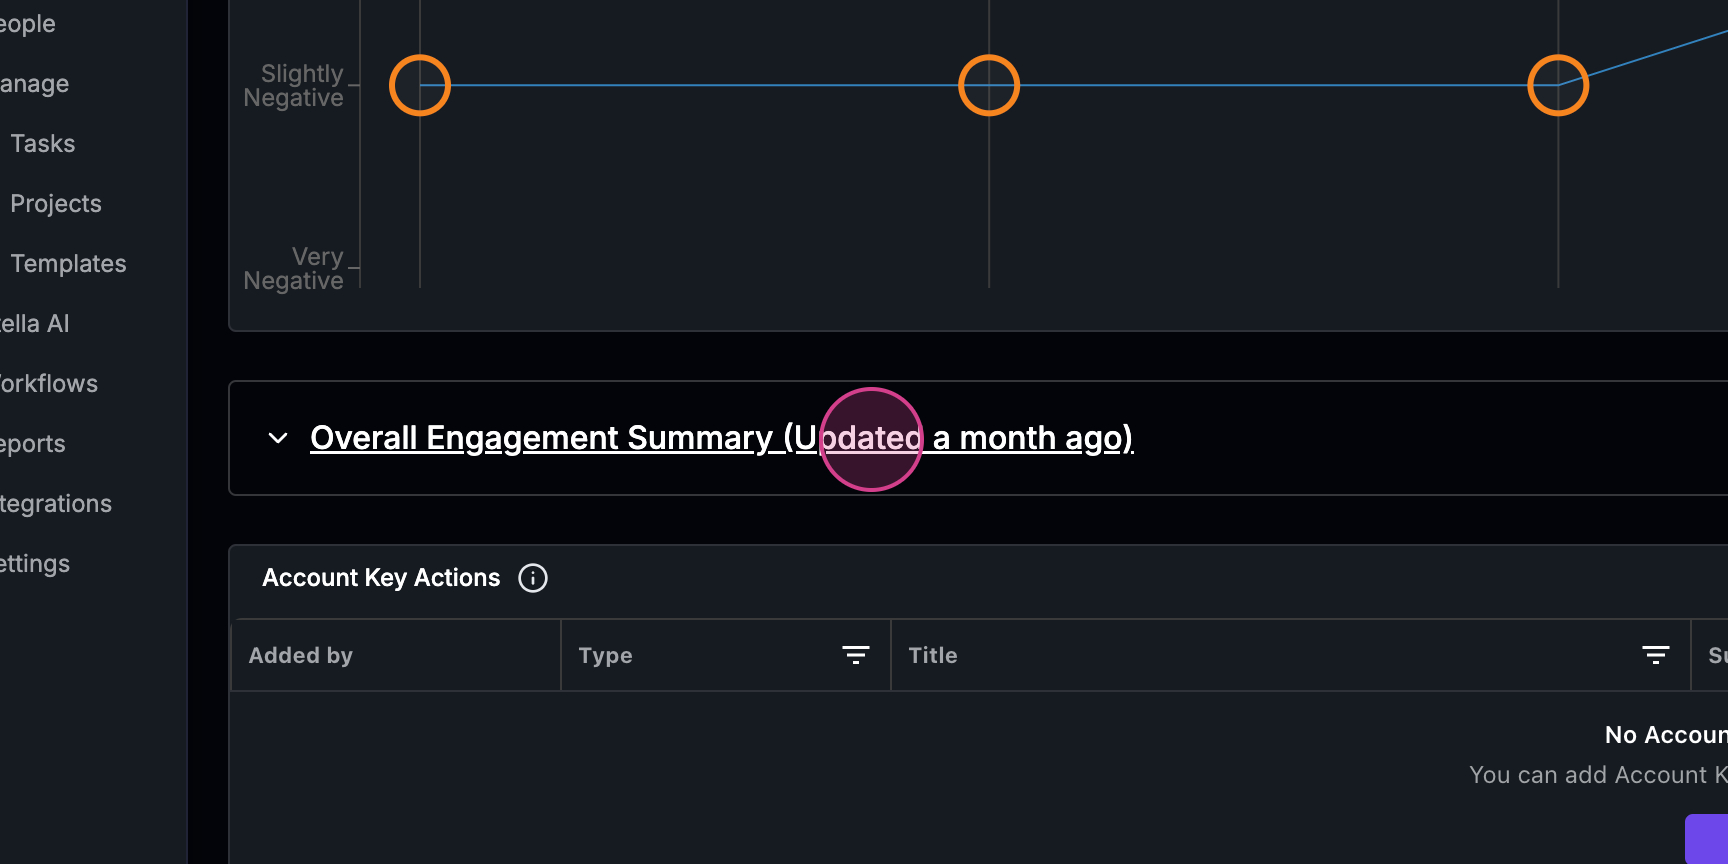 Step 5: Review the overall engagement summary. This section summarizes the engagement that’s been happening with the account.
 Step 6: Pay attention to the key actions section. It suggests what actions should be taken for this account, such as a key next step, an expansion, or a risk associated with the account.
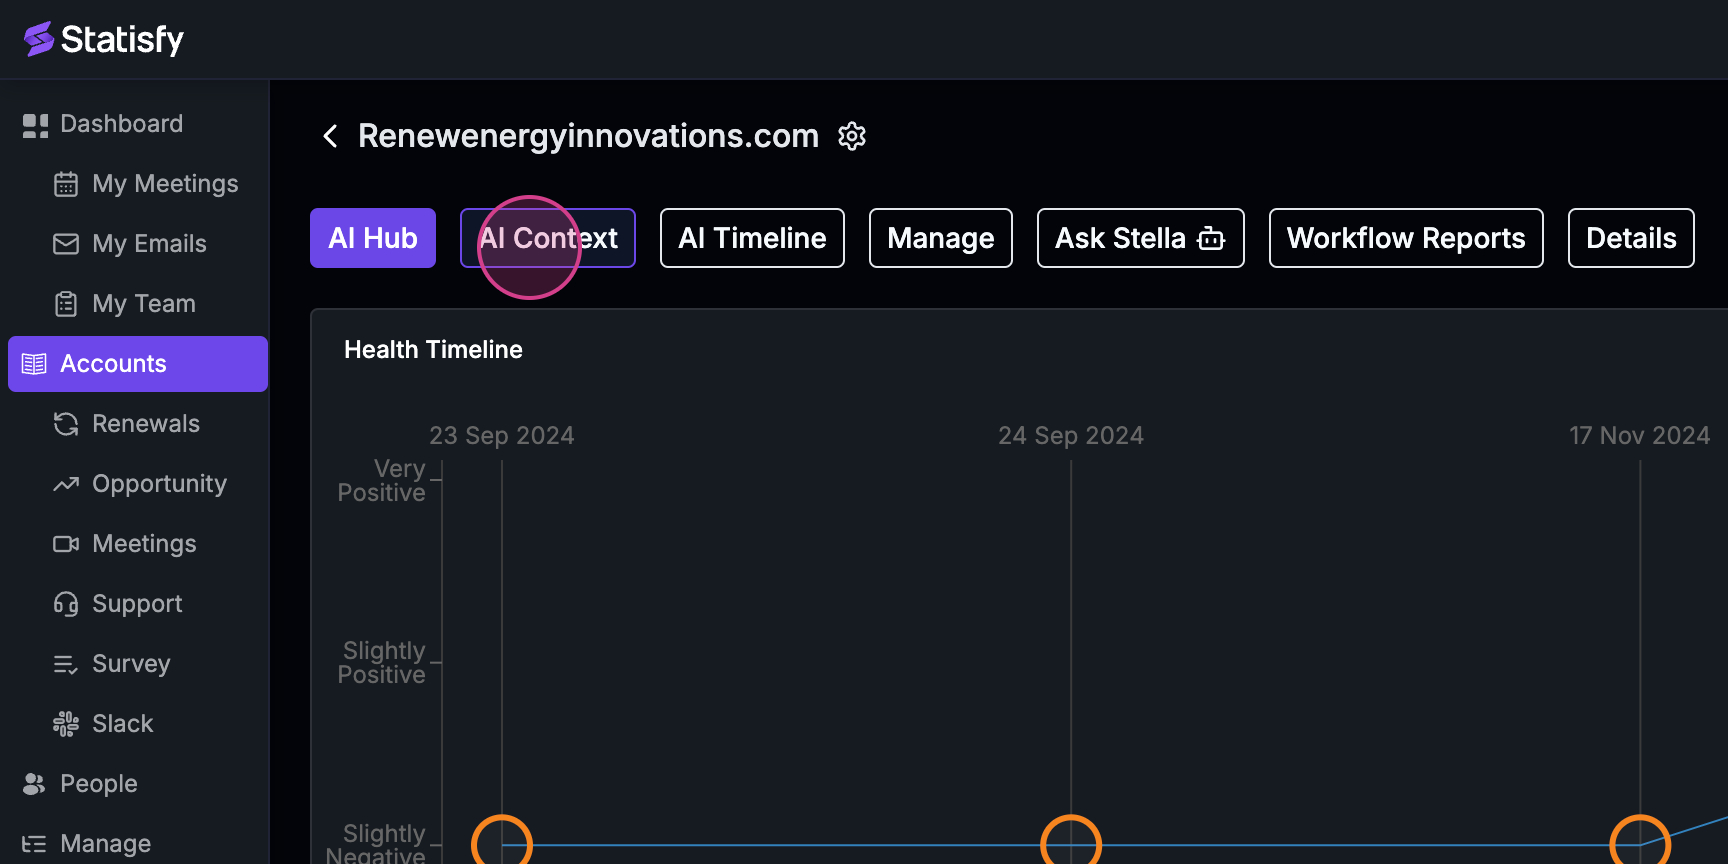 Step 7: Dive into the AI context. This section provides in-depth details about what’s happening with the account, summarizing all the engagements, product usage, and stakeholder relationships.
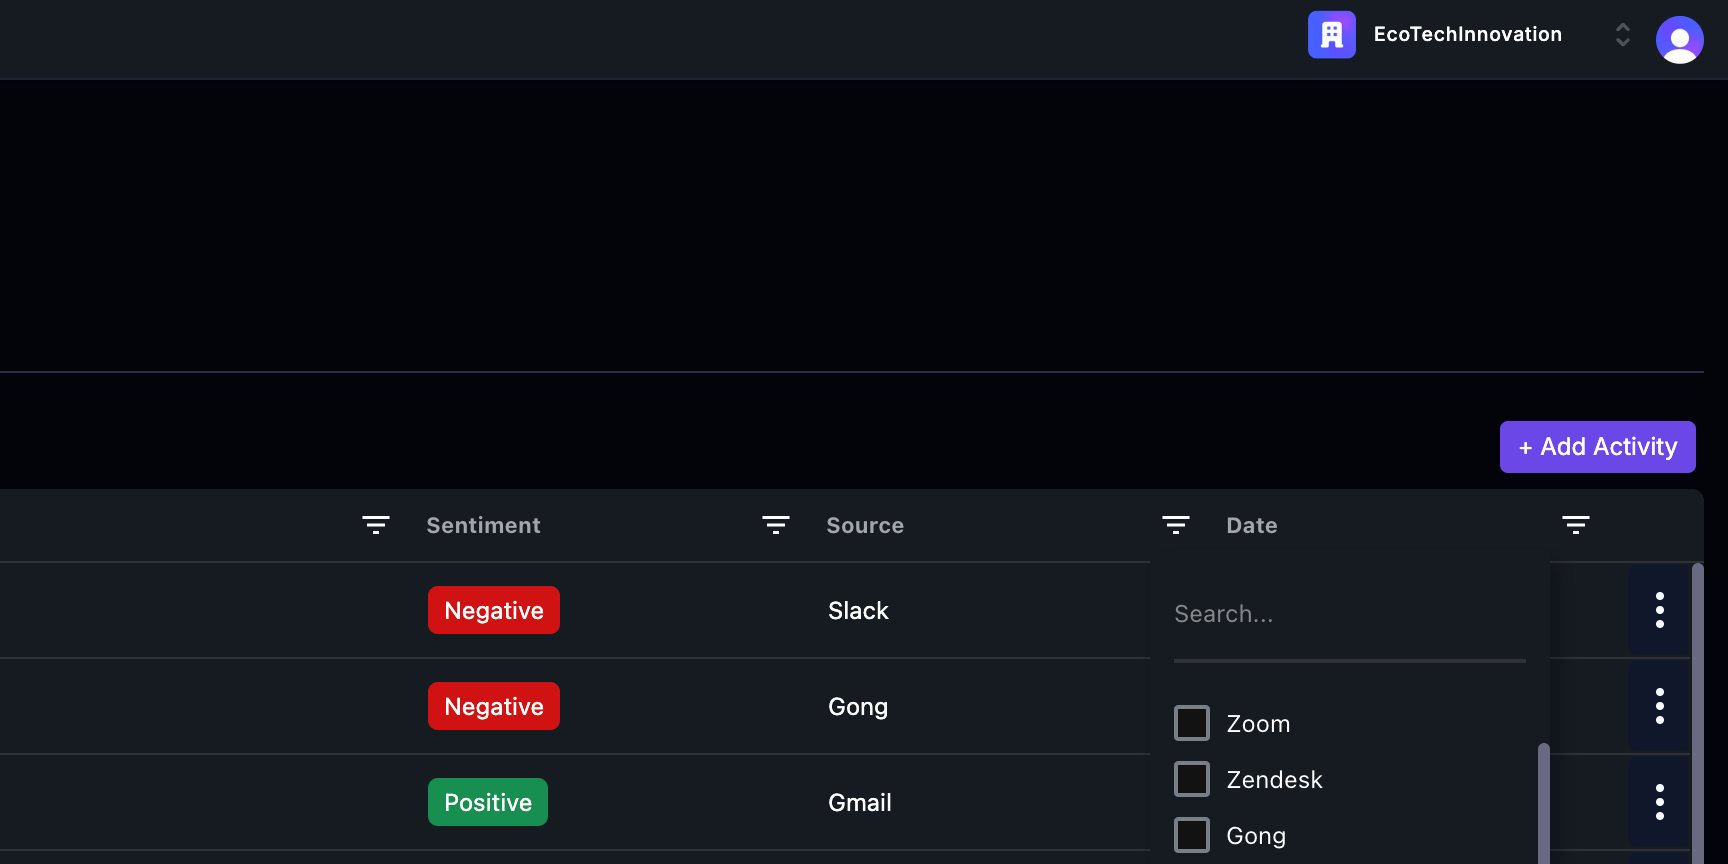
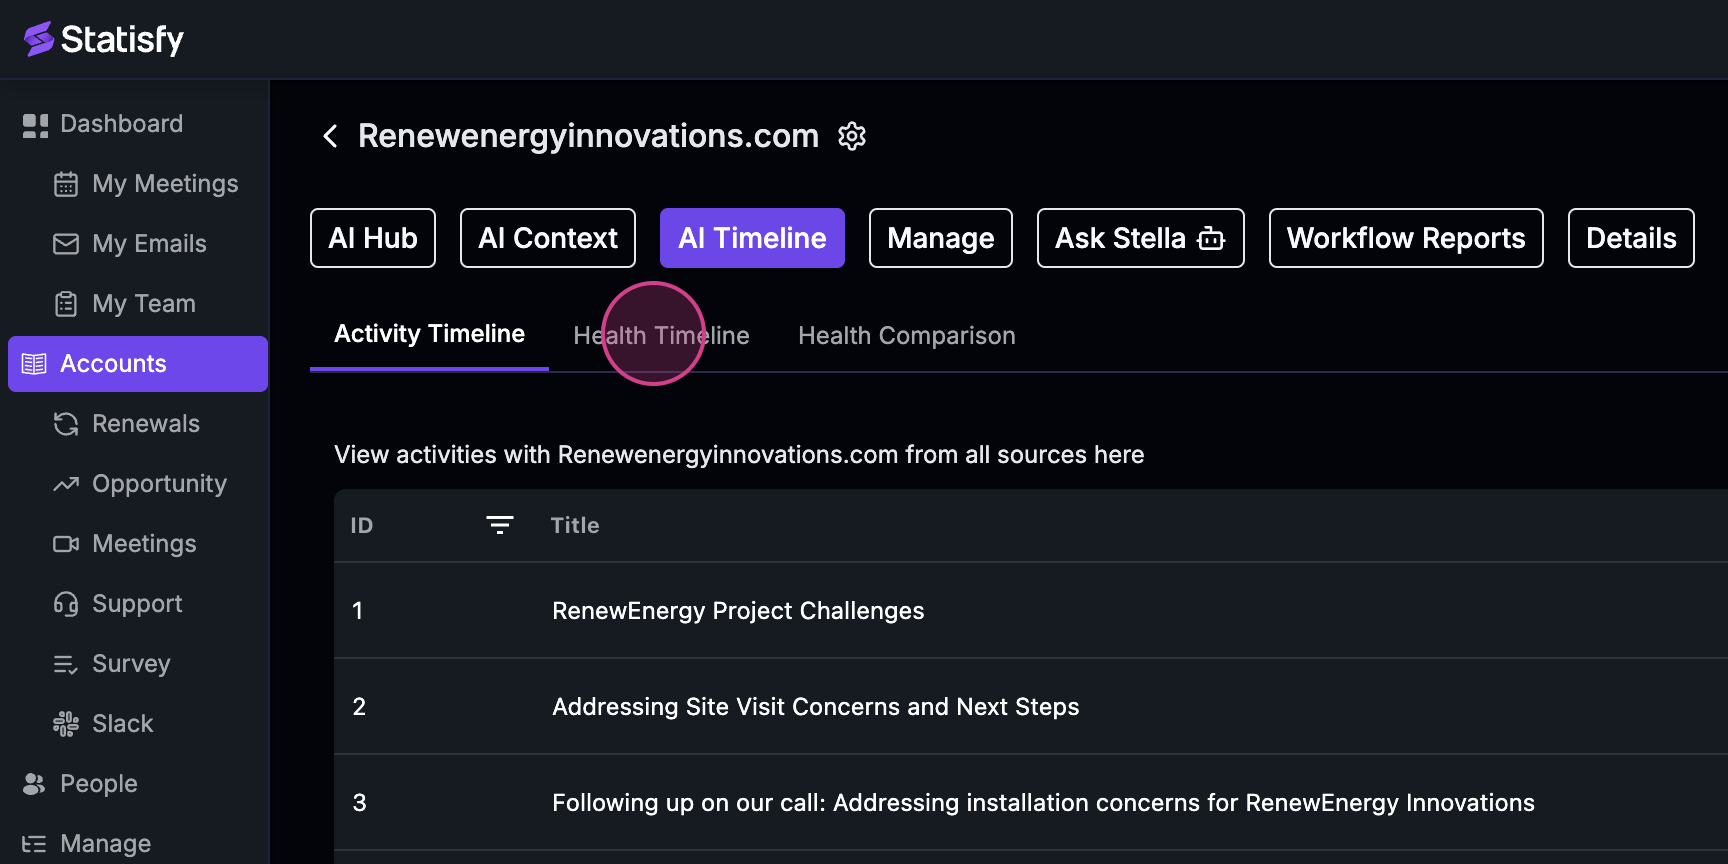
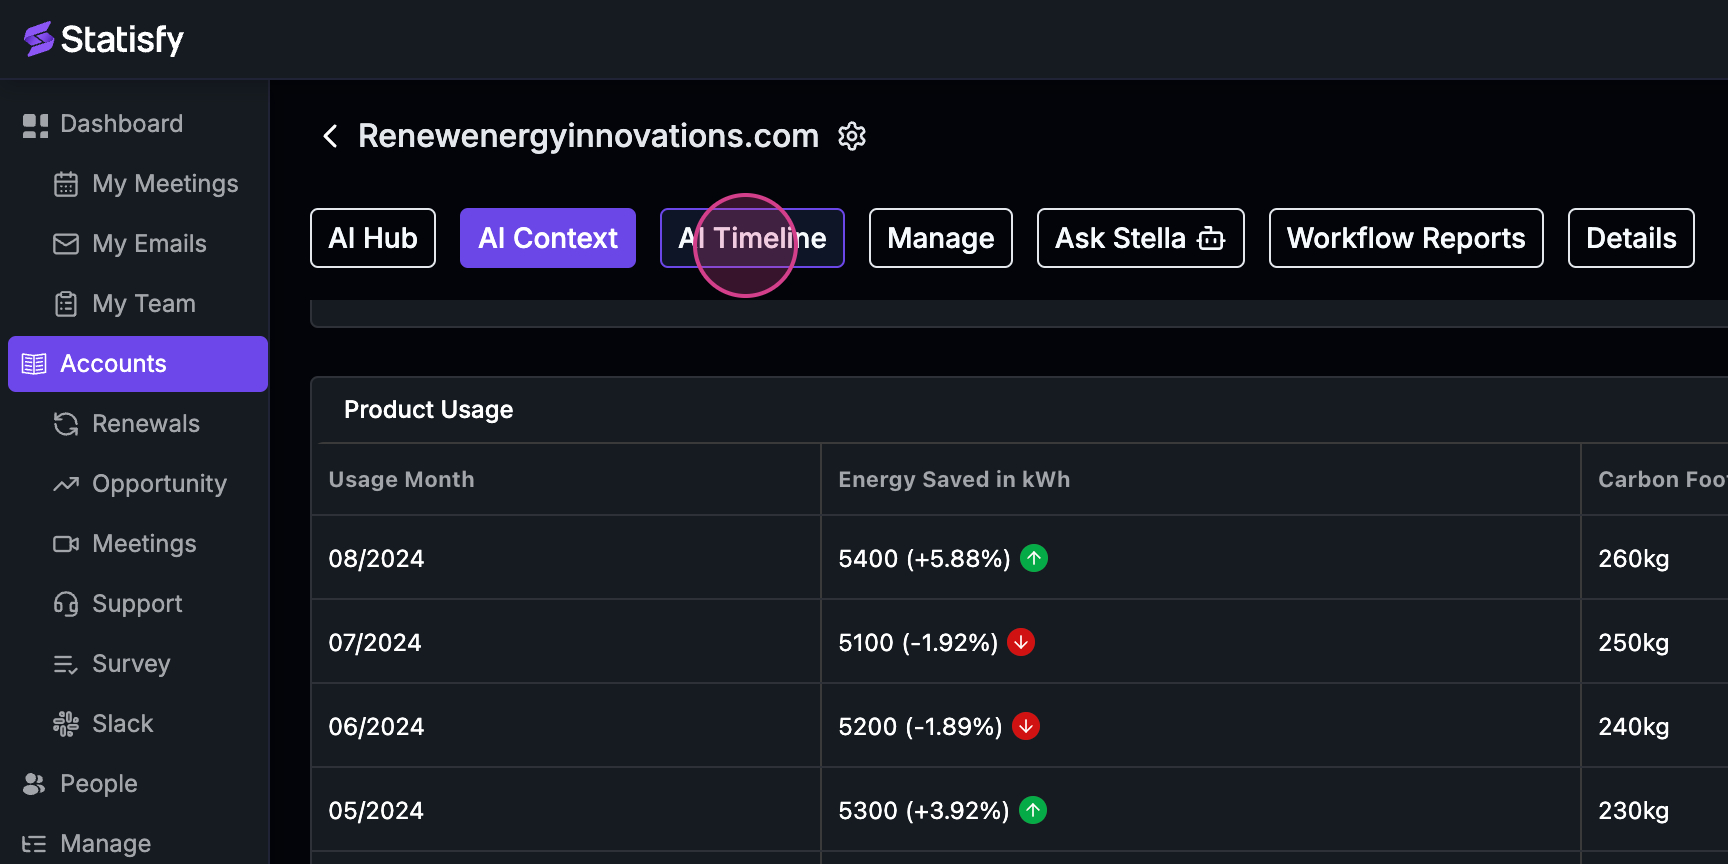 Step 8: Explore the AI timeline. Statisfy automatically tracks all the engagements with the account, which could be through various sources like Zoom meetings, support tickets, third-party conversation intelligence tools, surveys, emails, or Slack conversations.

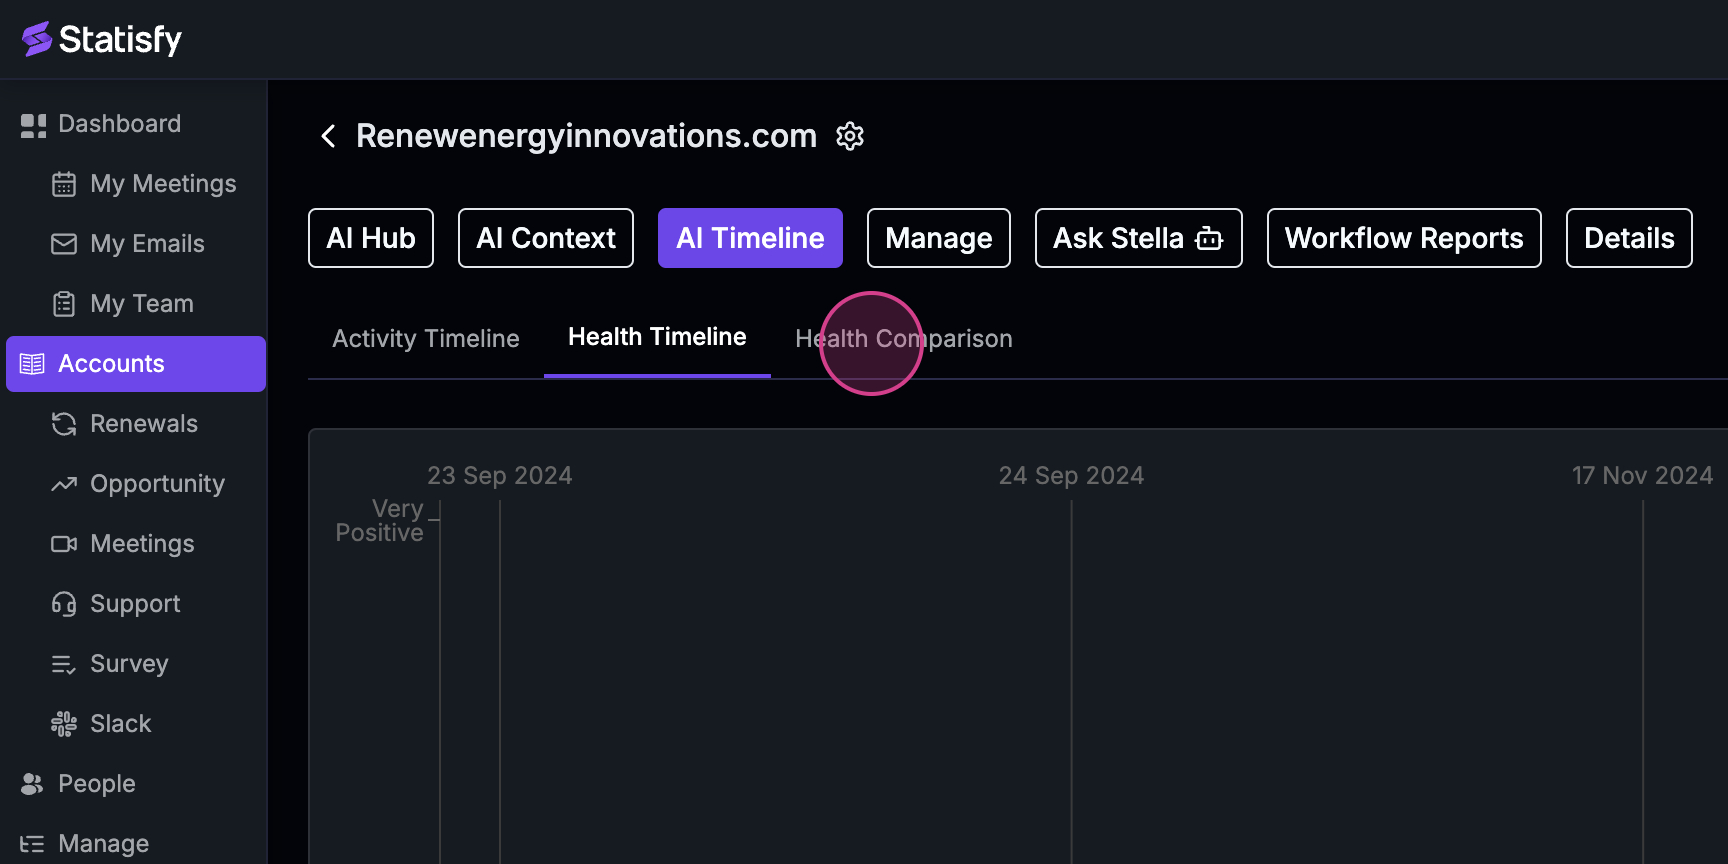
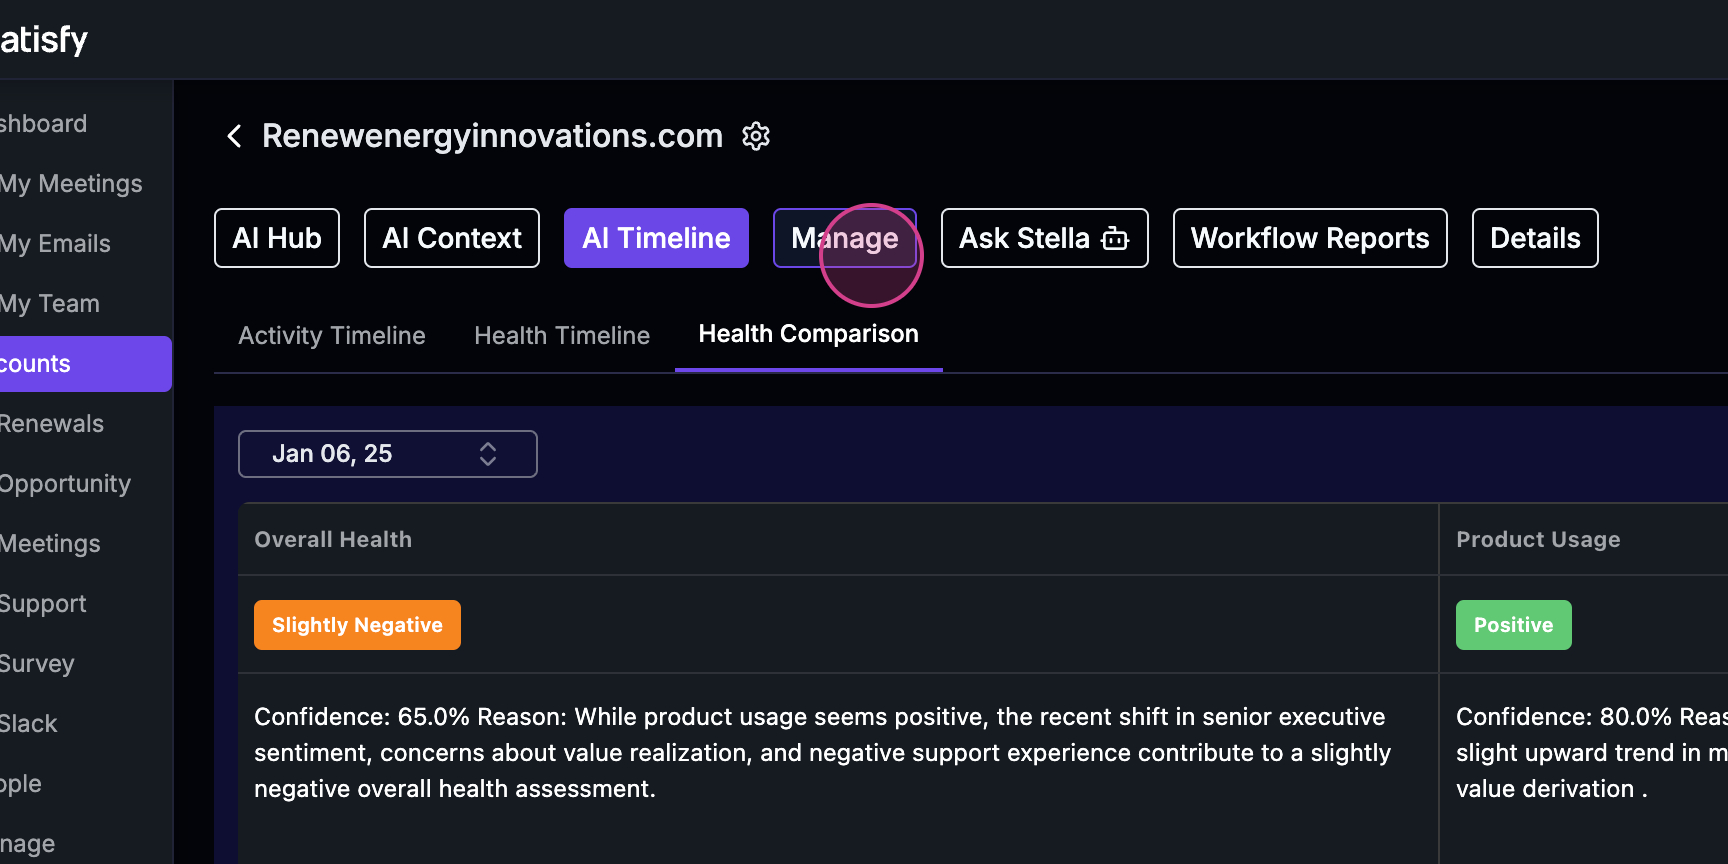
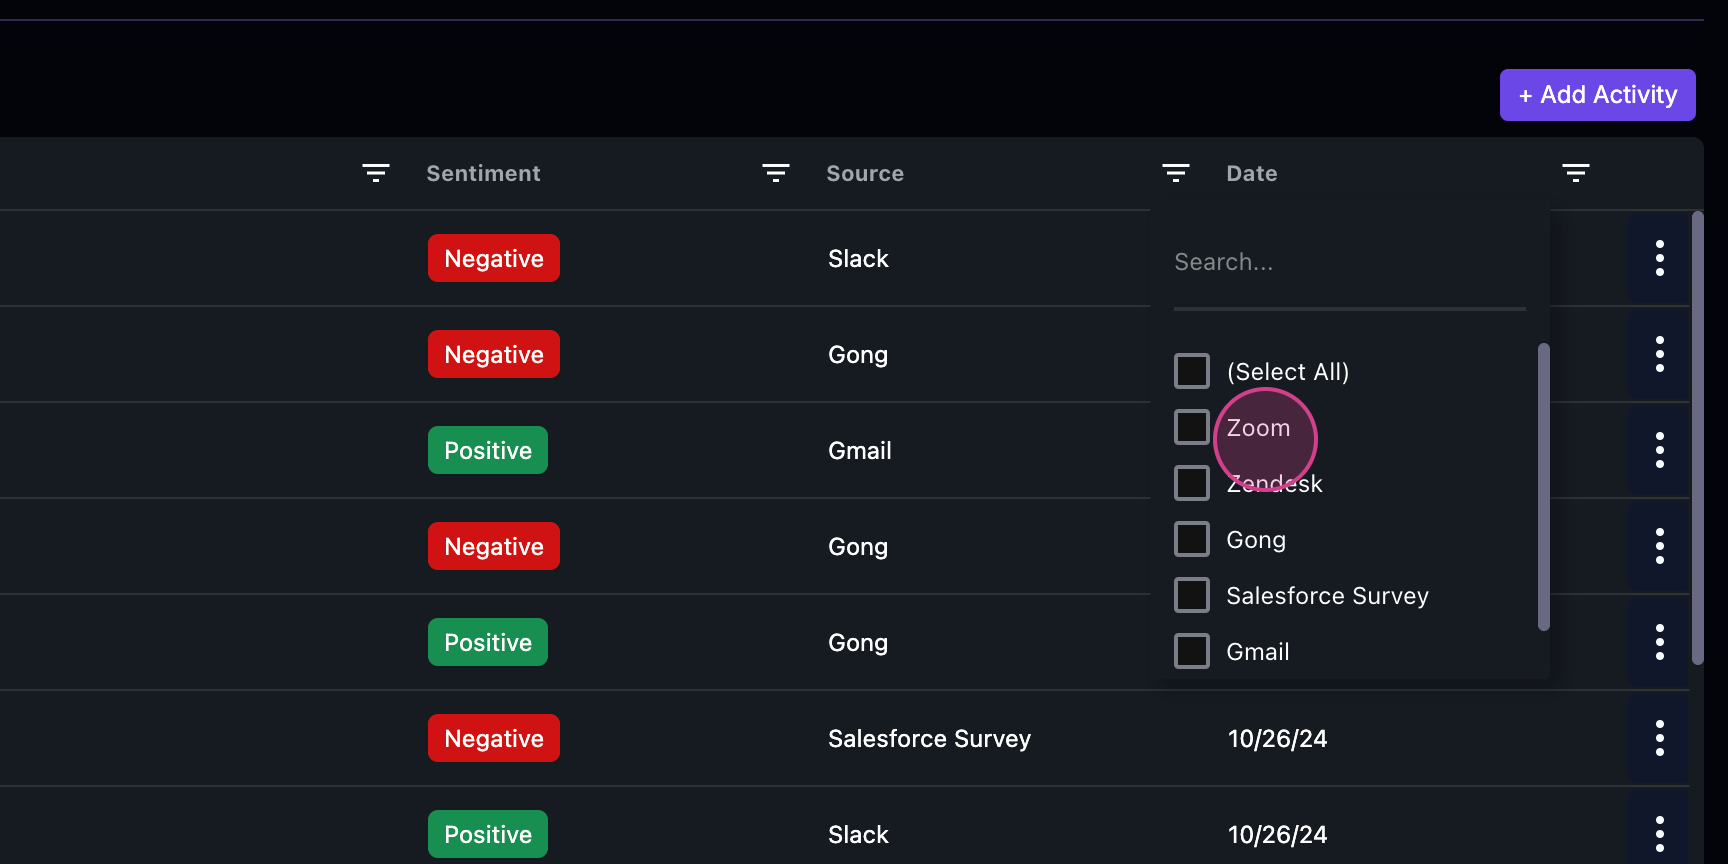 Step 9: Statisfy aggregates all this information into a single timeline view. Here, you’ll see a detailed version of the health timeline and a health comparison view to compare two health data points.
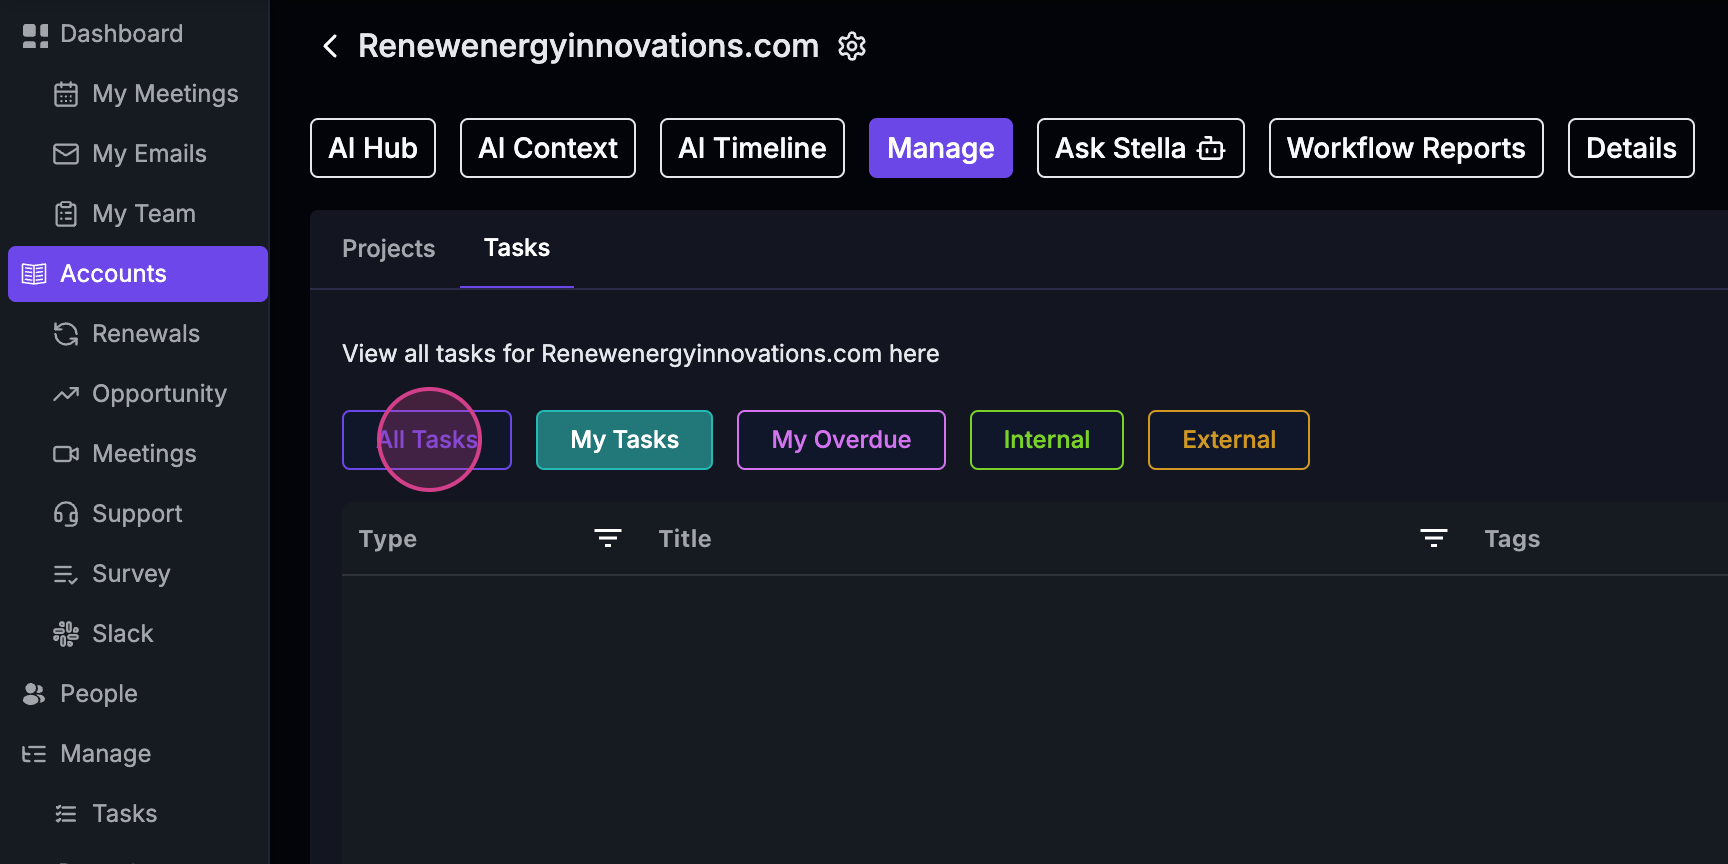
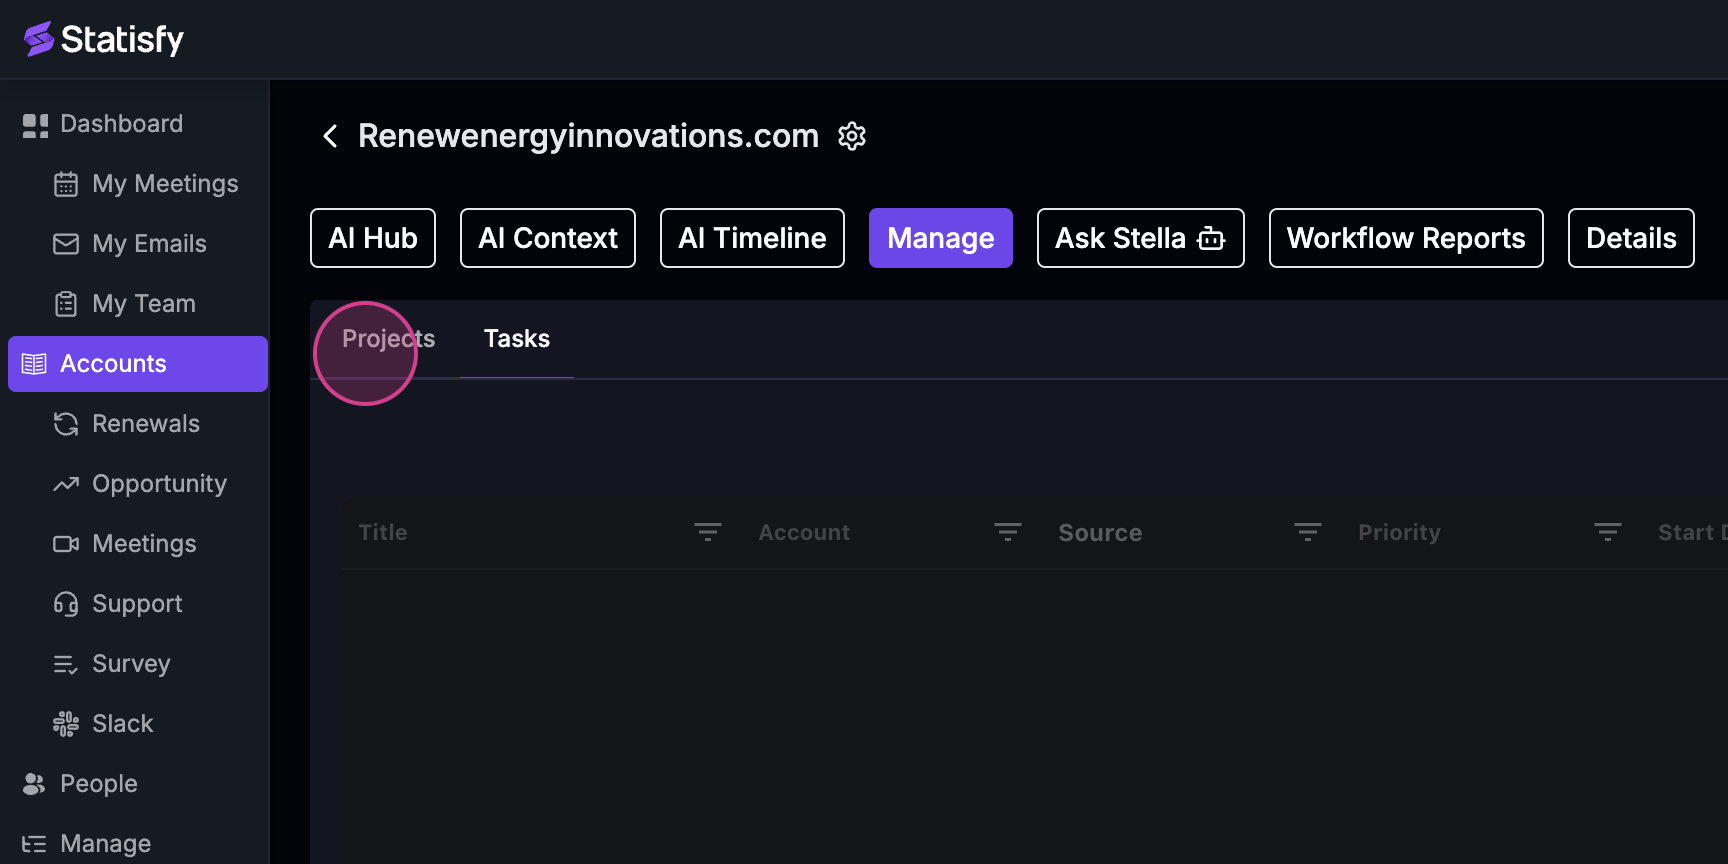
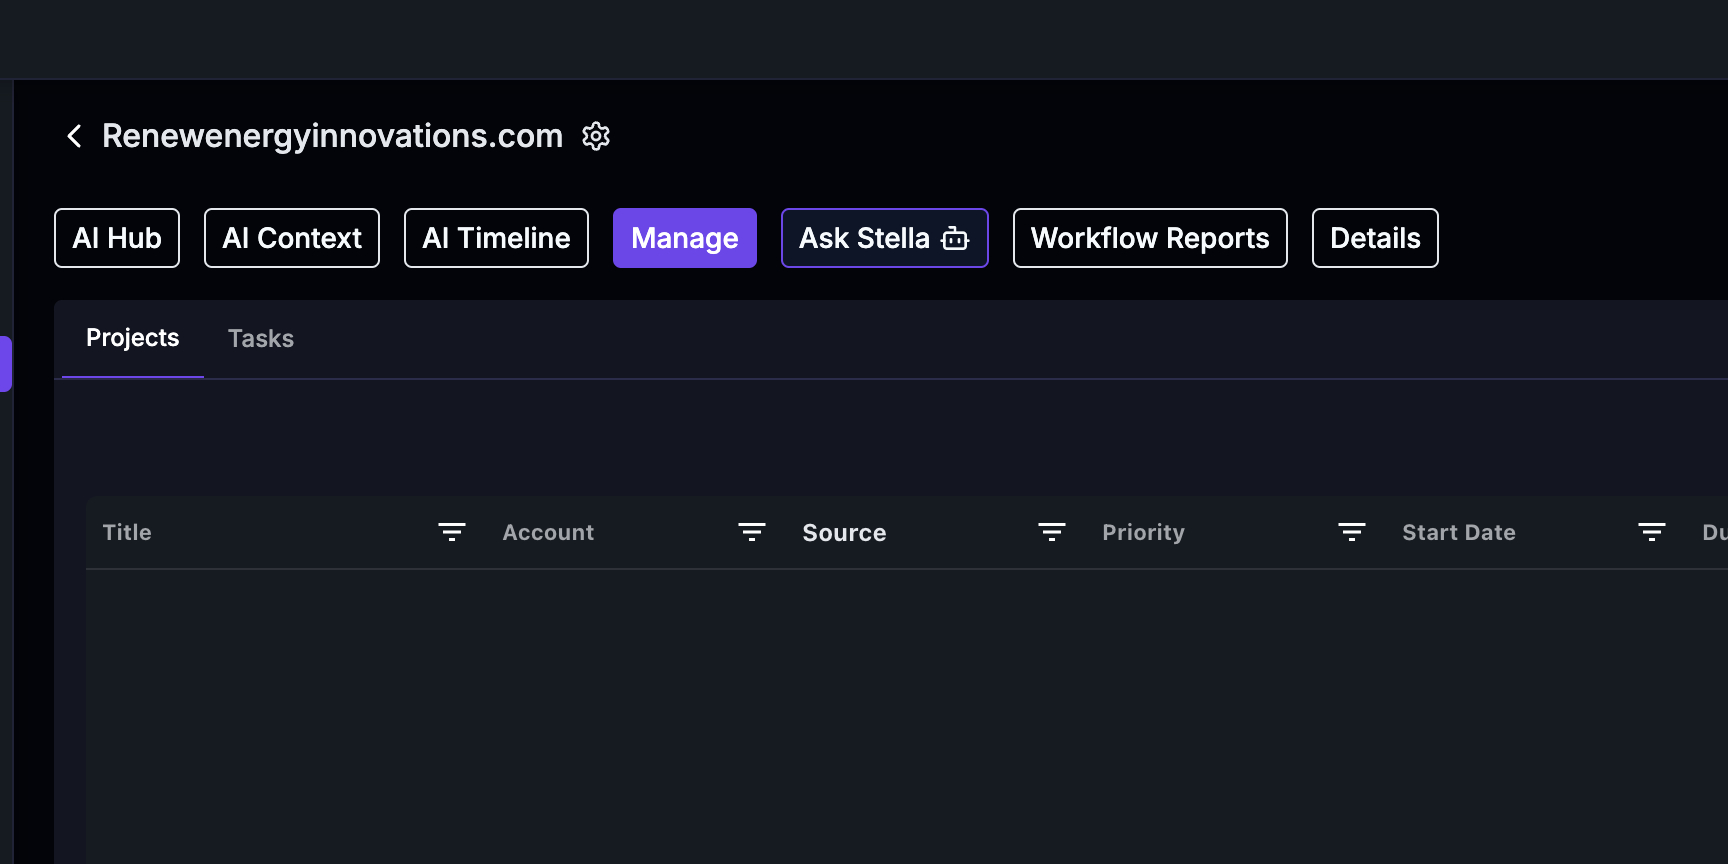
 Step 10: Check out the Manage tab. This section displays all the tasks and projects associated with the account, helping you stay organized and track progress effectively.
 Step 11: Use the Ask Stella feature, an AI-powered conversational interface, to ask any questions related to the account.
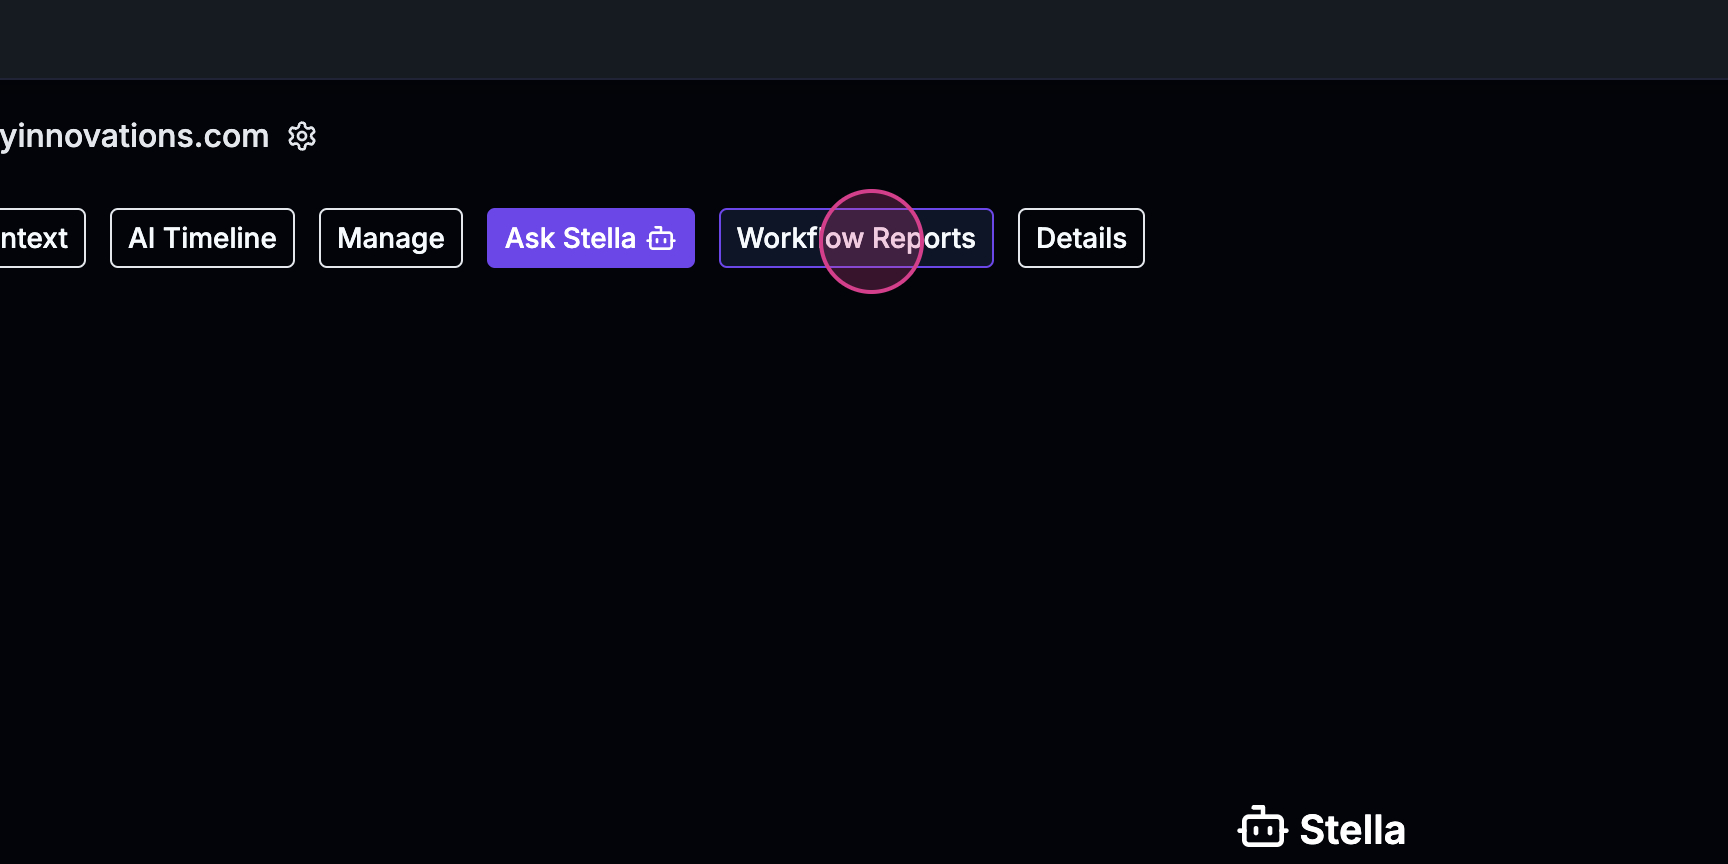
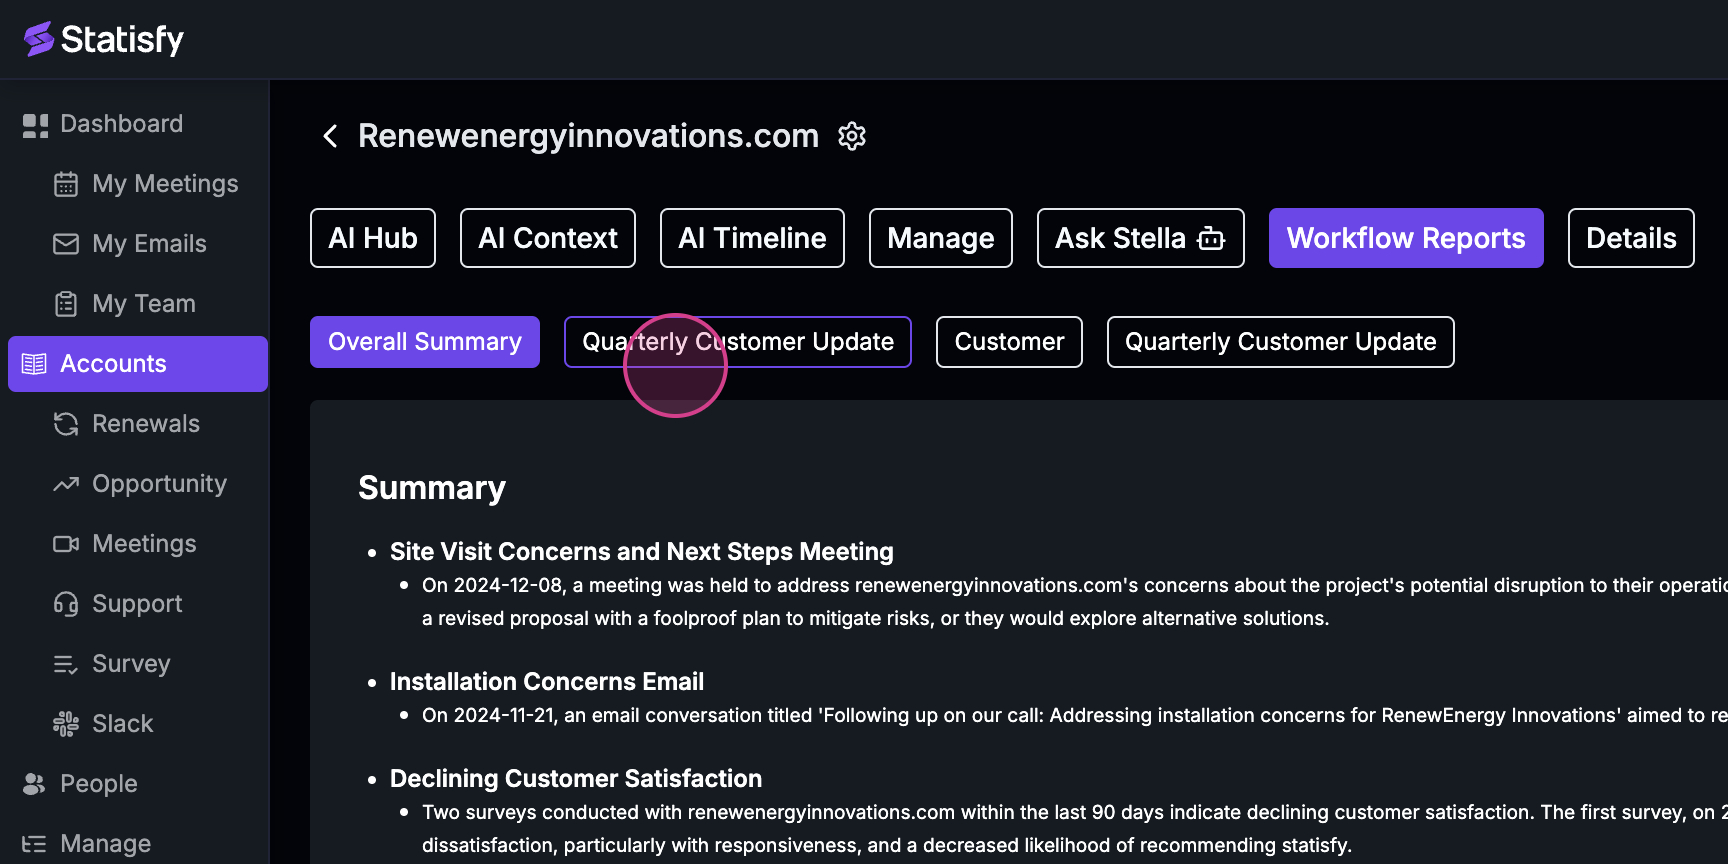
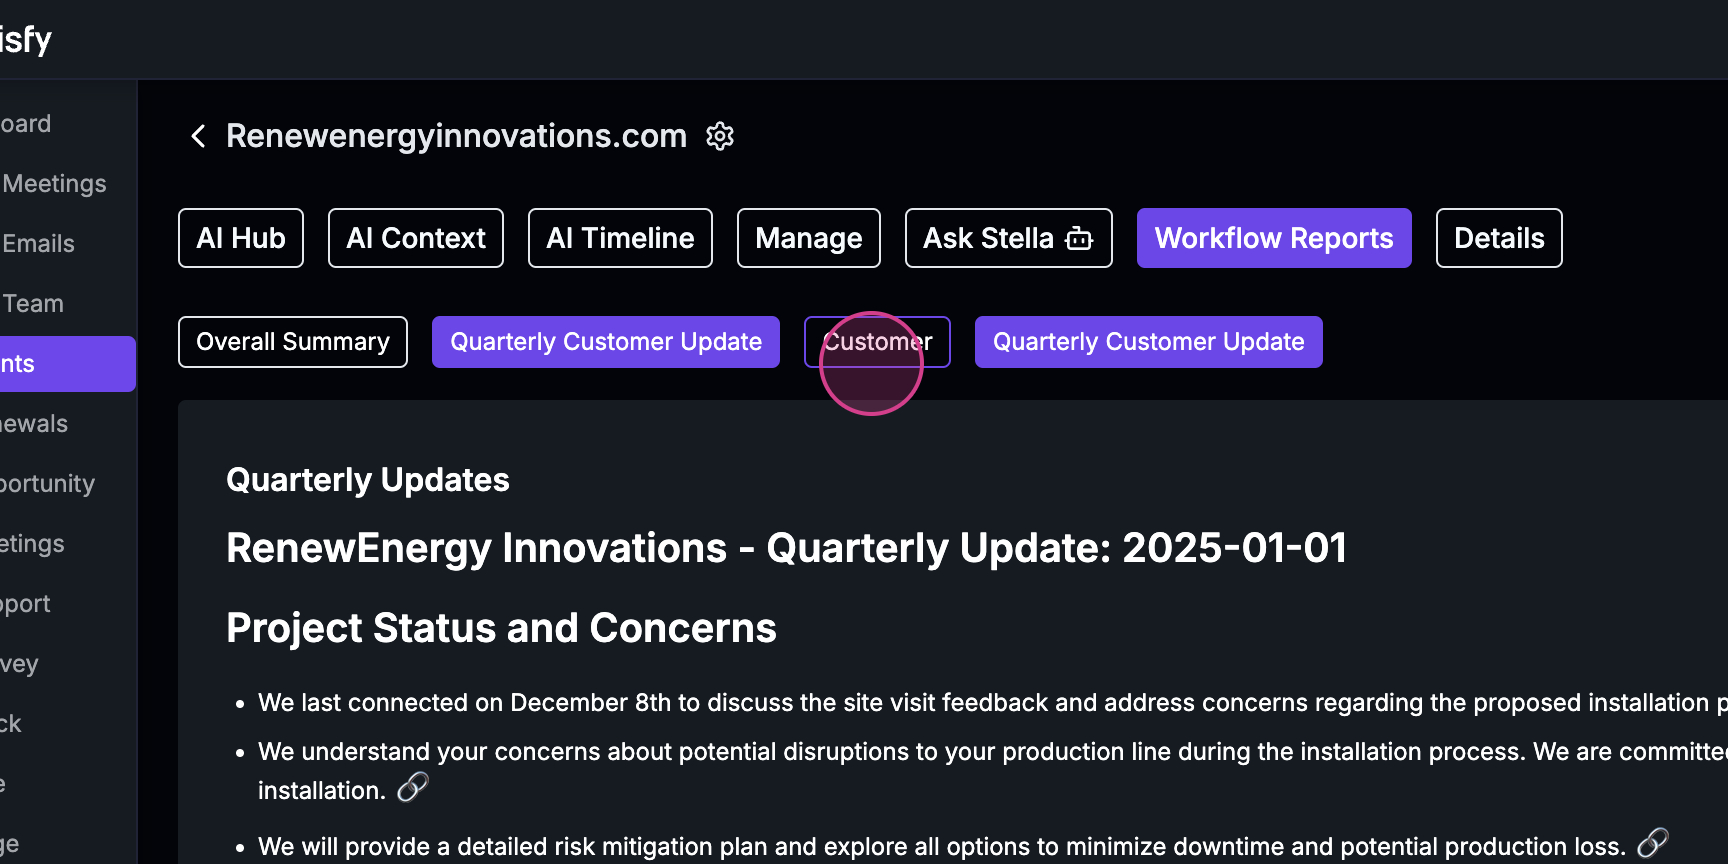
 Step 12: View the Workflow reports. If you convert any Stella query to a workflow, you’ll find the output here.
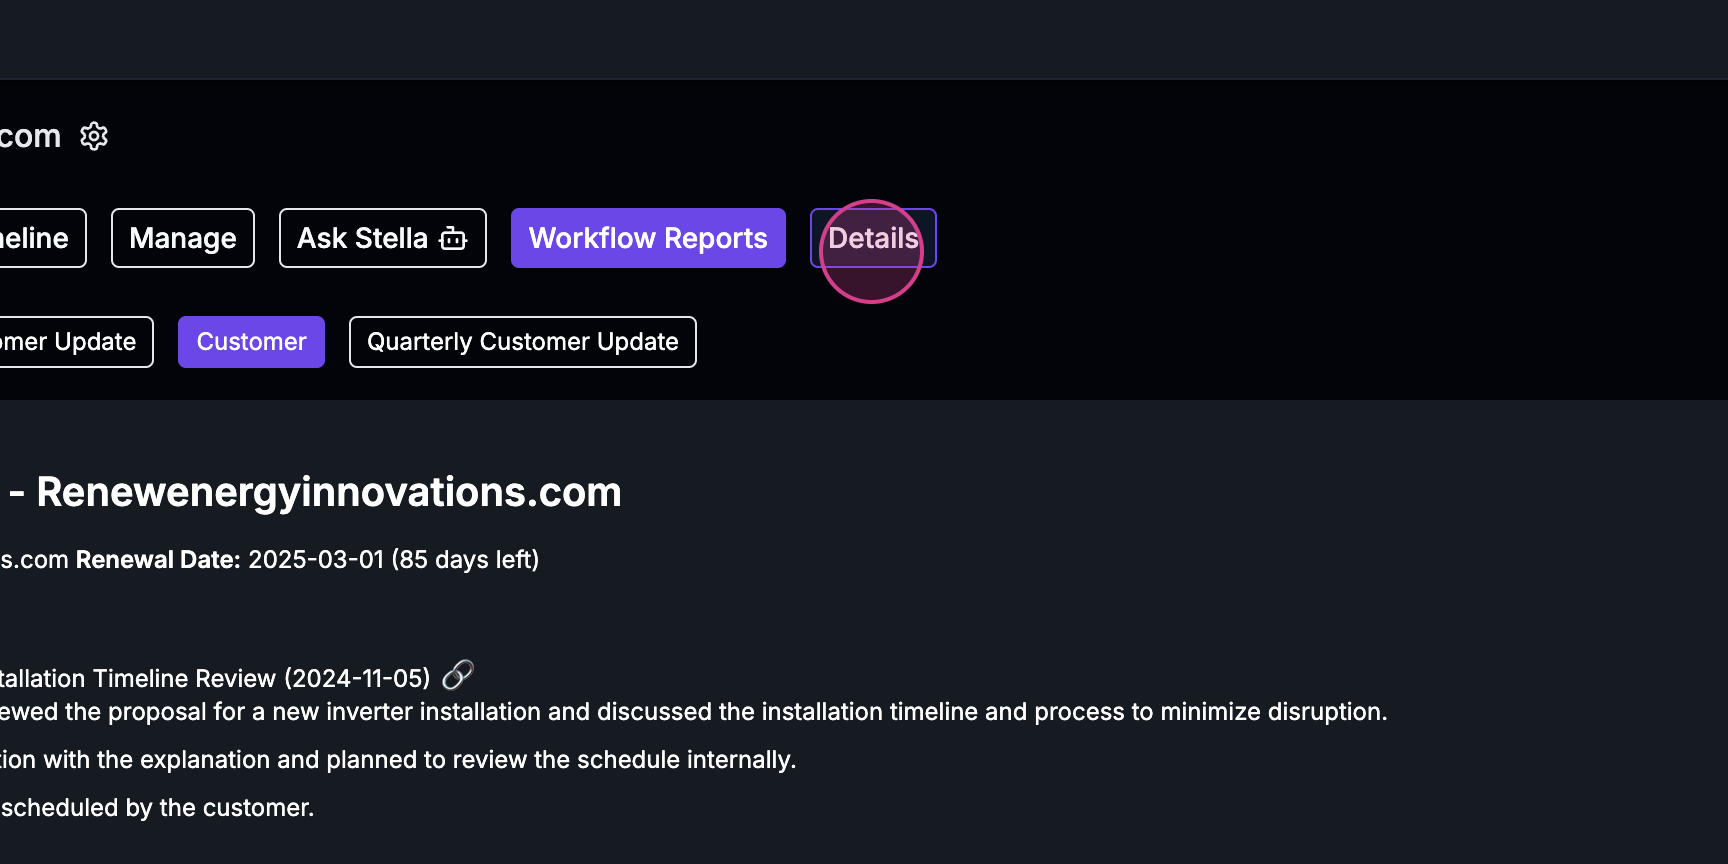
 Step 13: Finally, the details section shows all the fields available for the account.
The Objects Tab
The Objects tab gathers the structured records linked to the account, organized into sub-tabs:- Fields — every field on the account (standard, Statisfy custom fields, and CRM-synced), where you can view and edit values. This is the “details section” shown in Step 13.
- Opportunities — the account’s opportunities (shown for customer accounts).
- One sub-tab per custom object — if your admin has brought in related records like contracts, subscriptions, or onboarding milestones, each appears as its own sub-tab listing that object’s records for this account.