Video Tutorial
In this tutorial, you’ll learn how to create custom fields in two different ways. Step 1: Navigate to the account section and select an account. This will take you inside the account details.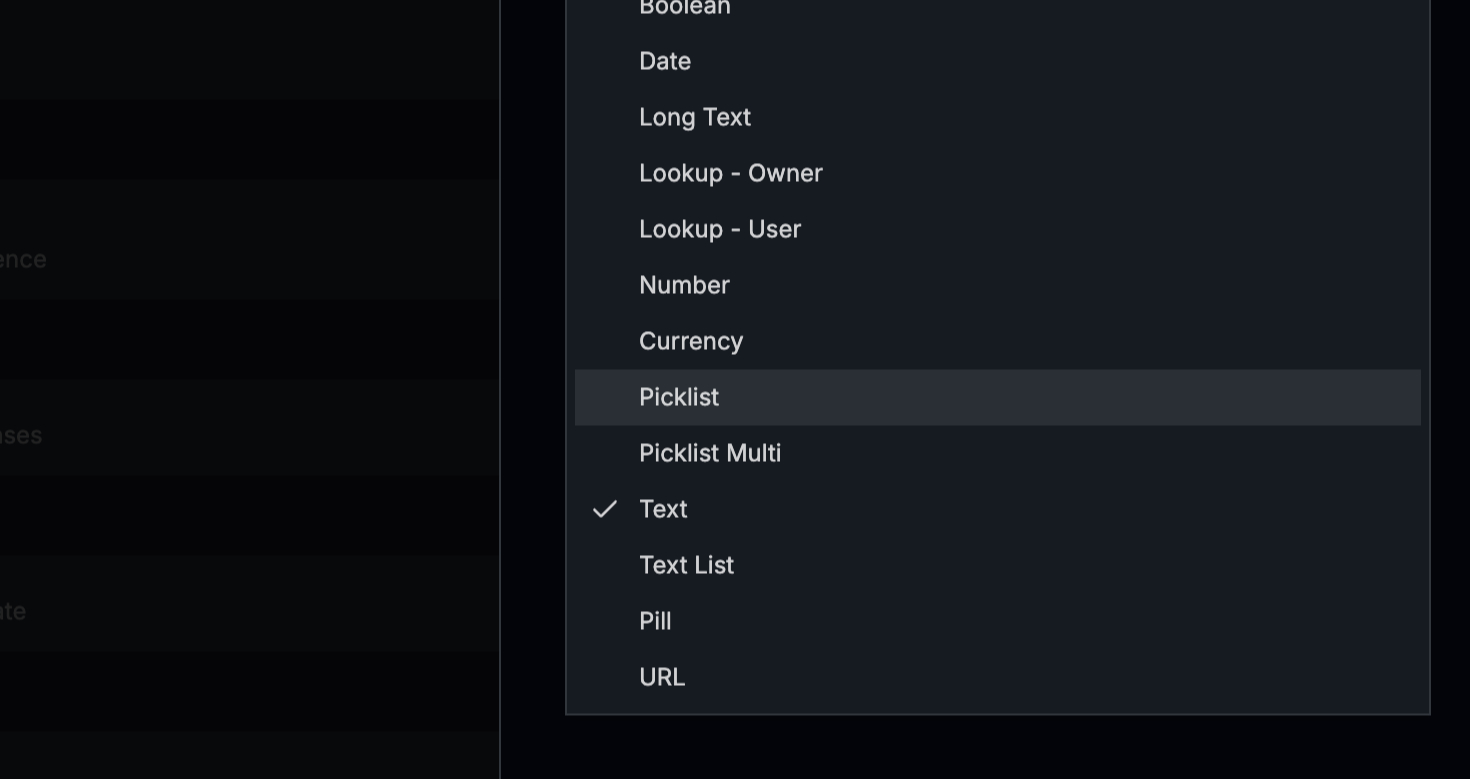 Step 2: Look for the field section within the account details.
 Step 3: In the top right corner of the field section, click on the Create Fields button.
 Step 4: Enter a name for your new field. Then, select the type of field you want to create from the drop-down list. There are many options available, so choose the one that suits your needs best.
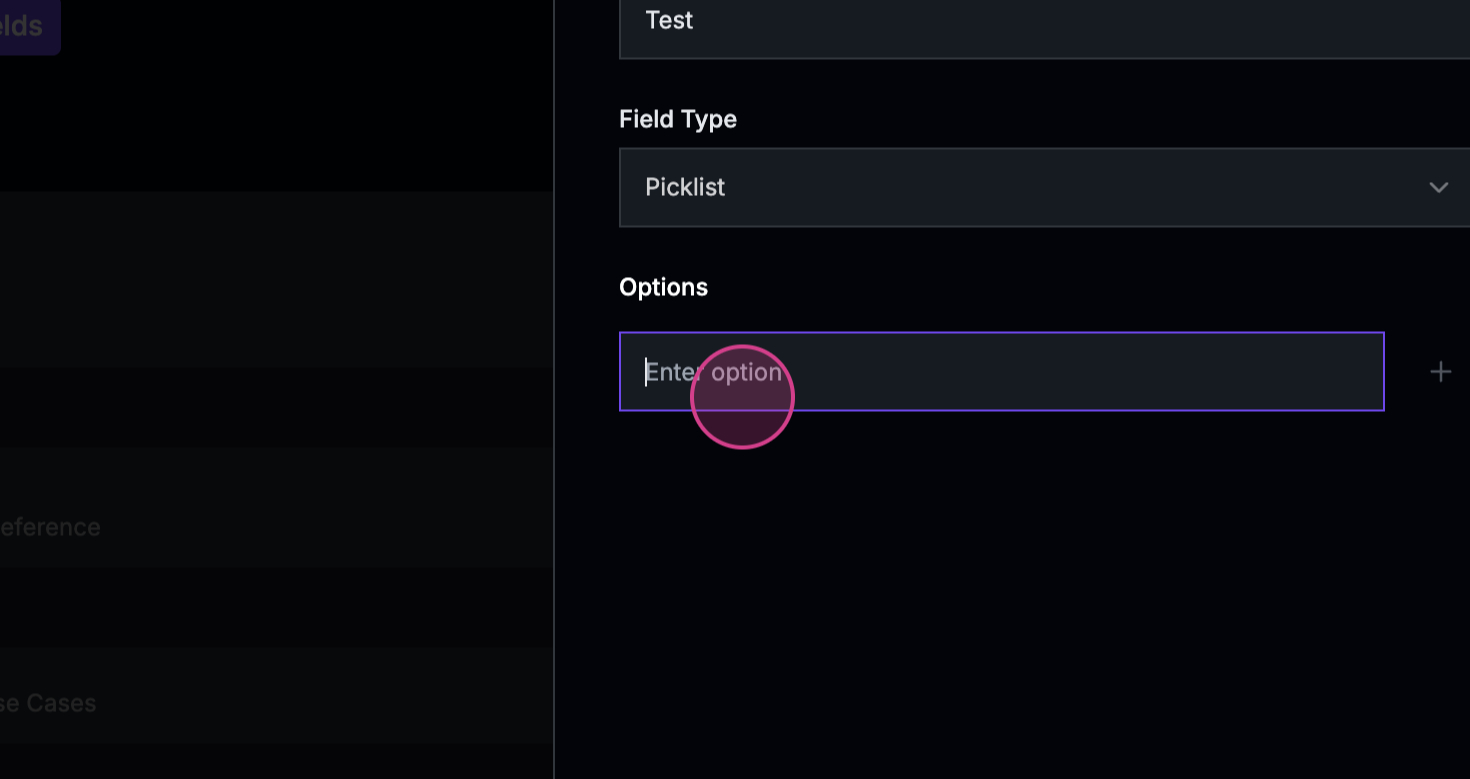
 Step 5: If you’re creating a pick list, enter the values you want to include.

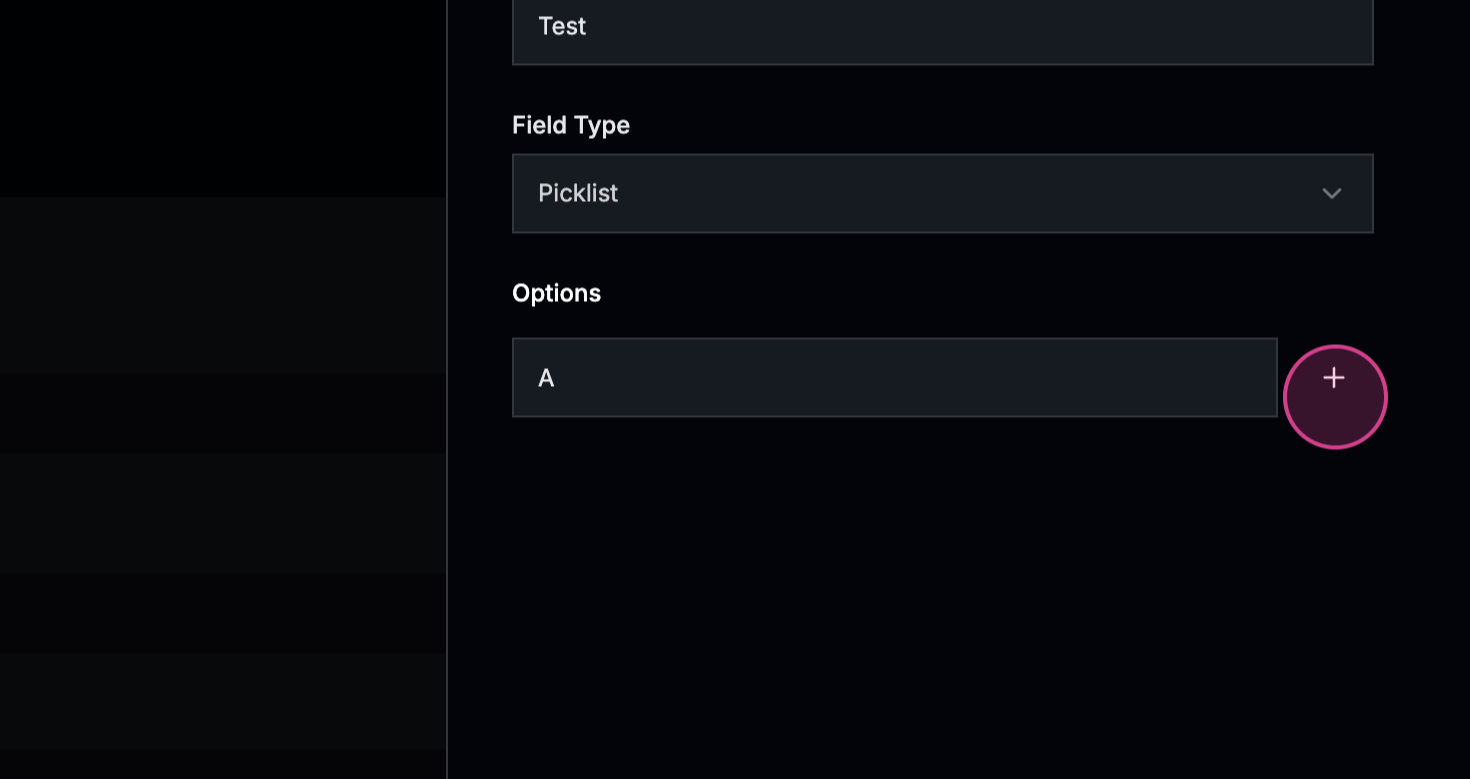
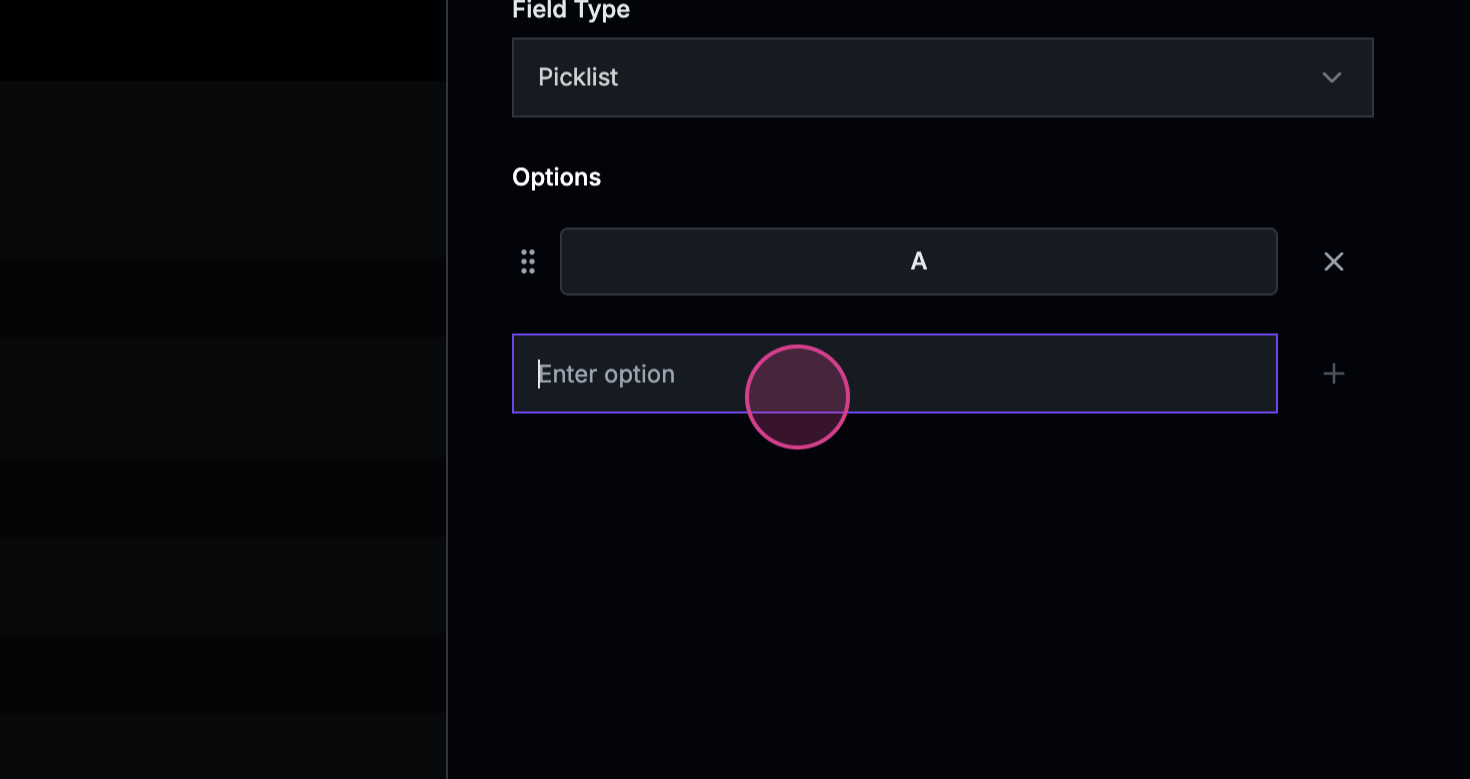
 Step 6: Click Add to include these values in your pick list.

 Step 7: Click Save to finalize your new field. It will now be added to your account.
 The second method to create custom fields is through the Settings option.
Step 8: Locate the Settings option at the bottom left of your screen.
The second method to create custom fields is through the Settings option.
Step 8: Locate the Settings option at the bottom left of your screen.
 Step 9: Click on Settings and navigate to the Object Manager.
 Step 10: Here, you’ll see all fields that have been created and synced with your CSM CRM. To create a new field, click on the appropriate button.
 Step 11: Fill in the necessary details for your new field and click Save.
 Step 12: If you need to rename a field, hover over the field you want to change.
 Step 13: Enter the new name for your field and click Save.
 That’s it! You’ve now learned how to create and manage custom fields.