Video Tutorial
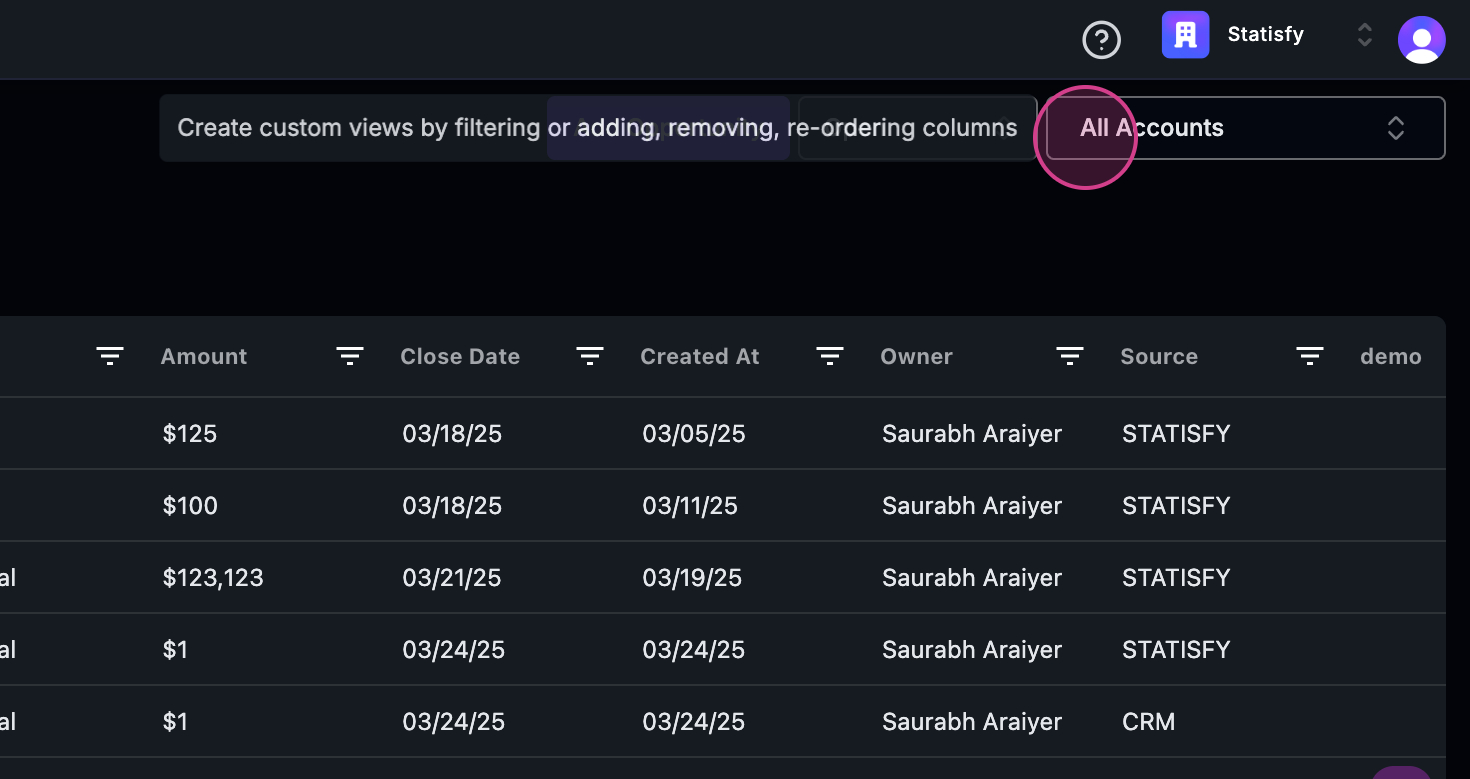
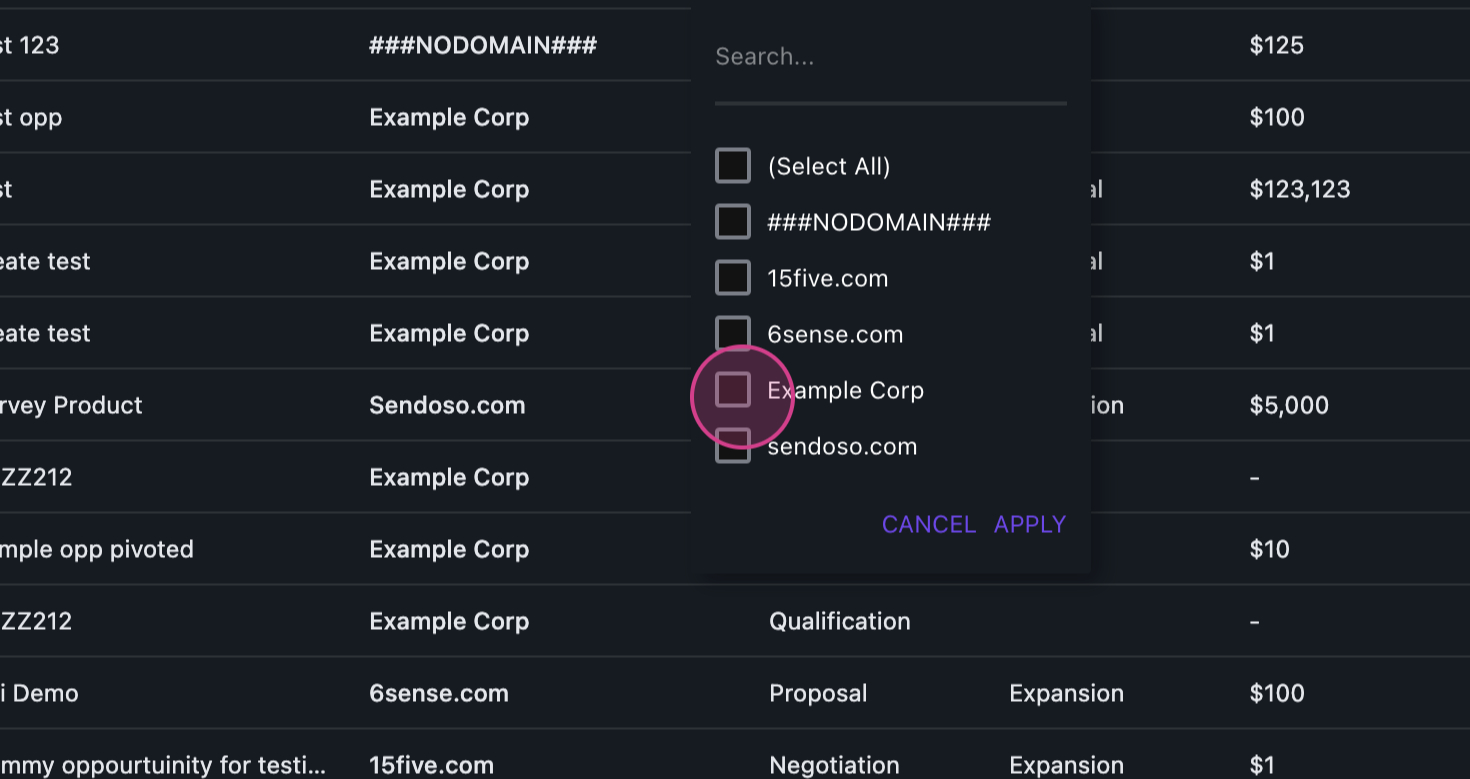
This article will guide you through the process of creating, saving, and exporting a new view. Step 1: Begin by filtering out the accounts. Step 2: For instance, select ‘call’ and then click on ‘Apply’.
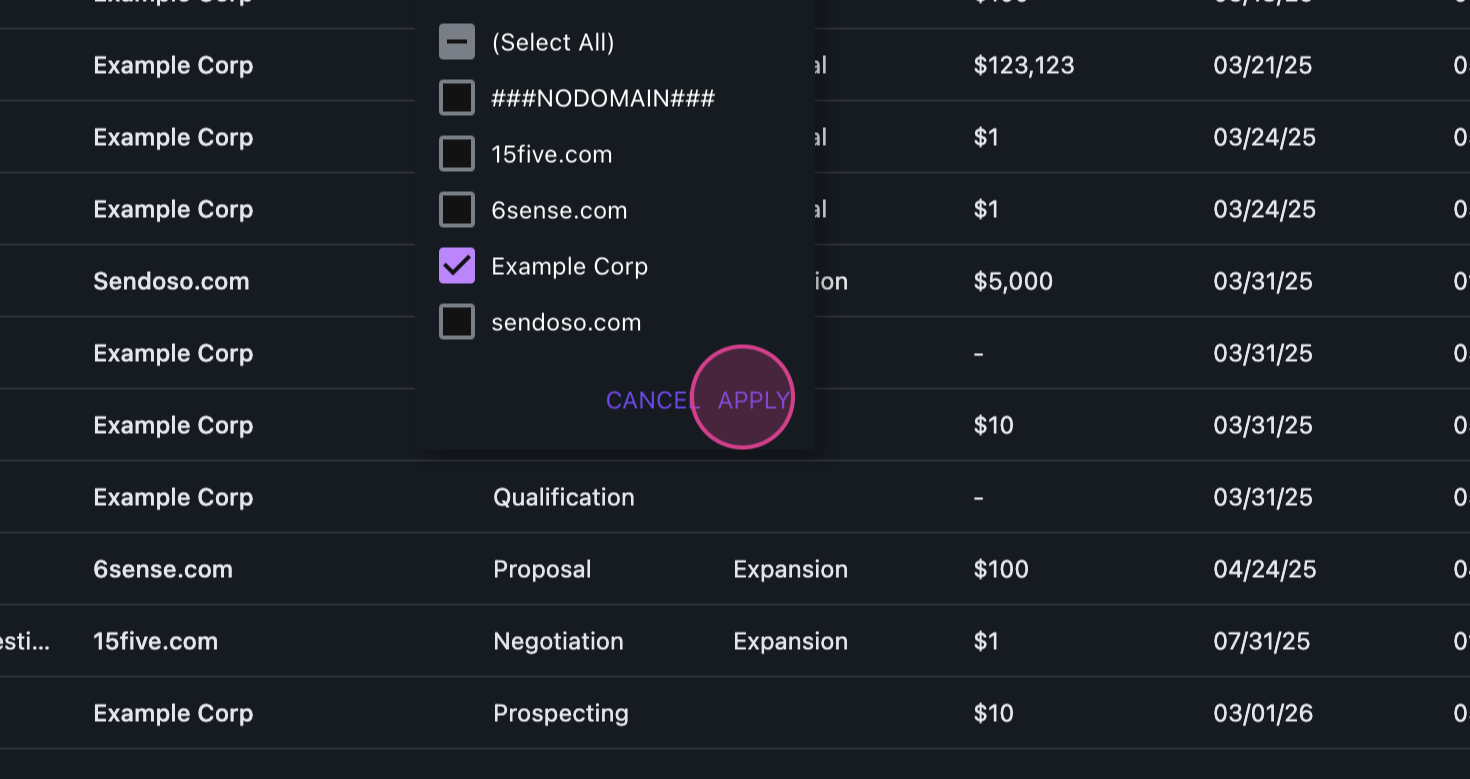 Step 3: After applying the filter, decide whether to save it as a new view or reset the filters on the right side.
Step 4: Proceed to save it as a new view.
Step 3: After applying the filter, decide whether to save it as a new view or reset the filters on the right side.
Step 4: Proceed to save it as a new view.
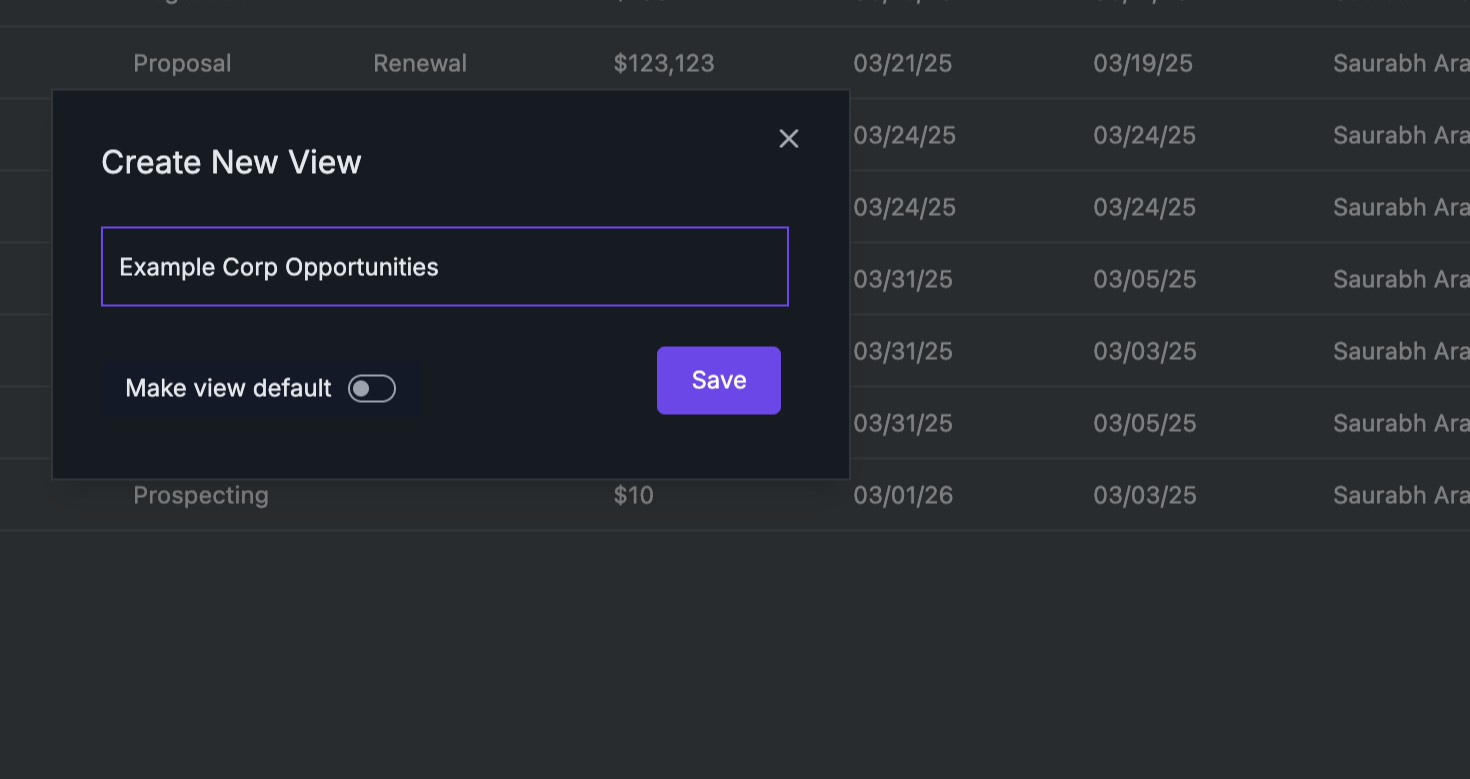
 Step 5: Name the new view, for example, ‘opportunities’.
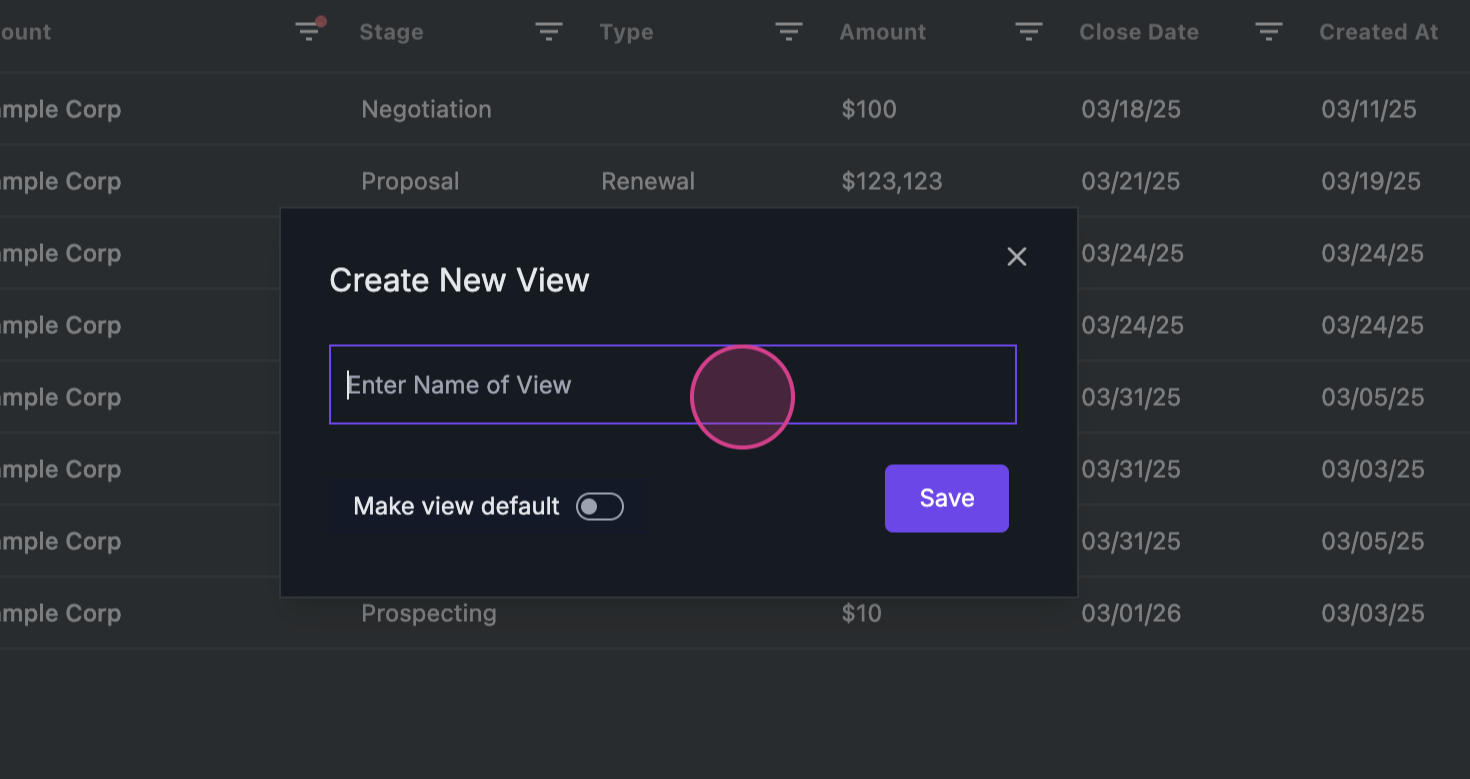 Step 6: If you want this to be your default view, toggle the button.
Step 7: Save your settings.
Step 6: If you want this to be your default view, toggle the button.
Step 7: Save your settings.
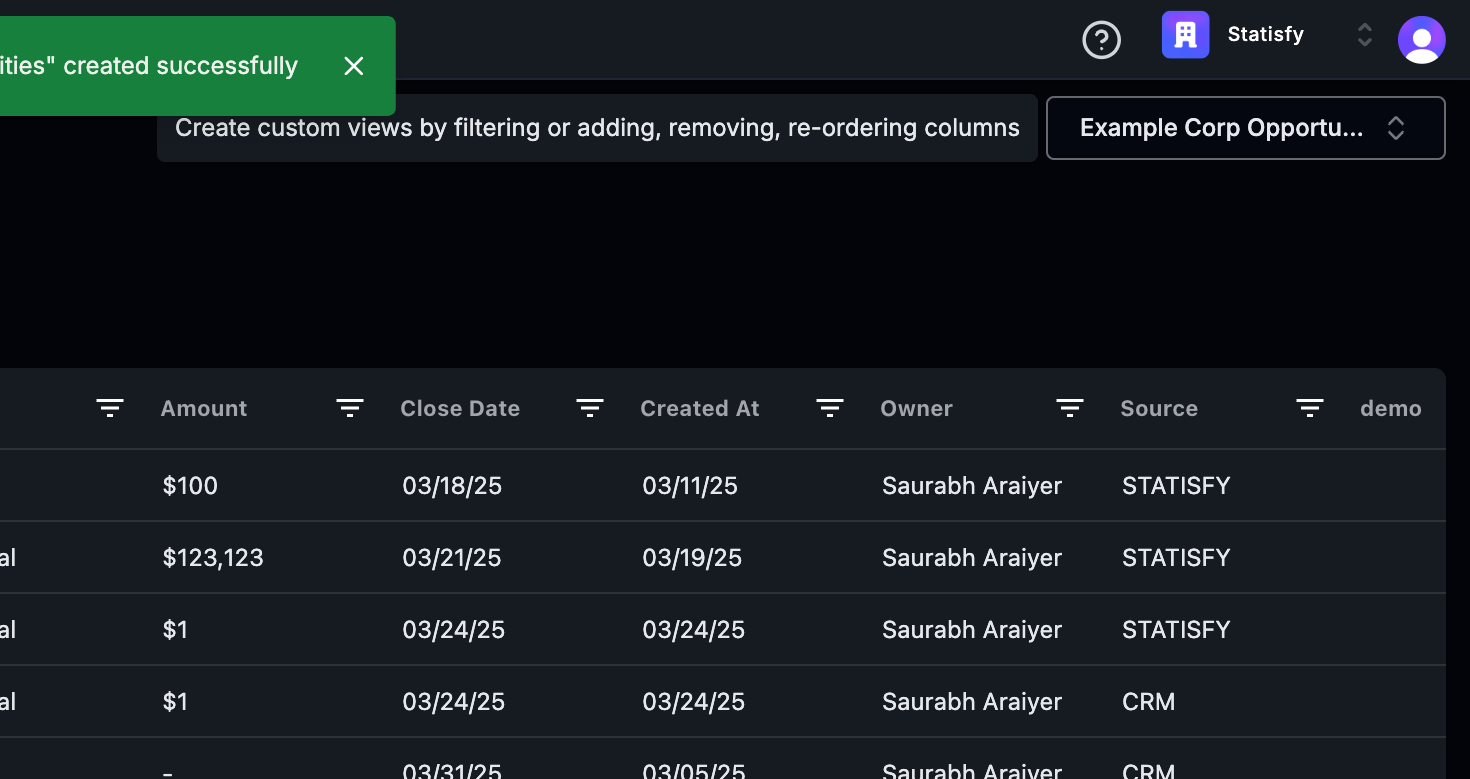
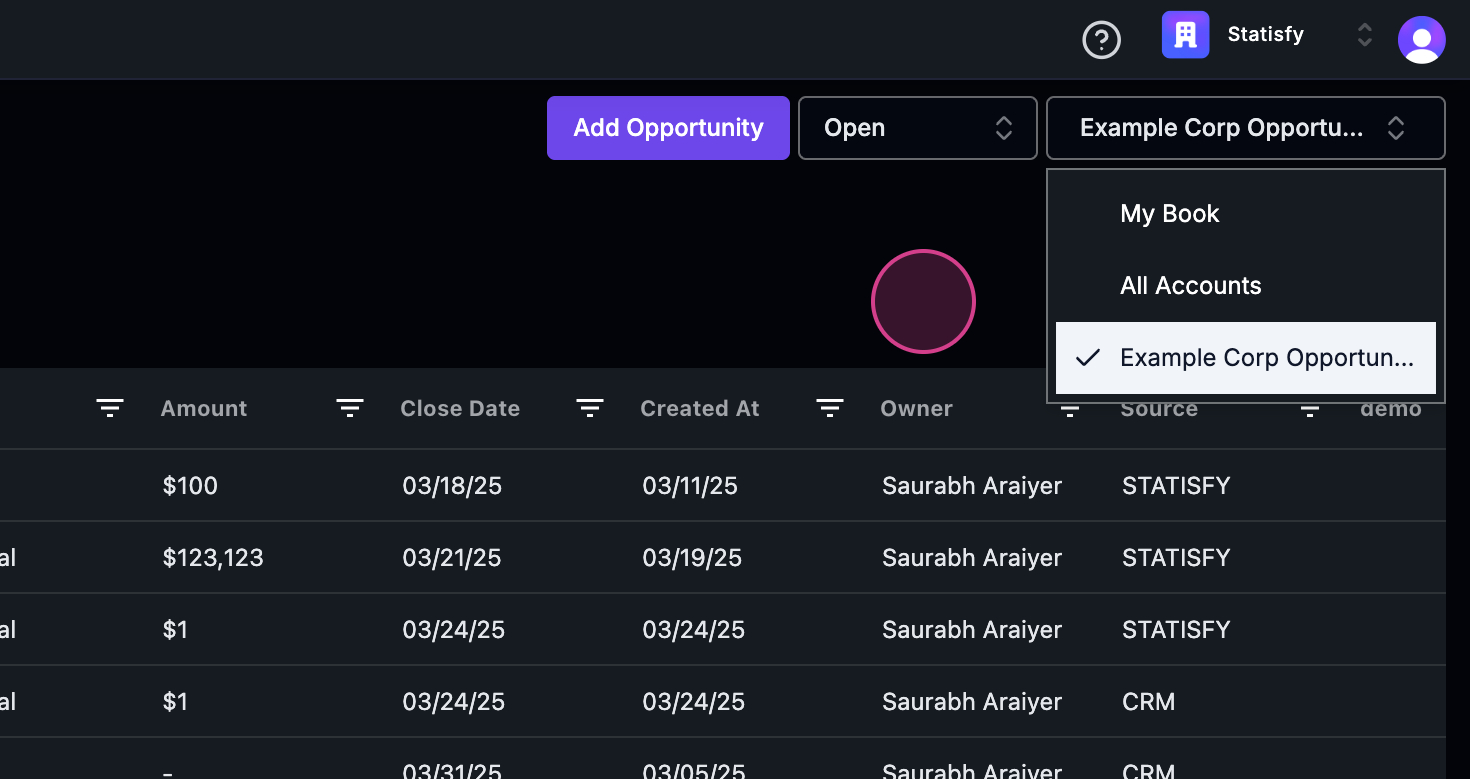
 Step 8: Once saved, you’ll see it added to the list of your books and all accounts in the top right corner.
Choosing Which Columns to Show
You can also control which columns appear in a view:- Click Customize in the toolbar above the table.
- Choose Select Fields to Display.
- Check or uncheck the fields you want as columns, and drag to reorder them.
- Close the panel — your choices apply immediately and are saved automatically. There is no separate Save button, and your column setup is remembered the next time you open the view.
Exporting the View
Step 9: To export this view, click anywhere in the table. Step 10: Right-click to see the ‘export’ option. Step 11: Choose to export it as a CSV or an Excel file. Step 12: If you no longer need this view, Step 13: You have the option to delete it. Step 14: Here’s how to delete the view. That’s it! You’ve now learned how to create, save, and export a new view.