Video Tutorial
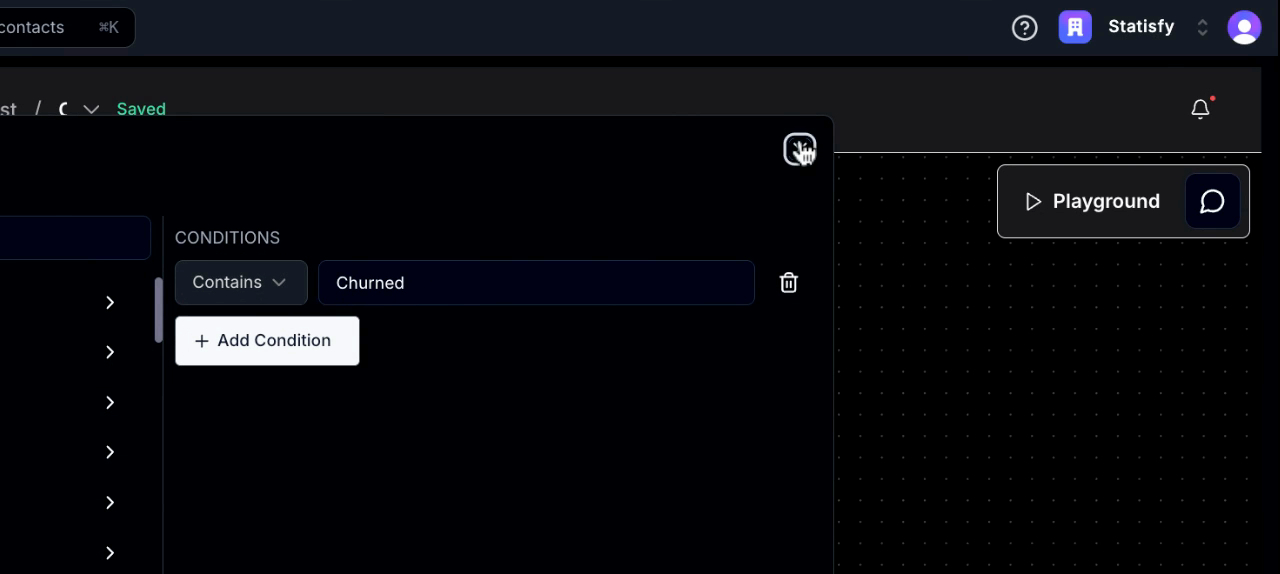
Introduction: This tutorial guides you through the process of sending a Churn analysis report for your churned account. By the end, you’ll know how to generate and send a detailed report with all the necessary information. Step 1: Start by checking the account segment to confirm if the customer type is a churned customer.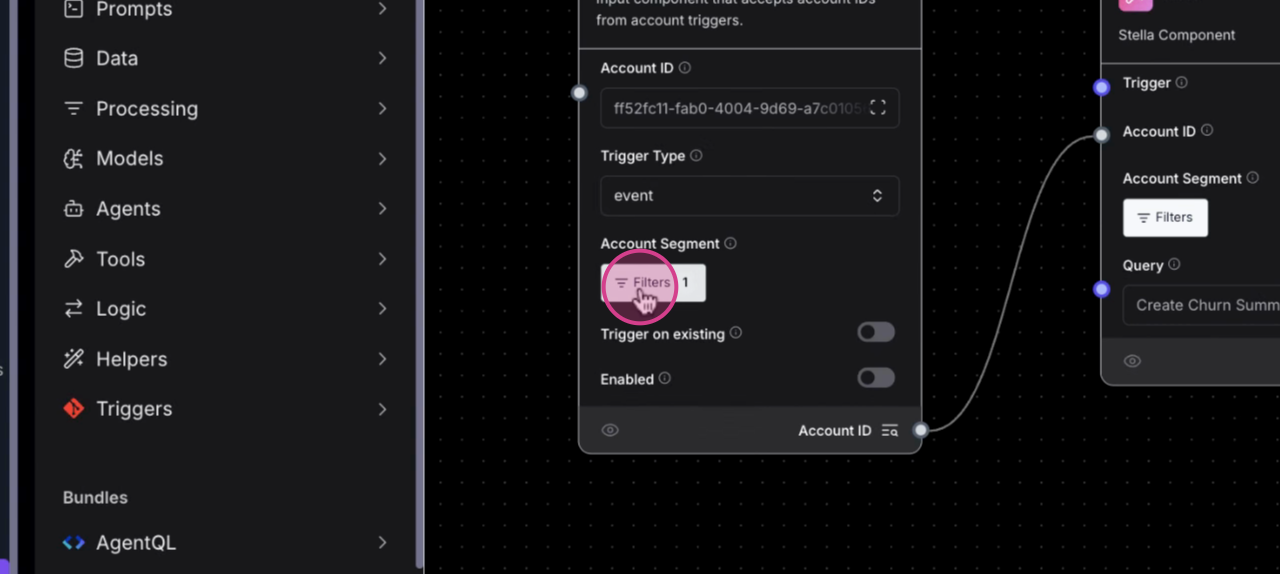
 Step 2:
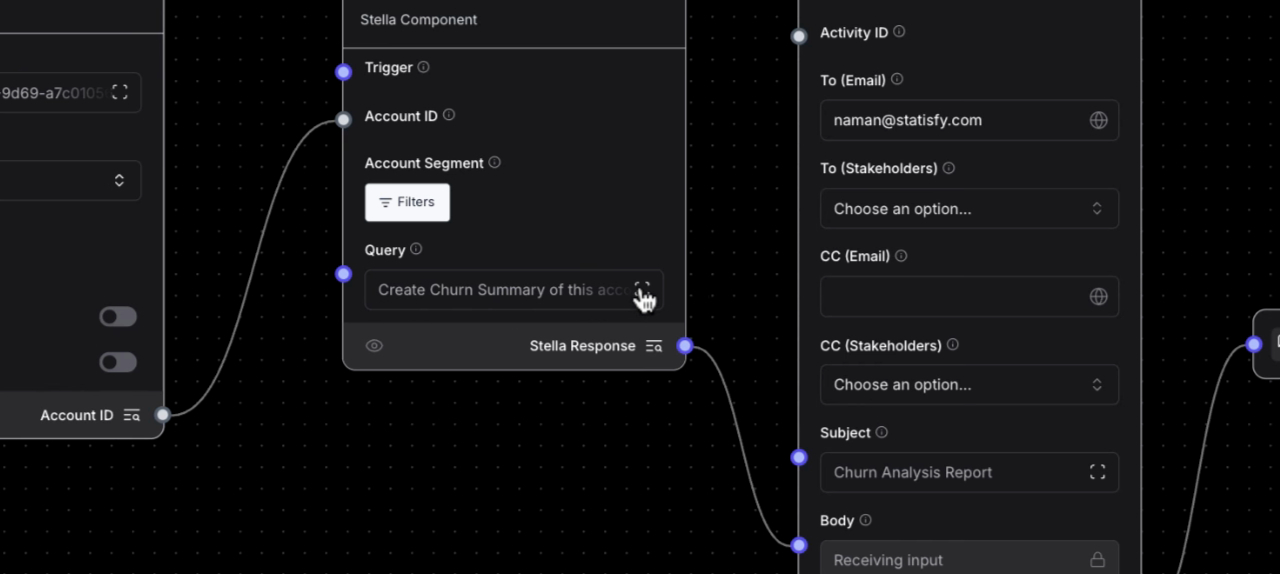
Next, pass the account ID to the Stella component. Here, you’re required to give Stella a query to generate a list of items to be included in the document. Remember, this list is customizable to suit your needs.
Step 2:
Next, pass the account ID to the Stella component. Here, you’re required to give Stella a query to generate a list of items to be included in the document. Remember, this list is customizable to suit your needs.
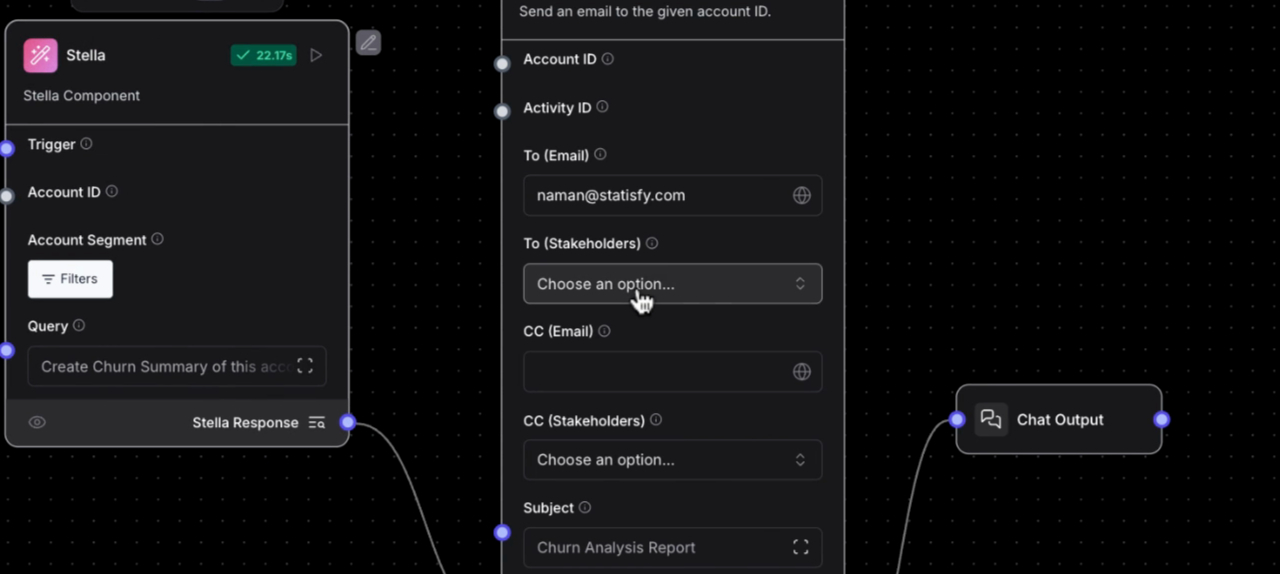
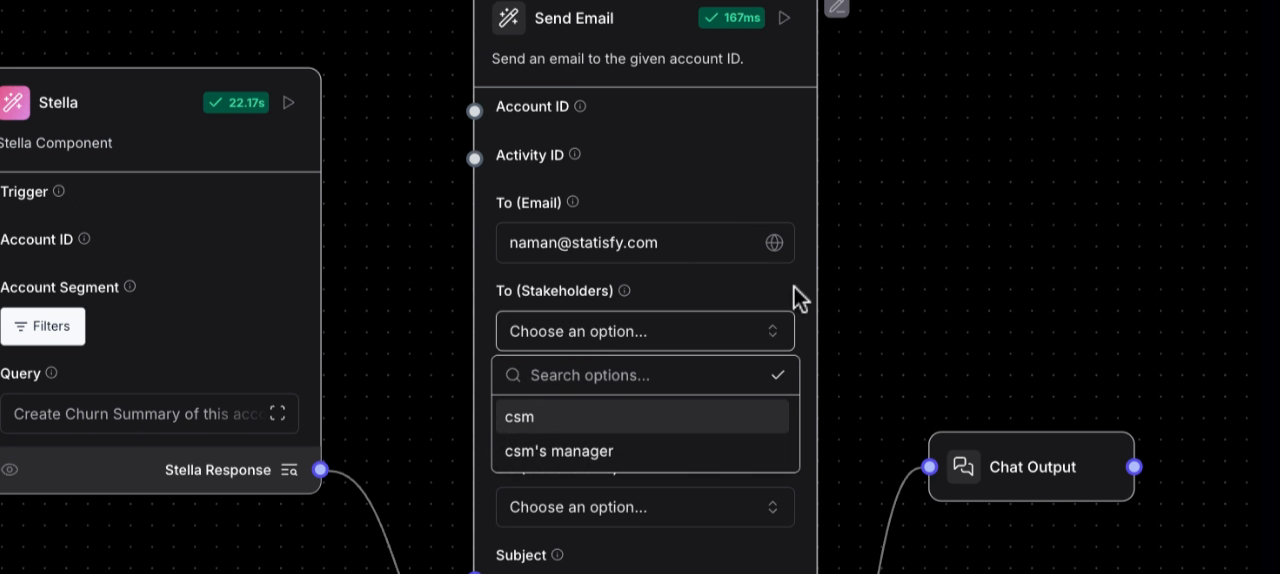
 Step 3:
With the Stella query, you’ll receive an output which you’ll then pass to the body of the email section in the send email component. You’re free to send this email to yourself or to the CSM or CSM manager, depending on your preference.
Step 3:
With the Stella query, you’ll receive an output which you’ll then pass to the body of the email section in the send email component. You’re free to send this email to yourself or to the CSM or CSM manager, depending on your preference.
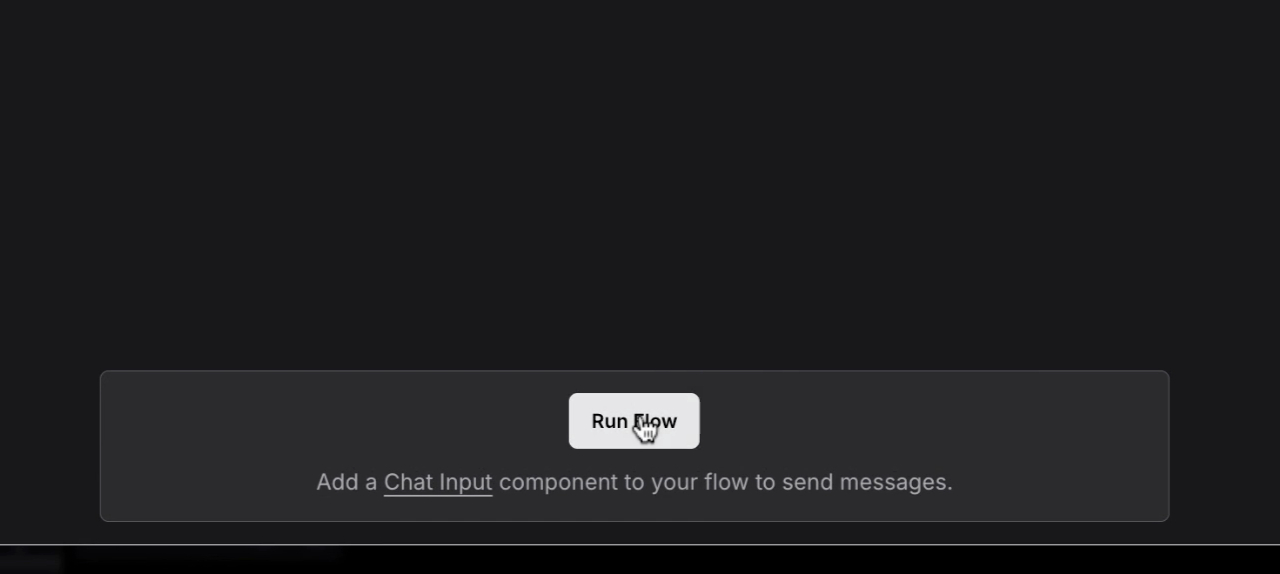
 Step 4:
If you wish to have a fixed CC, feel free to add that. The chat output is there to confirm if the flow is working correctly. You’ll only be able to test the flow if you have the chat output. For this tutorial, we’ve added the account ID of the churned customer.
Step 4:
If you wish to have a fixed CC, feel free to add that. The chat output is there to confirm if the flow is working correctly. You’ll only be able to test the flow if you have the chat output. For this tutorial, we’ve added the account ID of the churned customer.
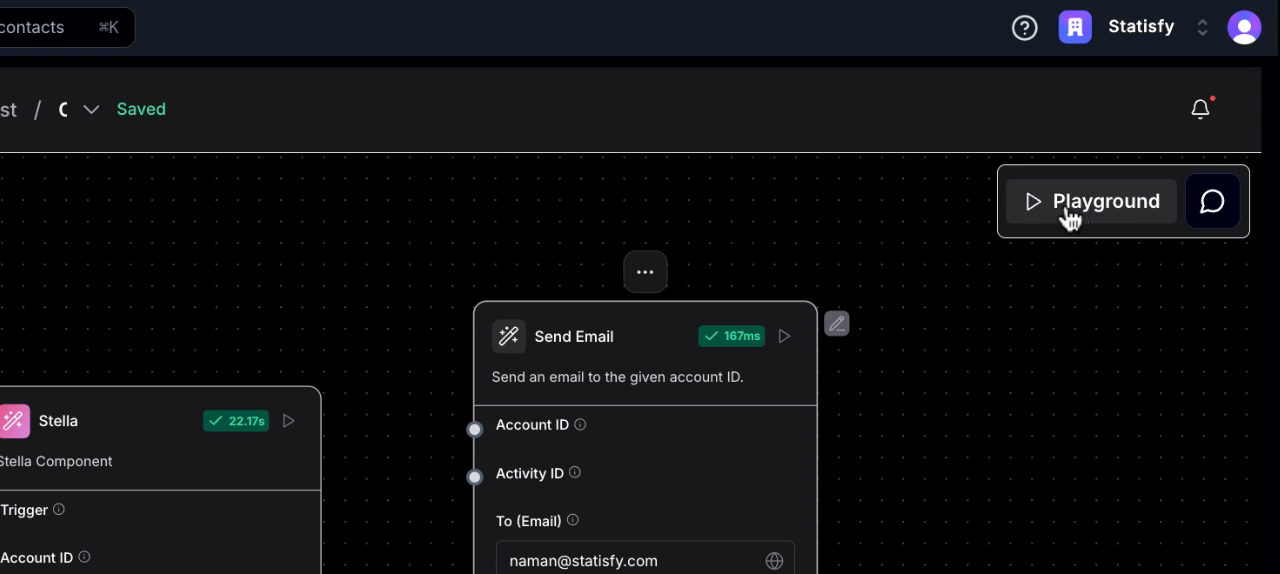 Step 5:
Proceed to the playground and click on Run to execute the flow and send the email.
Step 5:
Proceed to the playground and click on Run to execute the flow and send the email.
 Step 6:
The email you’ll receive will have the subject line you specified. It will contain a Churn summary of the customer, including details like renewal date, ARR, and other headings, topics, and subtopics you’ve mentioned. It will also capture the times of events you had with the POCs, including their names and links to meetings or emails you’ve shared with them.
Step 6:
The email you’ll receive will have the subject line you specified. It will contain a Churn summary of the customer, including details like renewal date, ARR, and other headings, topics, and subtopics you’ve mentioned. It will also capture the times of events you had with the POCs, including their names and links to meetings or emails you’ve shared with them.
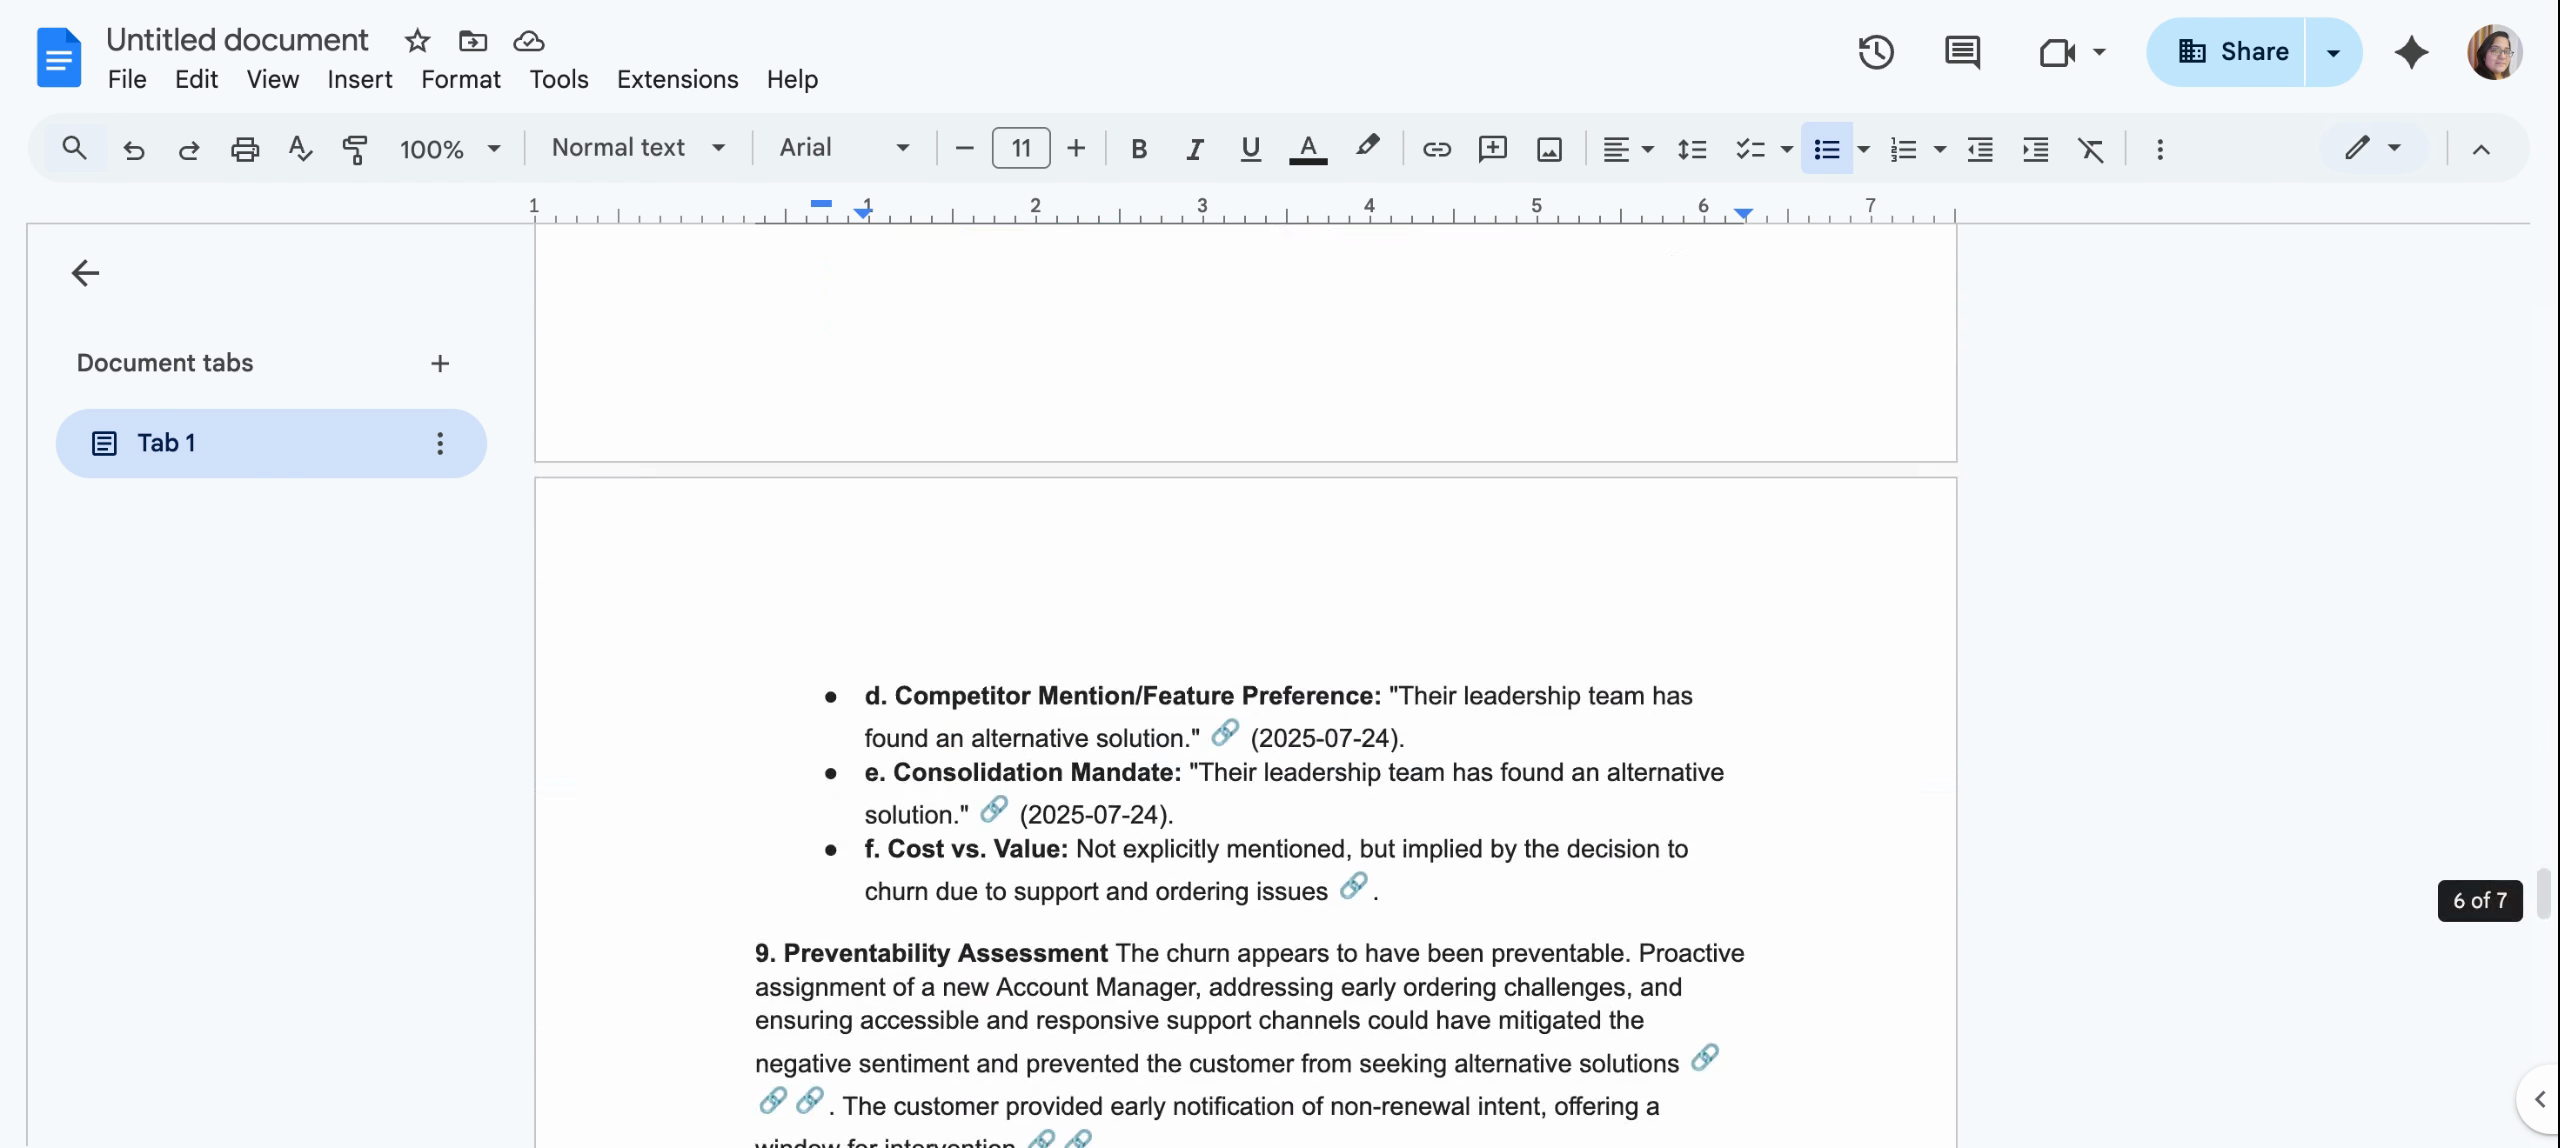 Conclusion:
In the end, you’ll receive a two-page Churn summary report detailing the customer’s journey, reasons for churn, preventative measures, and recommendations. All these details will be captured as part of this report.
Conclusion:
In the end, you’ll receive a two-page Churn summary report detailing the customer’s journey, reasons for churn, preventative measures, and recommendations. All these details will be captured as part of this report.