Video Tutorial
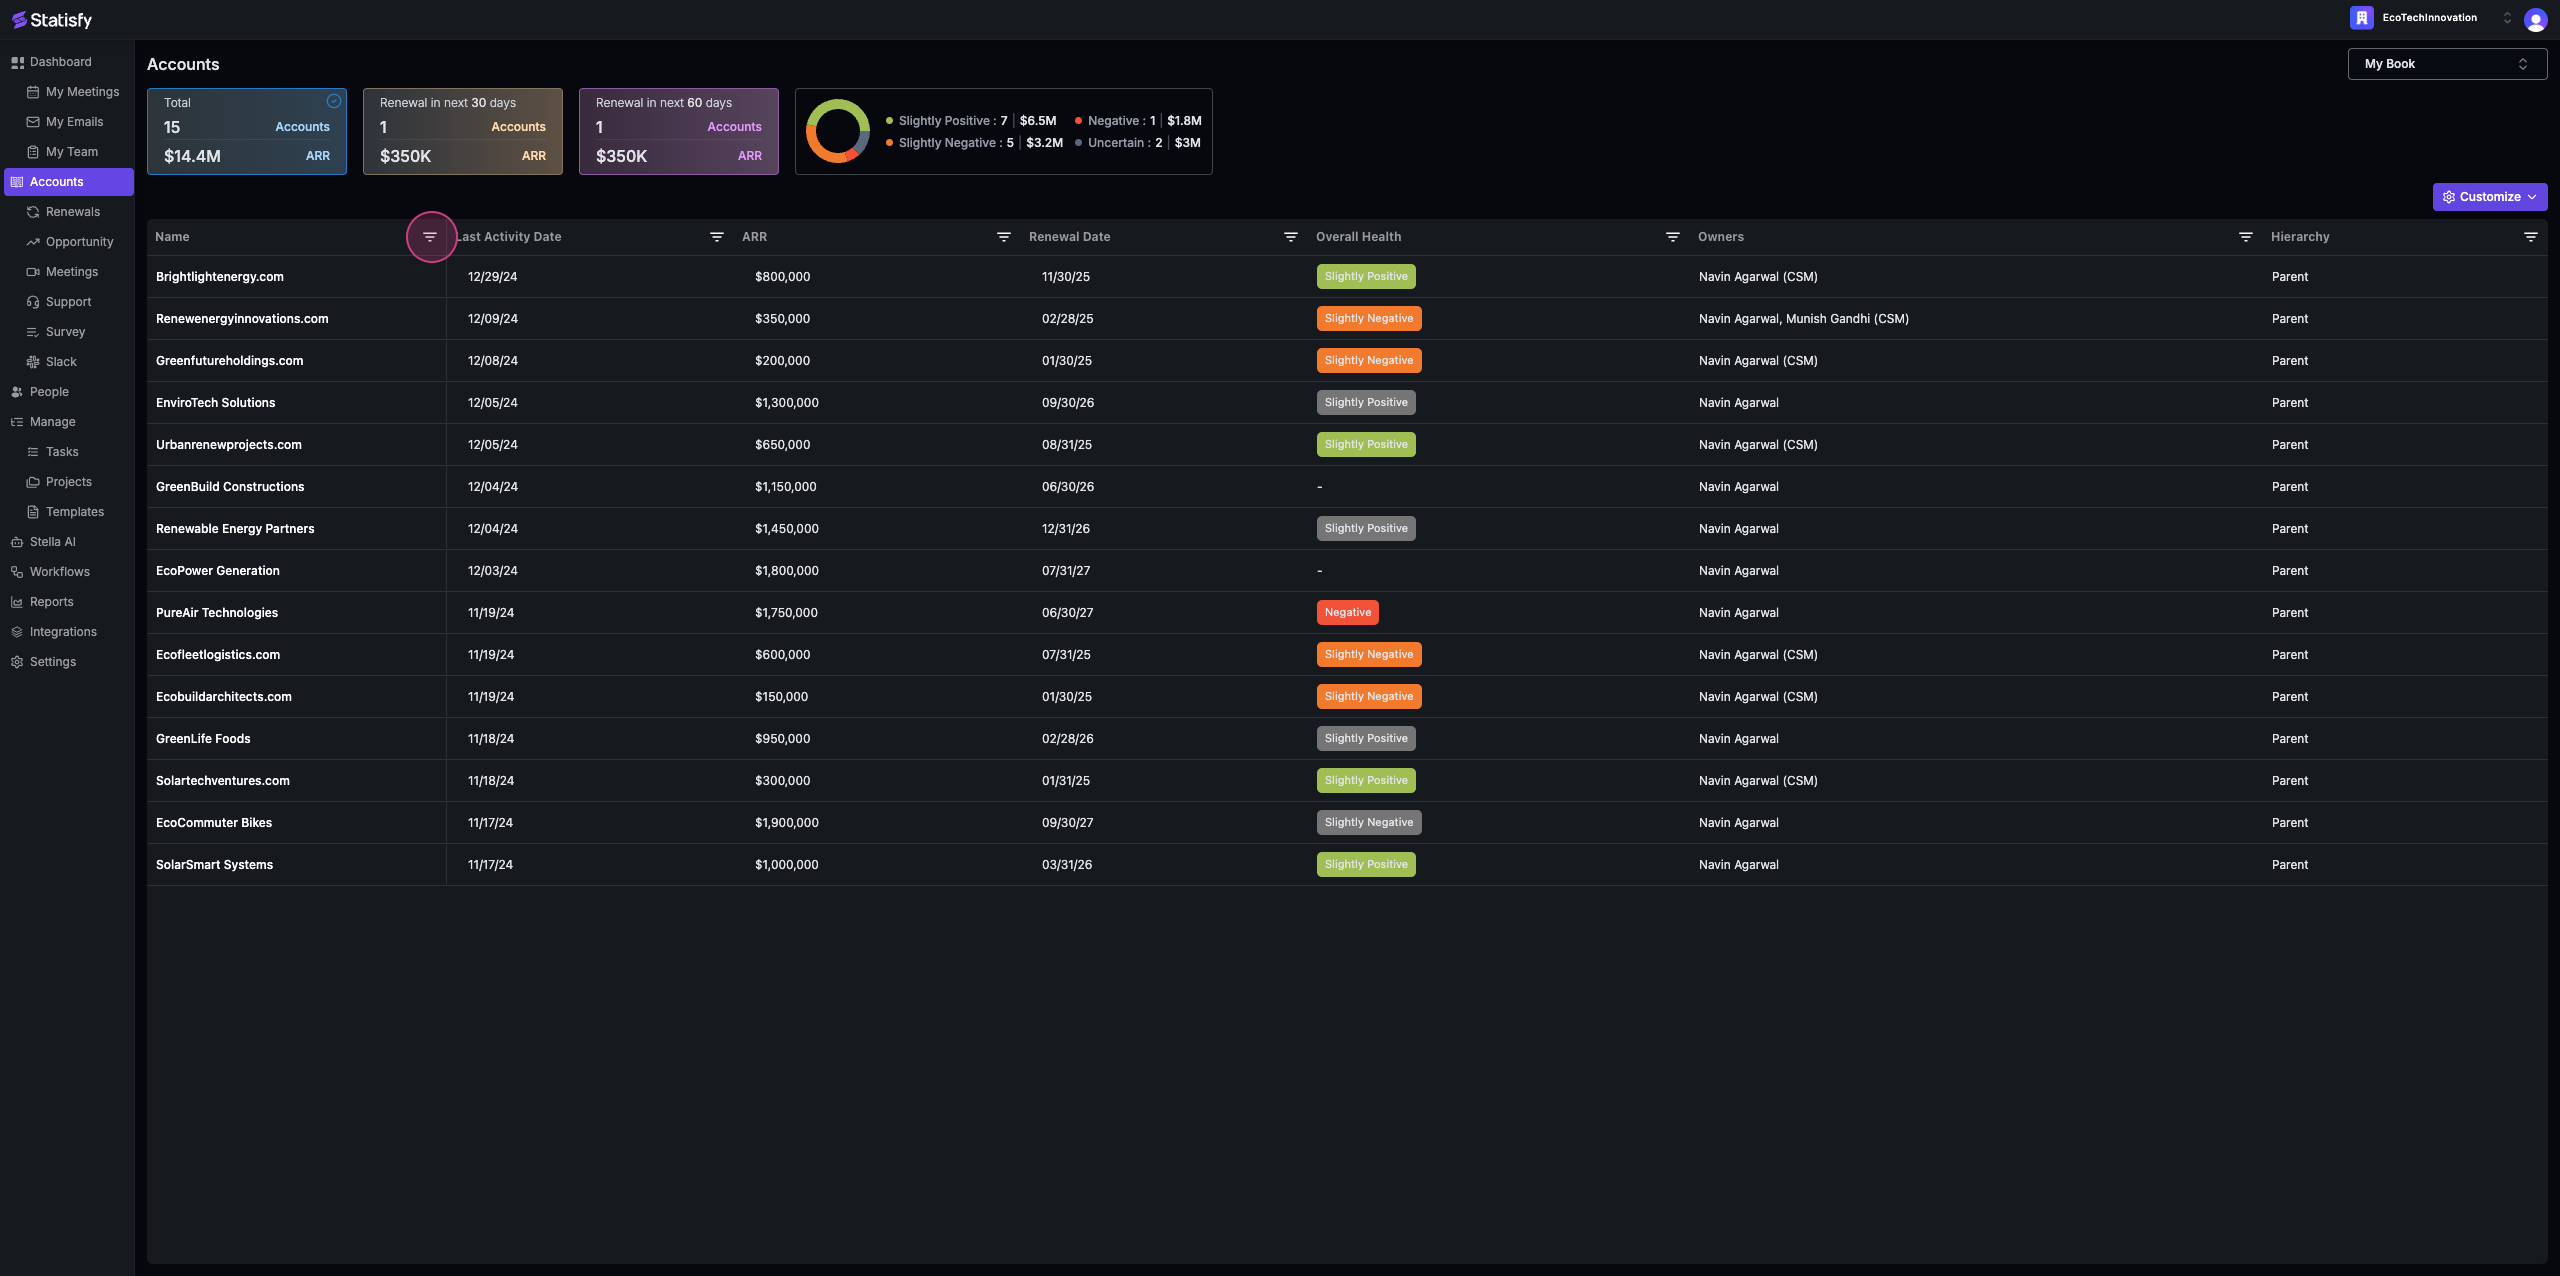
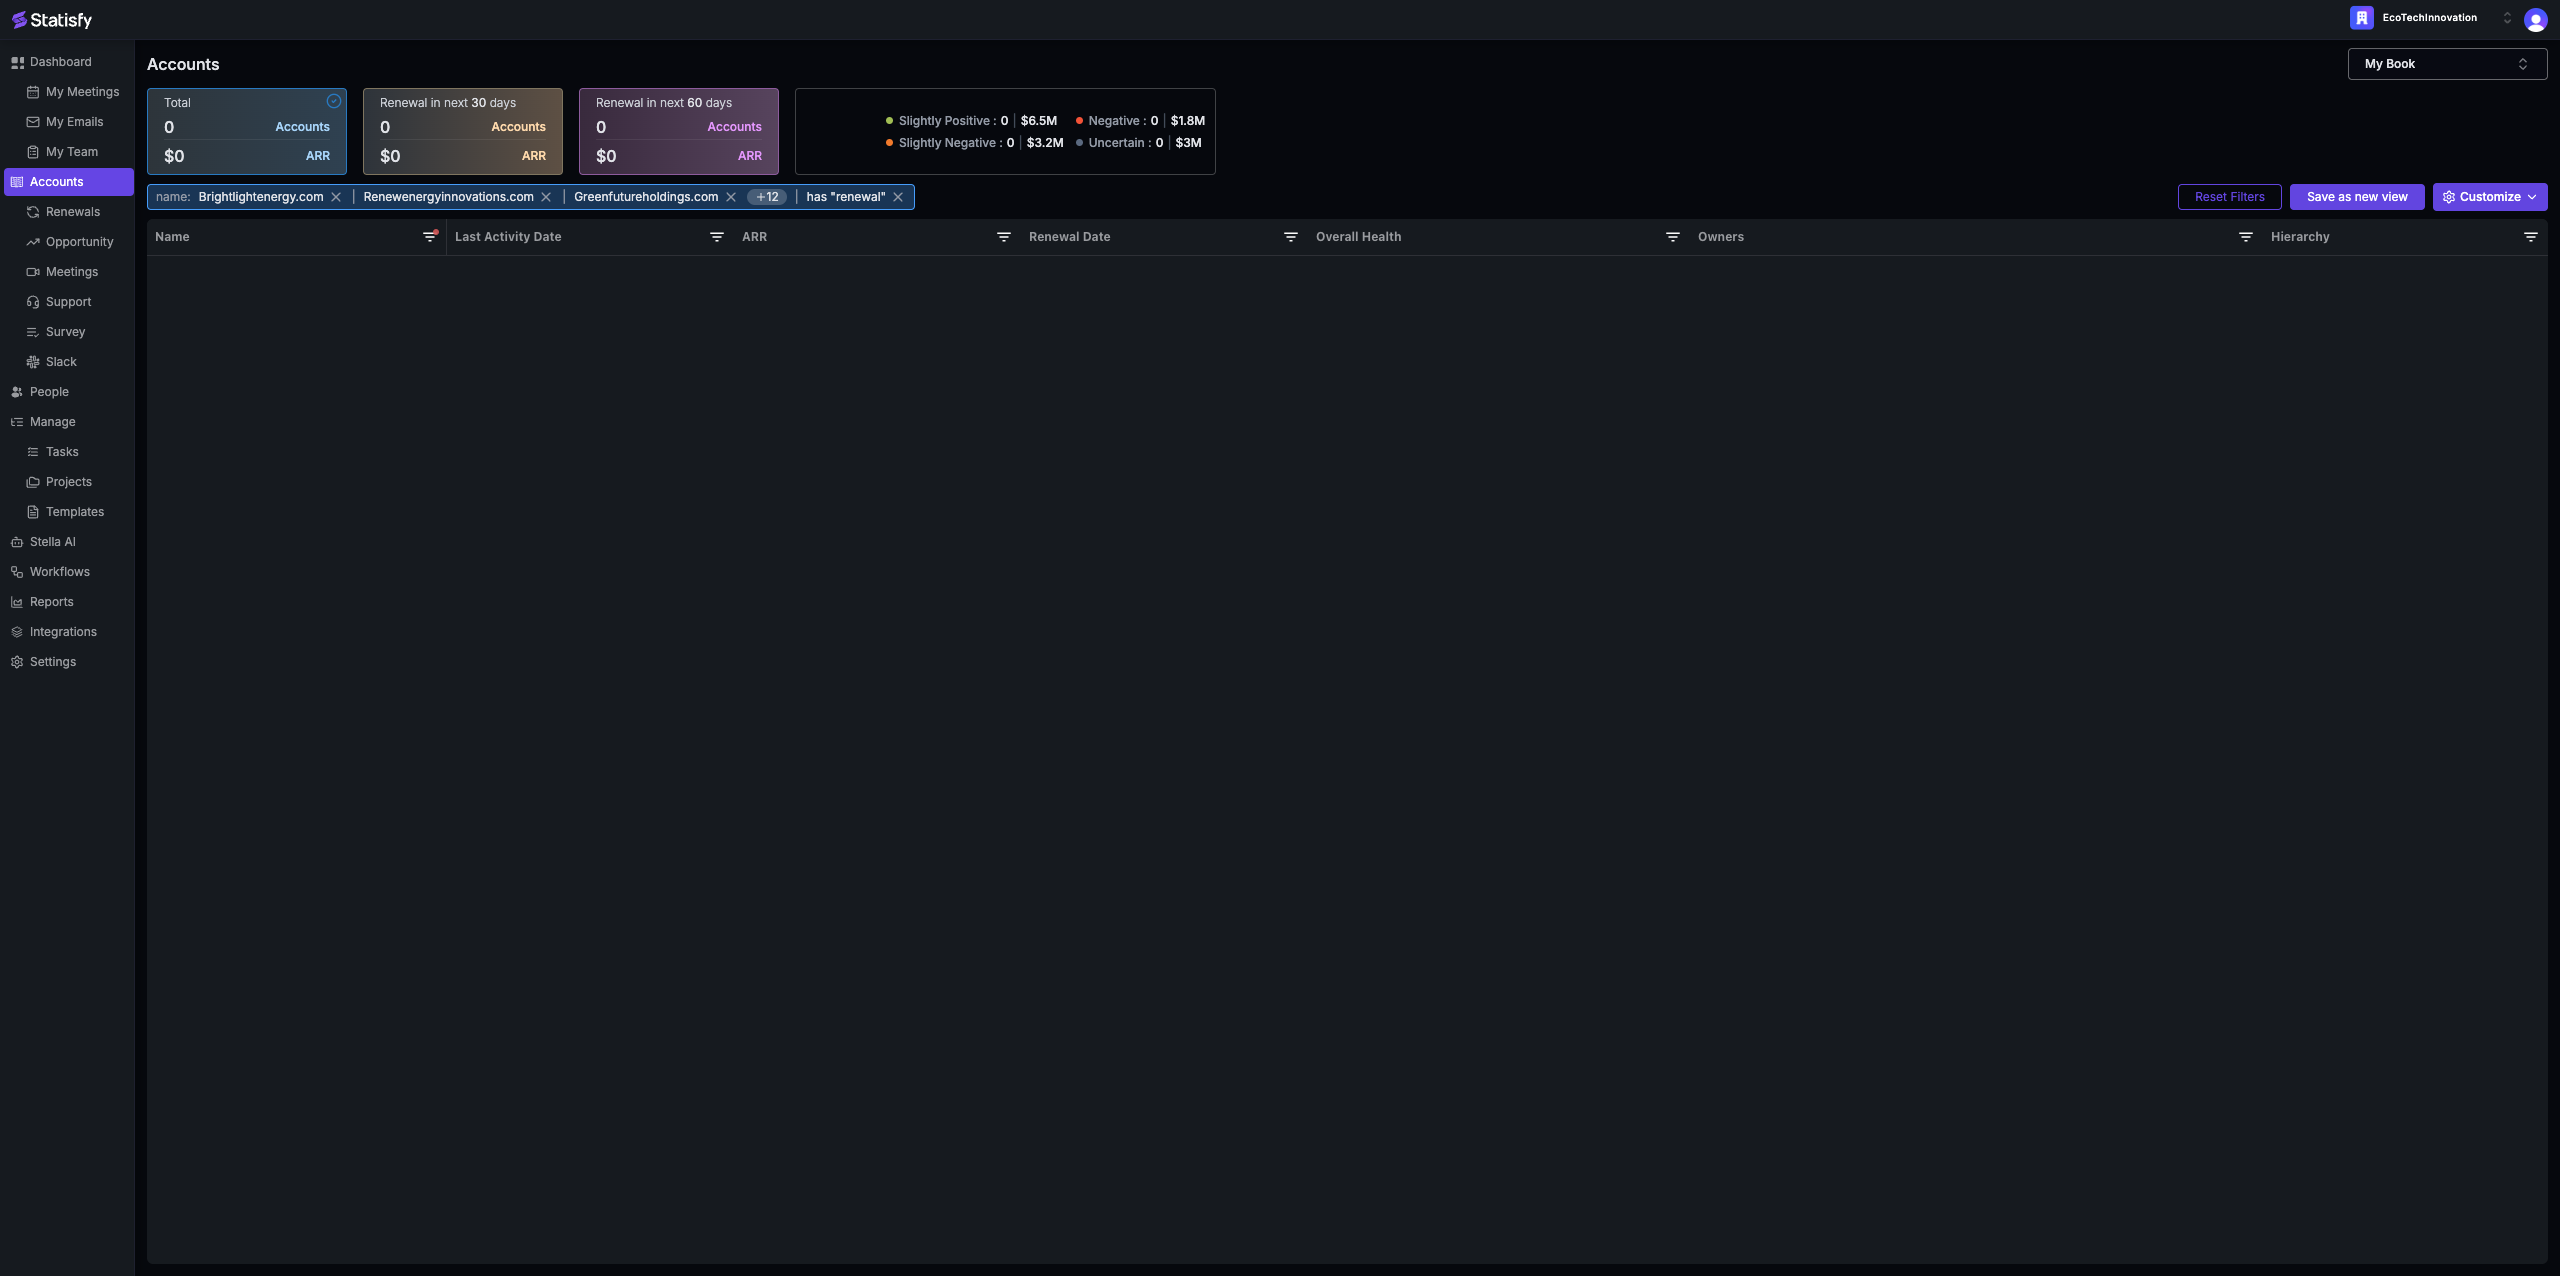
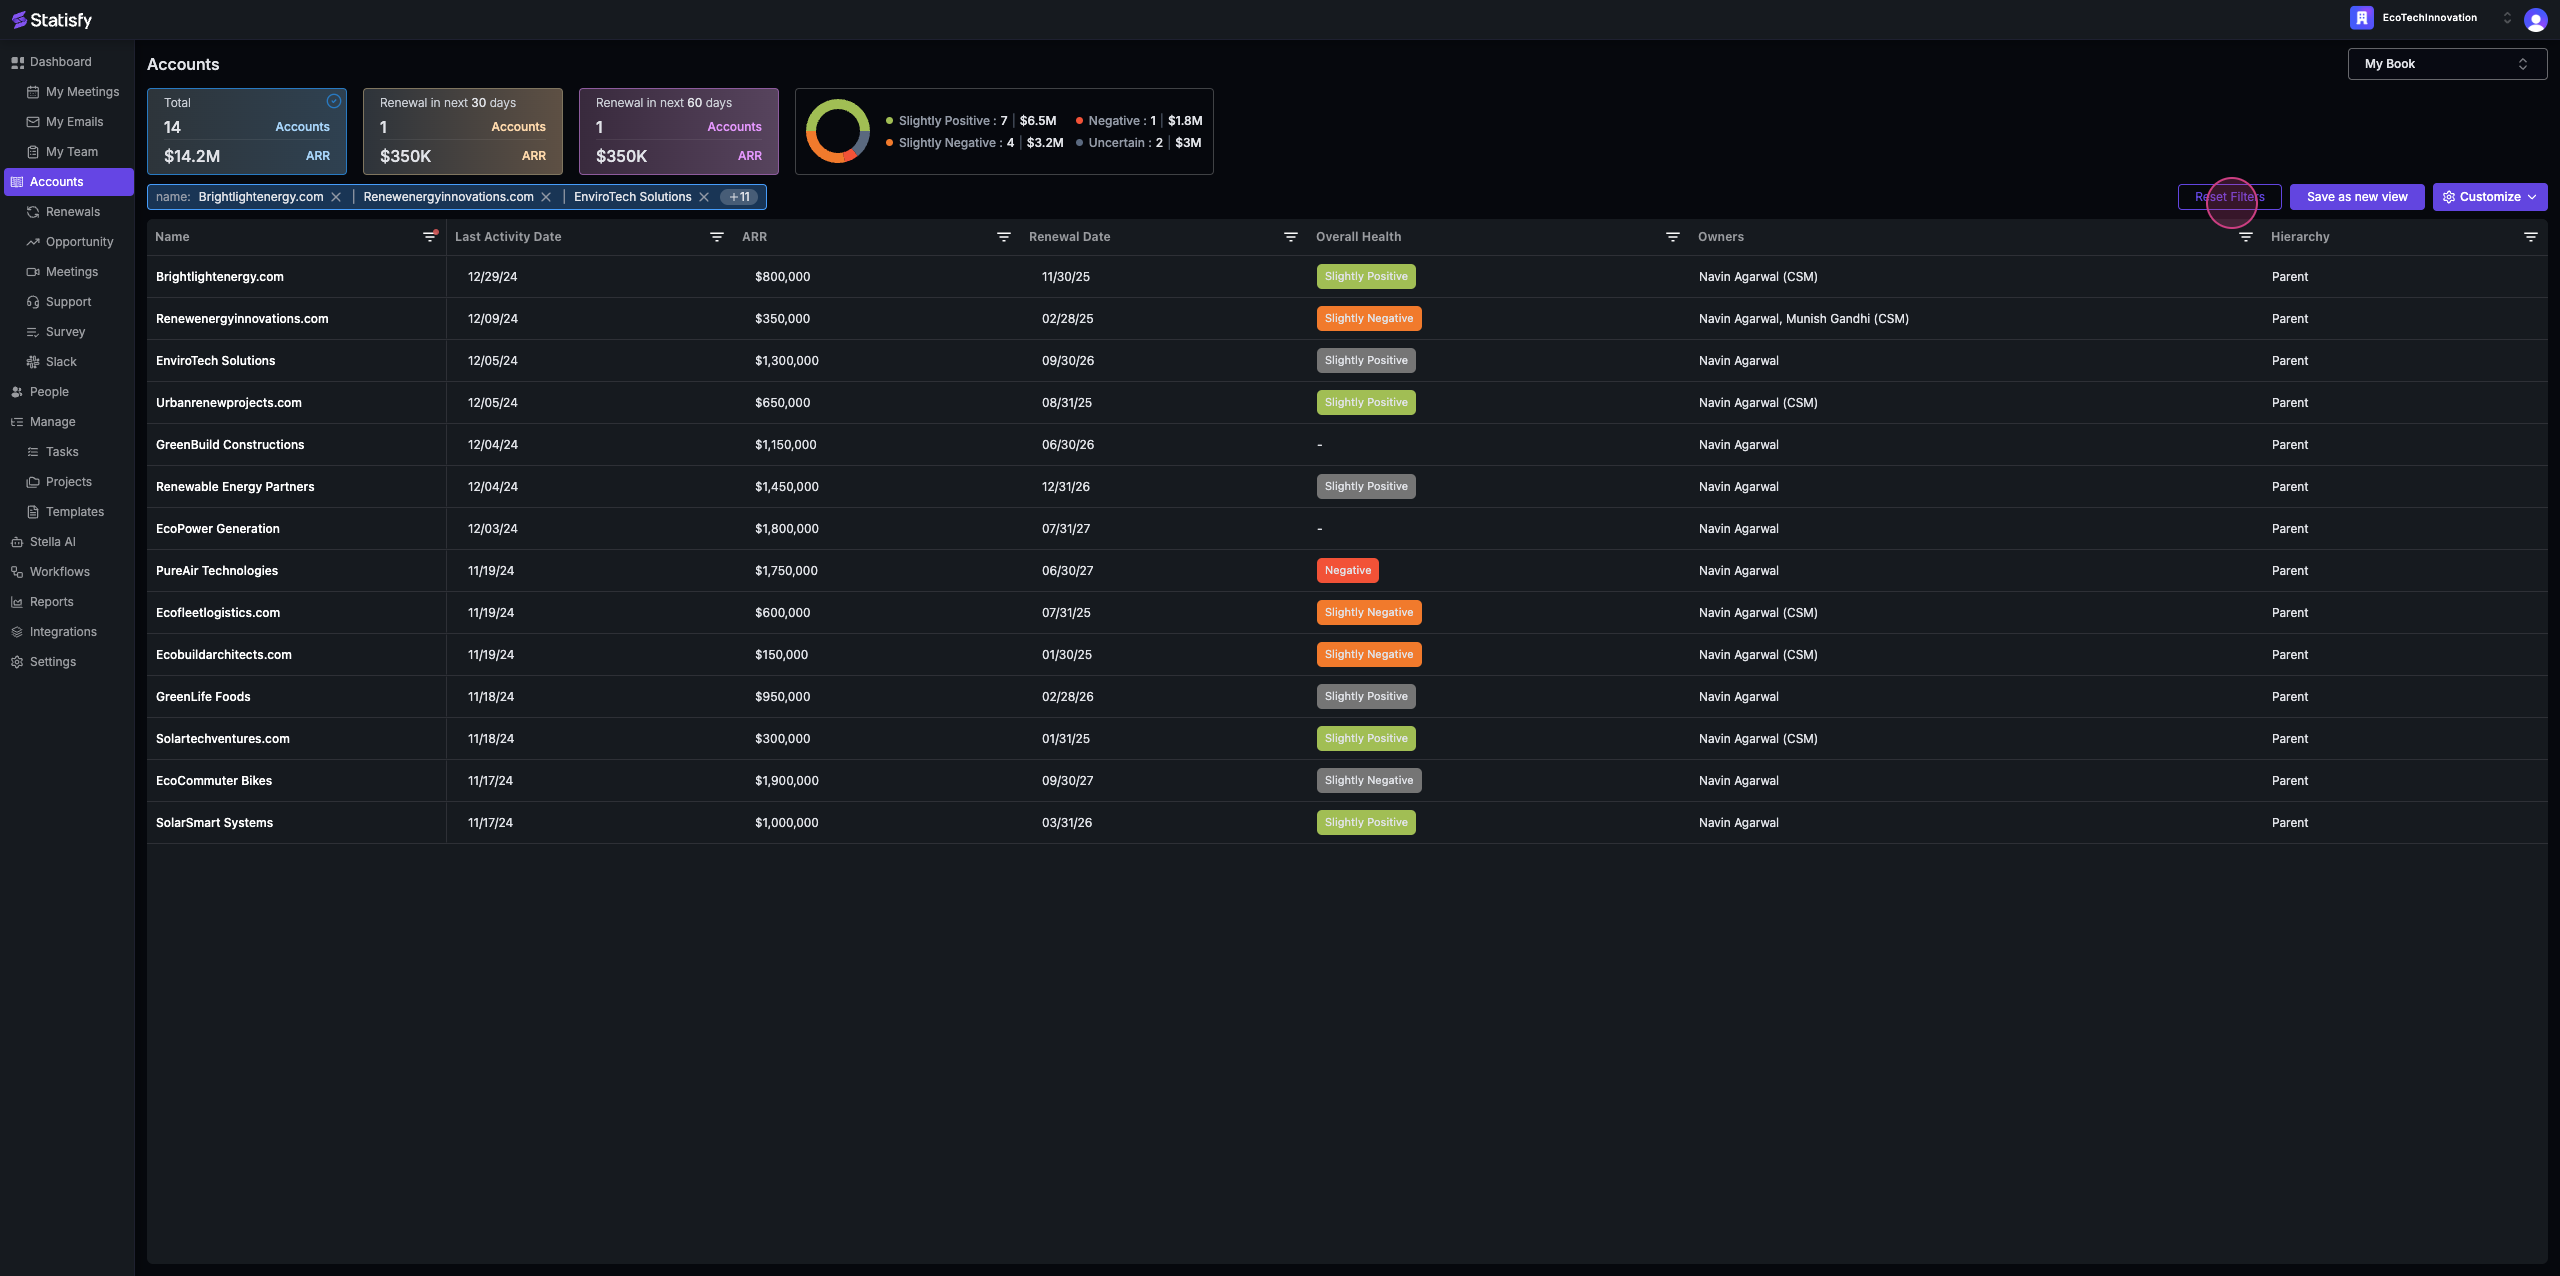
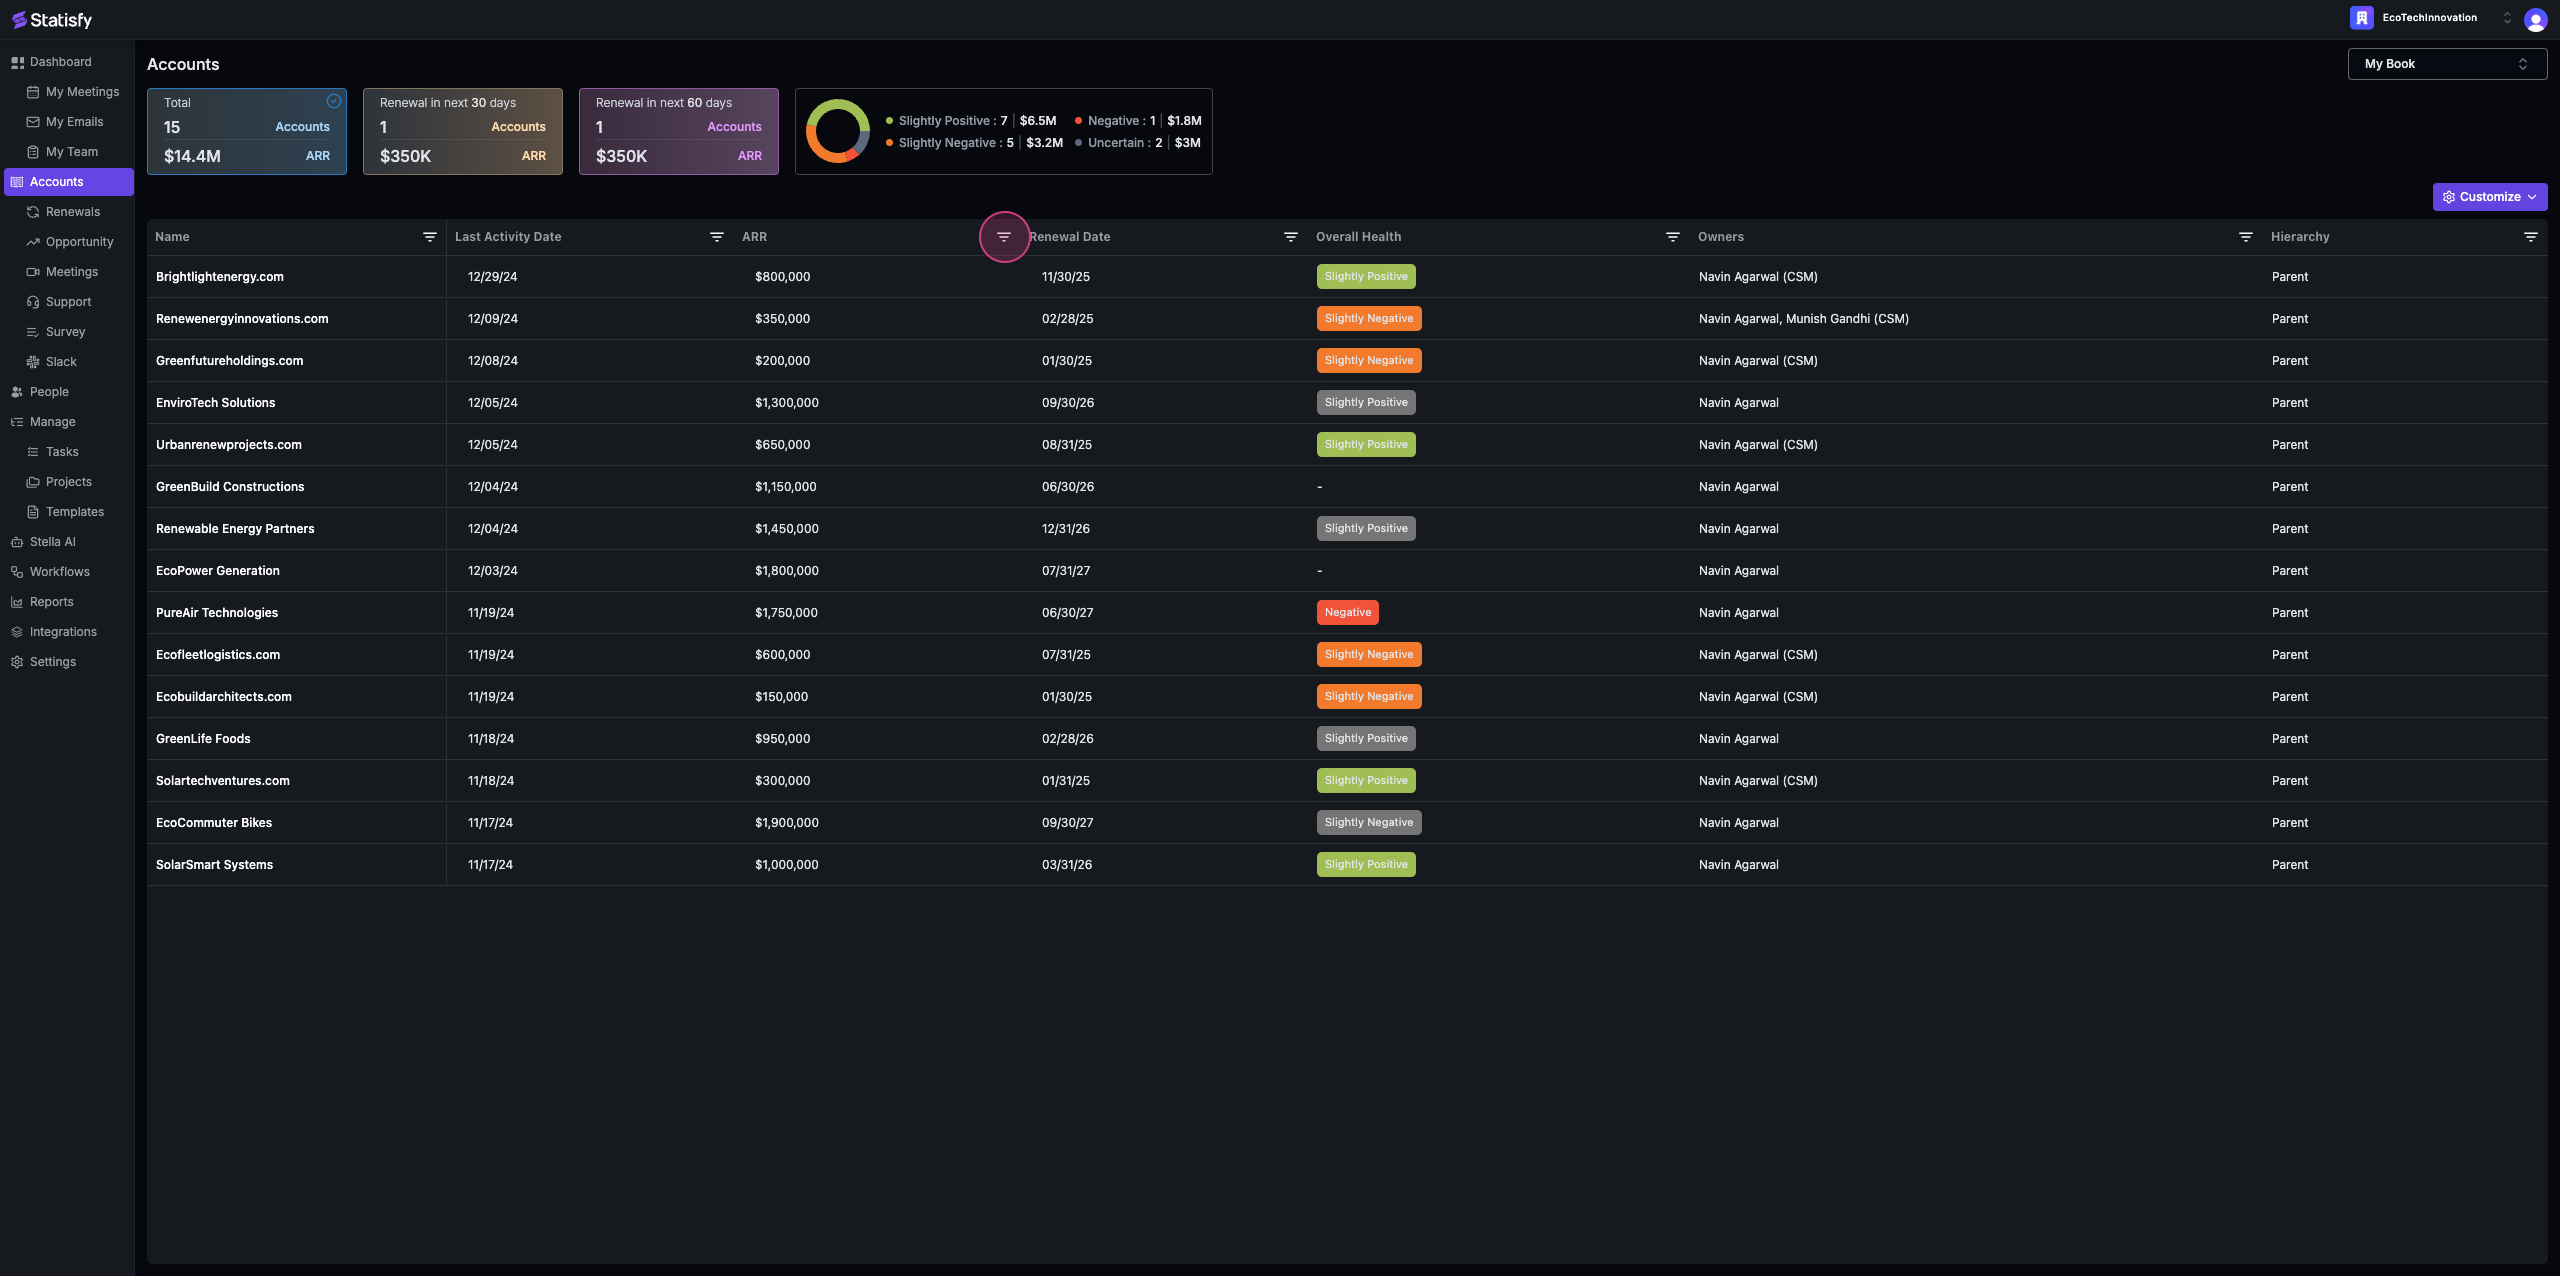
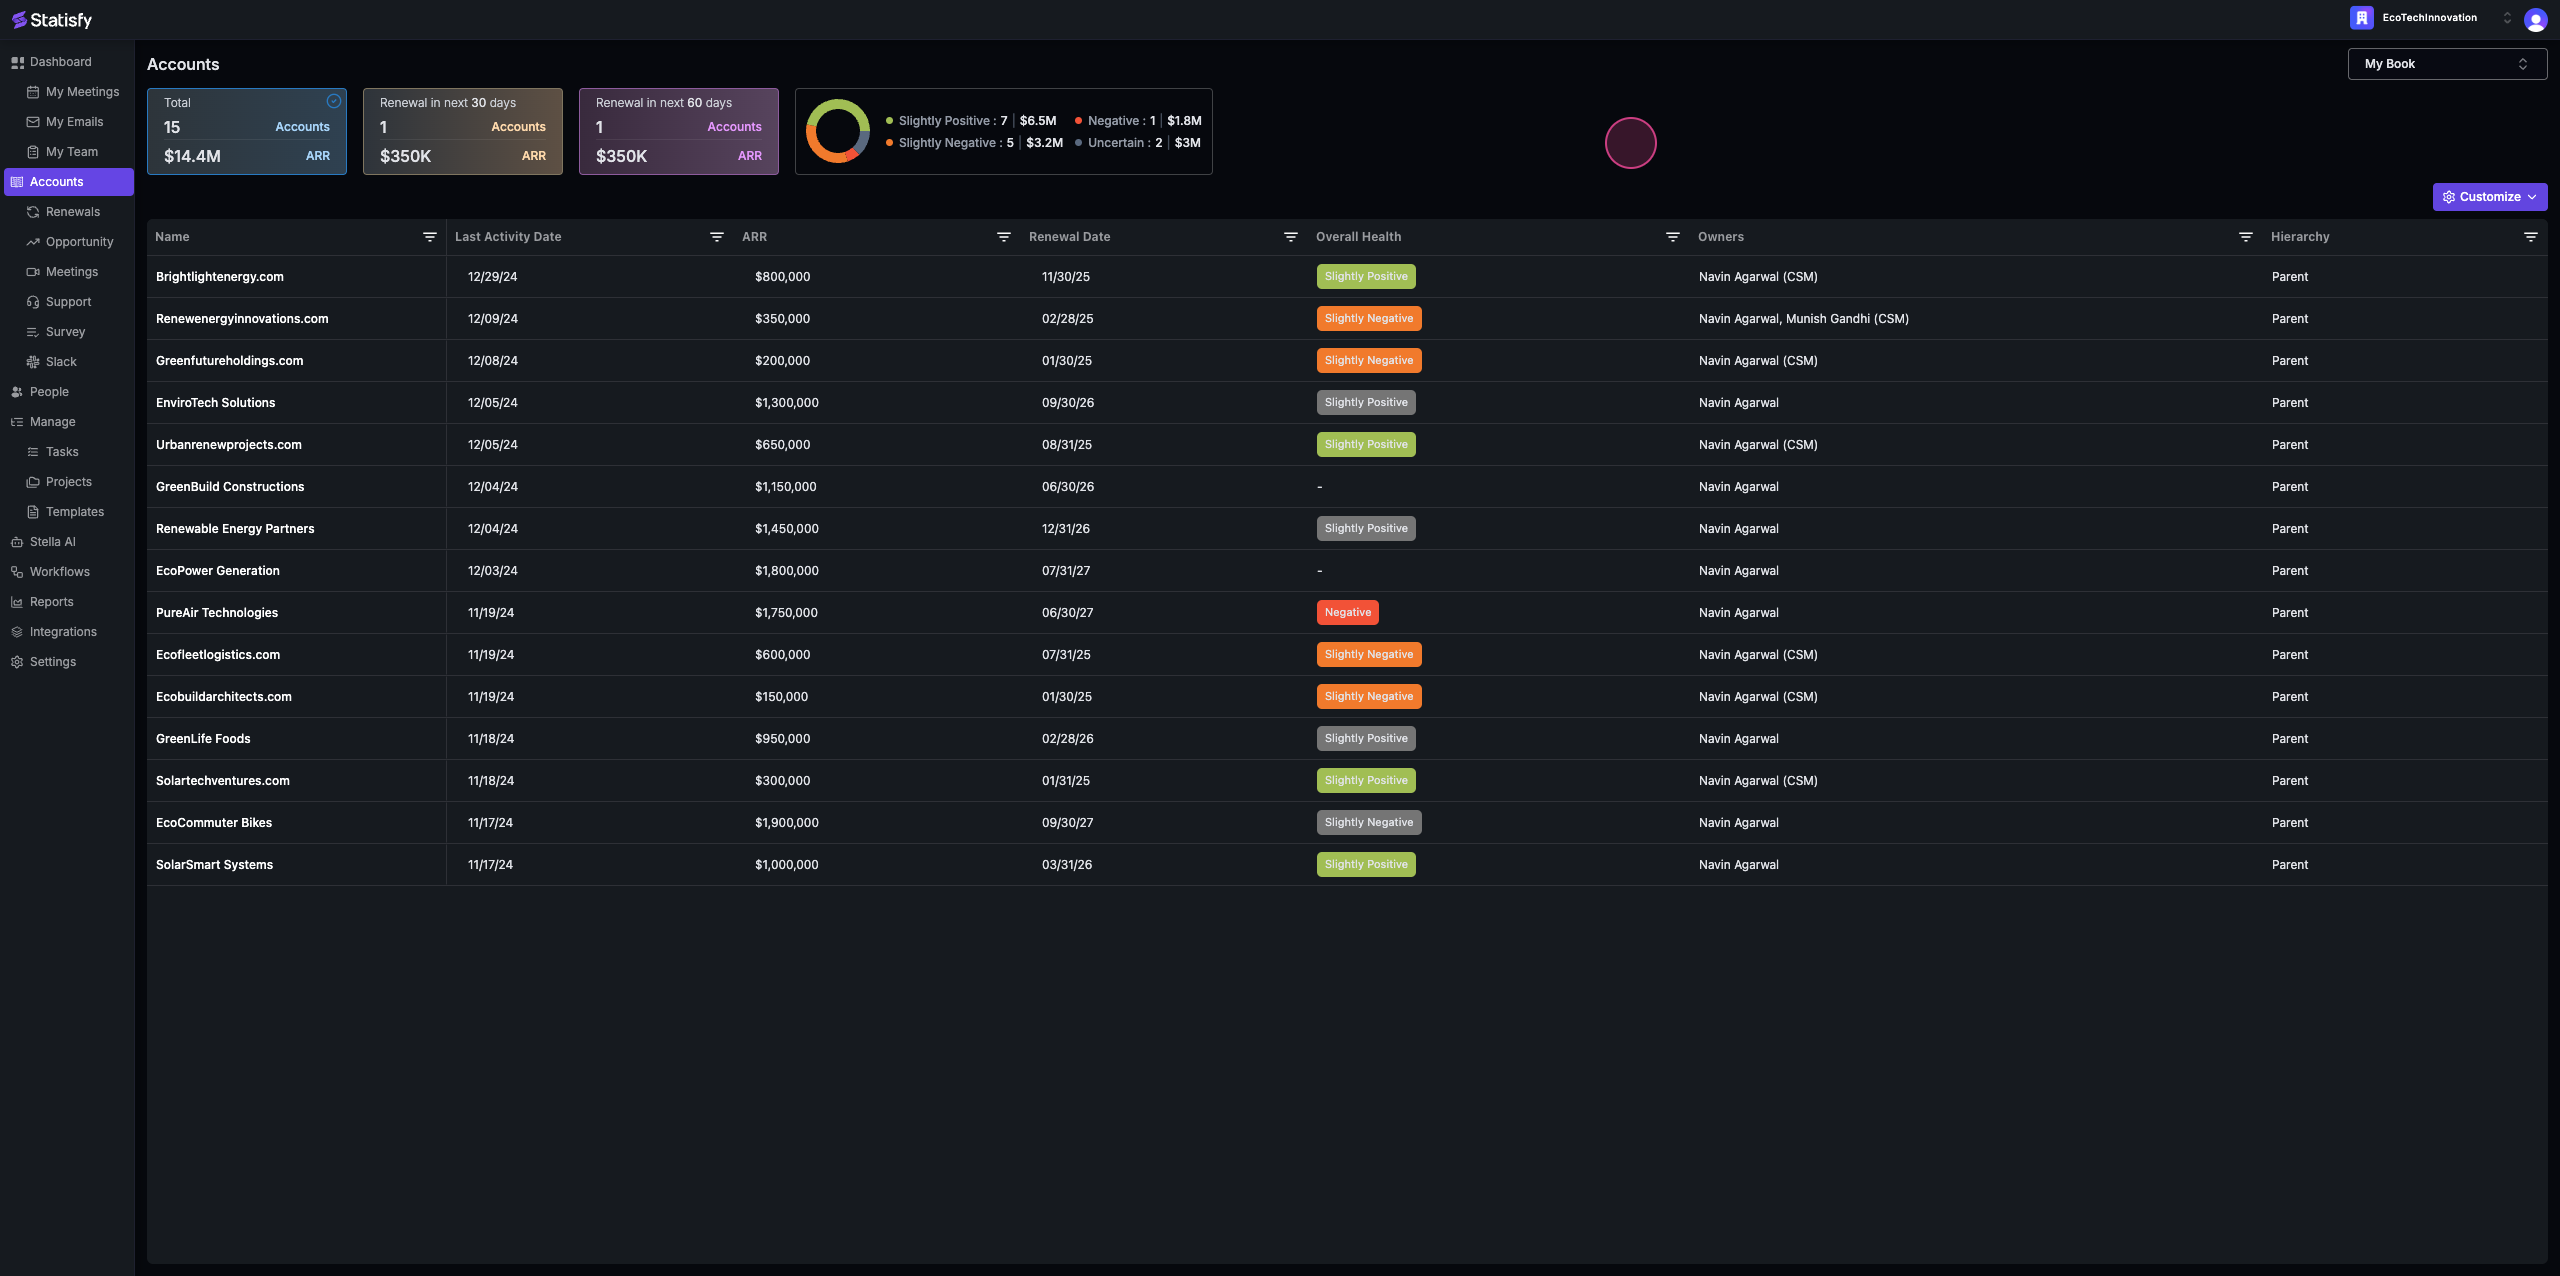
In this article, we’ll guide you through managing your account in Statisfy. By the end, you’ll know how to navigate, filter, and understand your account details. Step 1: Navigate to the account section on the left navigation. By default, it will load your book of business if you’re the owner. Here, you’ll see your accounts, the last activity date, the account ARR, the renewal date, and the overall health. This also includes the AI calculated health, the account owners, and the parent-child hierarchy if applicable. Step 2: To filter the columns, click on the arrow button.
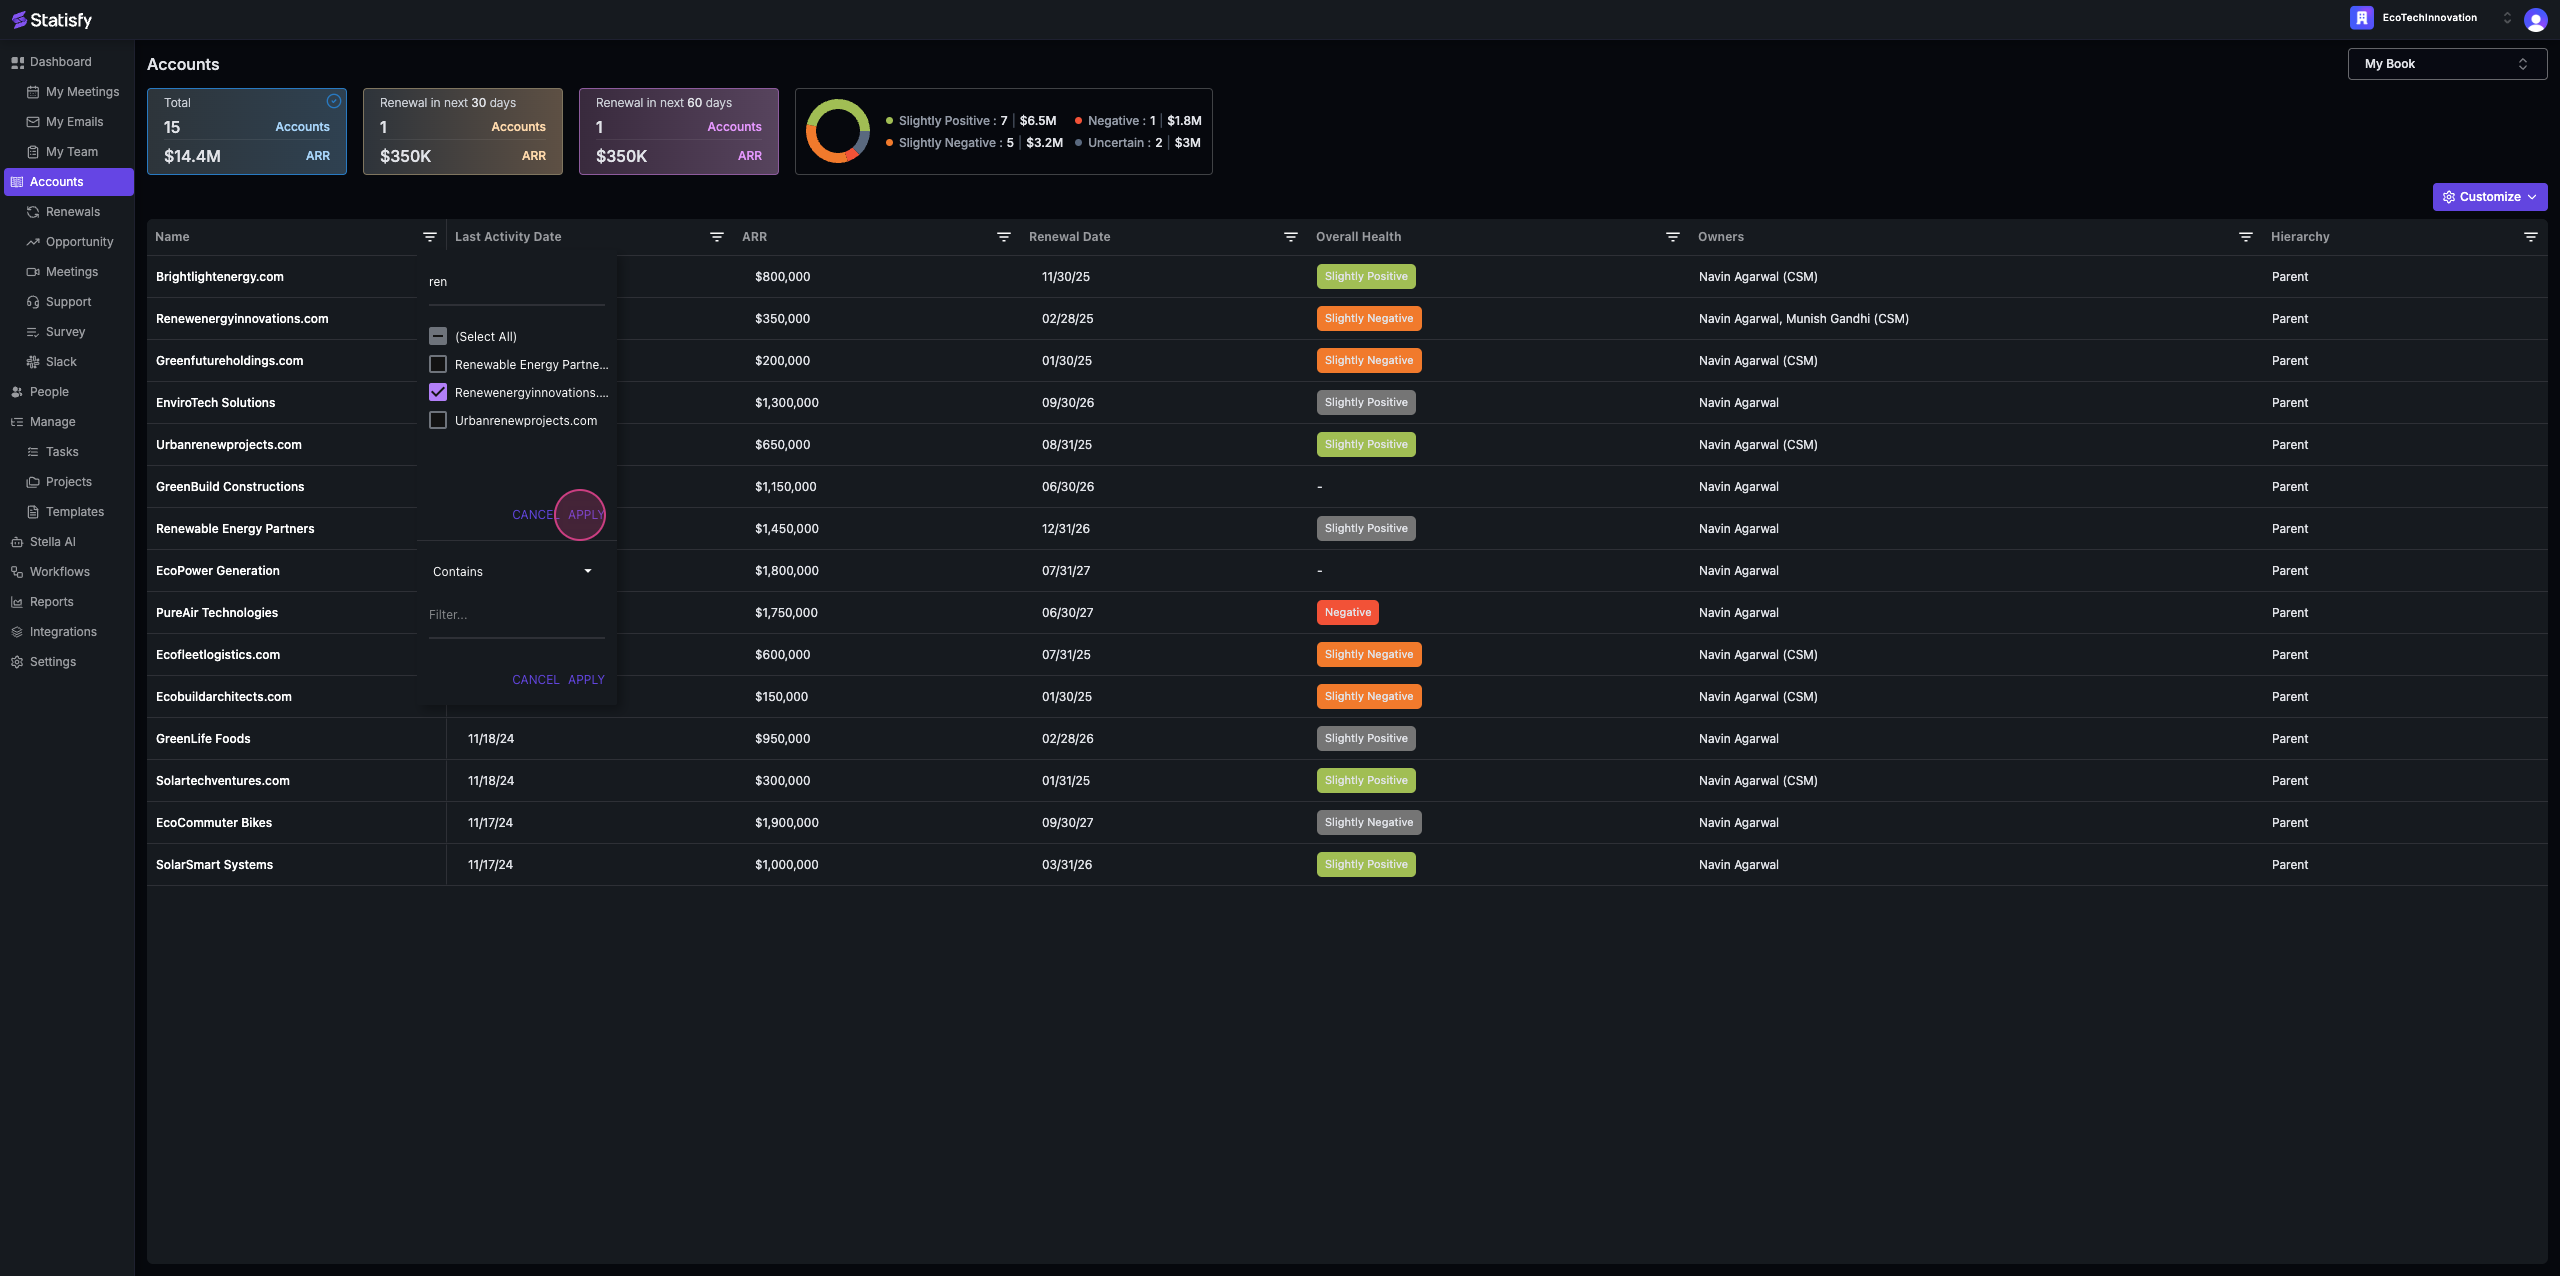
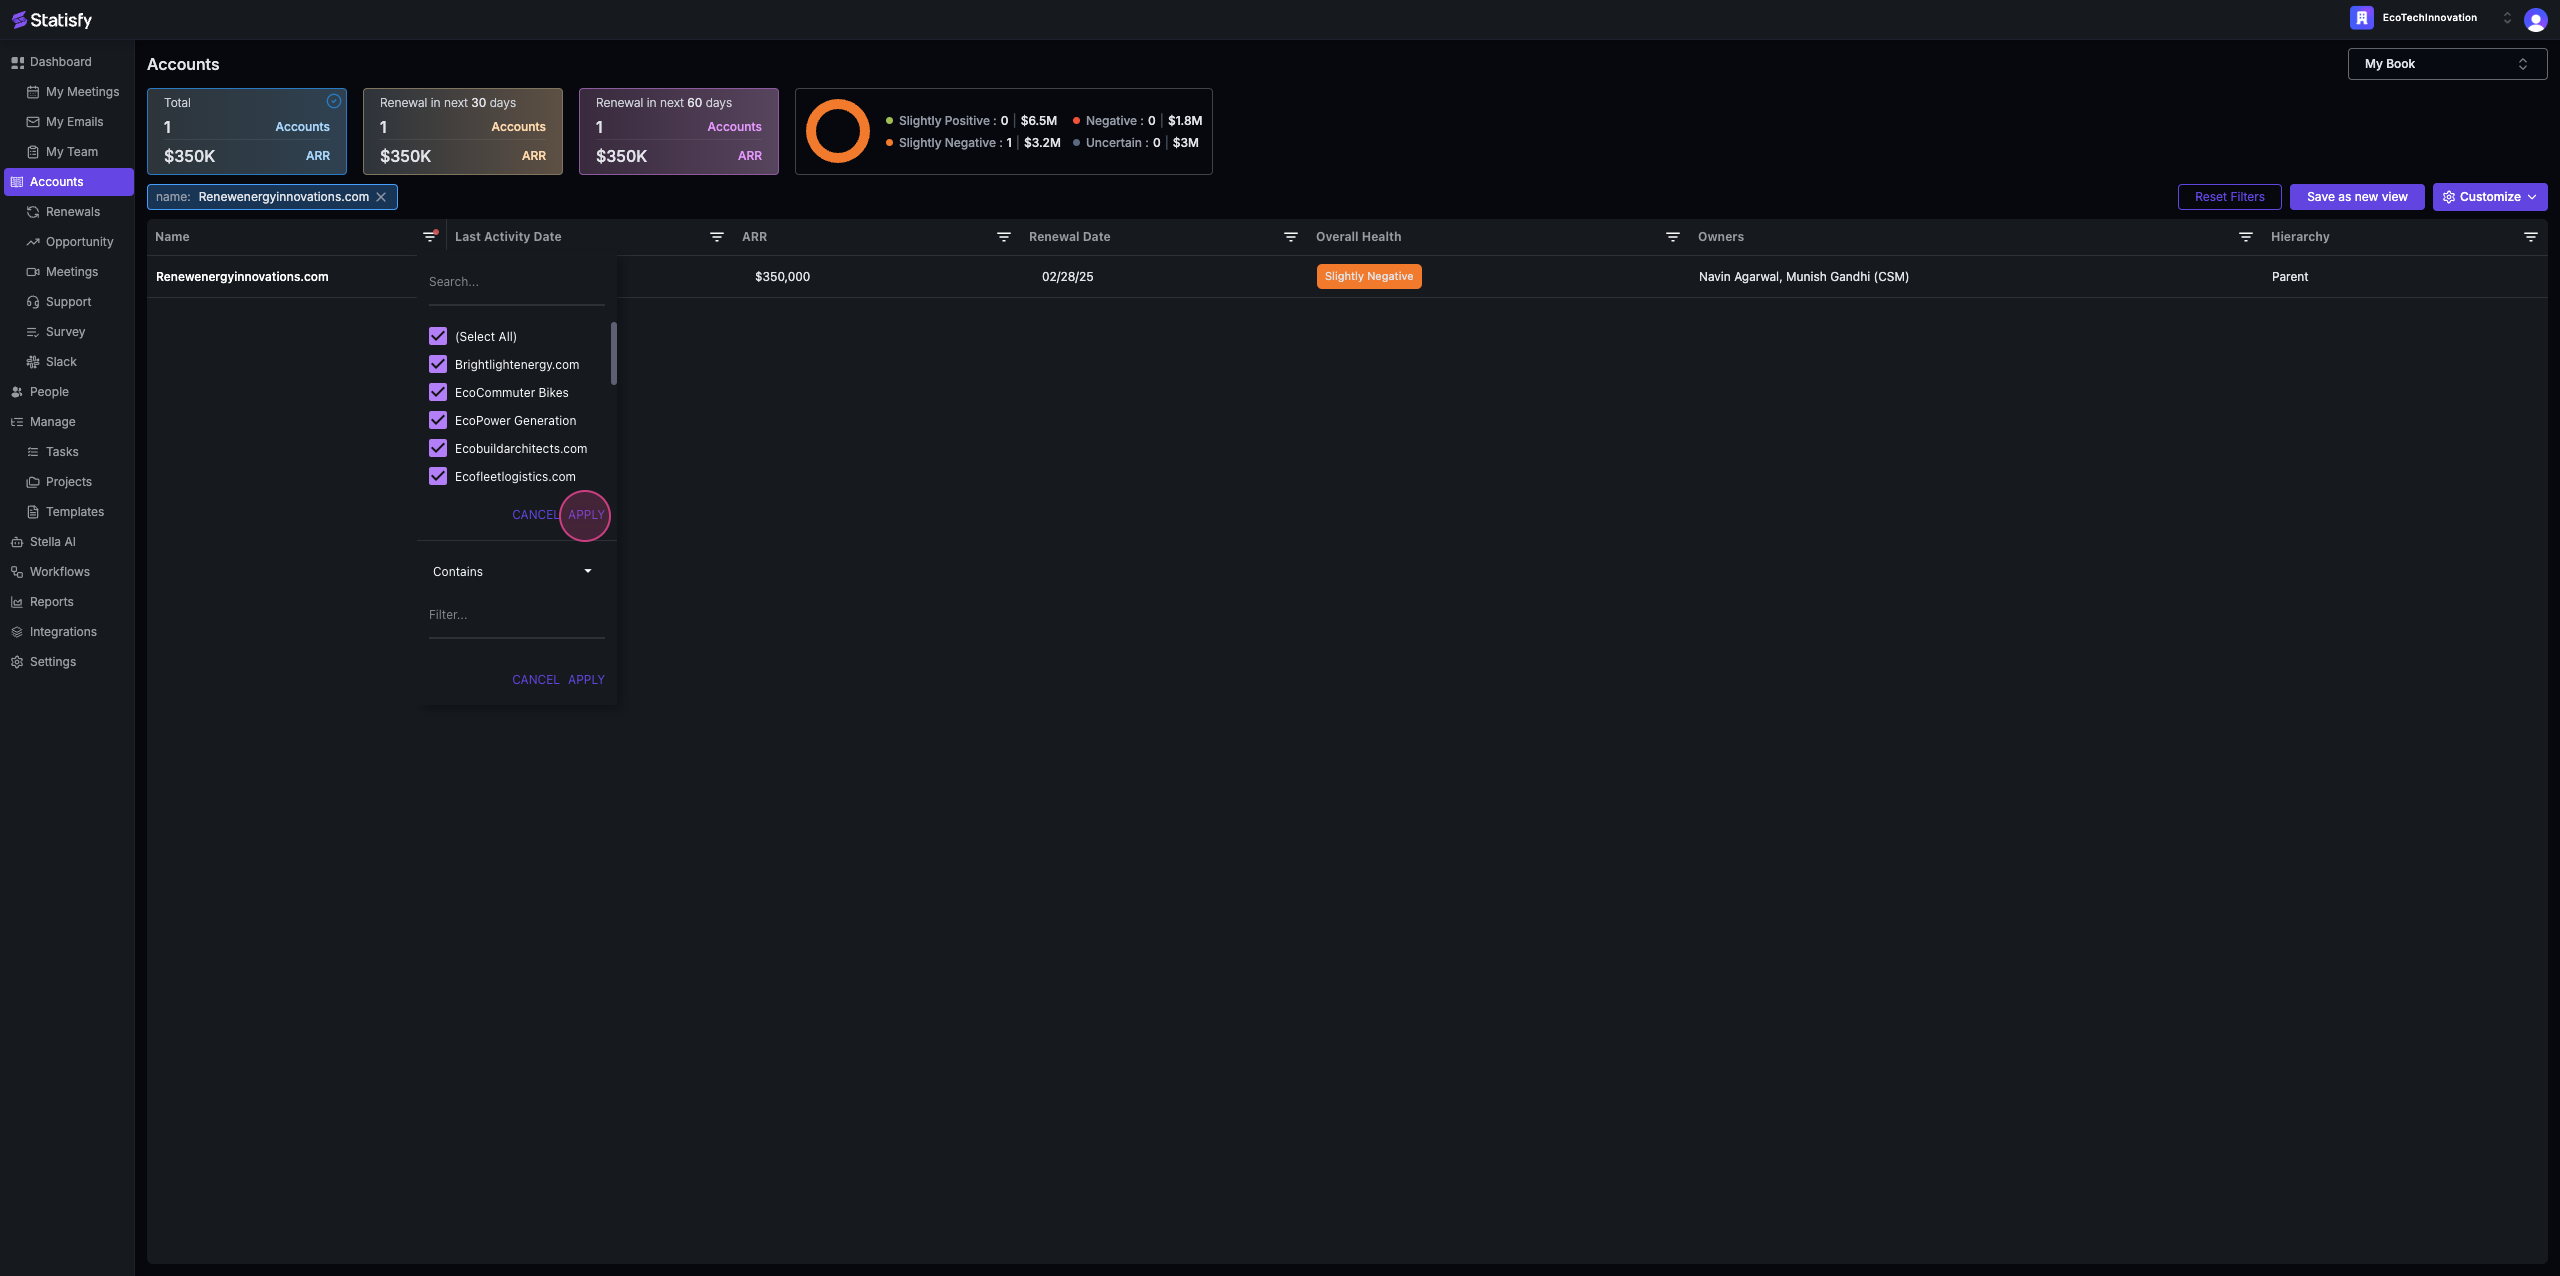
 Step 3: Type in the name of the account you’re looking for.
 Step 4: Click on the account name to select it.
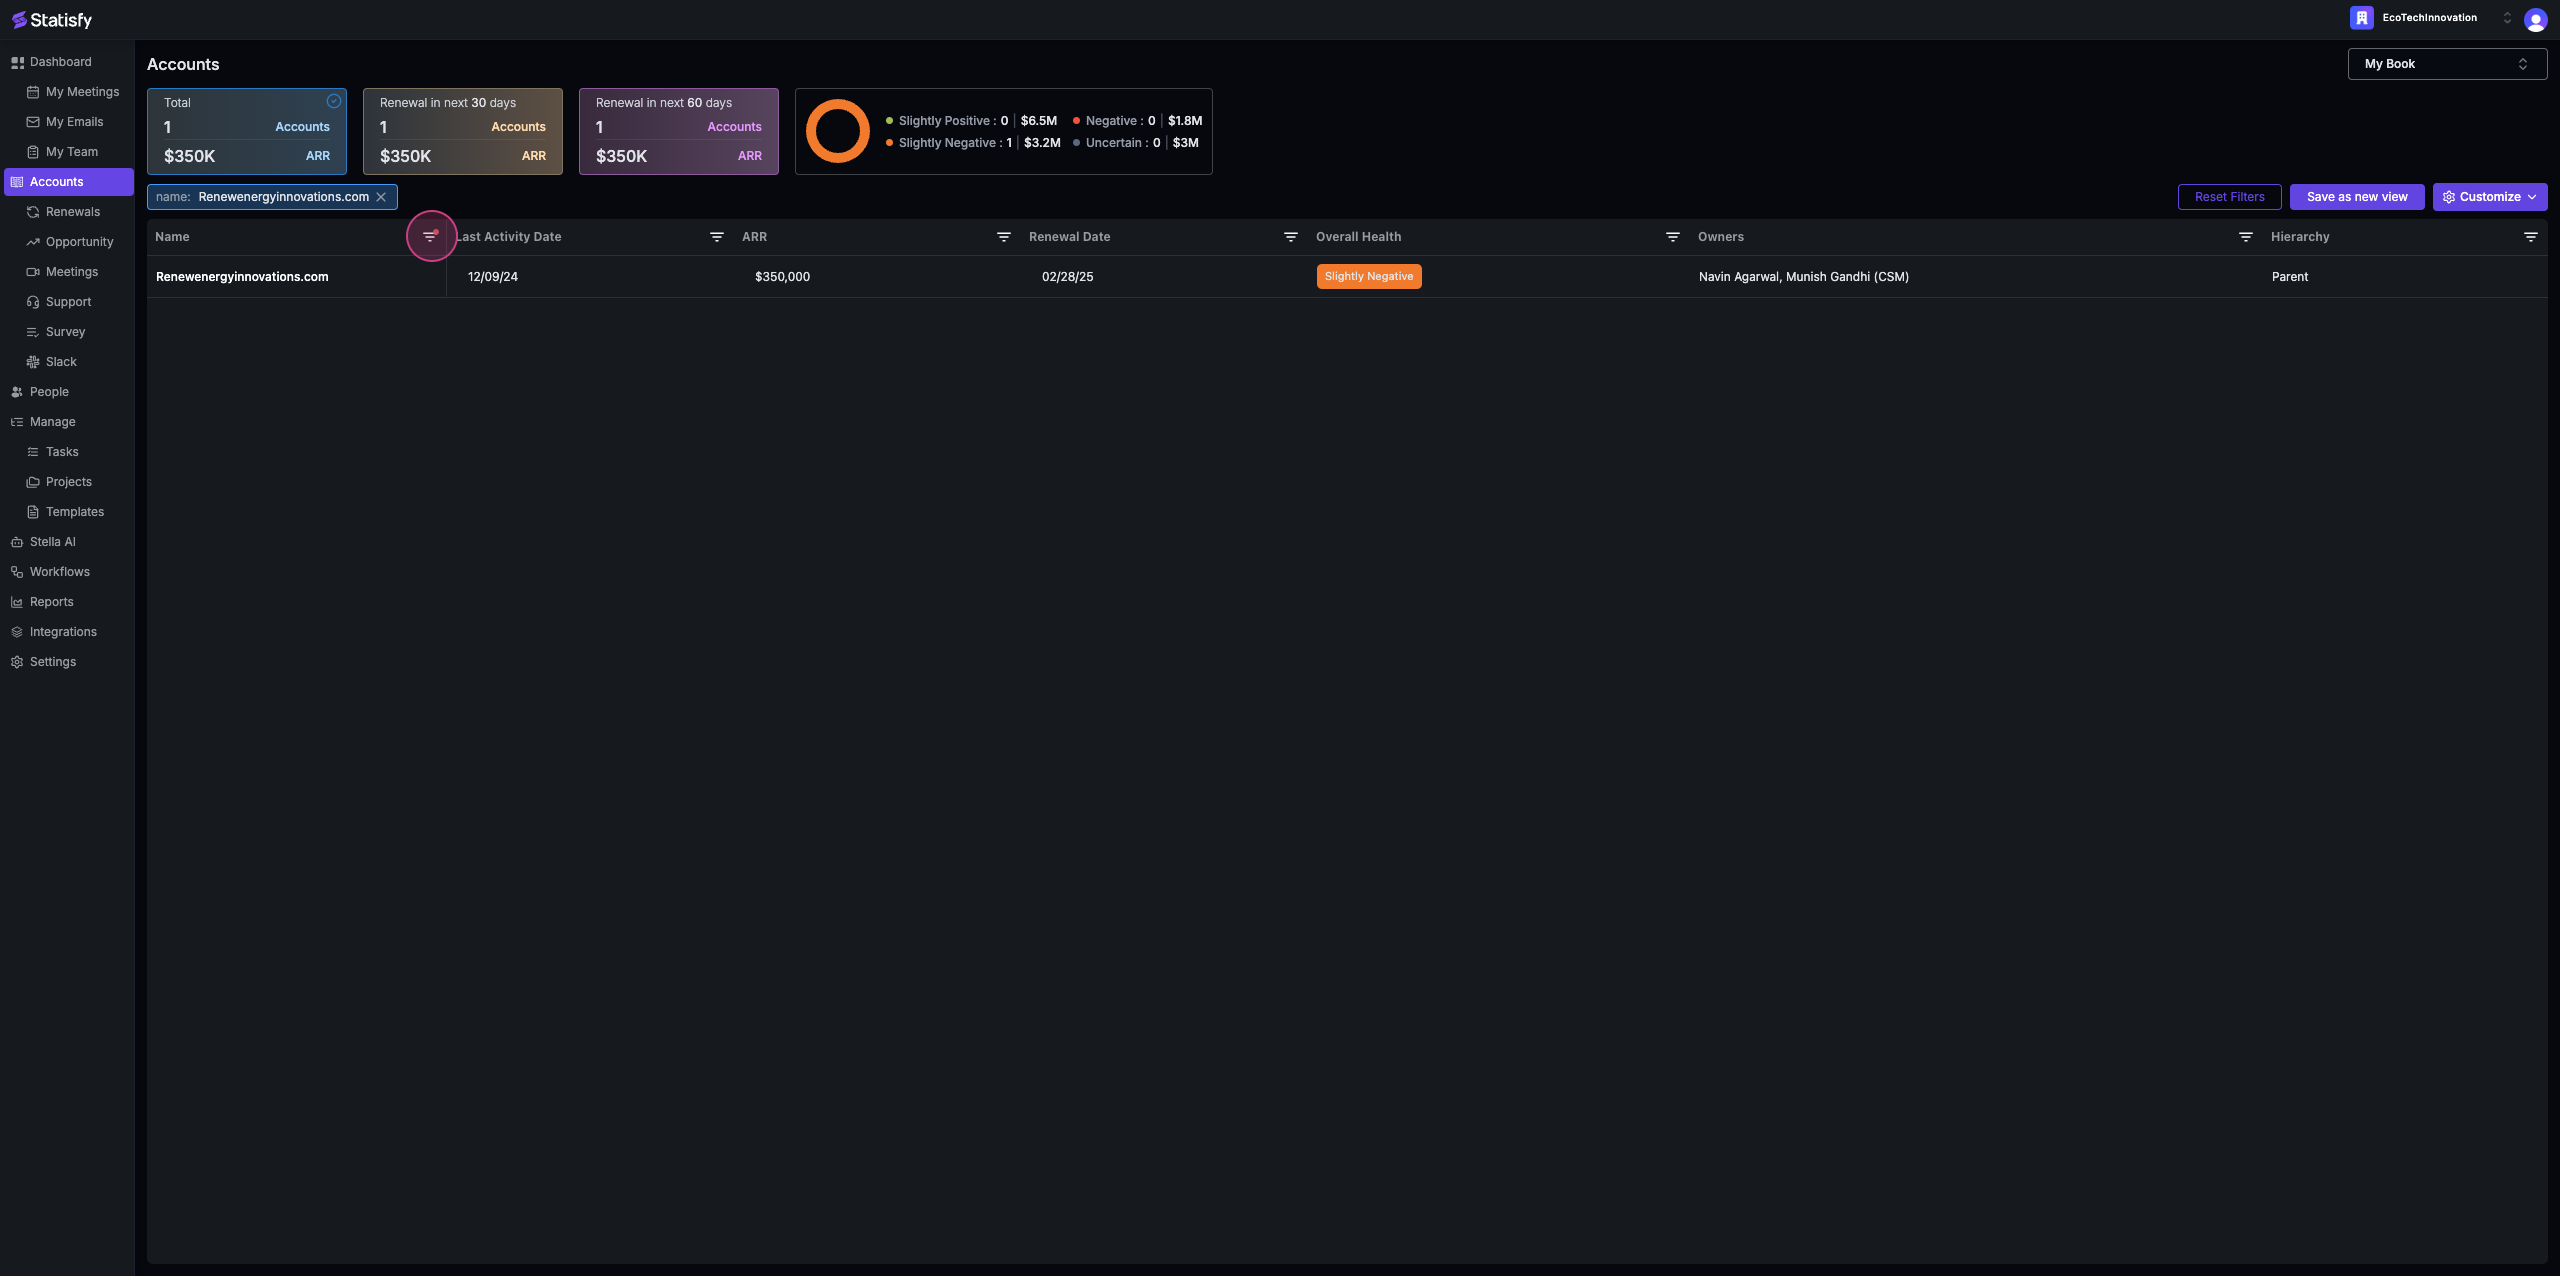
 Step 5: Apply the filter to view the specific account.
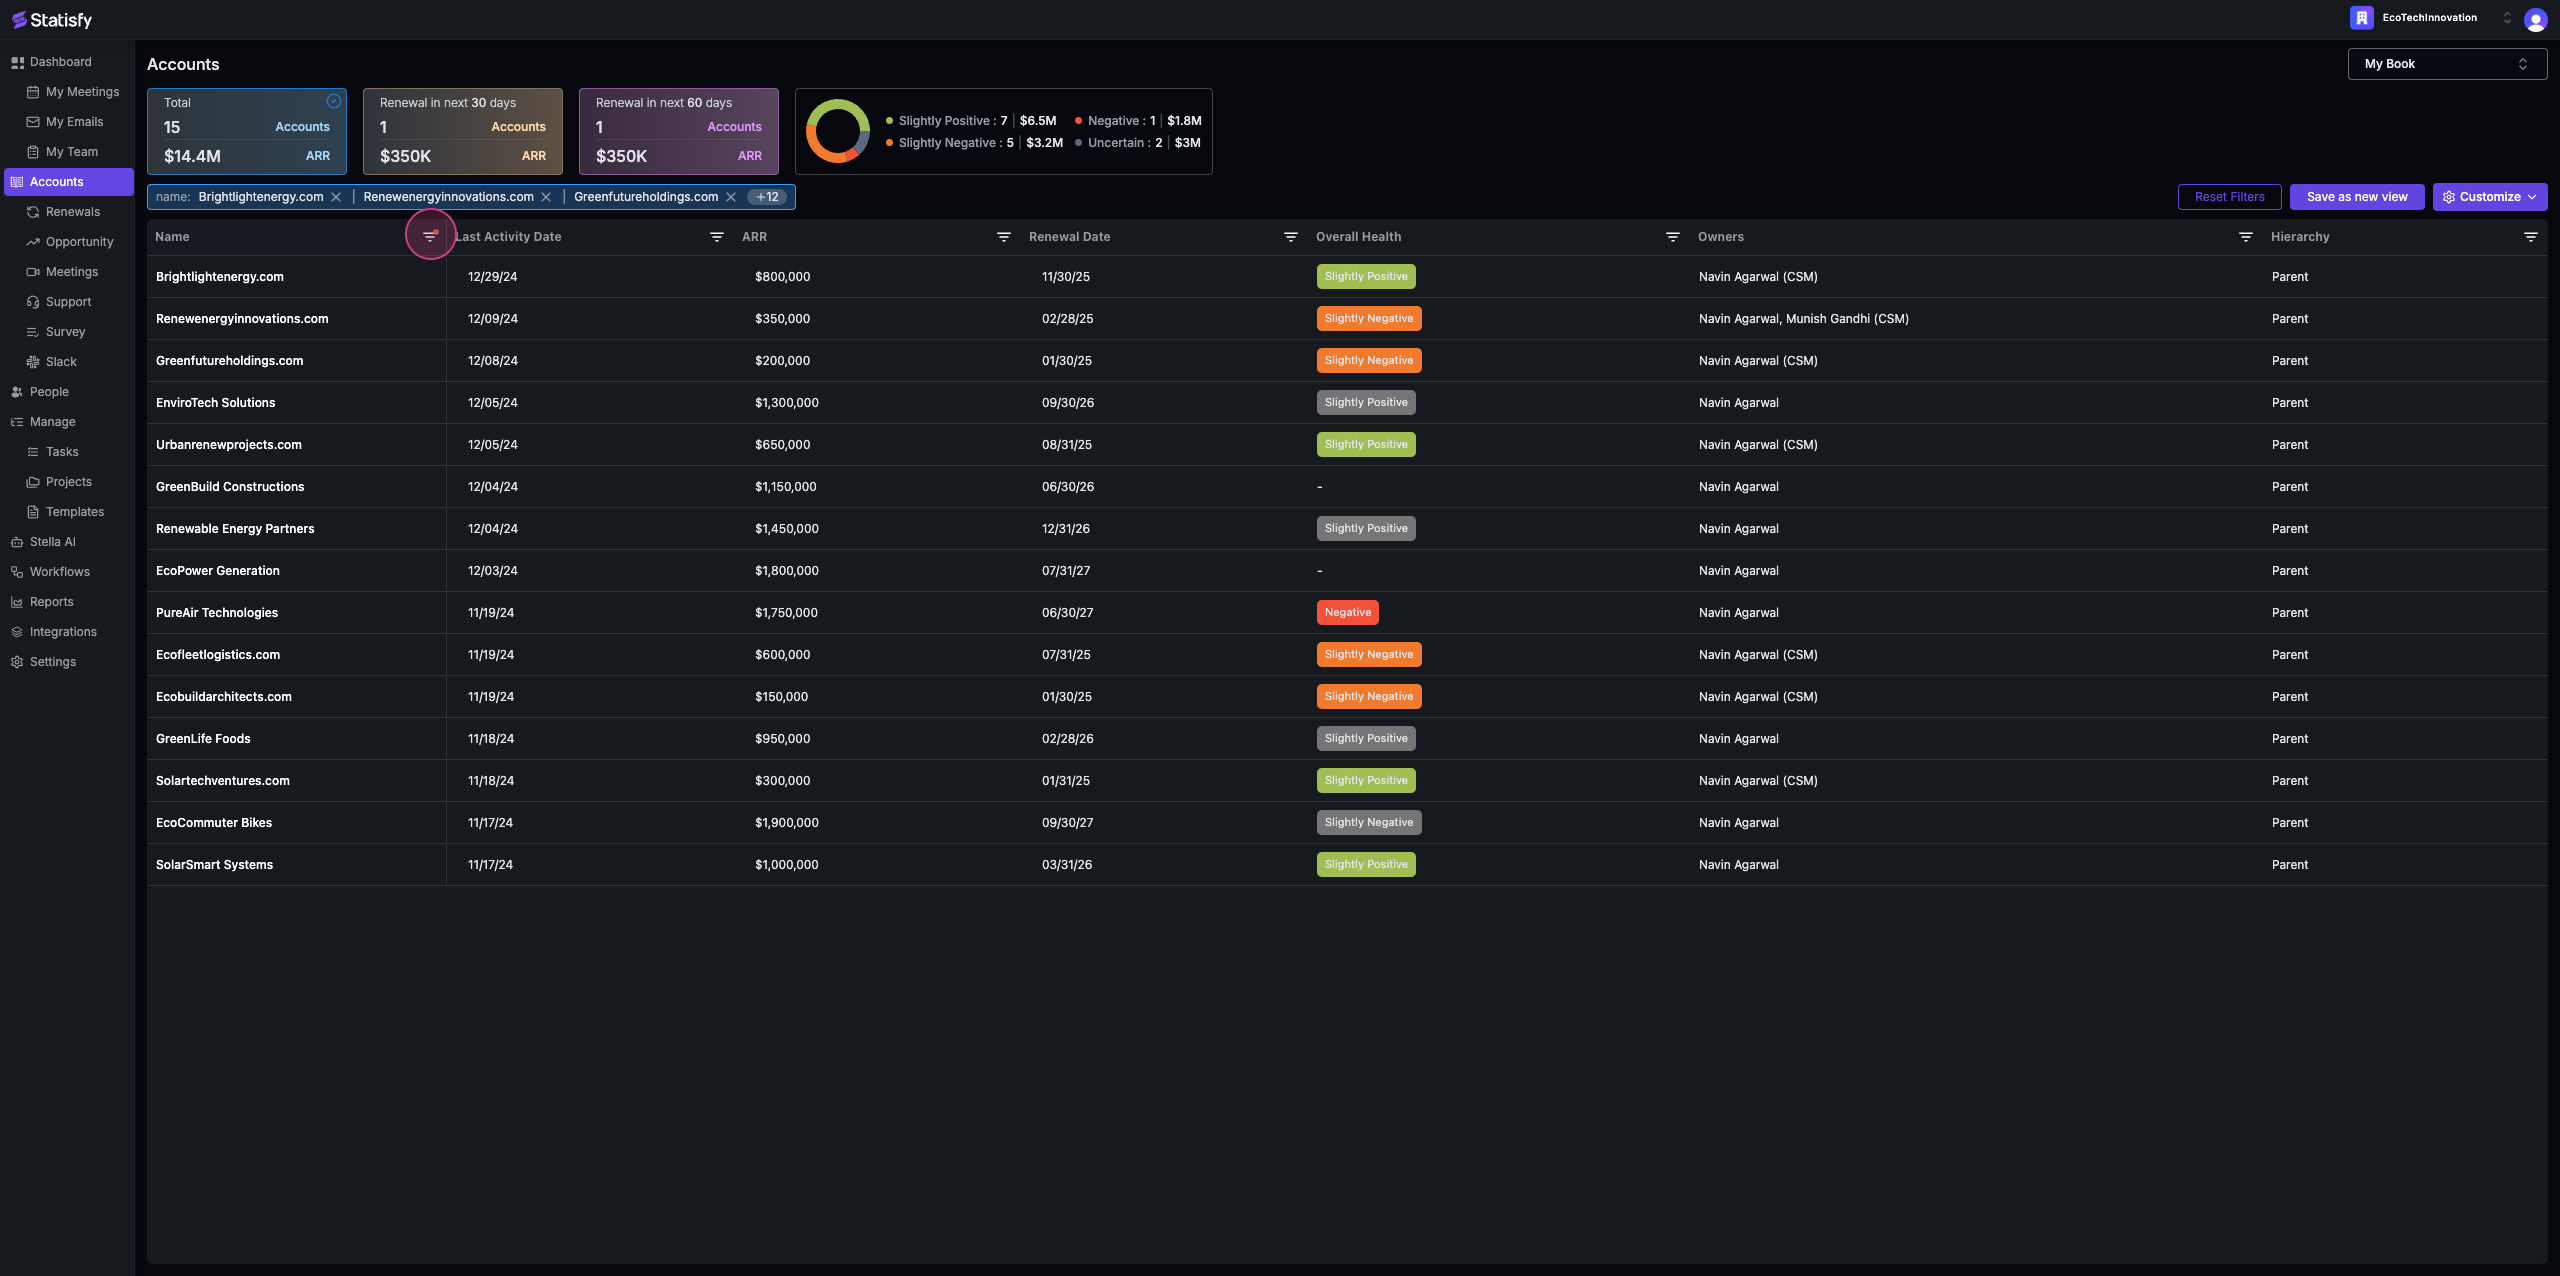
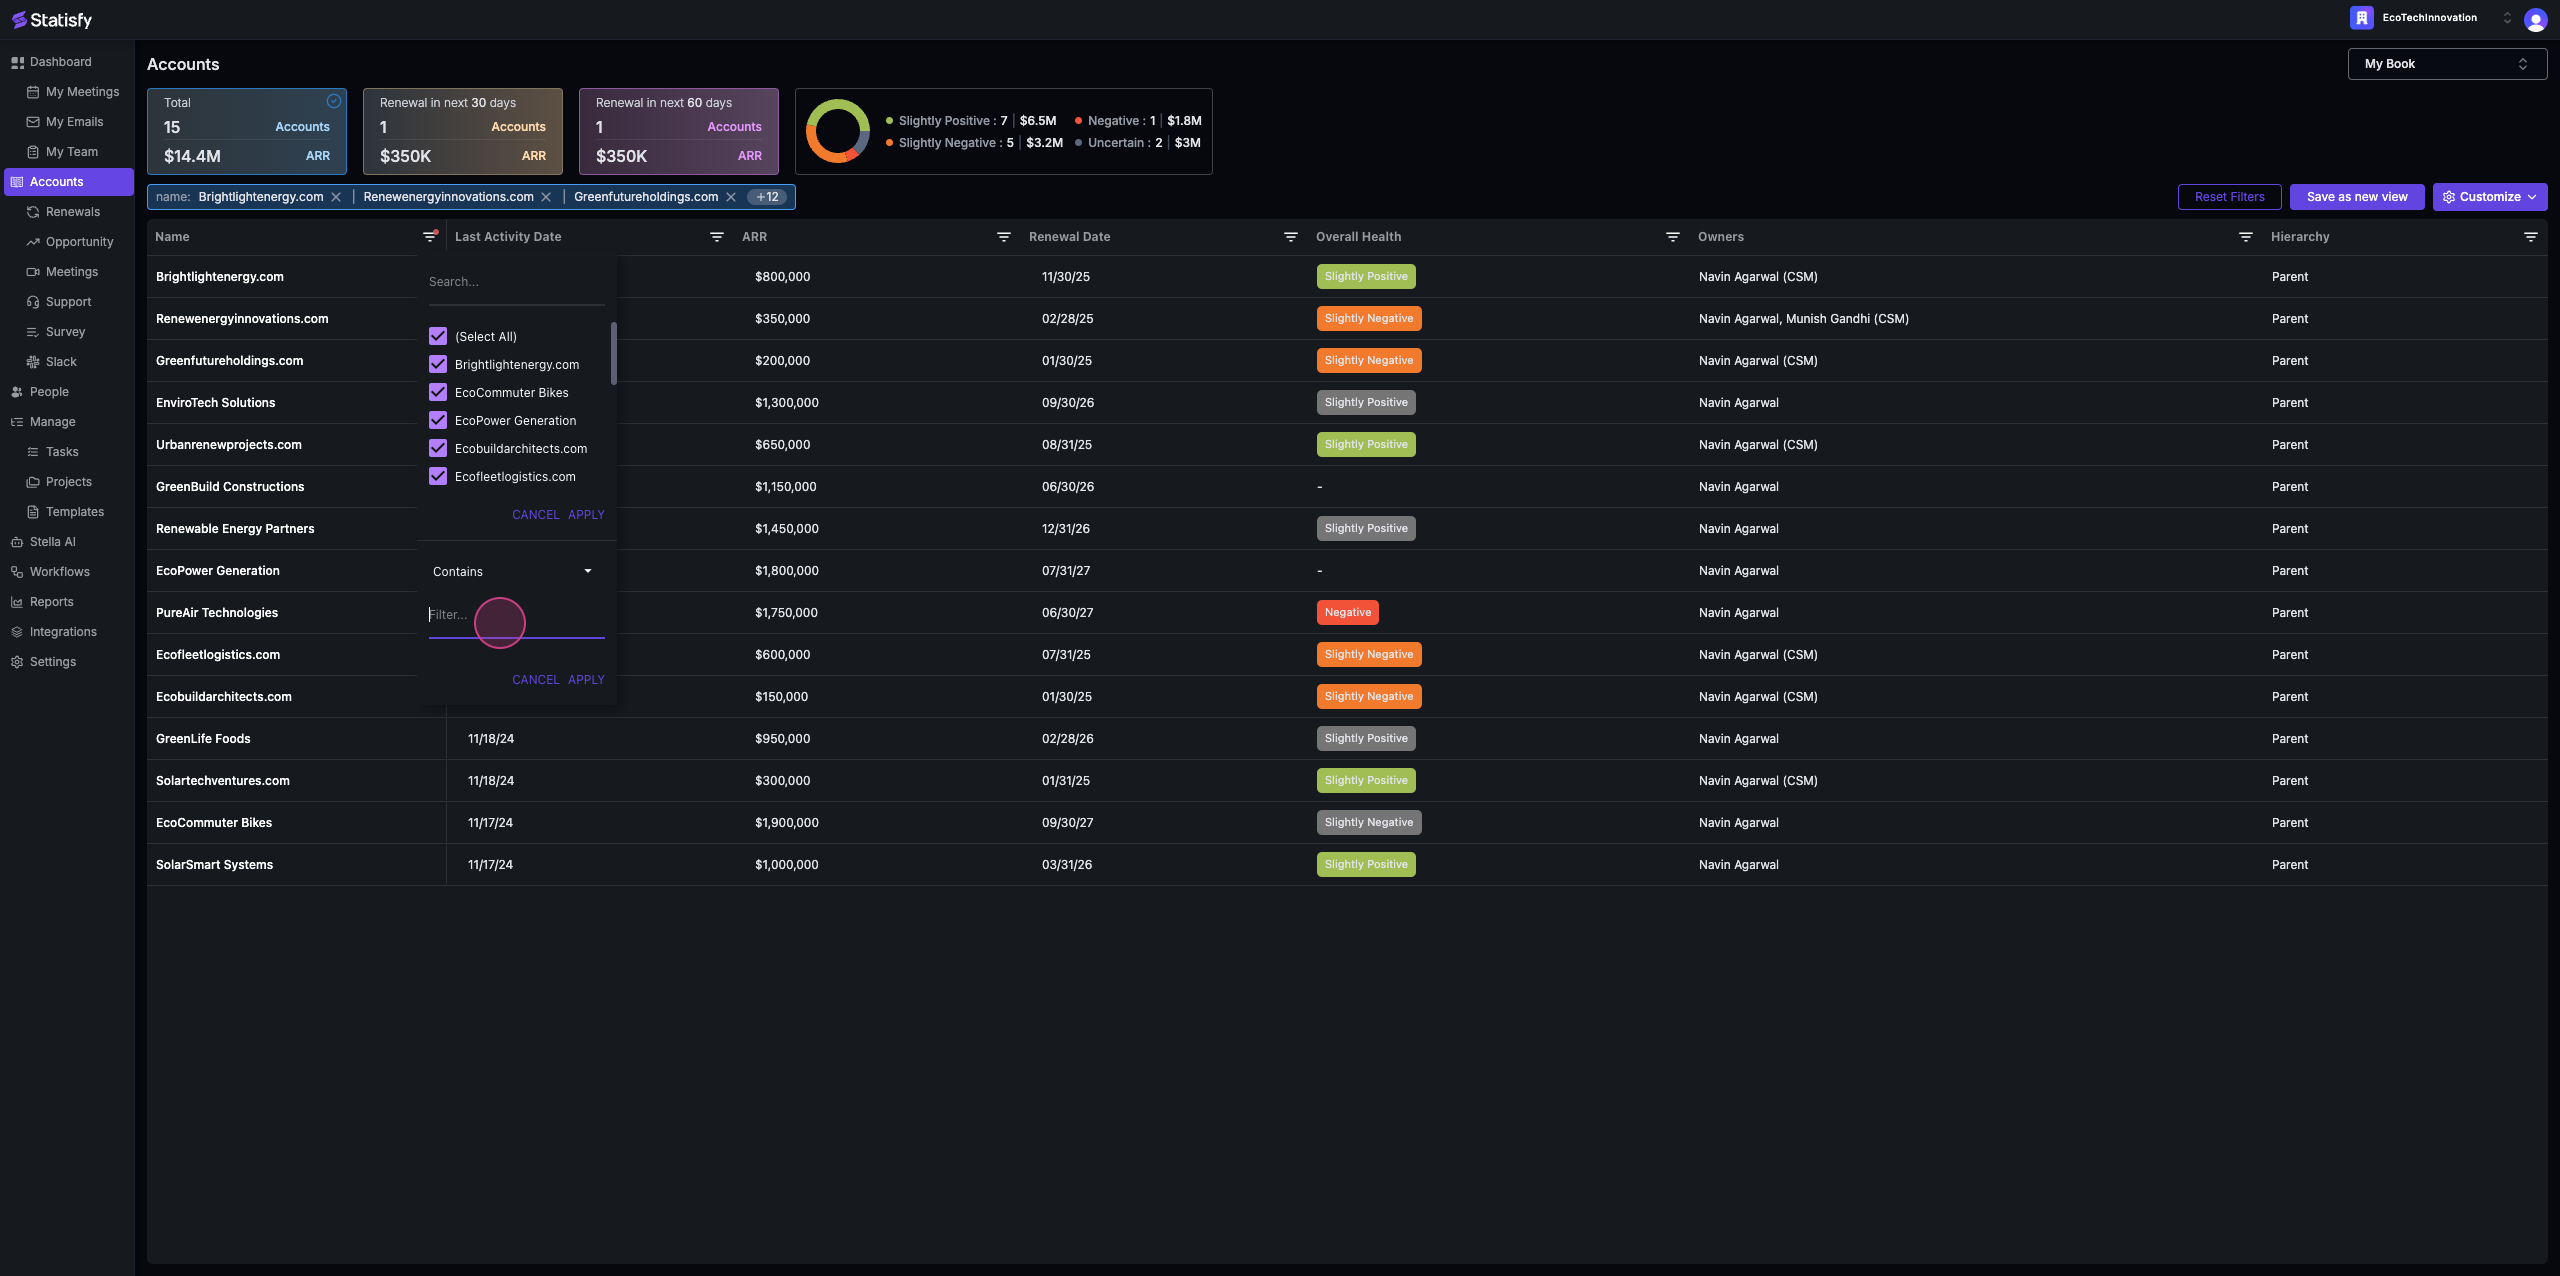
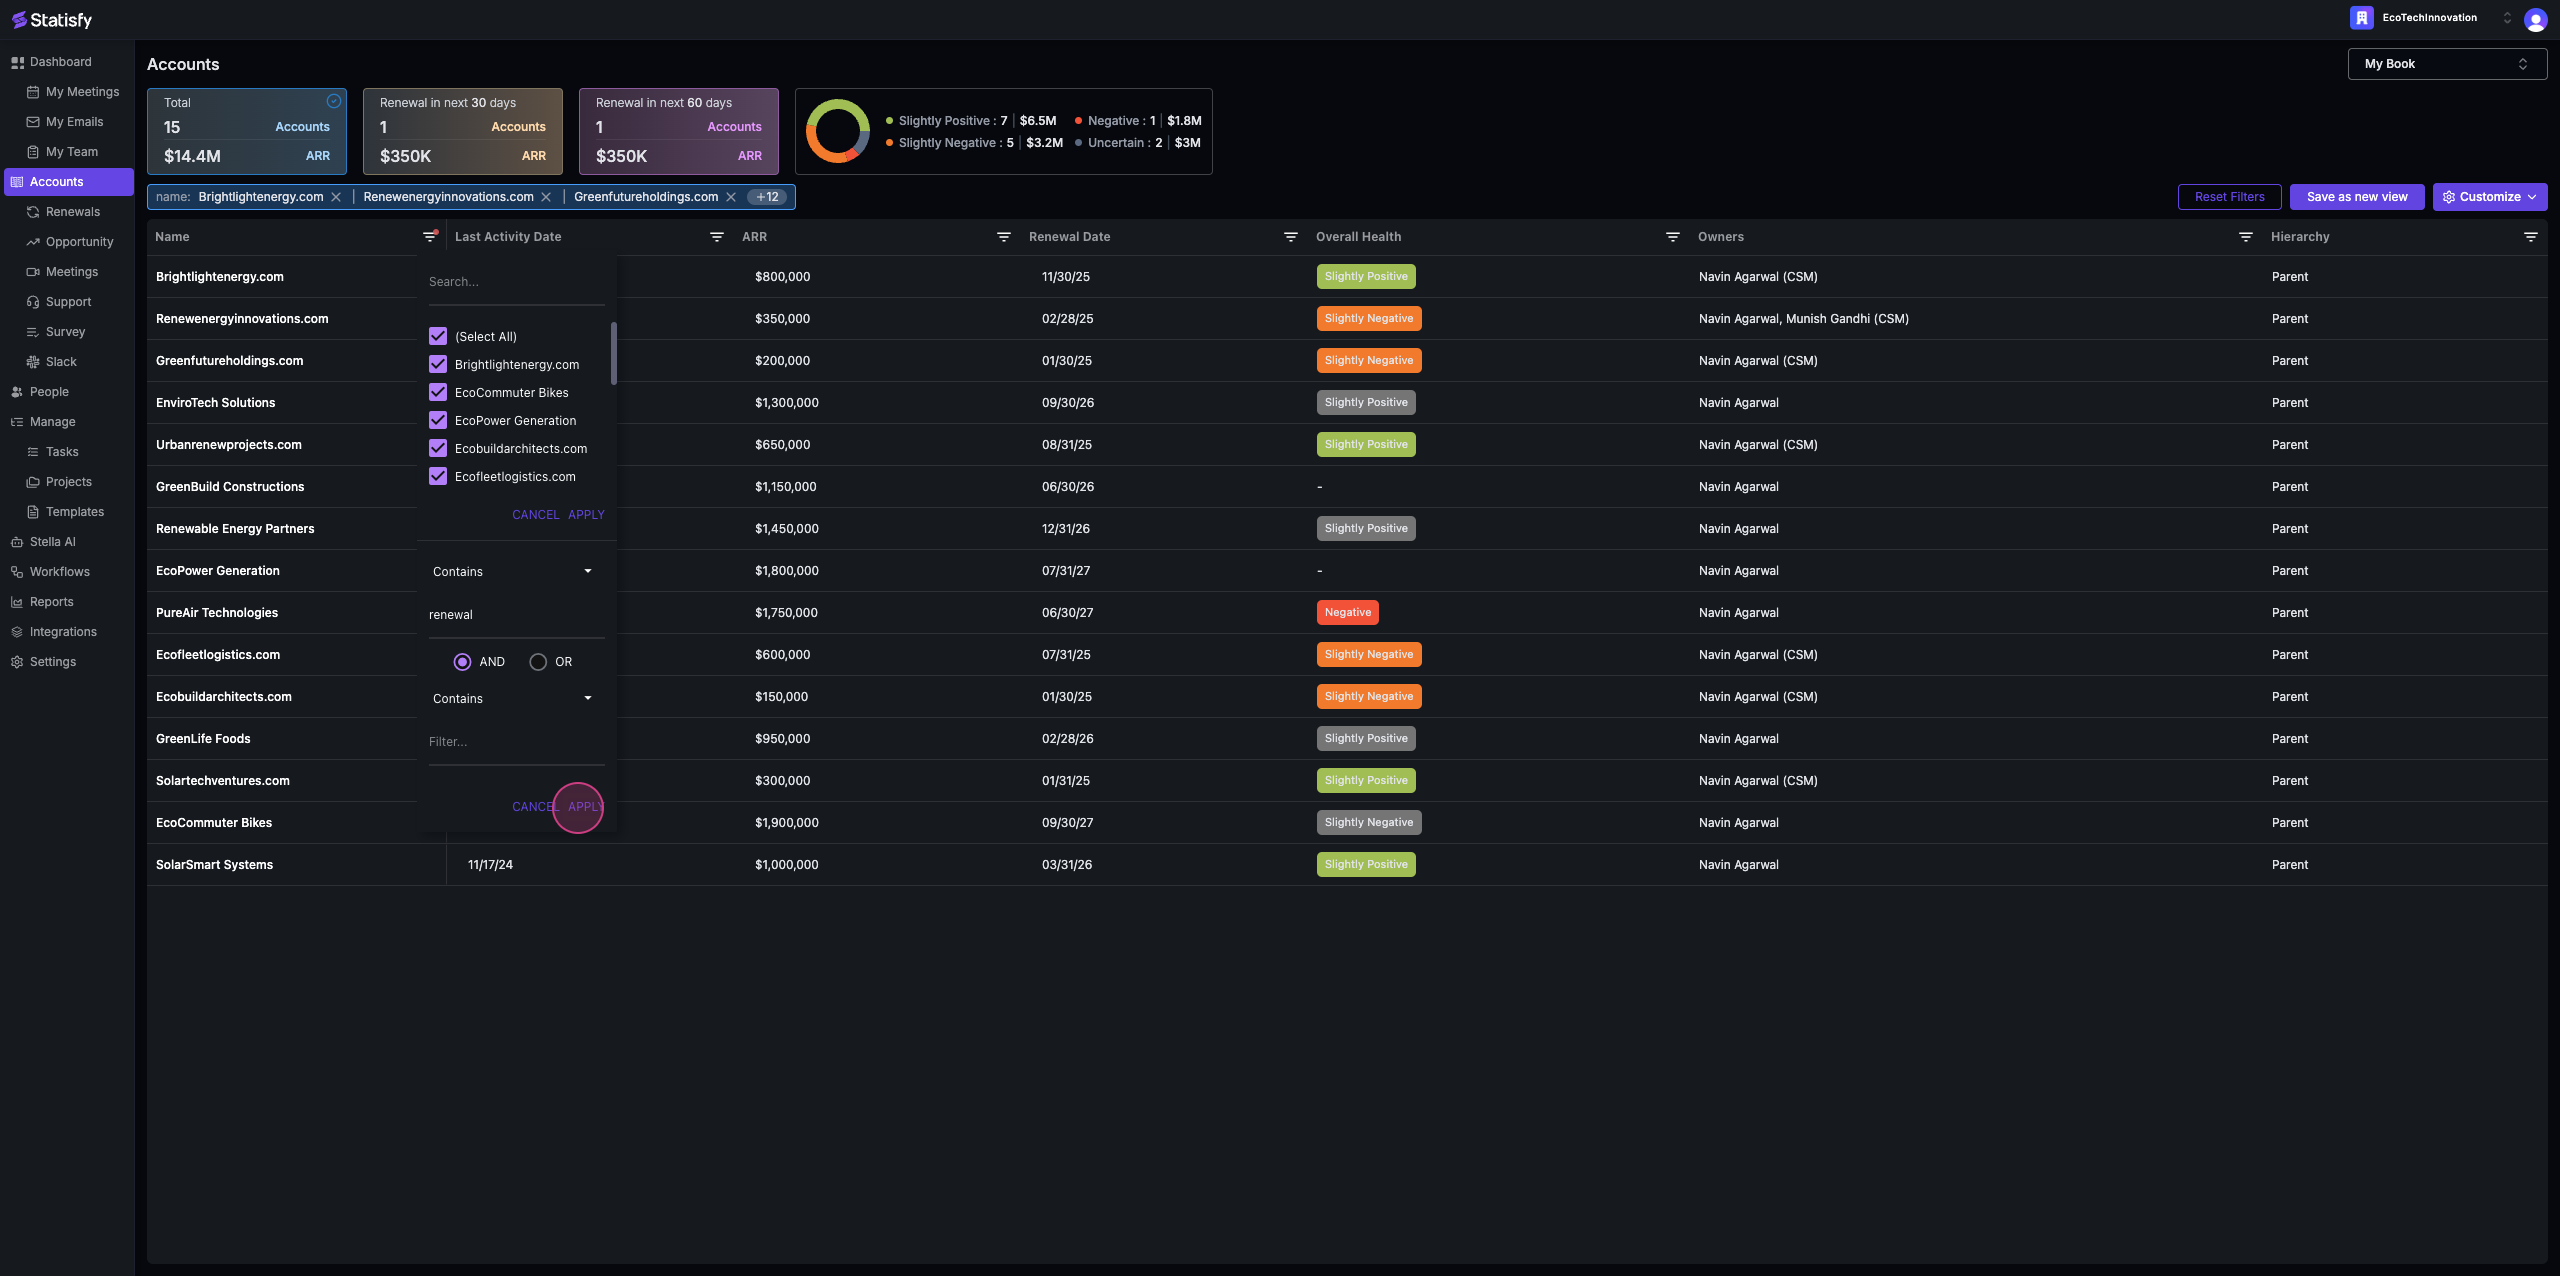
 Step 6: Alternatively, you can search for an account based on a string. For example, type “renewal” and apply the filter.
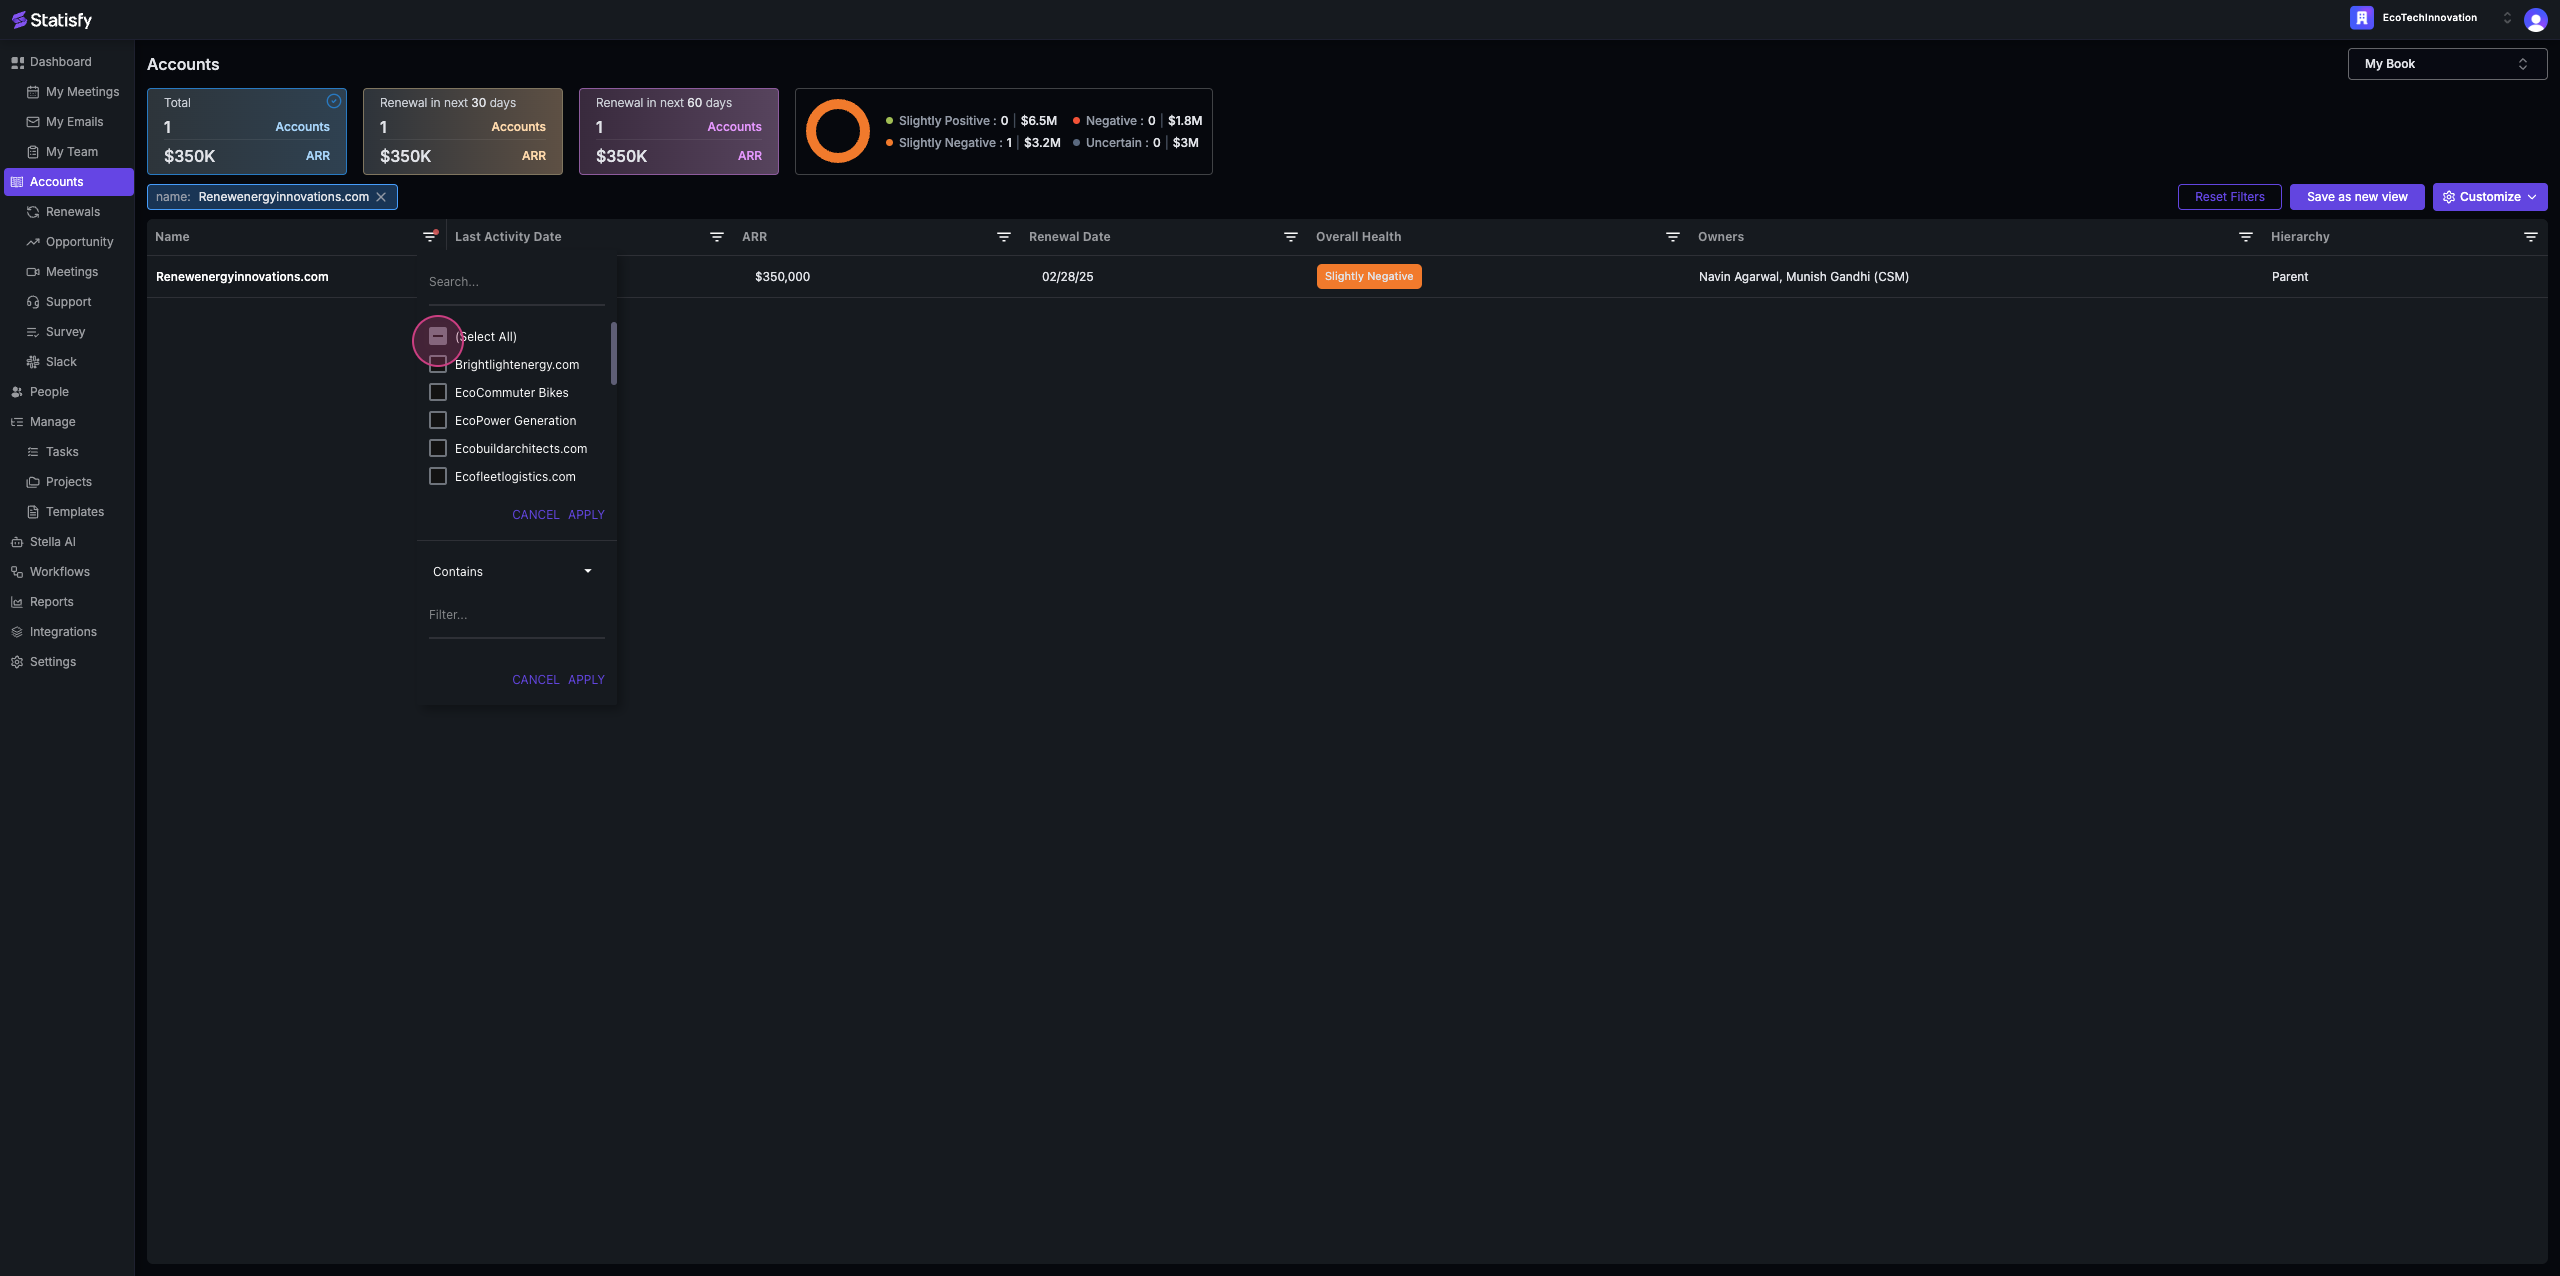
 Step 7: To remove filters, you can either deselect them individually or click on reset filters.

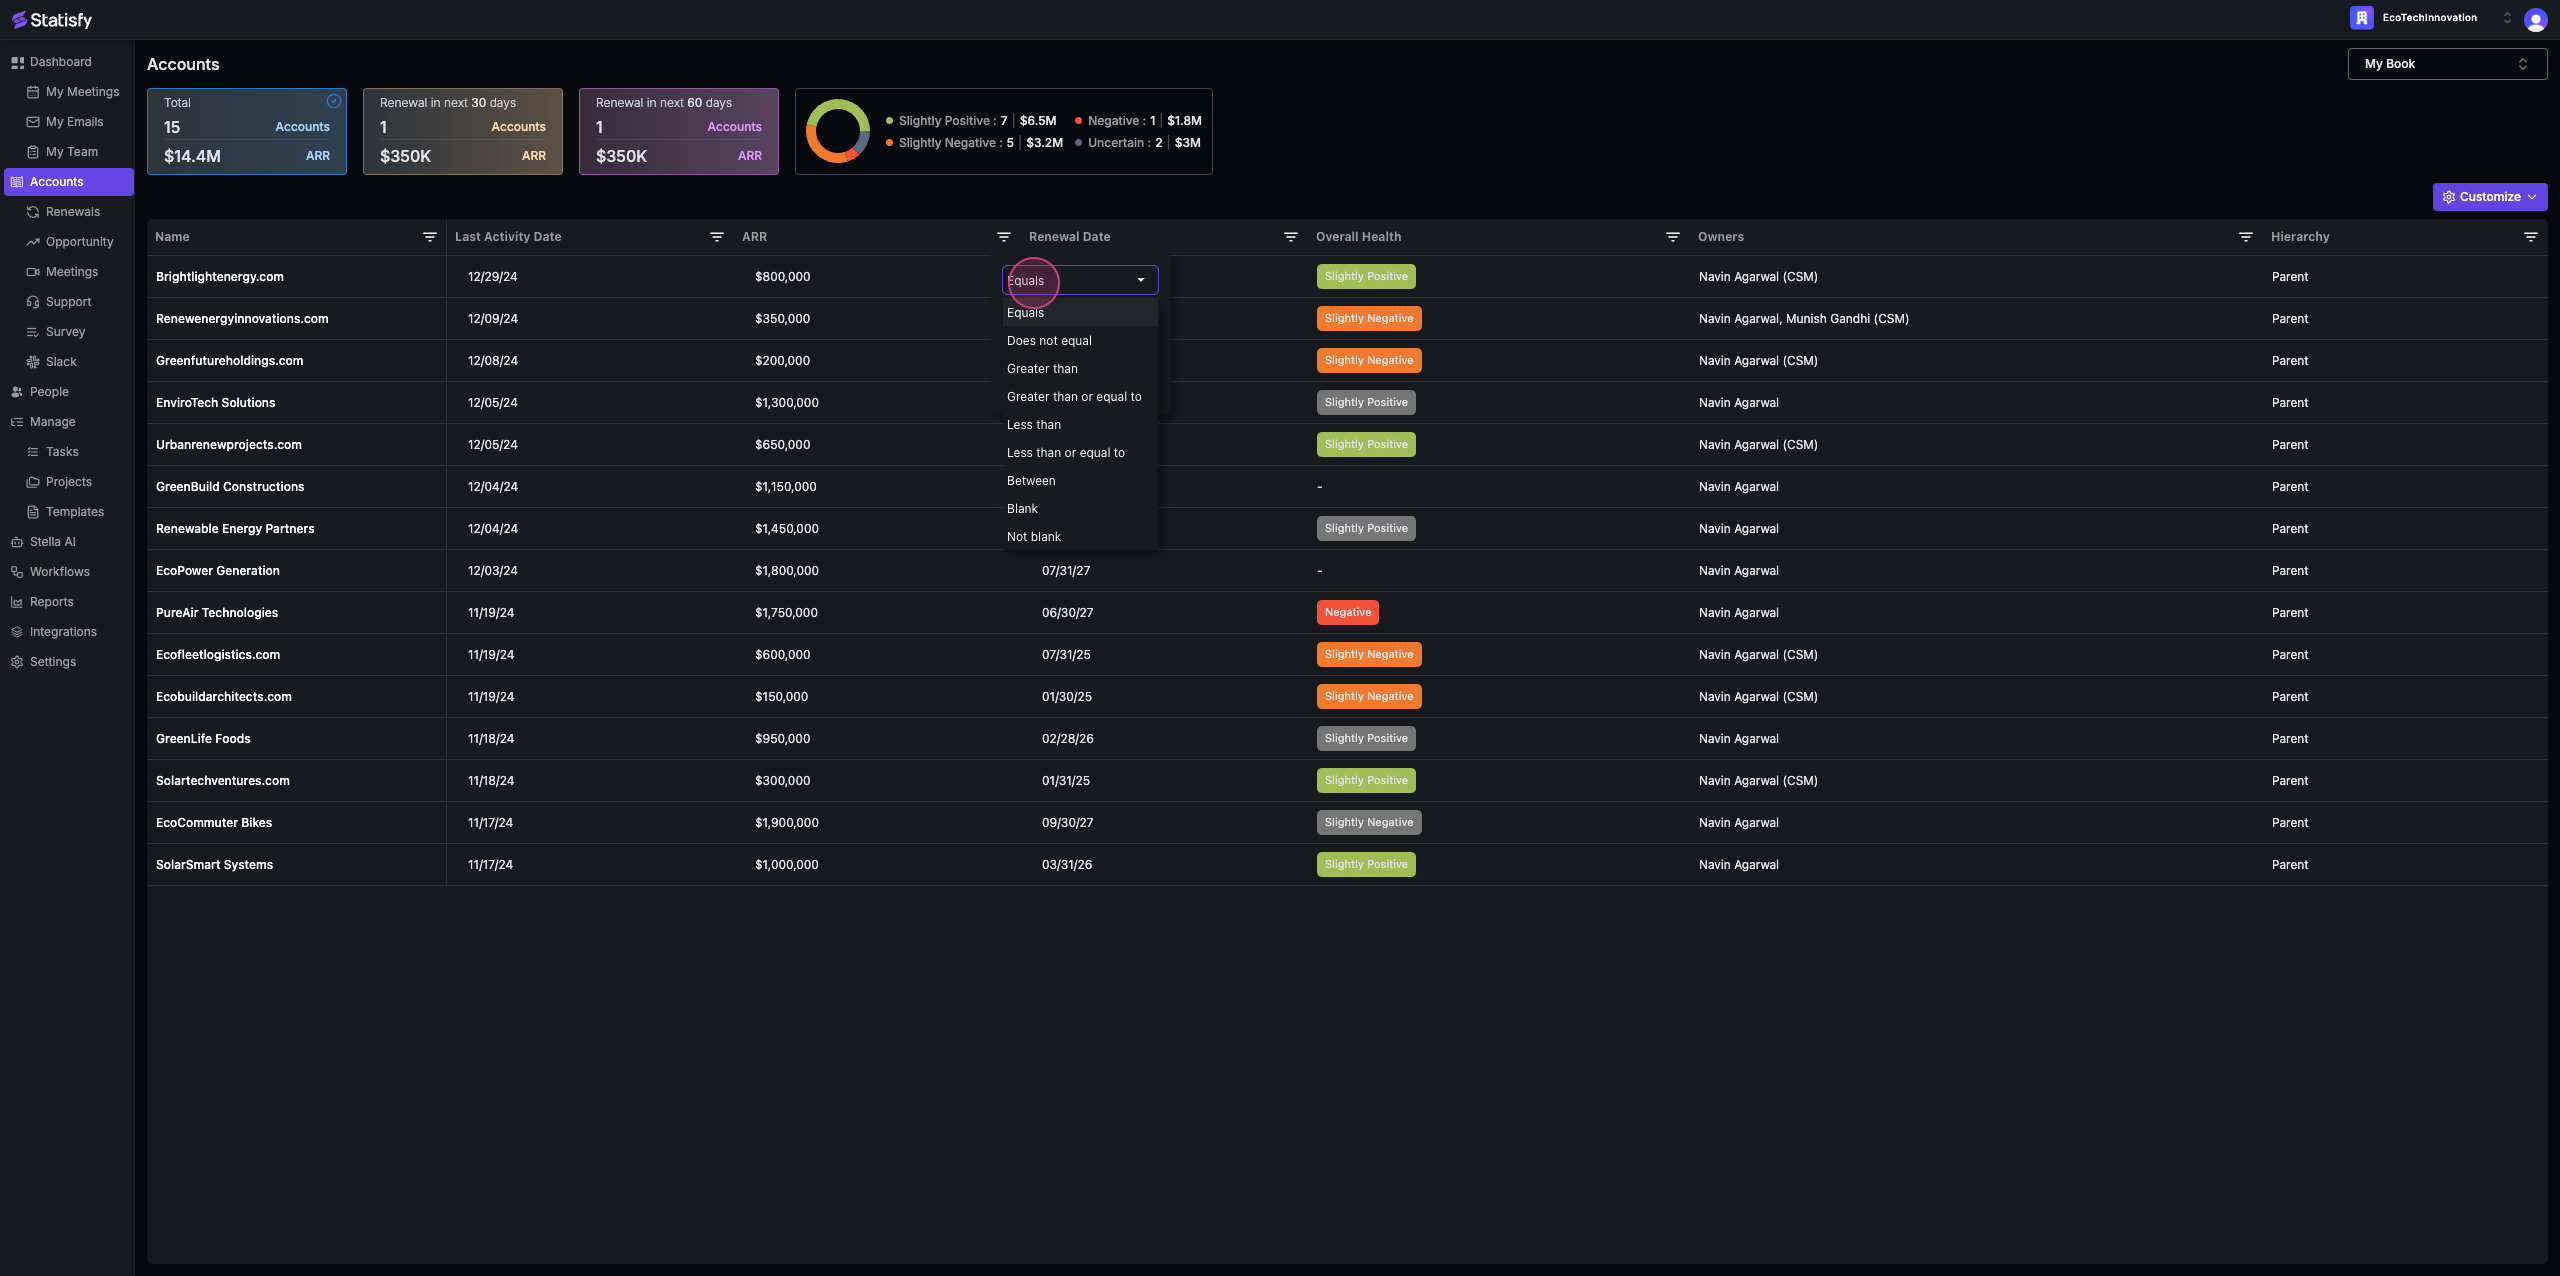
 Step 8: If you’re using an ARR filter, it will provide options such as equals, greater than, and so on.
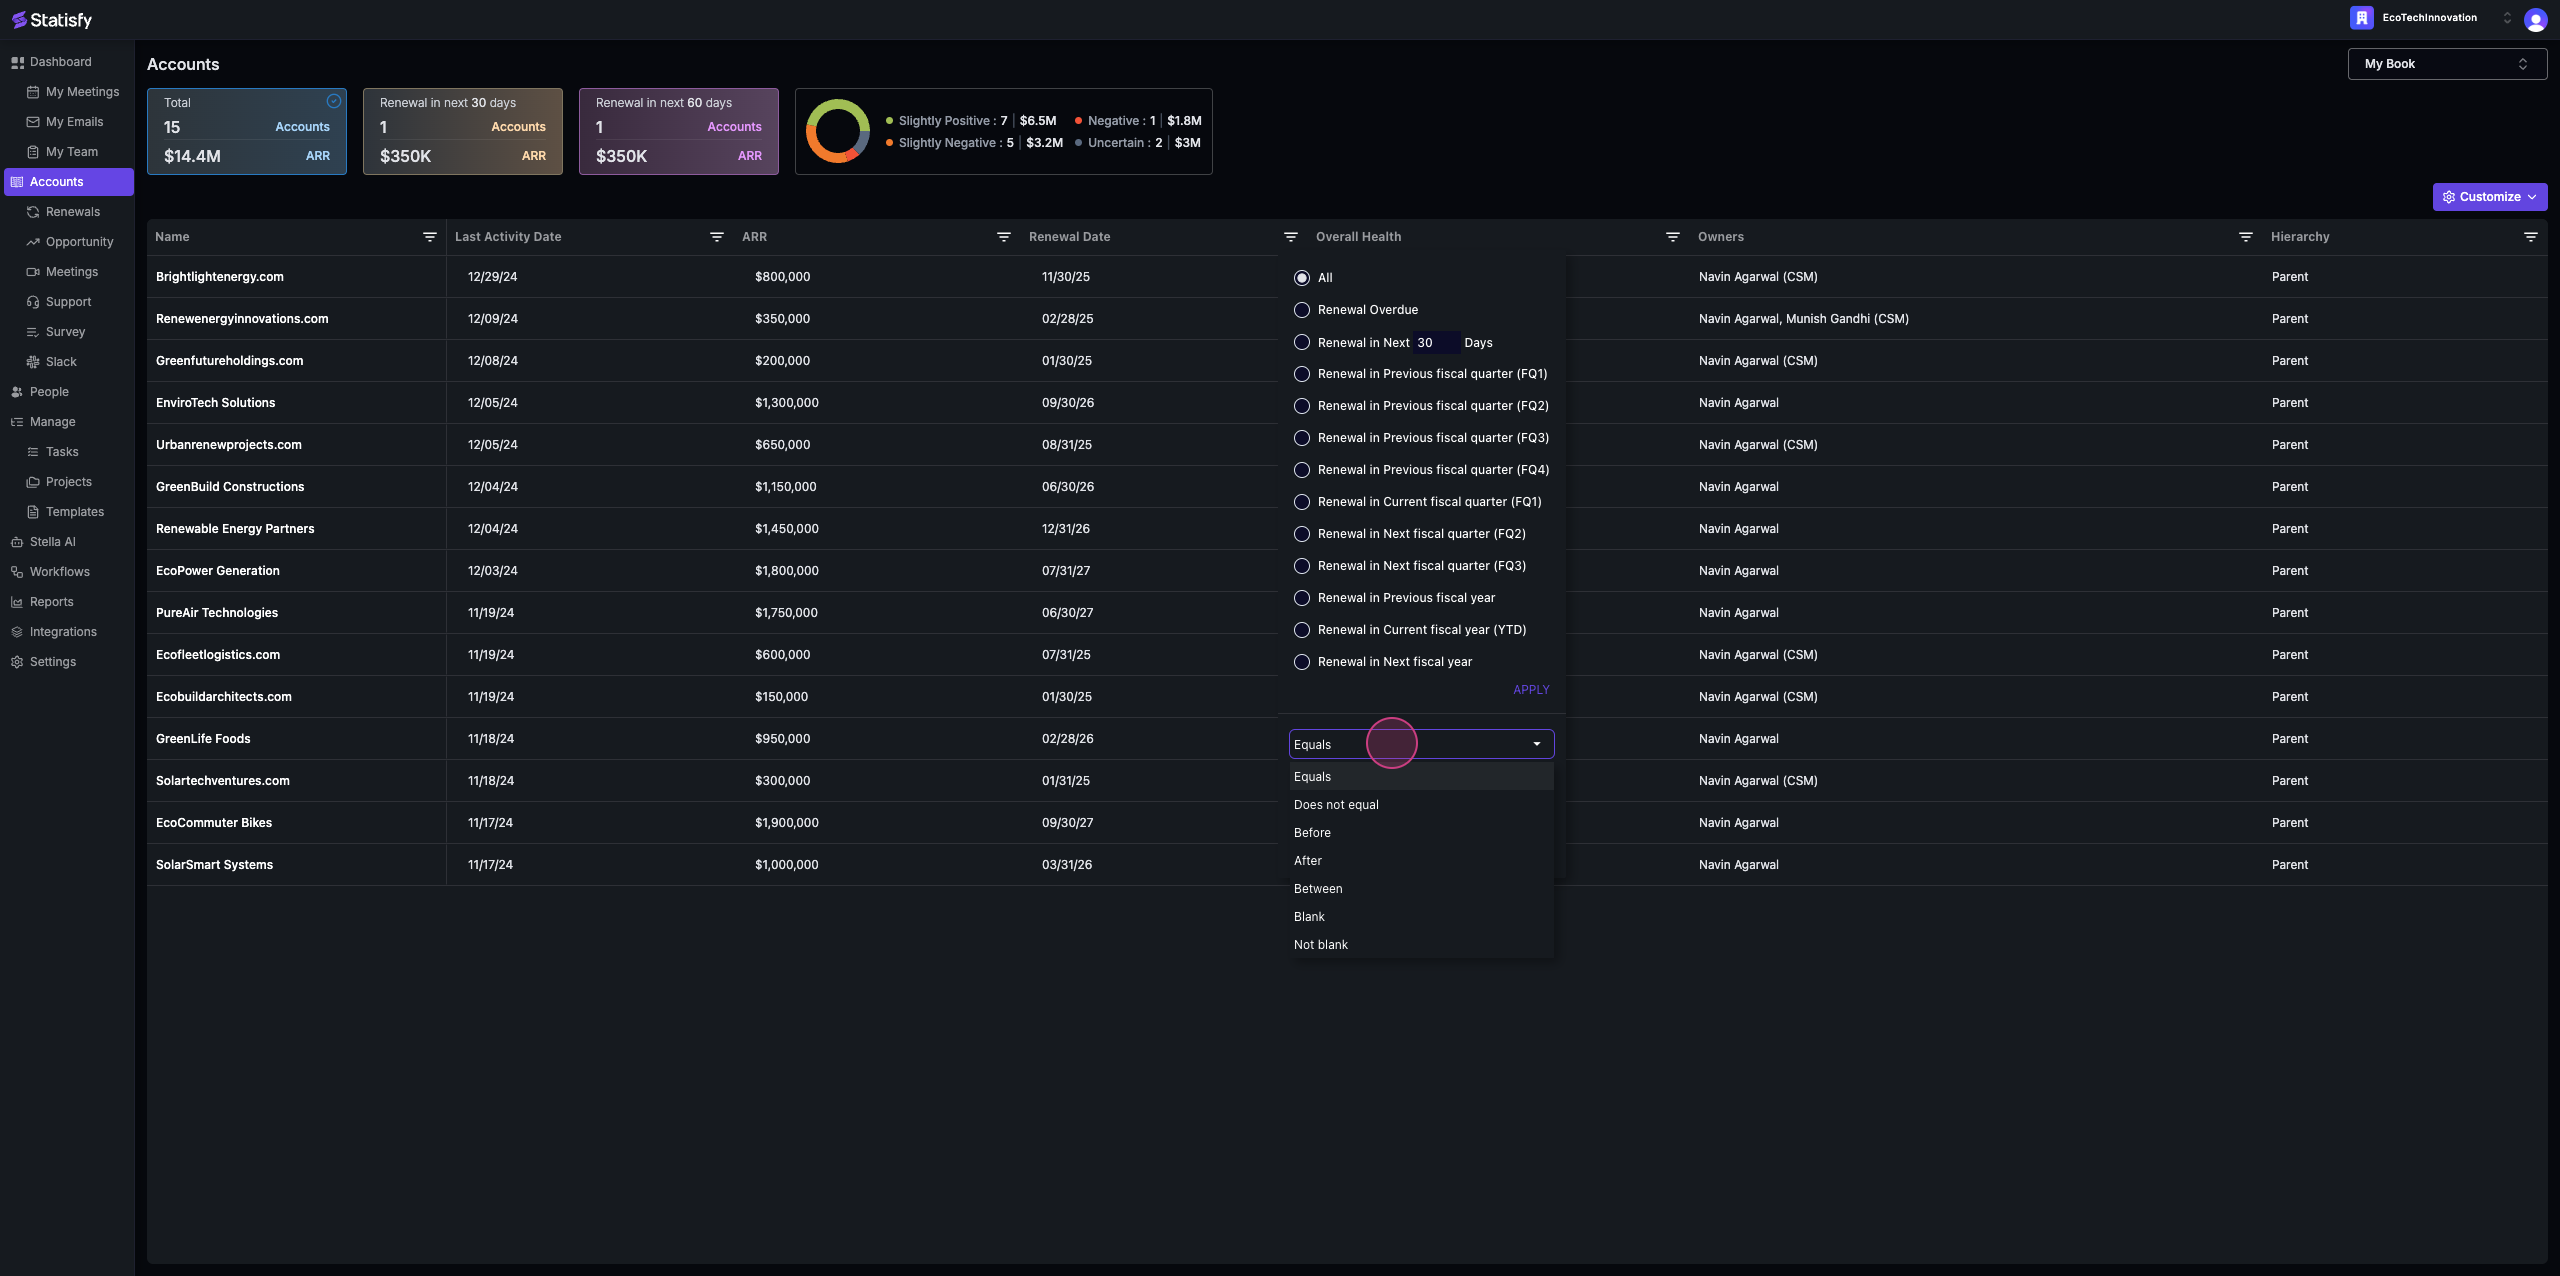
 Step 9: The renewal date filter is a special feature in our system. It allows you to search based on renewal overdue, renewal in the next thirty days, or based on the configured fiscal quarter.
 Step 10: You can also apply a simple date filter, which includes options like between, before, and after.
 And that’s it! You’ve now learned the basics of account management and filtering in Statisfy.