Video Tutorial
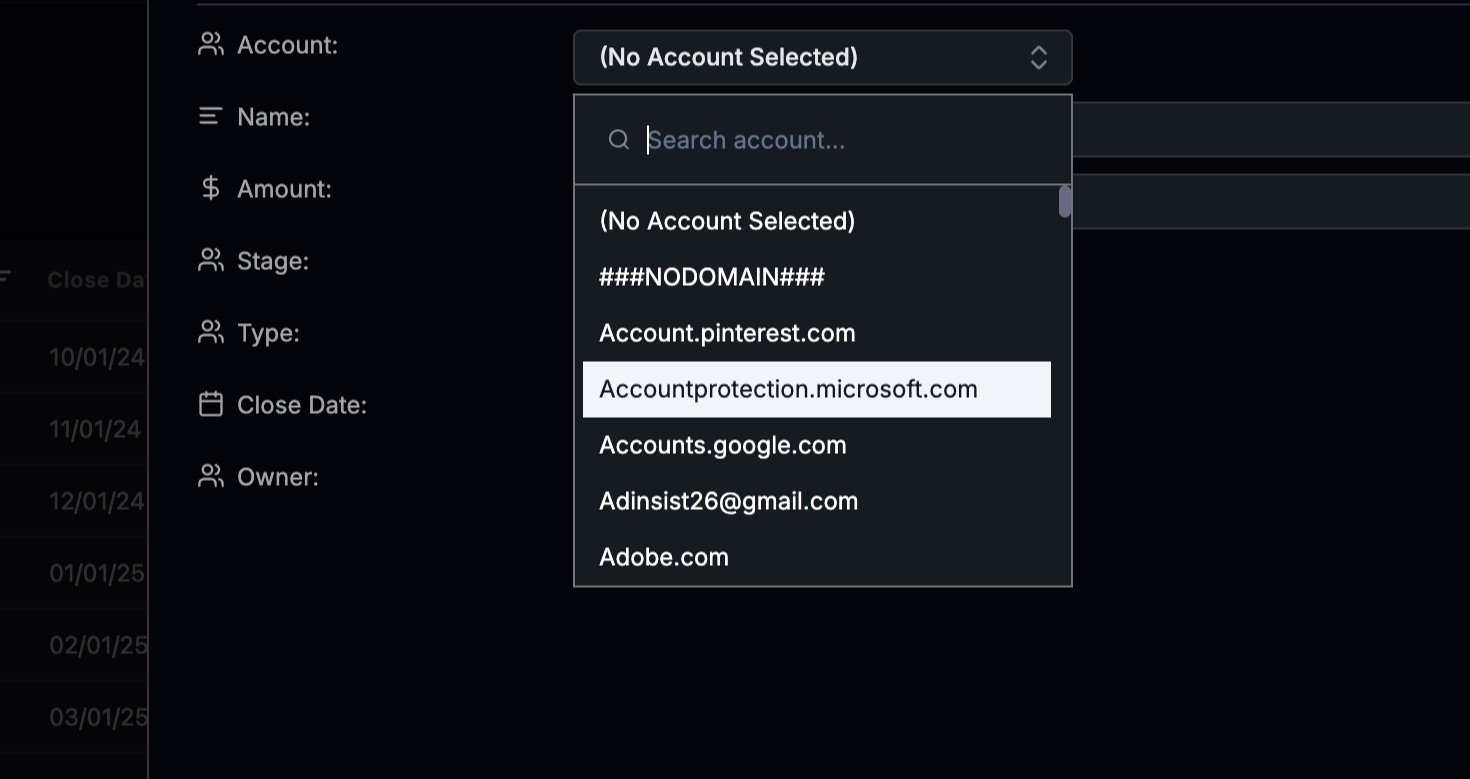
This article will guide you through the process of creating a new opportunity. By following these steps, you’ll be able to successfully add a new opportunity to your account. Step 1: Begin by clicking on the Add button.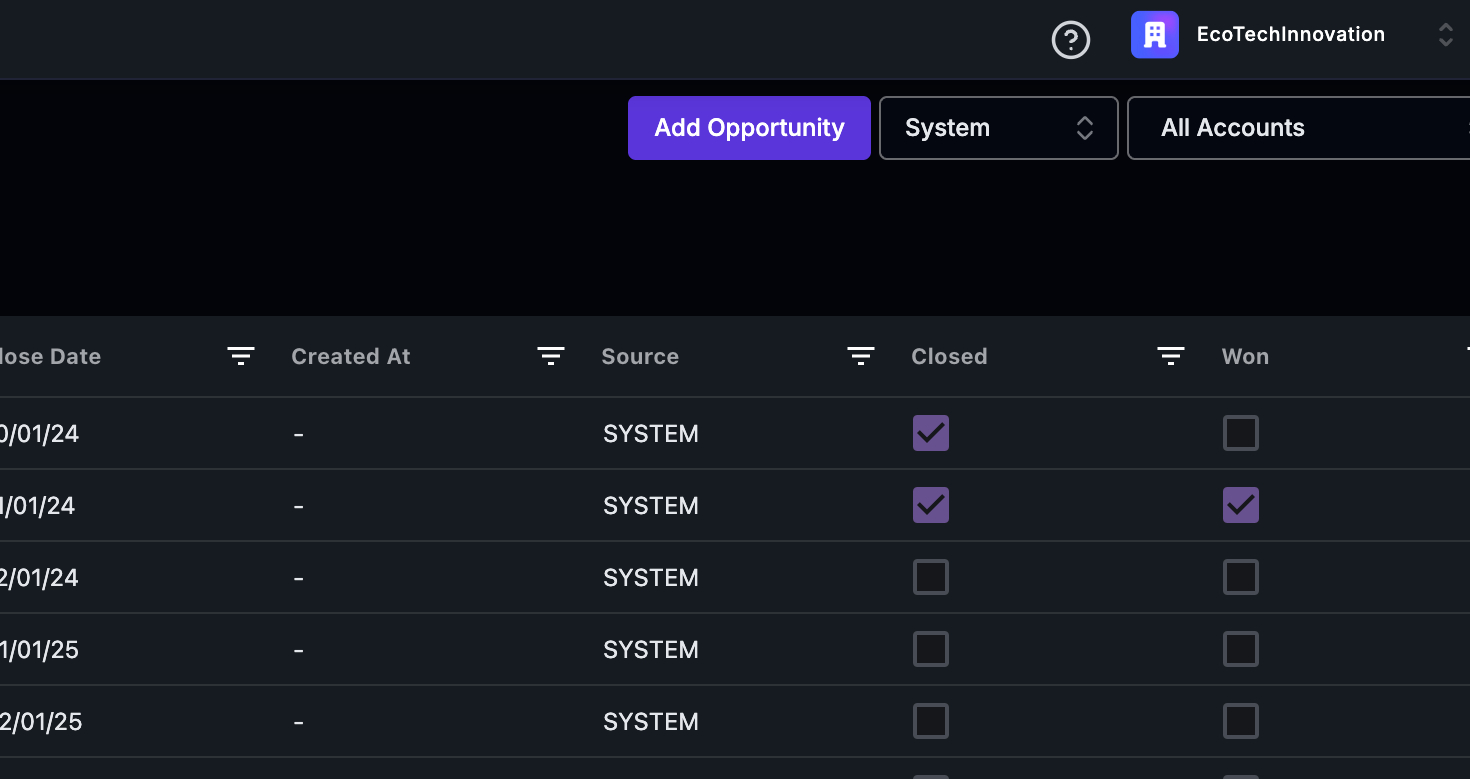 Step 2: If a customer requests the addition of new agents, select the account that has made this request.
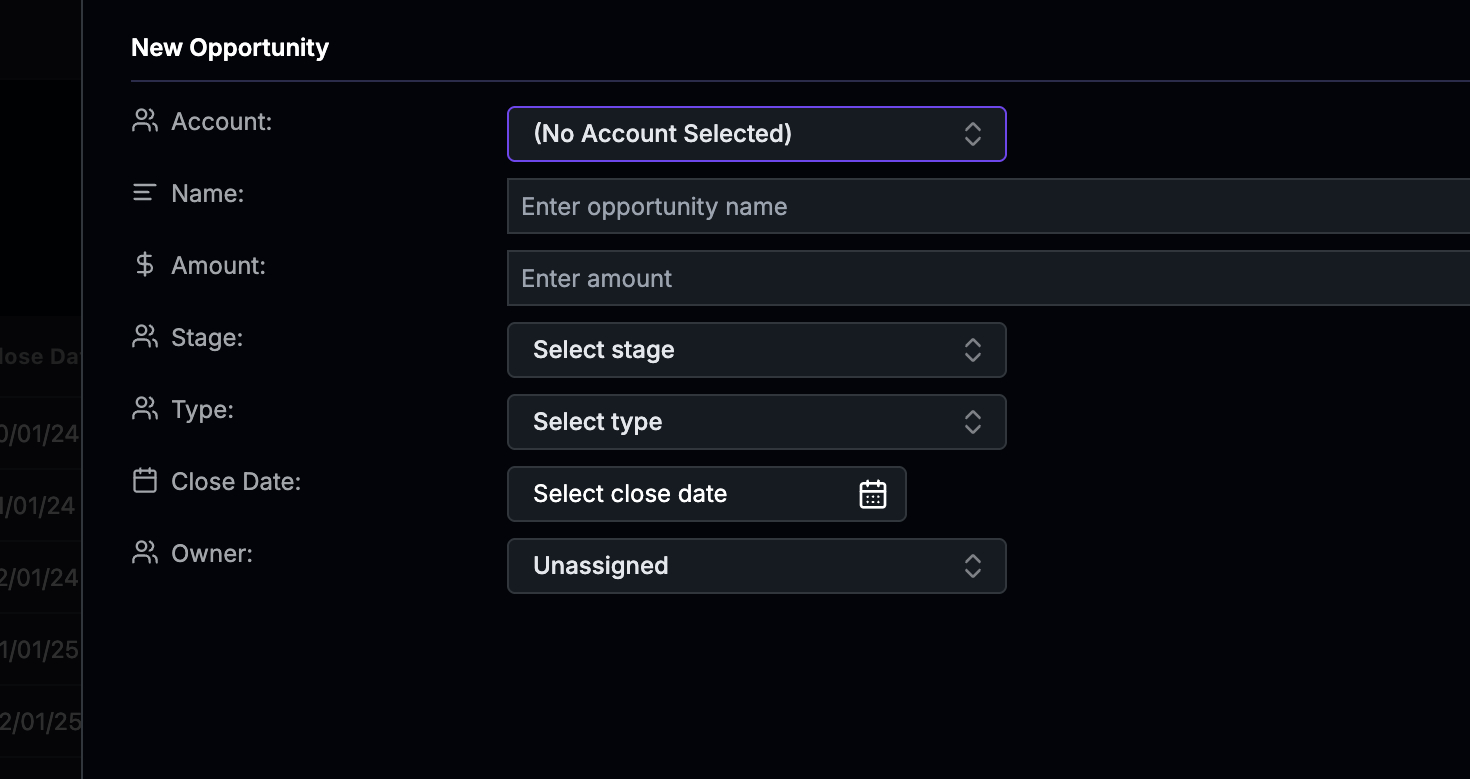
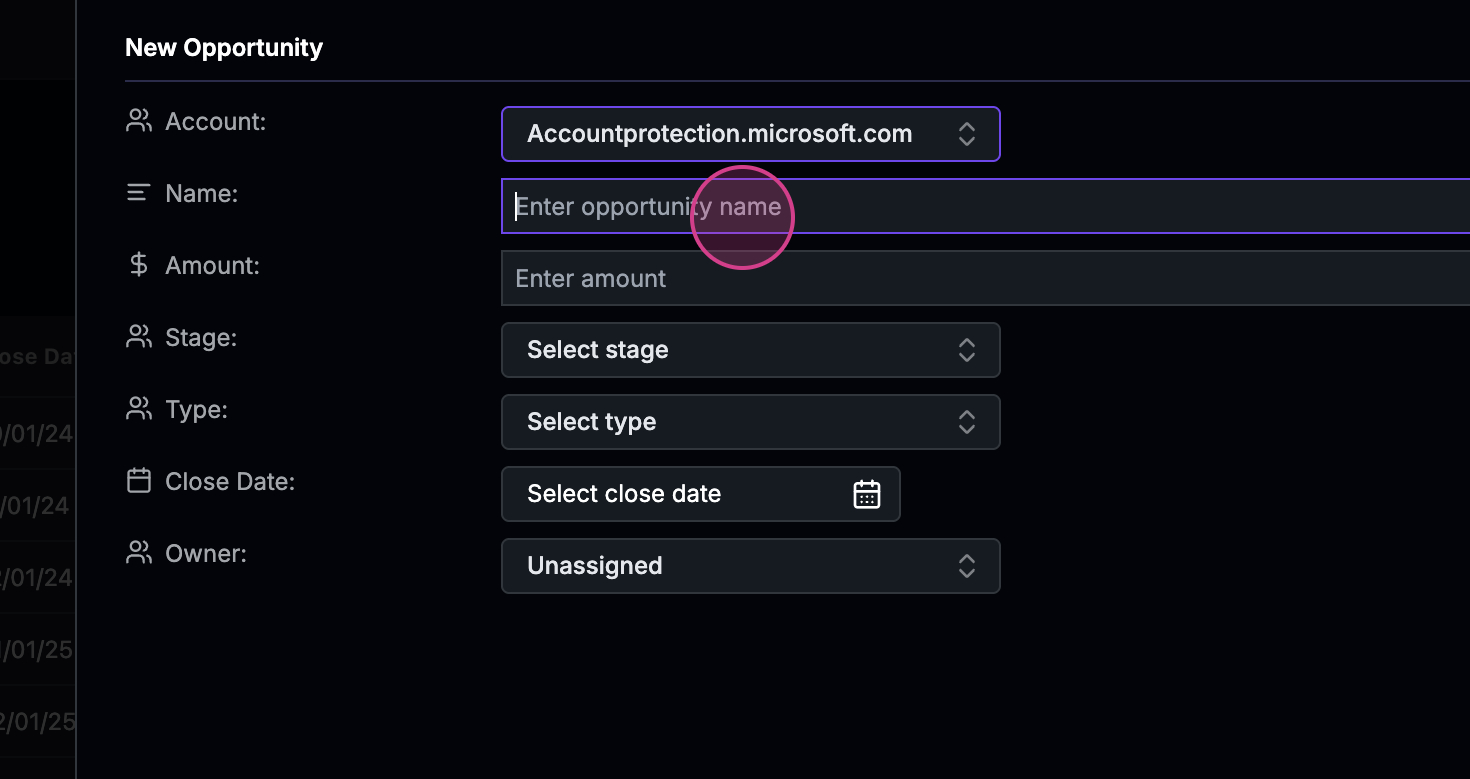
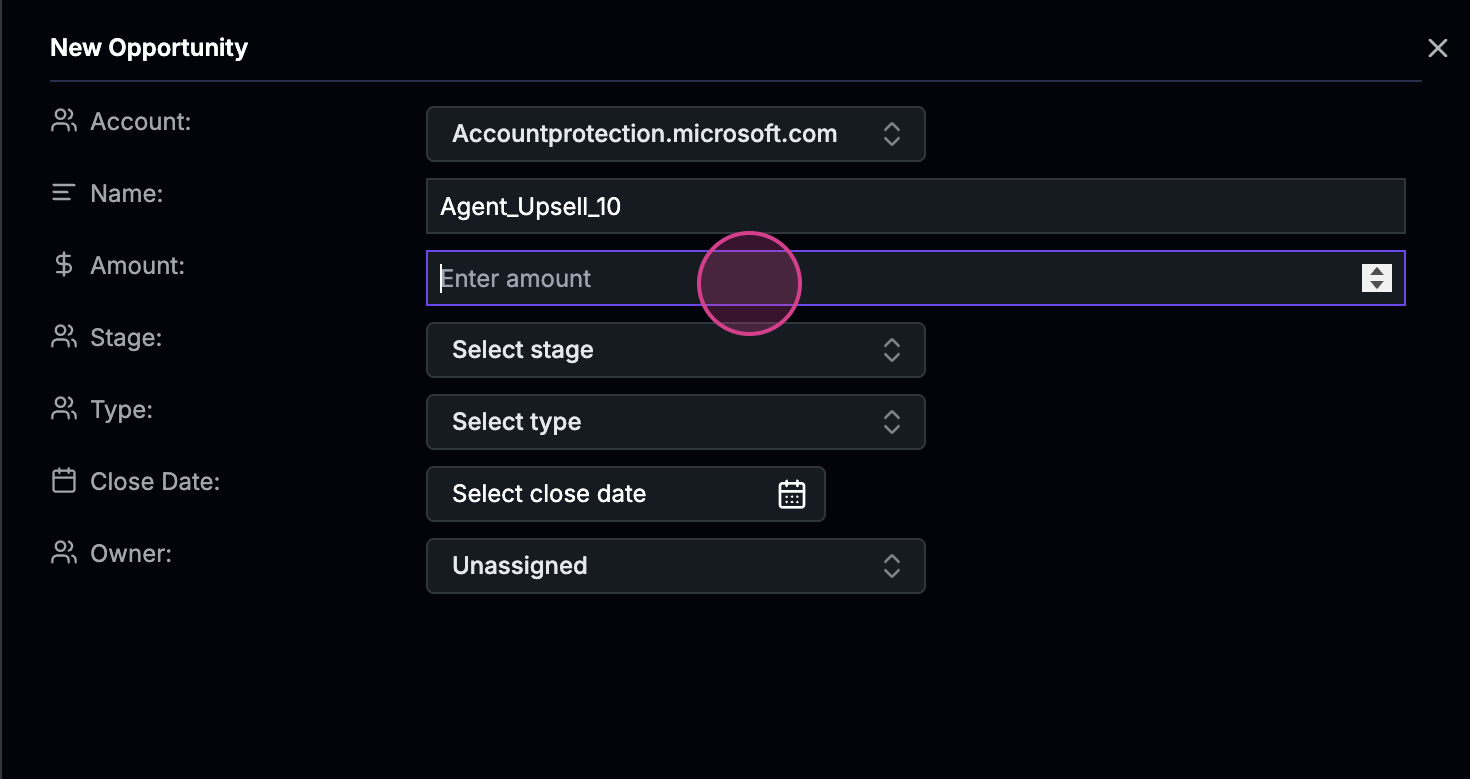
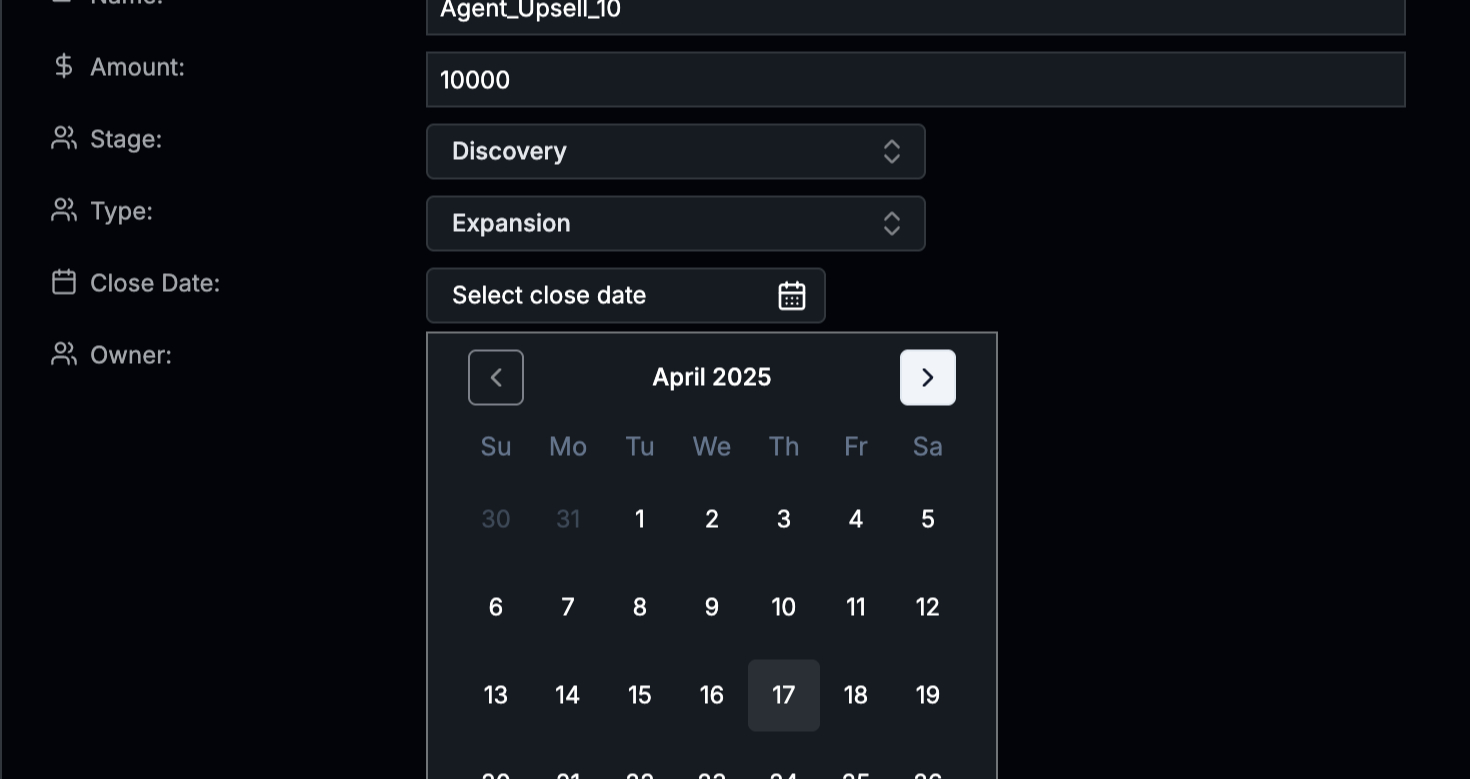
 Step 3: Enter the name of the opportunity and specify the value. In this example, we’re adding agents for the customer.
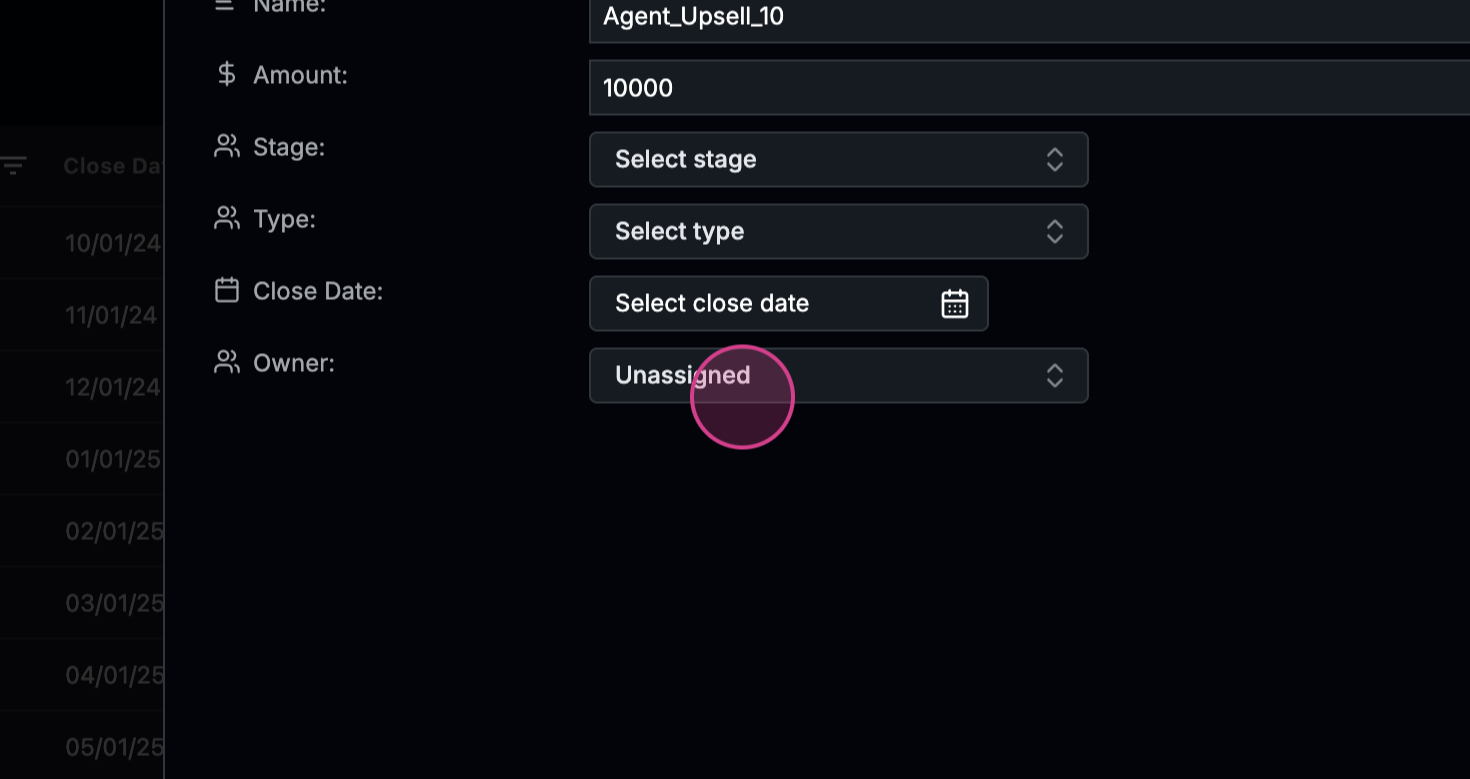
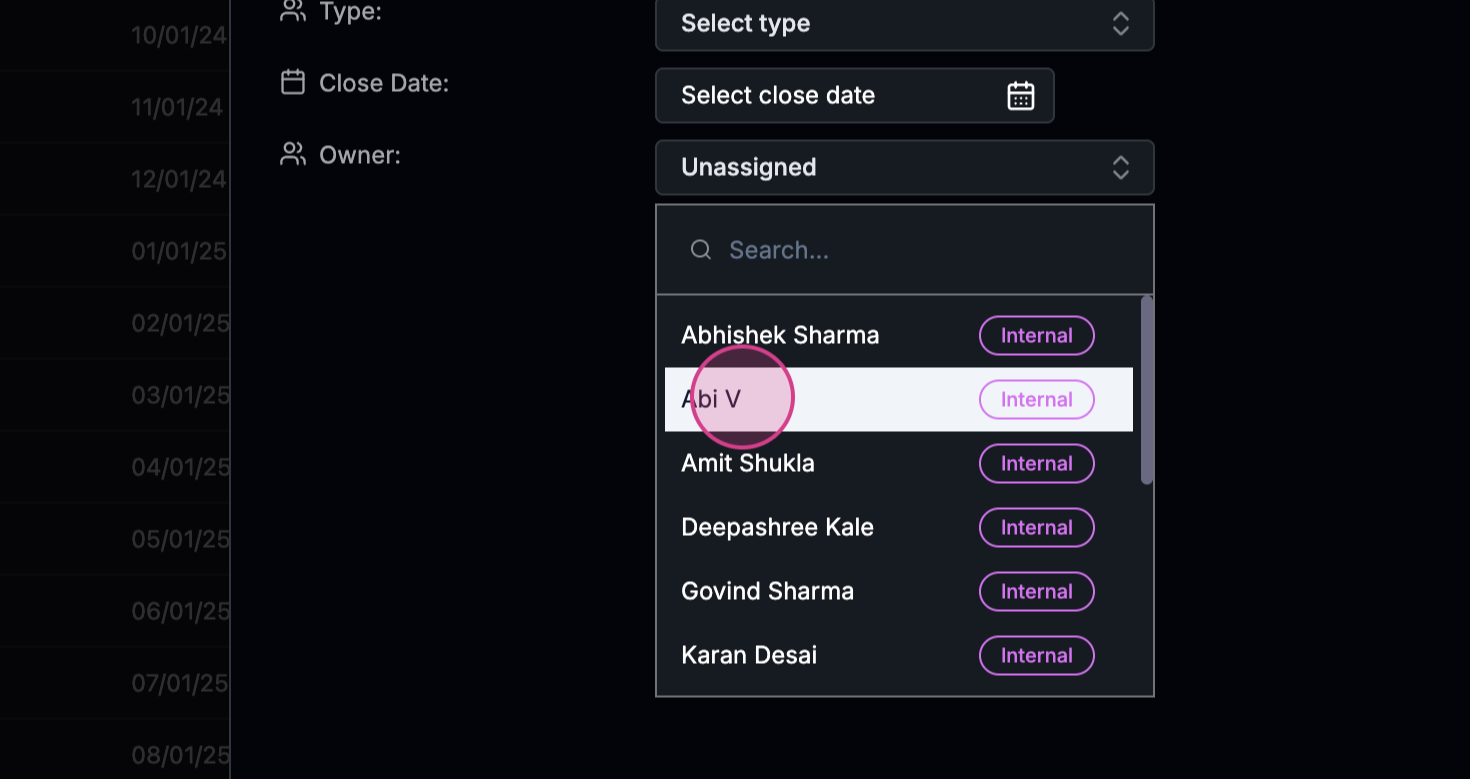
 Step 4: If you’re not filling out the stage or other details, assign the opportunity to yourself.
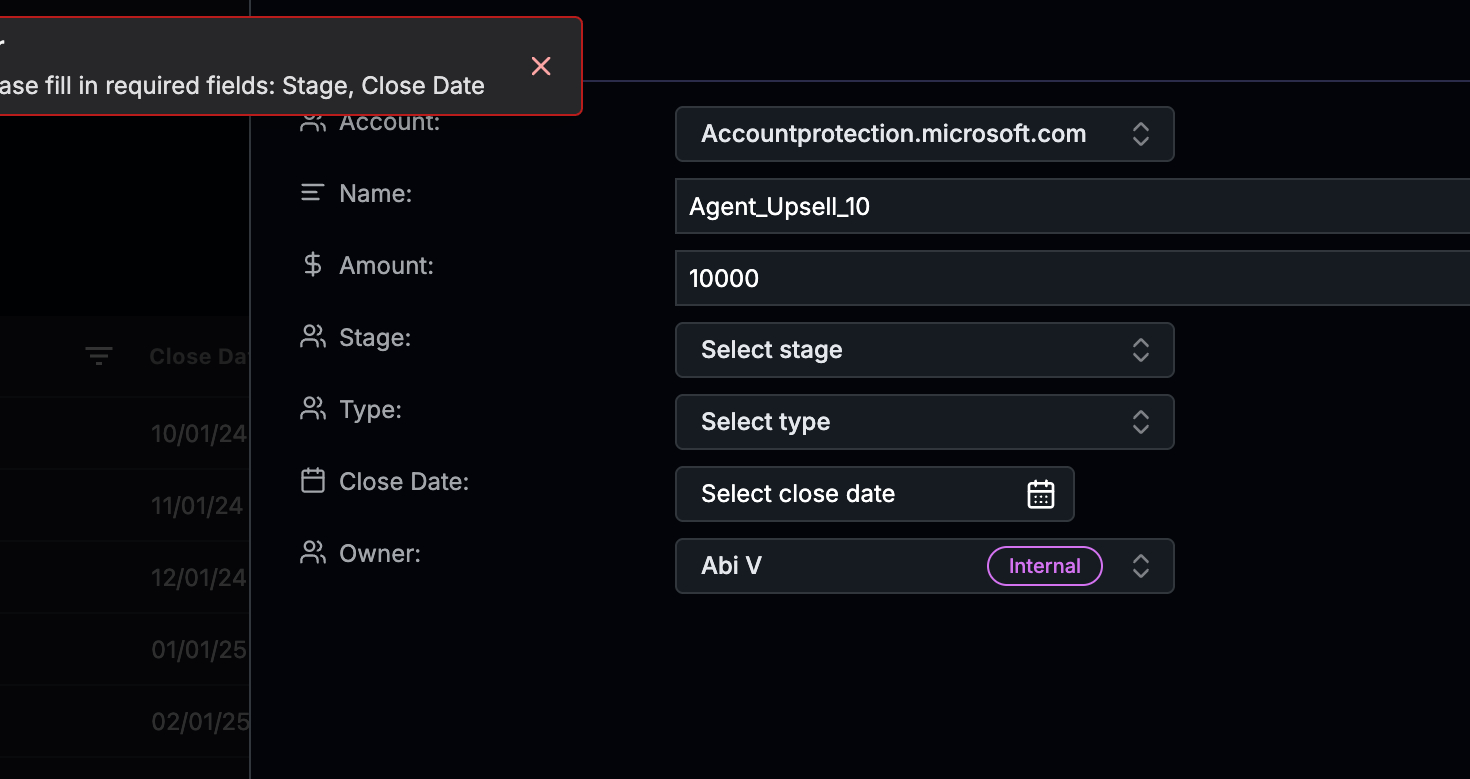
 Step 5: When you attempt to create an opportunity without completing all mandatory fields, you’ll receive an error message.
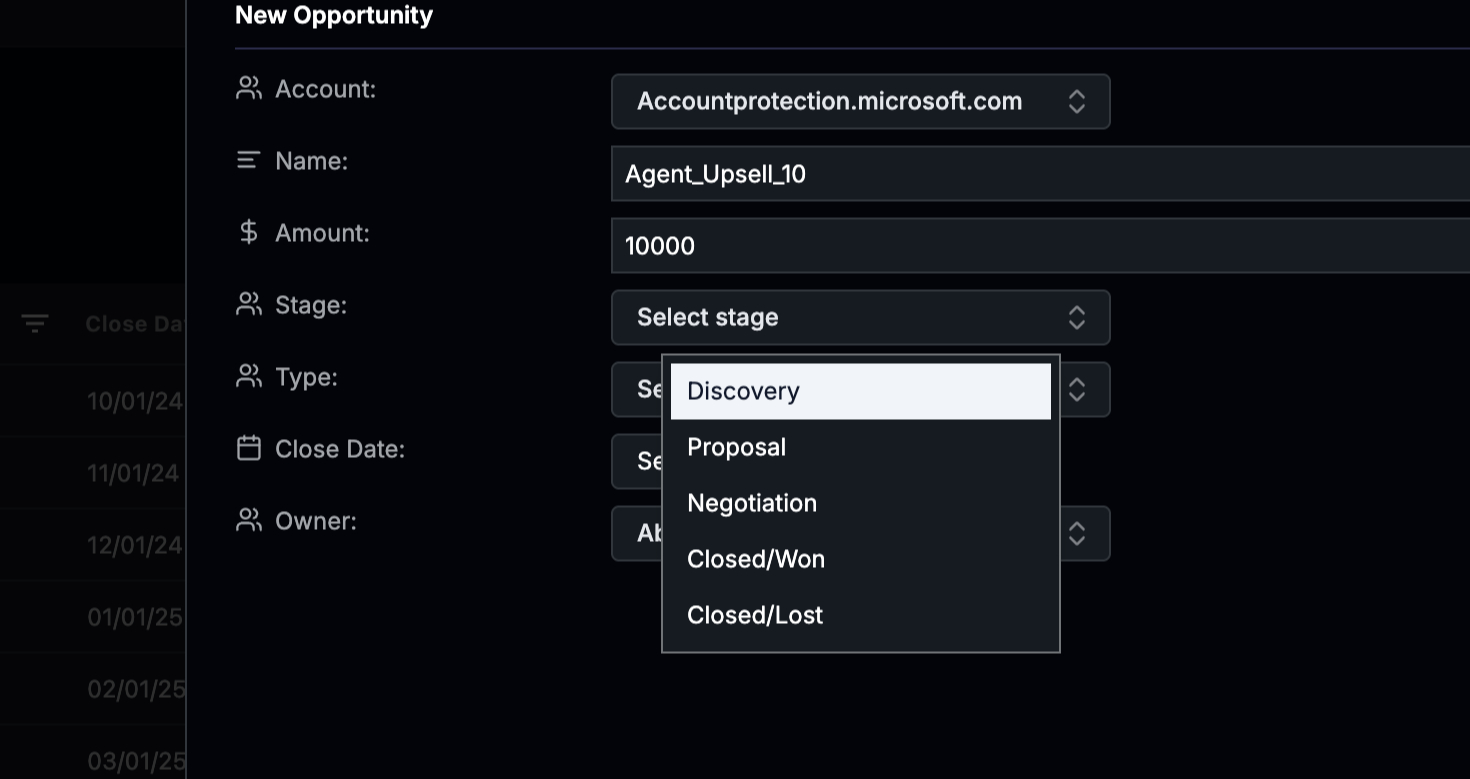
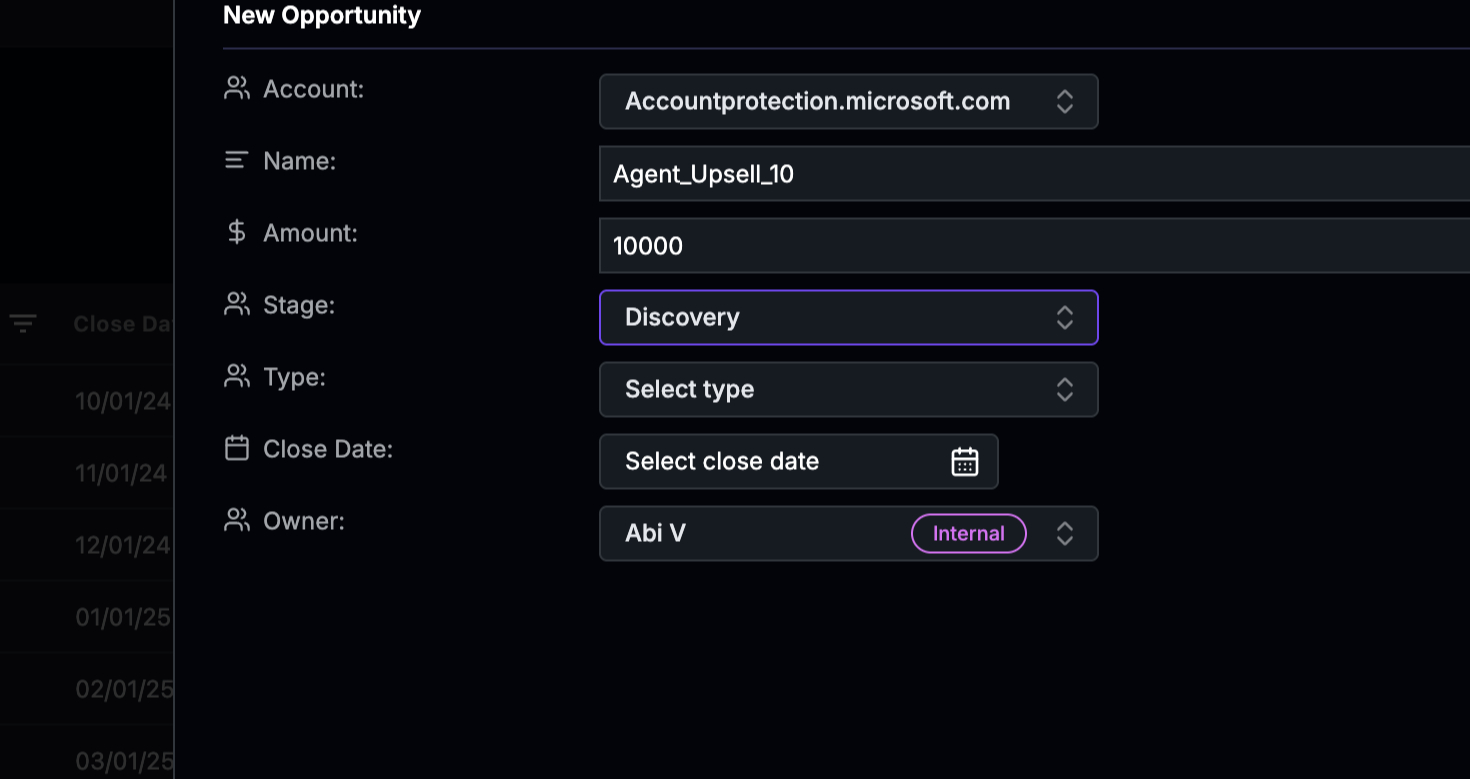
 Step 6: To resolve this, fill in the Stage field. As this is a discovery call, enter “discovery” in the details section.
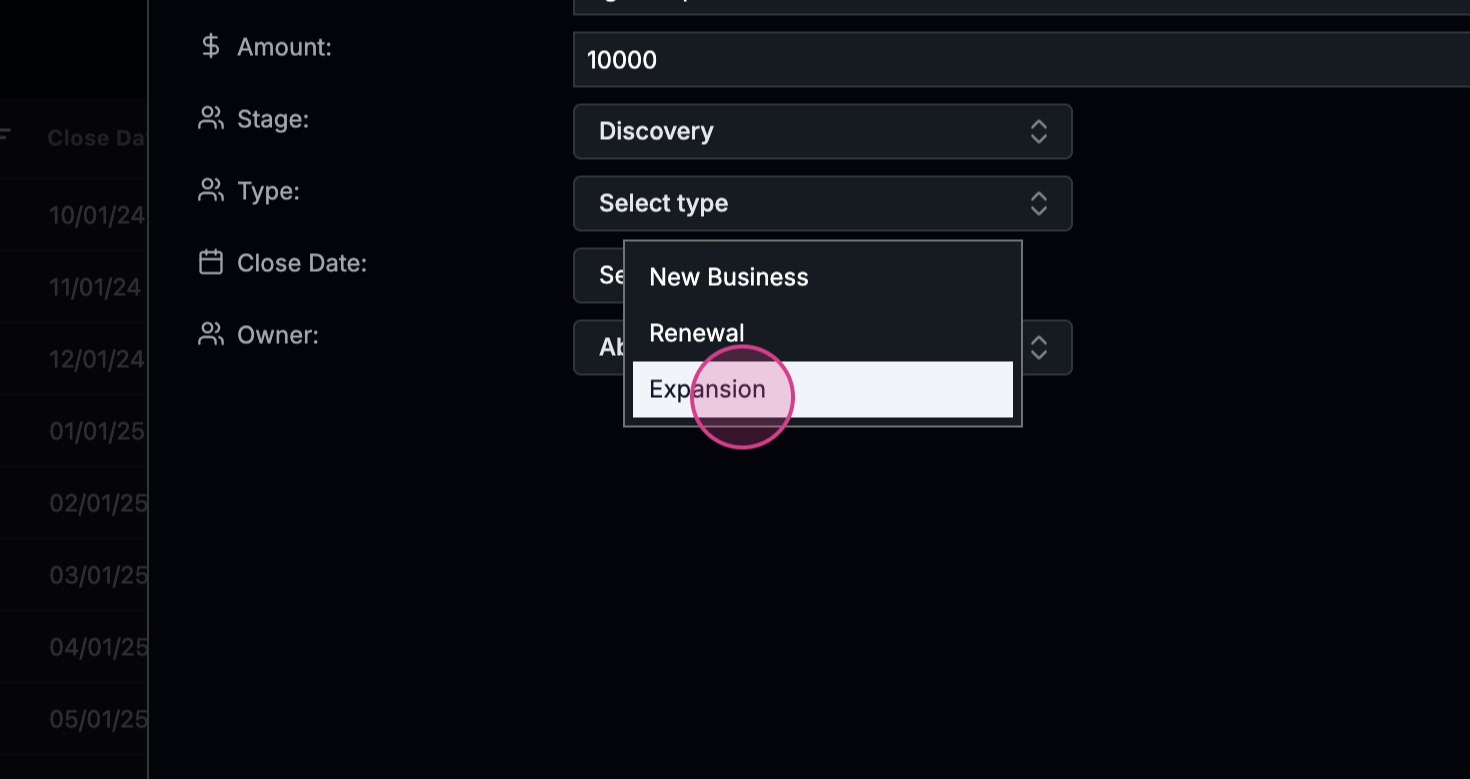
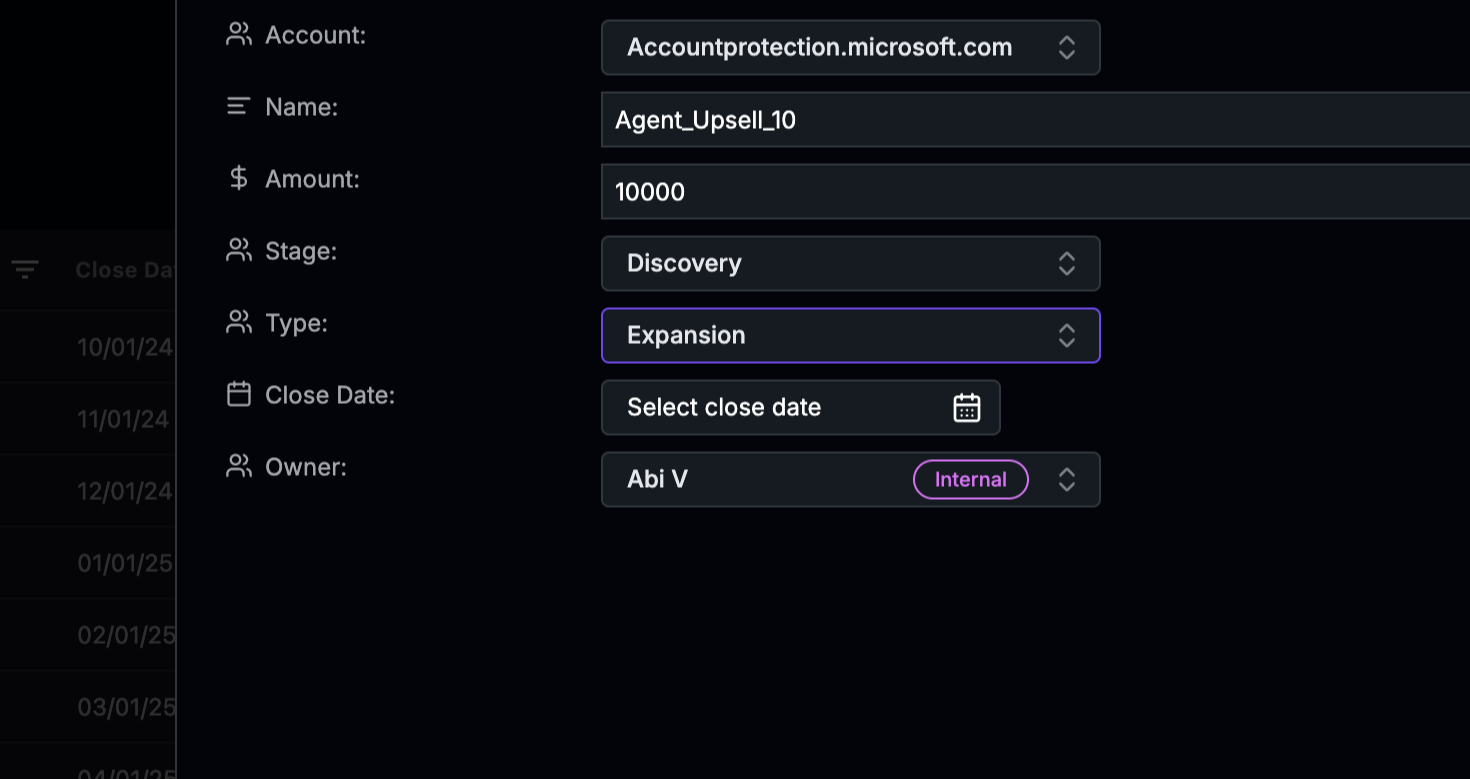
 Step 7: Specify the type of opportunity. In this case, it’s an expansion opportunity.
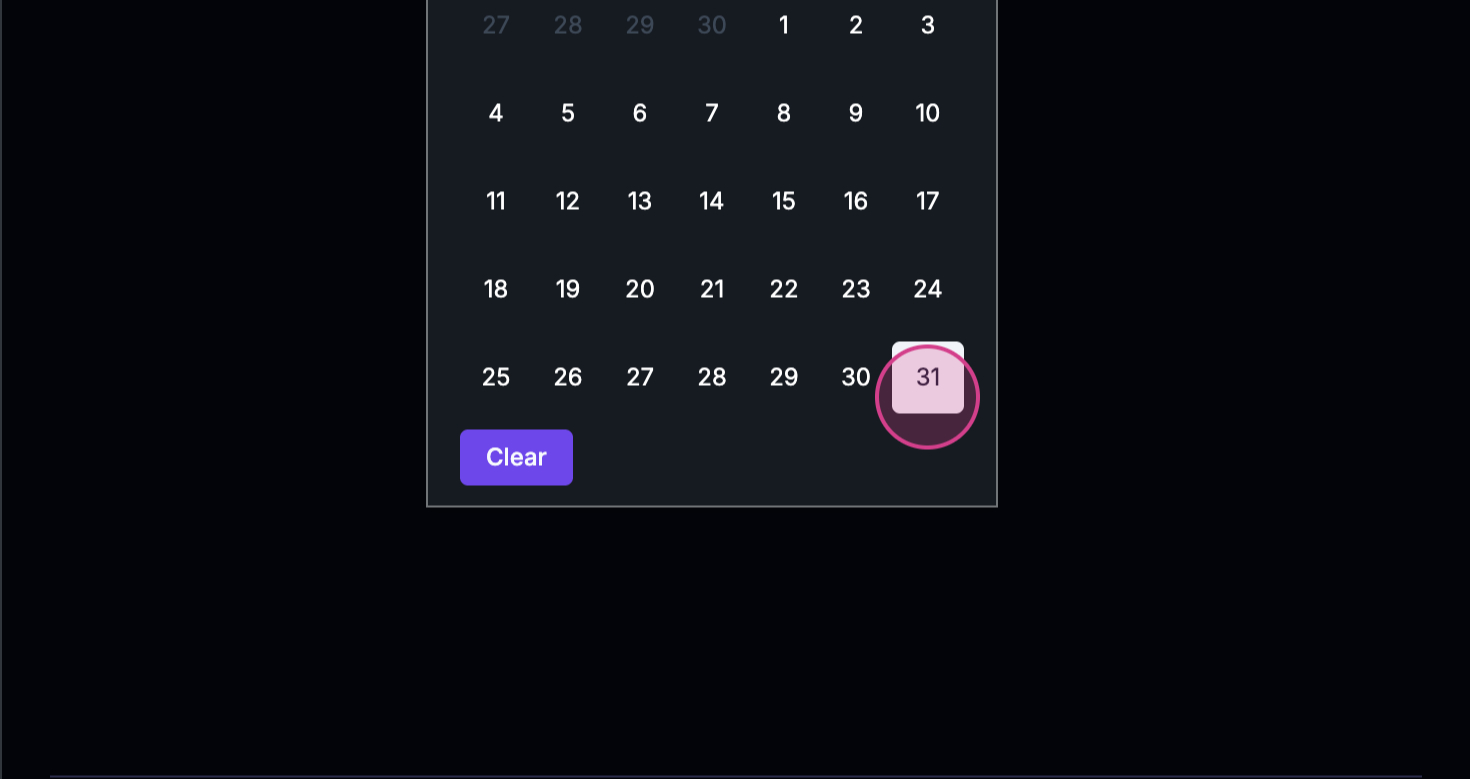
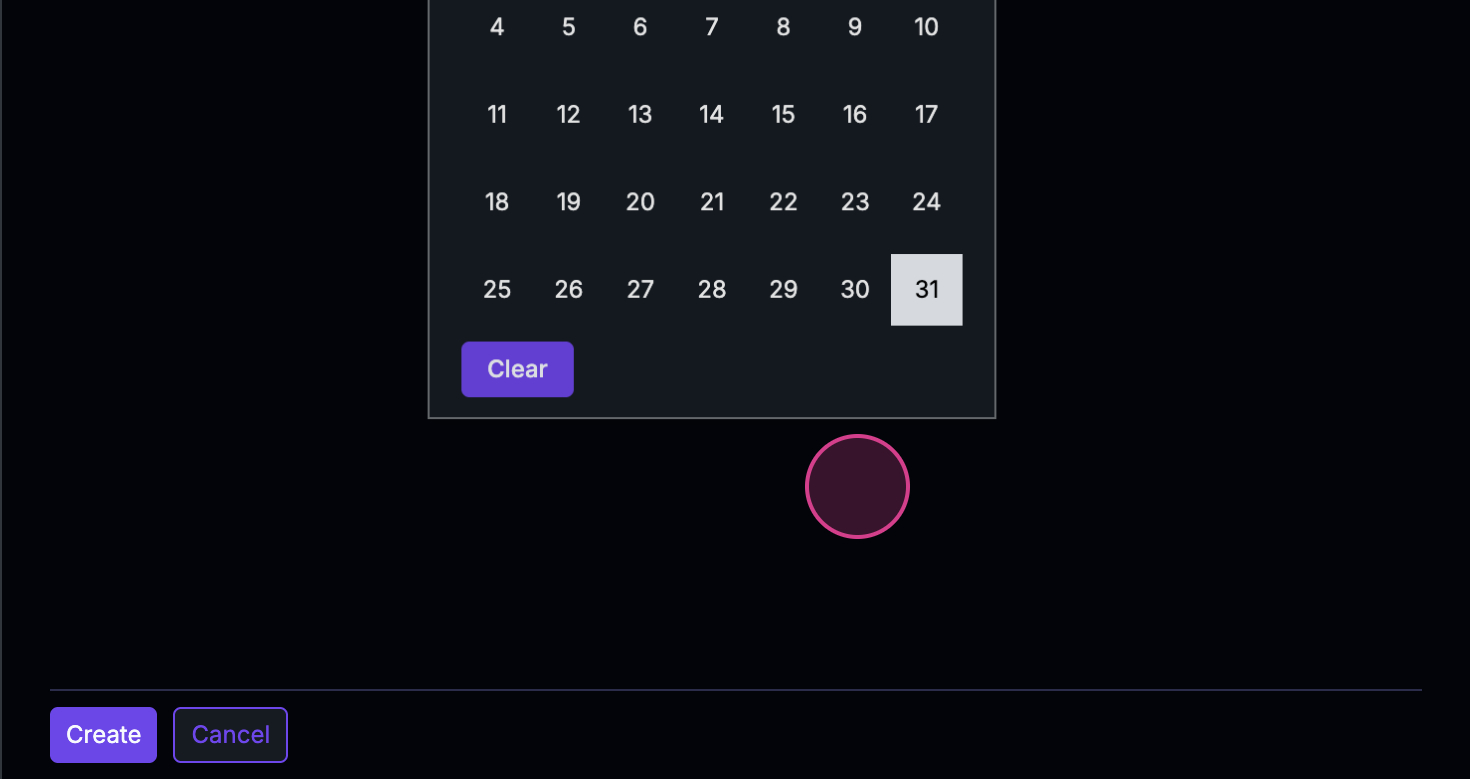
 Step 8: Set the expected closing date. If you’re familiar with the customer, give them a couple of weeks and mark this as the expected date.
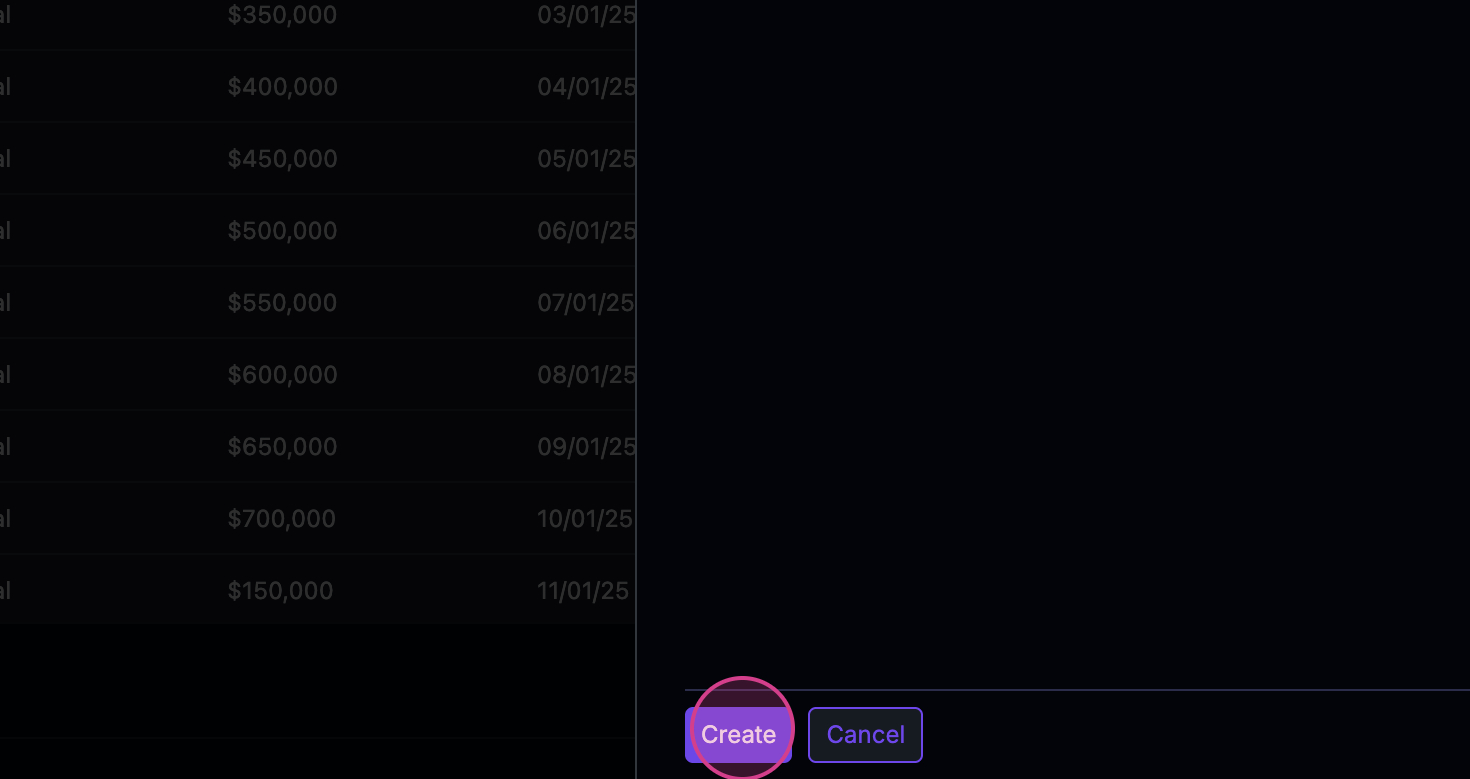
 Step 9: Click on Create to finalize the new opportunity.
 Once the opportunity is created, a pop-up notification will appear and the opportunity will be visible in the open section.
 And that’s it! You’ve successfully created a new opportunity. Thank you for following along.