Video Tutorial
In this article, you’ll learn how to create a new project using an existing template. Step 1: Refer to the test template created in the previous tutorial.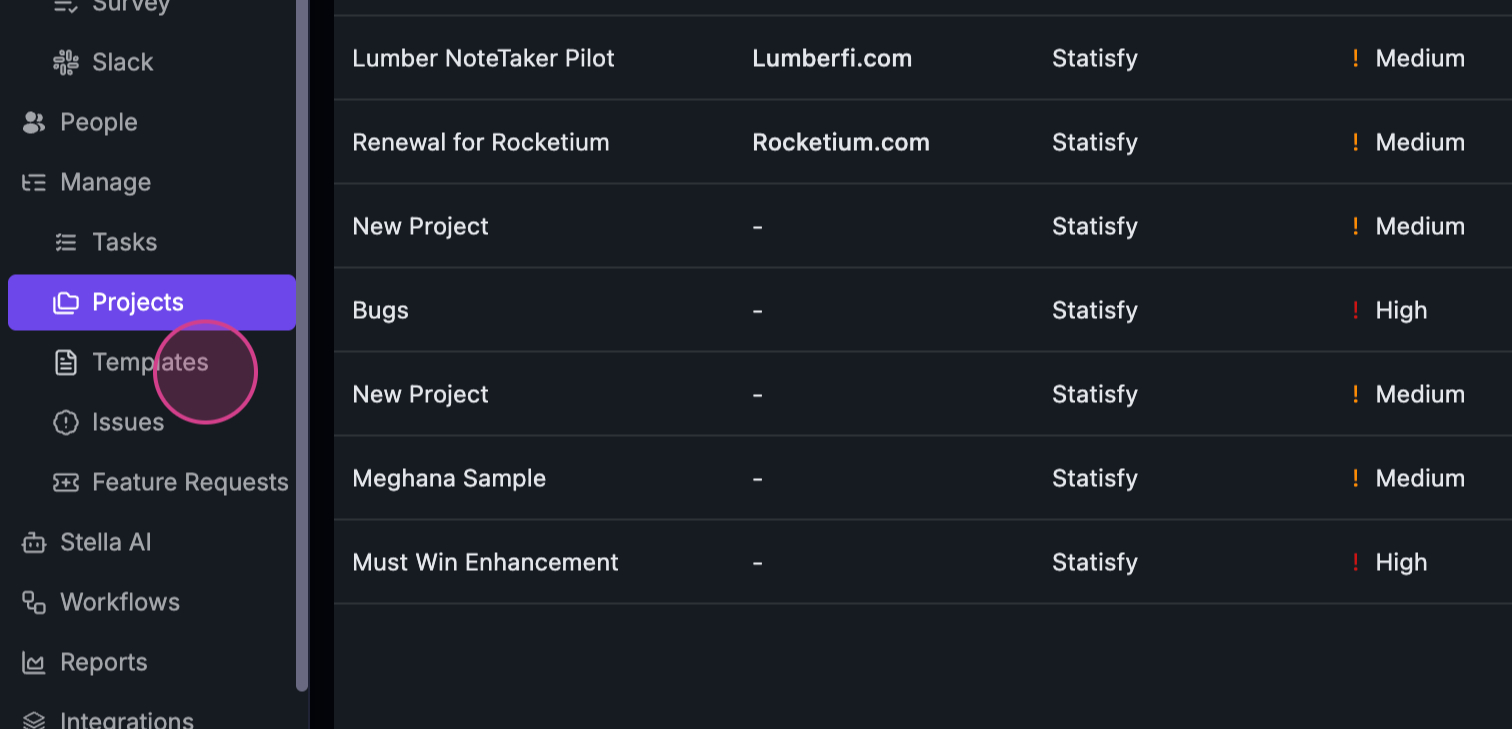 Step 2:
Initiate the creation of a new project using this template.
Step 2:
Initiate the creation of a new project using this template.
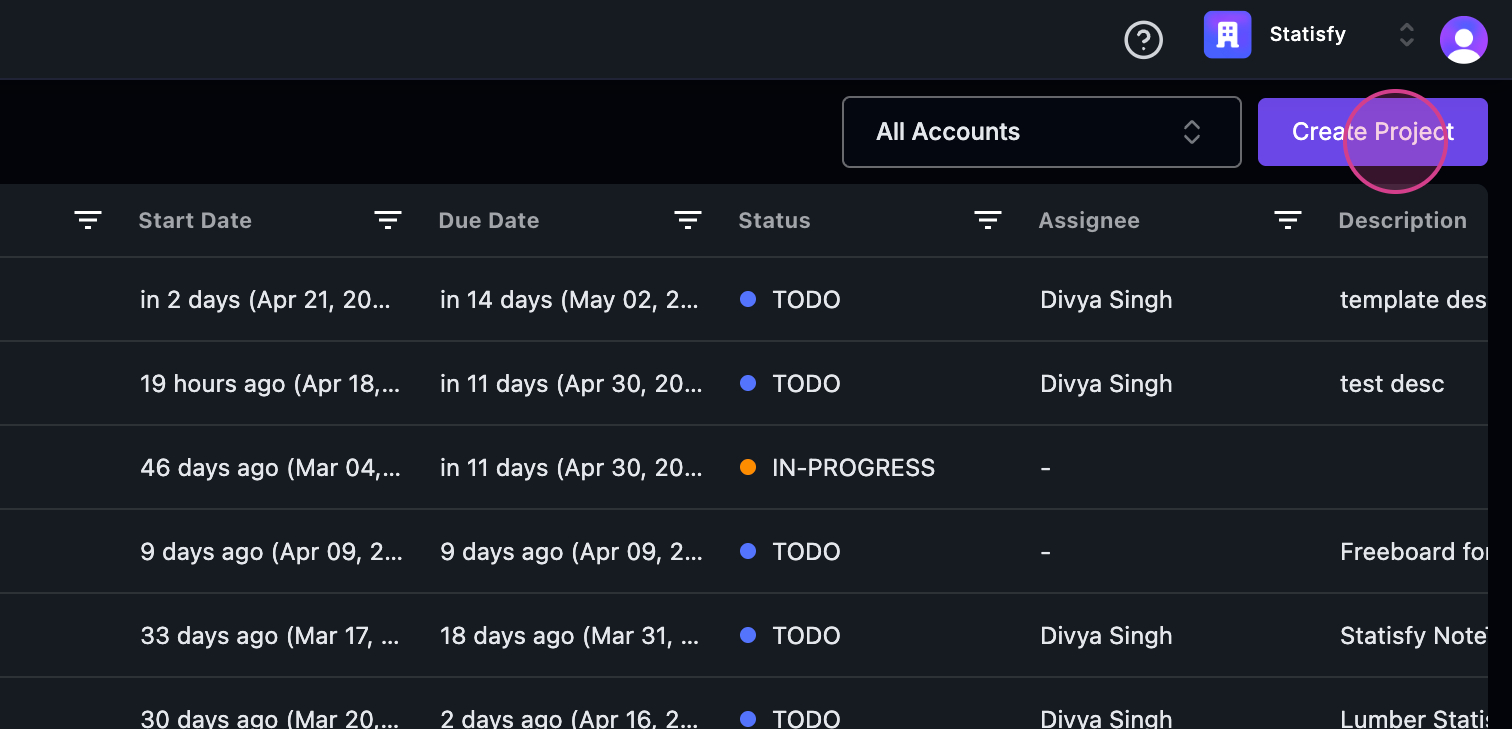
 Step 3:
Click on the Create Project button.
Step 3:
Click on the Create Project button.
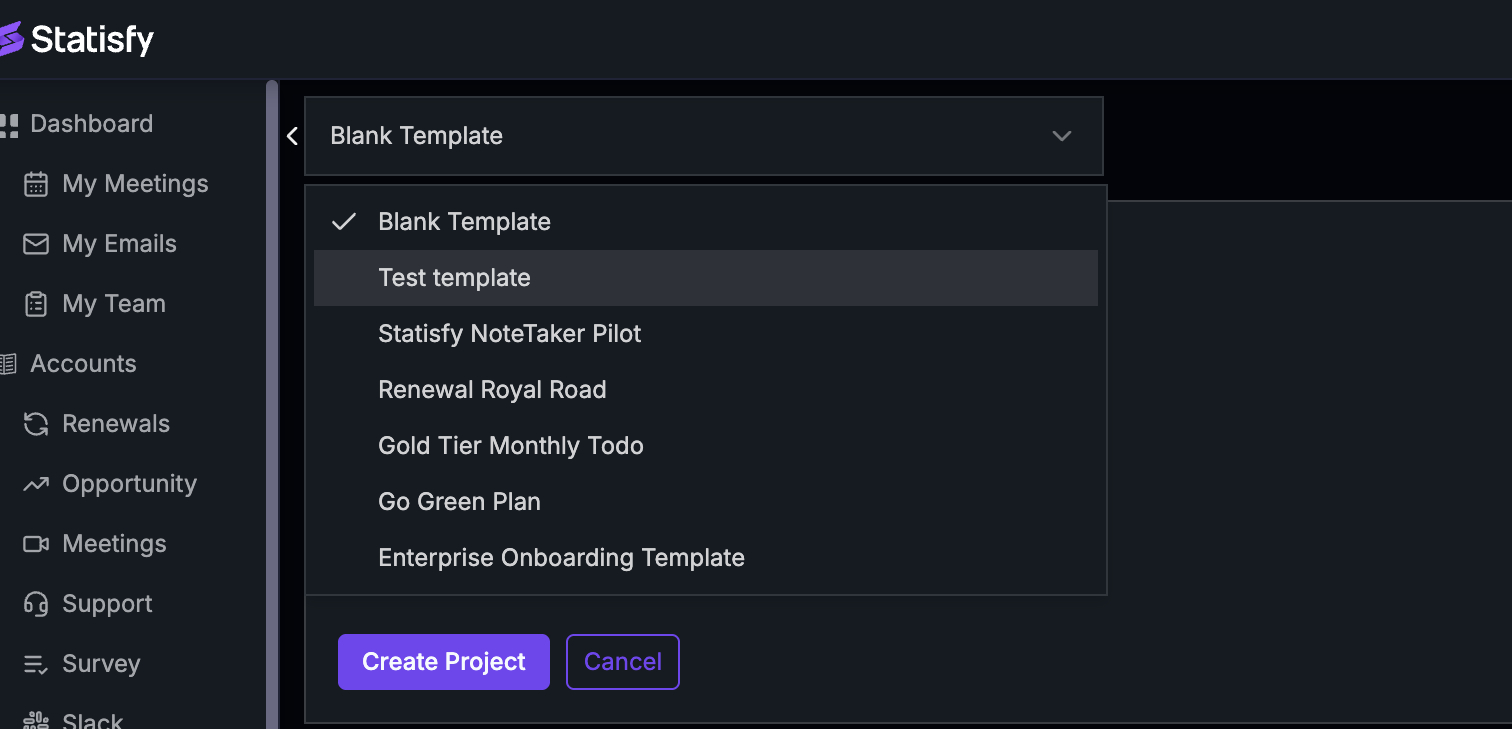
 Step 4:
Select the test template you’ve previously created.
Step 4:
Select the test template you’ve previously created.
 Step 5:
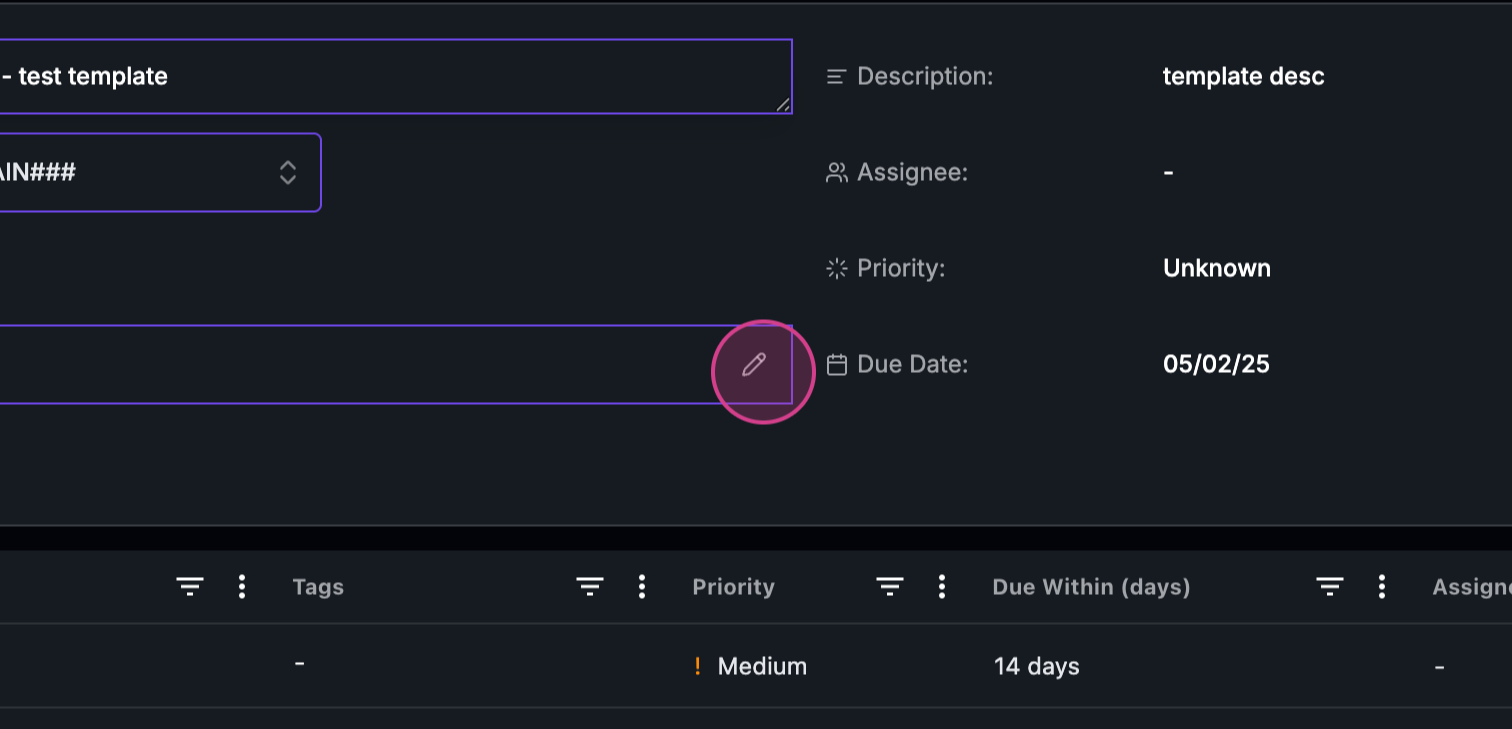
Observe the tasks associated with this template displayed on the screen.
Step 5:
Observe the tasks associated with this template displayed on the screen.
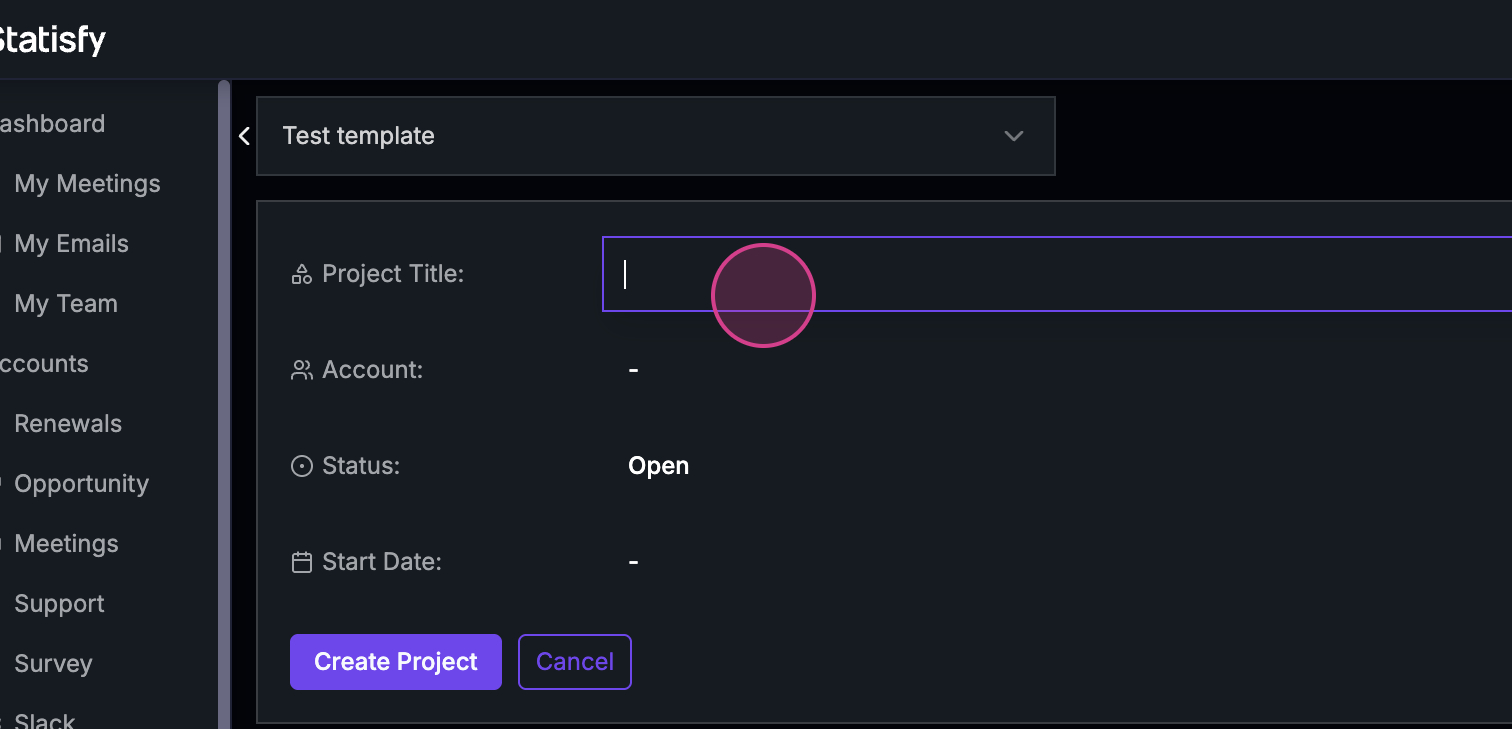
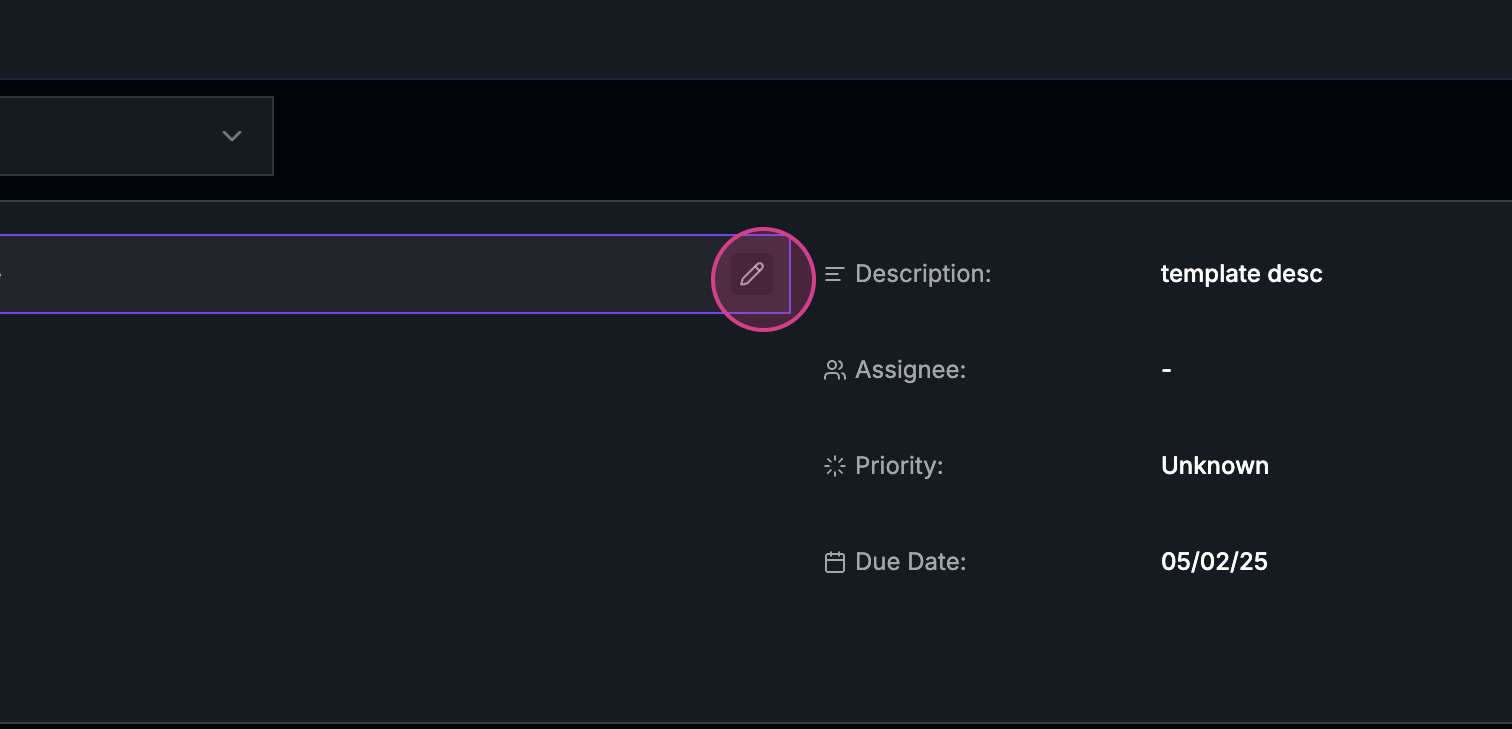 Step 6:
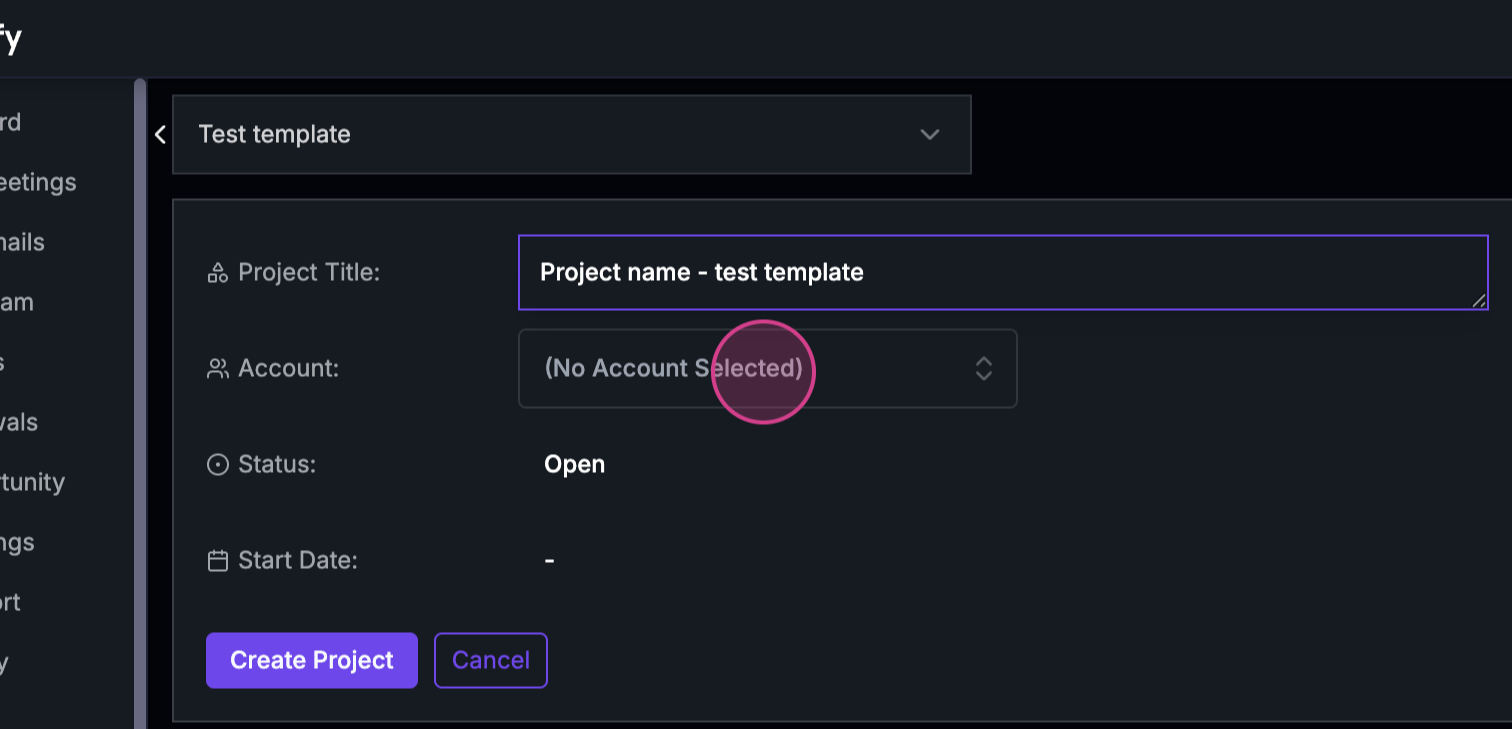
Proceed to make changes to the project, starting with the project name. For instance, name it “Test Template”.
Step 6:
Proceed to make changes to the project, starting with the project name. For instance, name it “Test Template”.
 Step 7:
Ensure you have an account selected.
Step 7:
Ensure you have an account selected.
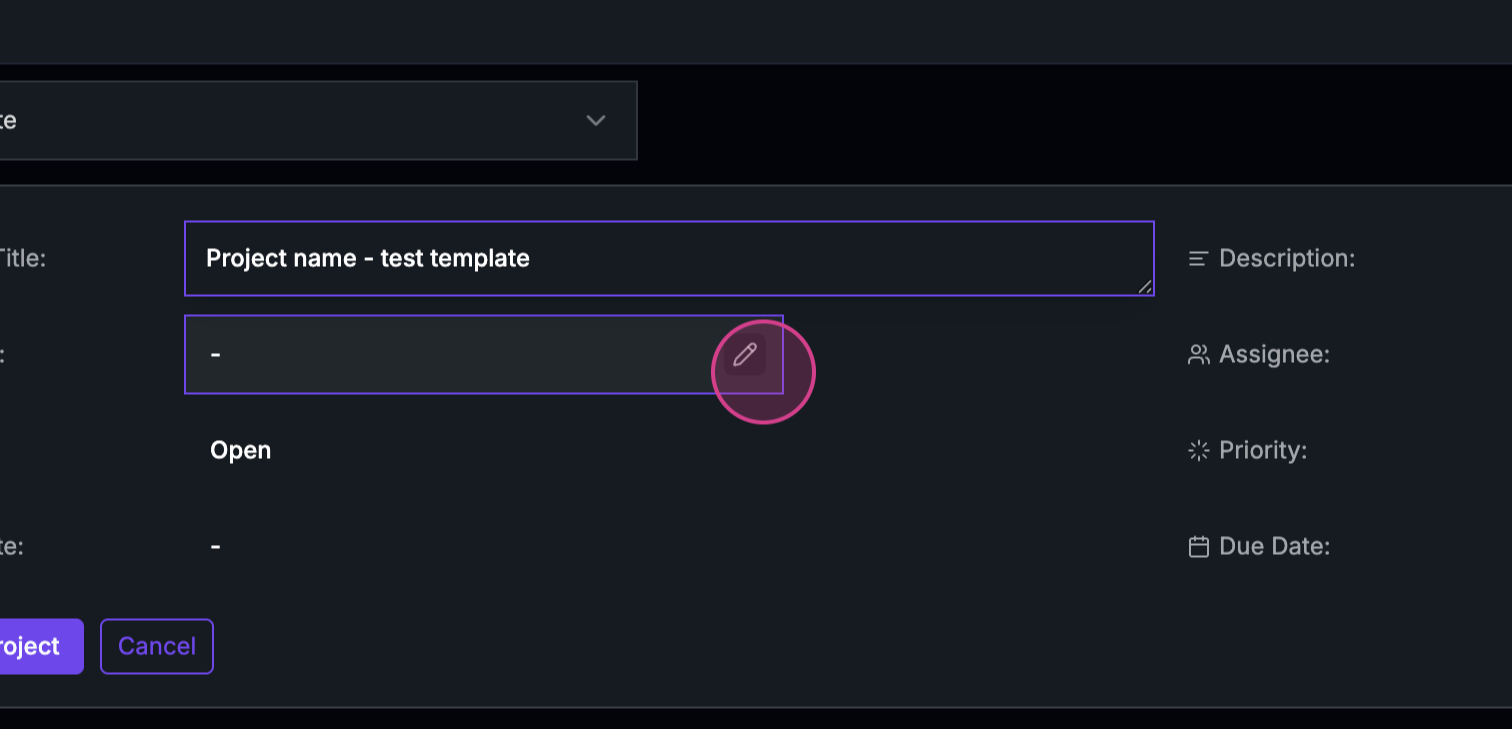
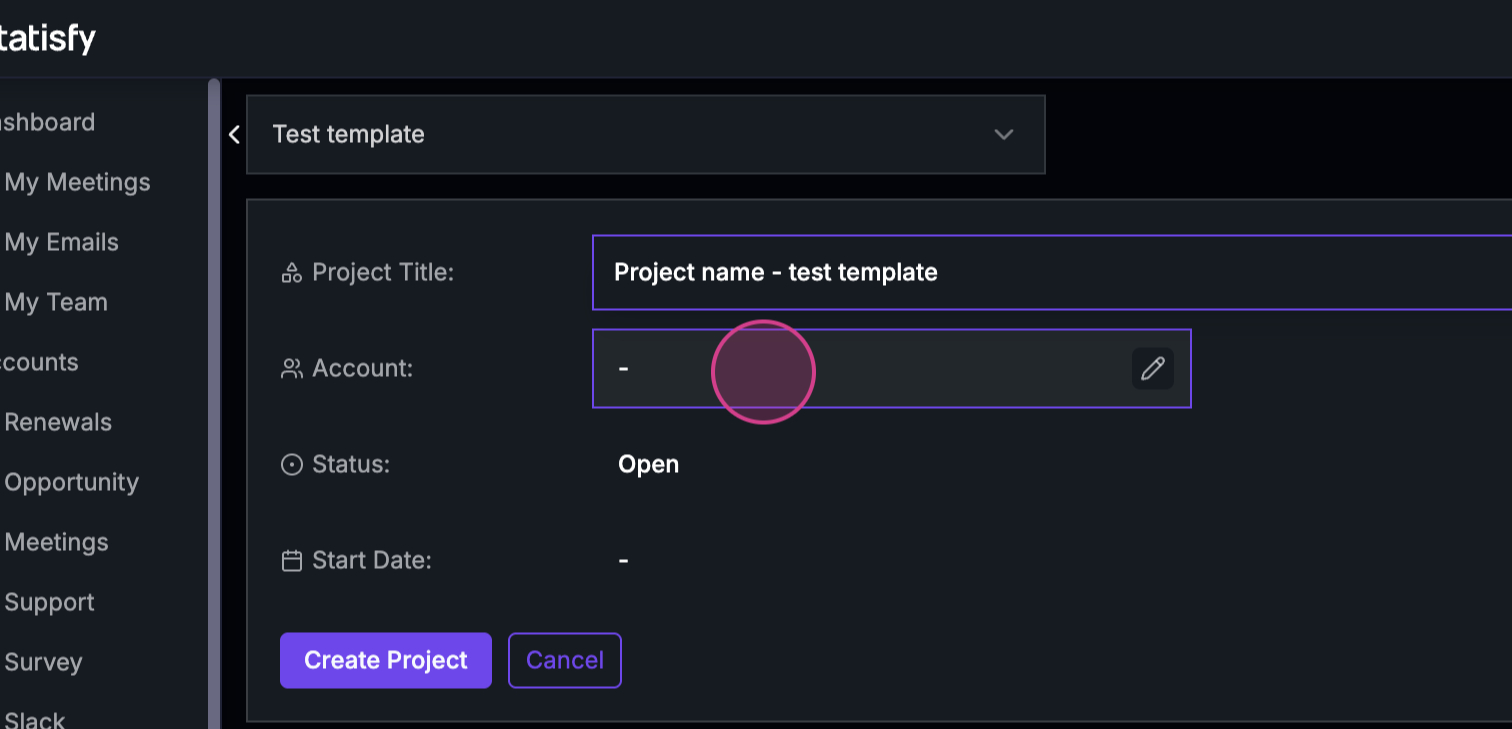 Step 8:
If the template isn’t account-specific, manually select an account.
Step 8:
If the template isn’t account-specific, manually select an account.
 Step 9:
If the template is account-specific, the account will automatically be displayed or selected.
Step 9:
If the template is account-specific, the account will automatically be displayed or selected.
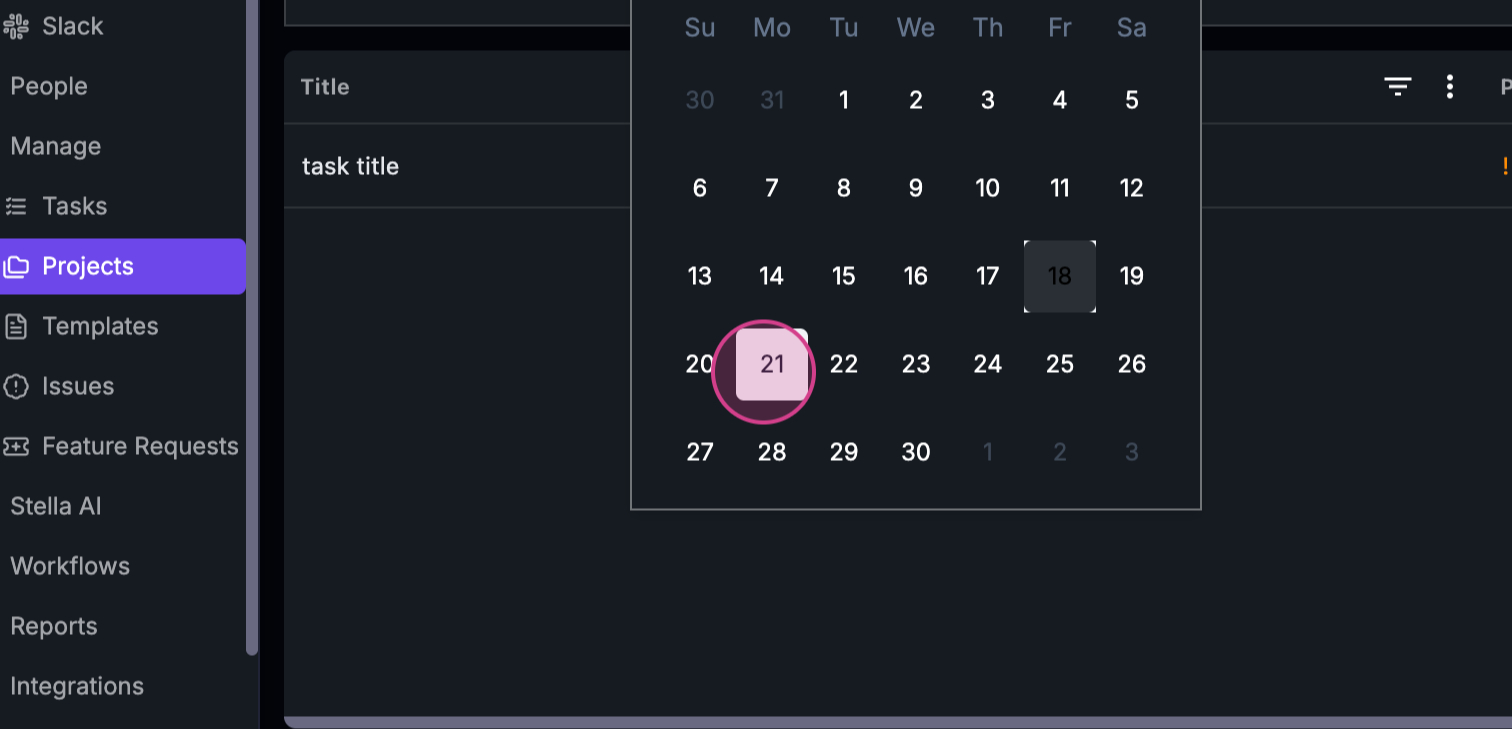
 Step 10:
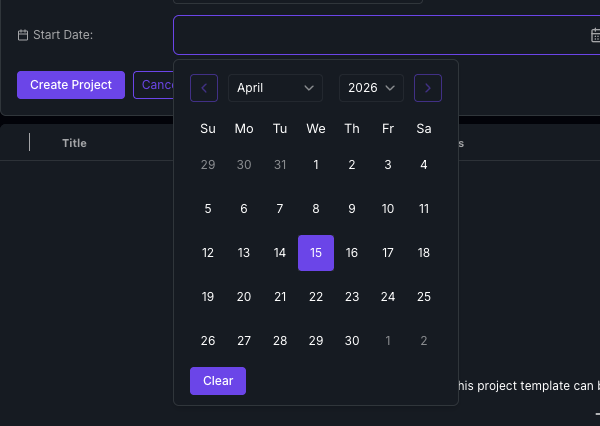
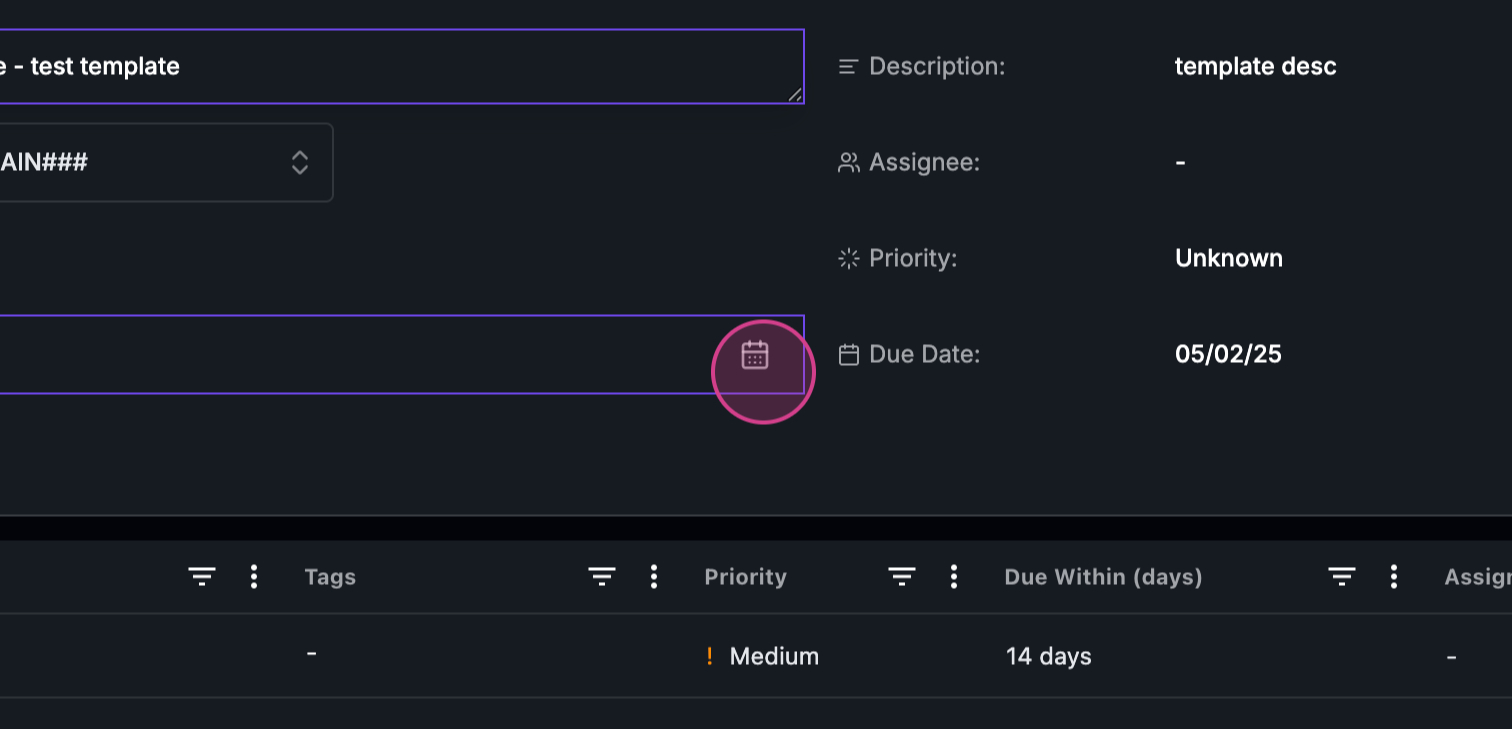
Choose a start date for your project. The start date you choose determines all task dates — each template task’s dates are calculated from this start date using the template’s day offsets. Any dependencies defined in the template also carry over to the new project.
Step 10:
Choose a start date for your project. The start date you choose determines all task dates — each template task’s dates are calculated from this start date using the template’s day offsets. Any dependencies defined in the template also carry over to the new project.
See Task Dependencies & Auto-Cascade Dates for how dependencies and date offsets work.
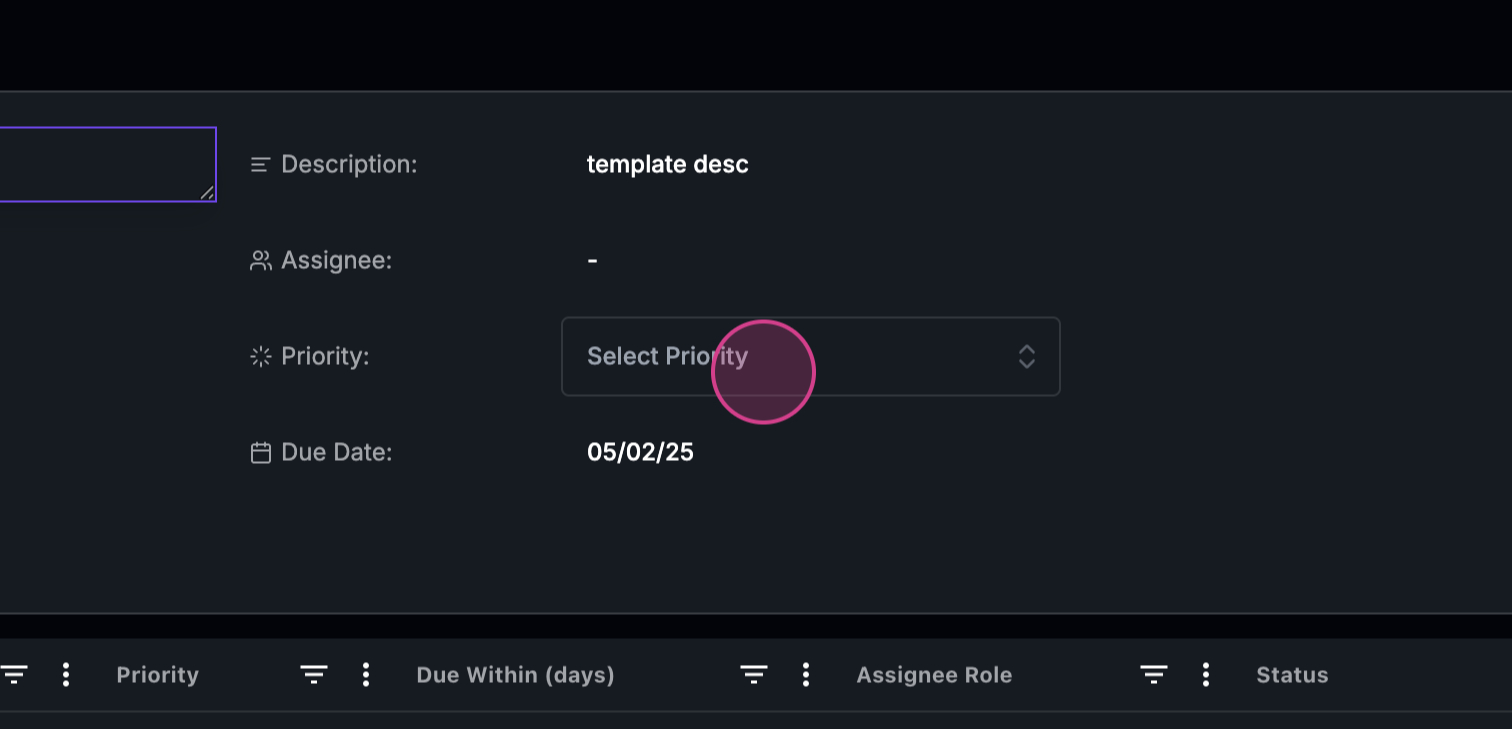
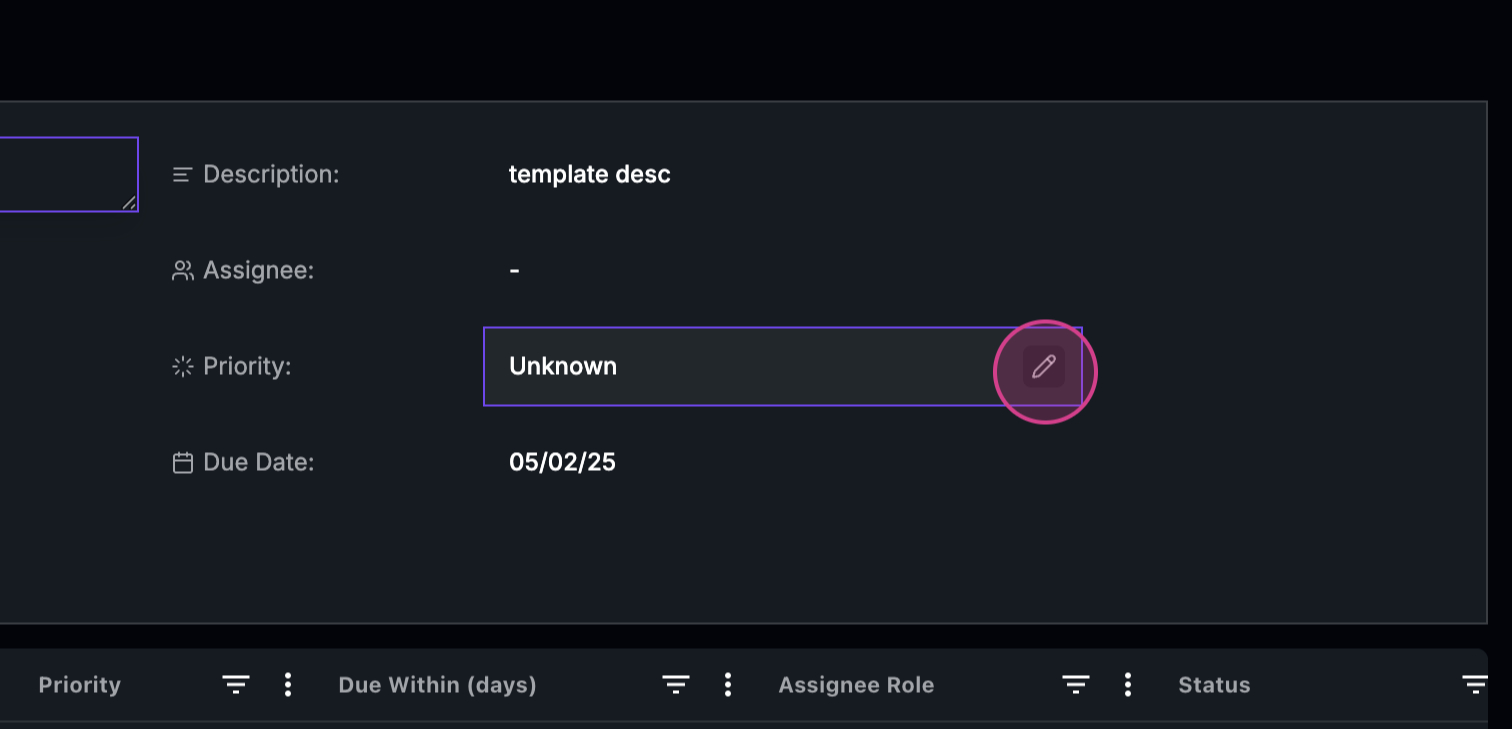
 Step 12:
Select the priority level for your project.
Step 12:
Select the priority level for your project.
 Step 13:
Choose an assignee for the project.
Step 13:
Choose an assignee for the project.
 Step 14:
After completing these steps, all tasks associated with the template will be included in your project.
Step 14:
After completing these steps, all tasks associated with the template will be included in your project.
 Step 15:
Finally, create the project.
Step 15:
Finally, create the project.