Video Tutorial
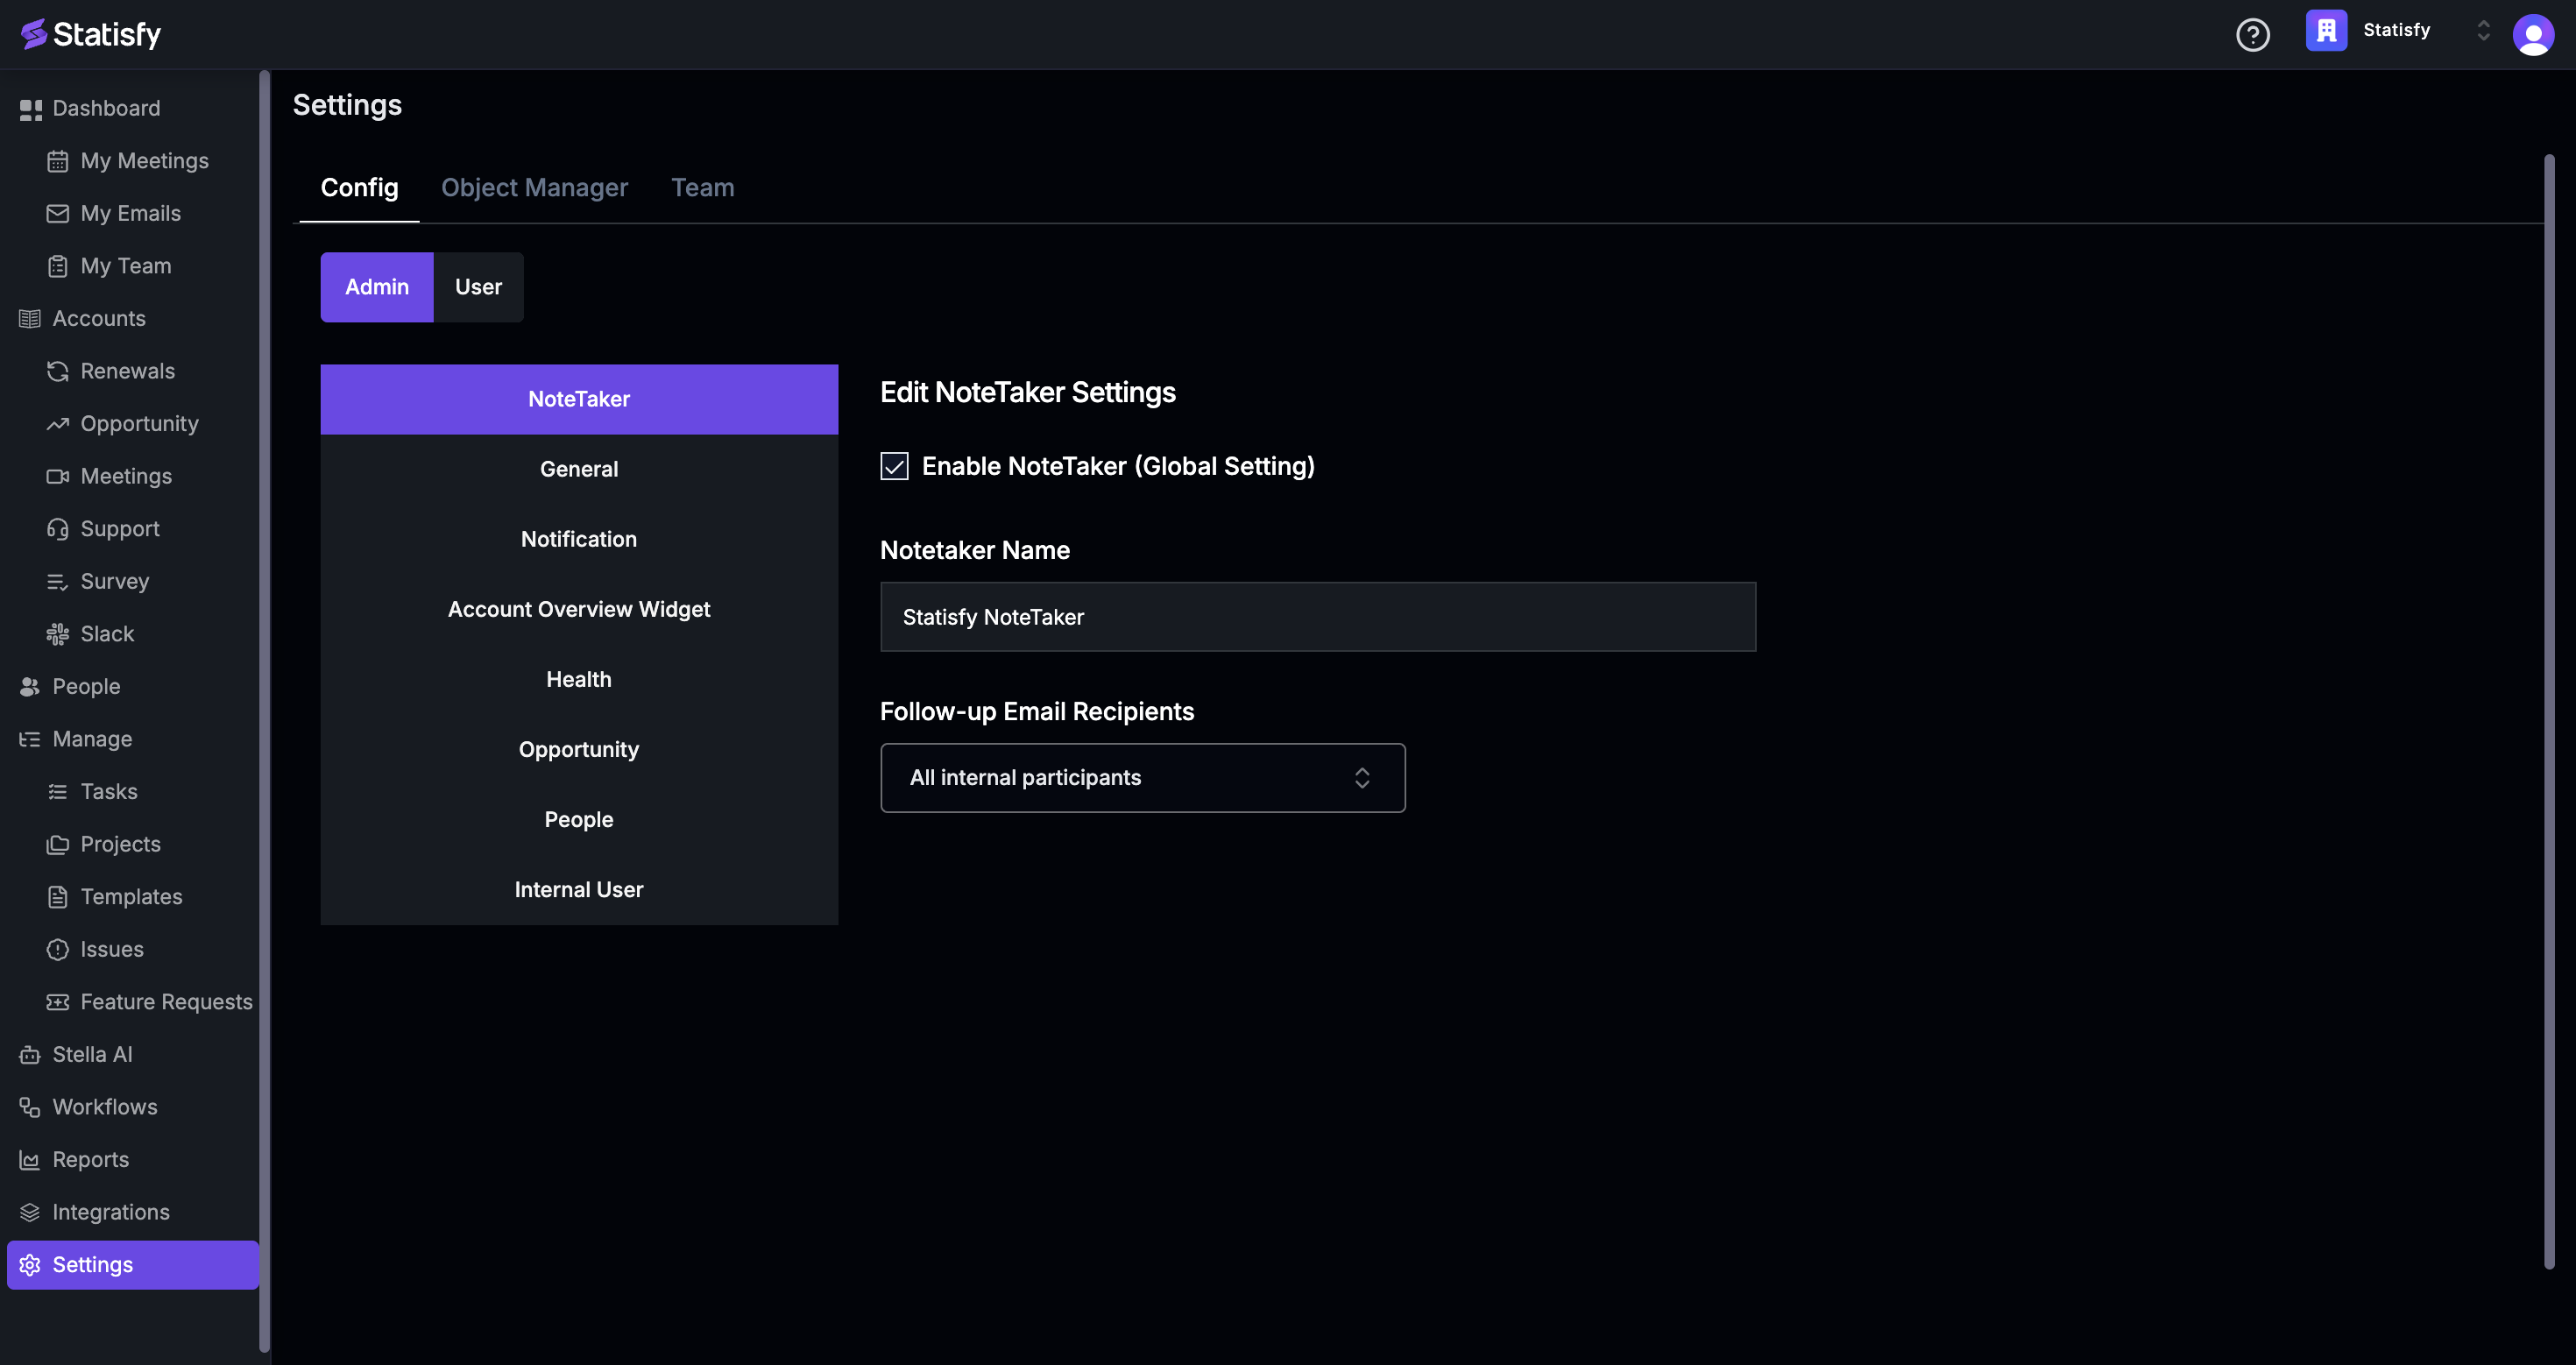
This article will guide you on how to create and edit custom fields in Opportunities. By the end of this tutorial, you’ll be able to customize your Opportunities fields to better suit your needs. Step 1: Navigate to the Settings options.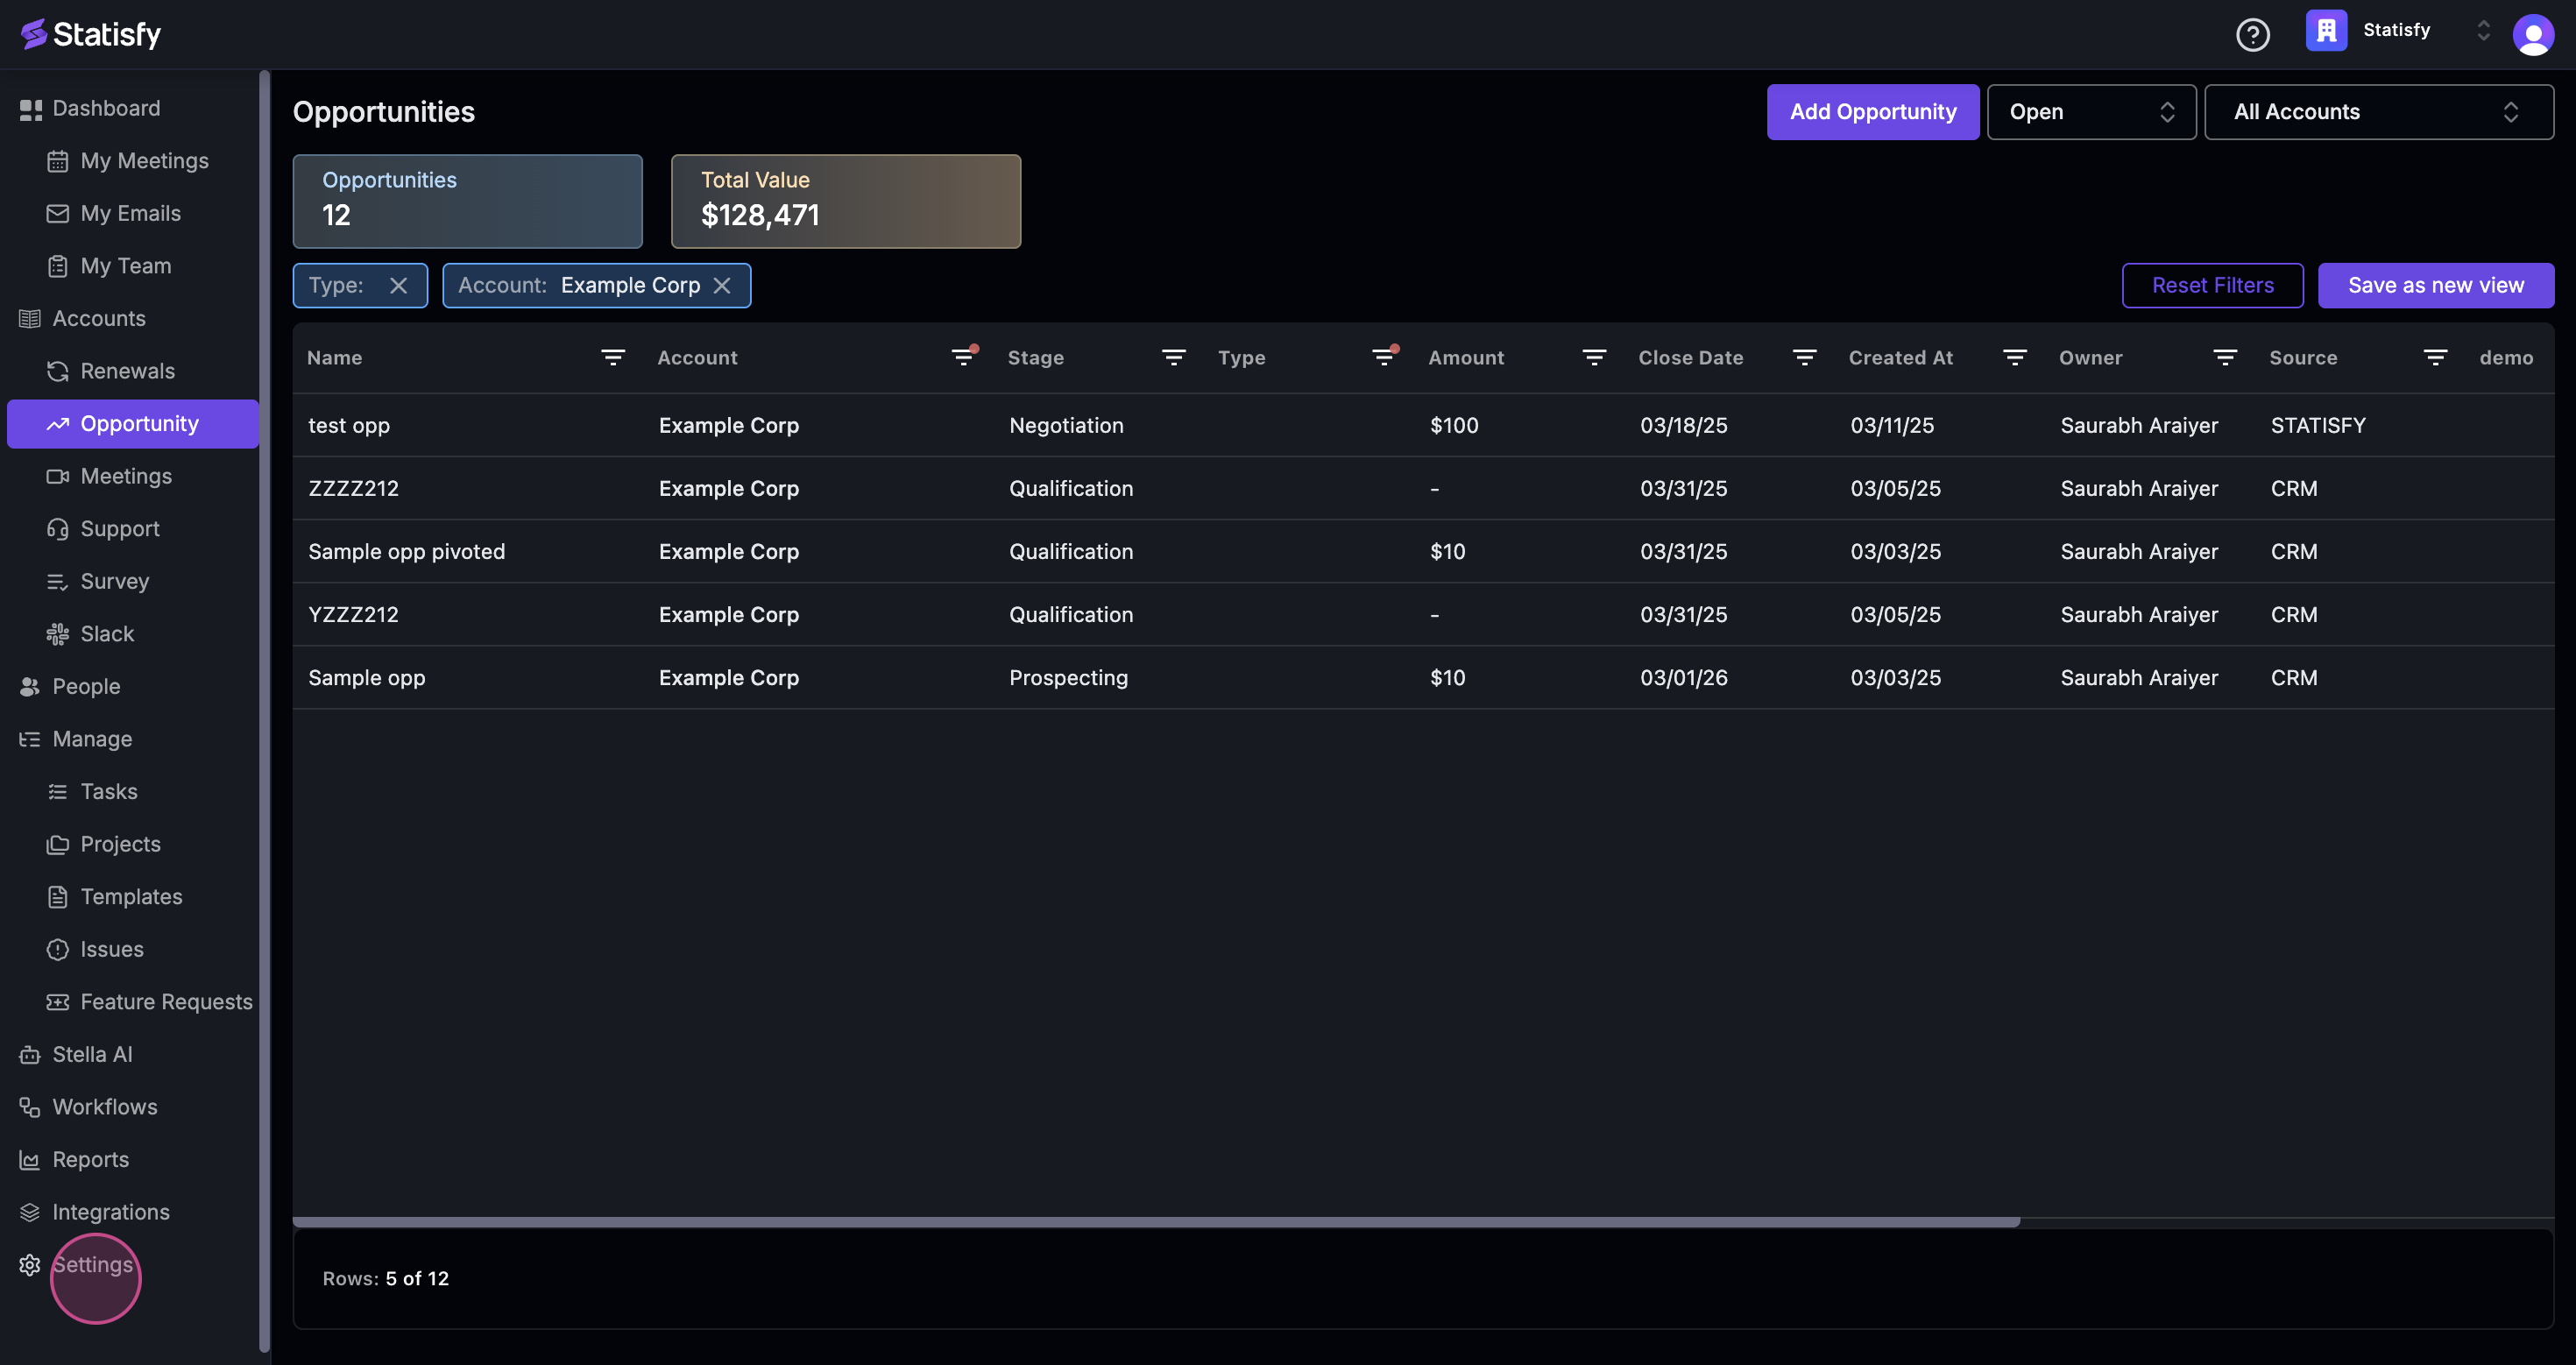 Step 2: From the Settings menu, select the Object Manager.
 Step 3: In the Object Manager, locate the Opportunities section.
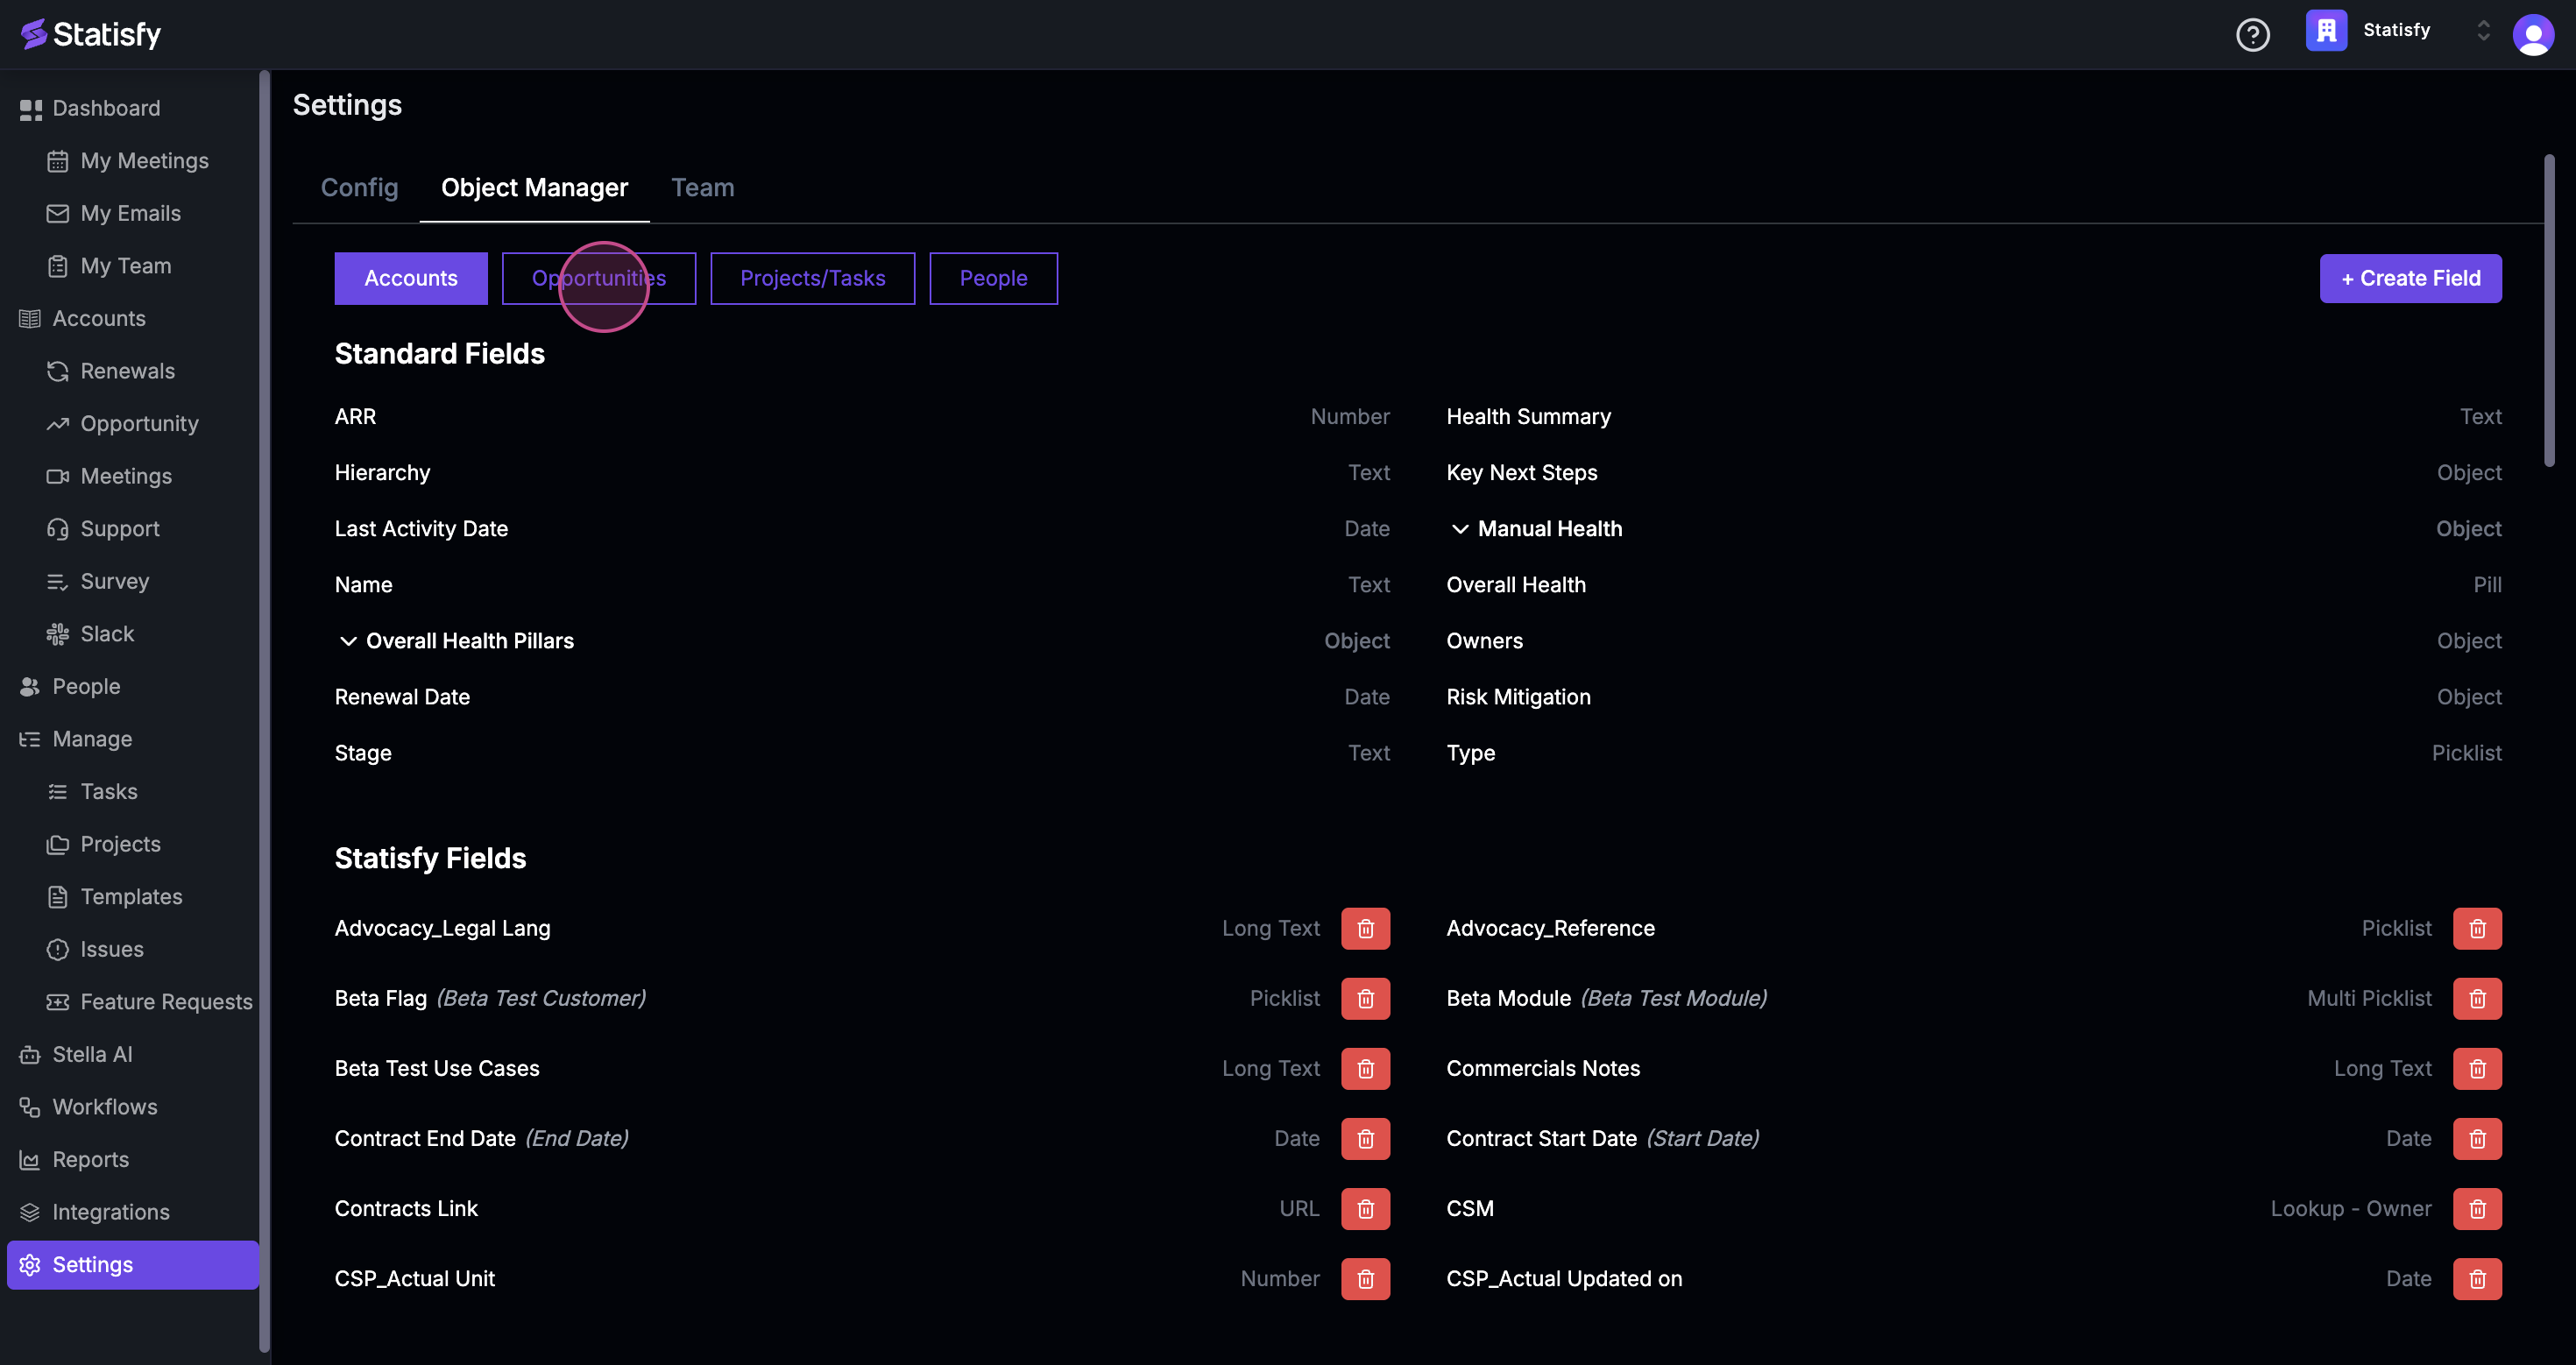 Step 4: In the Opportunities section, find the Create feed on the right corner.
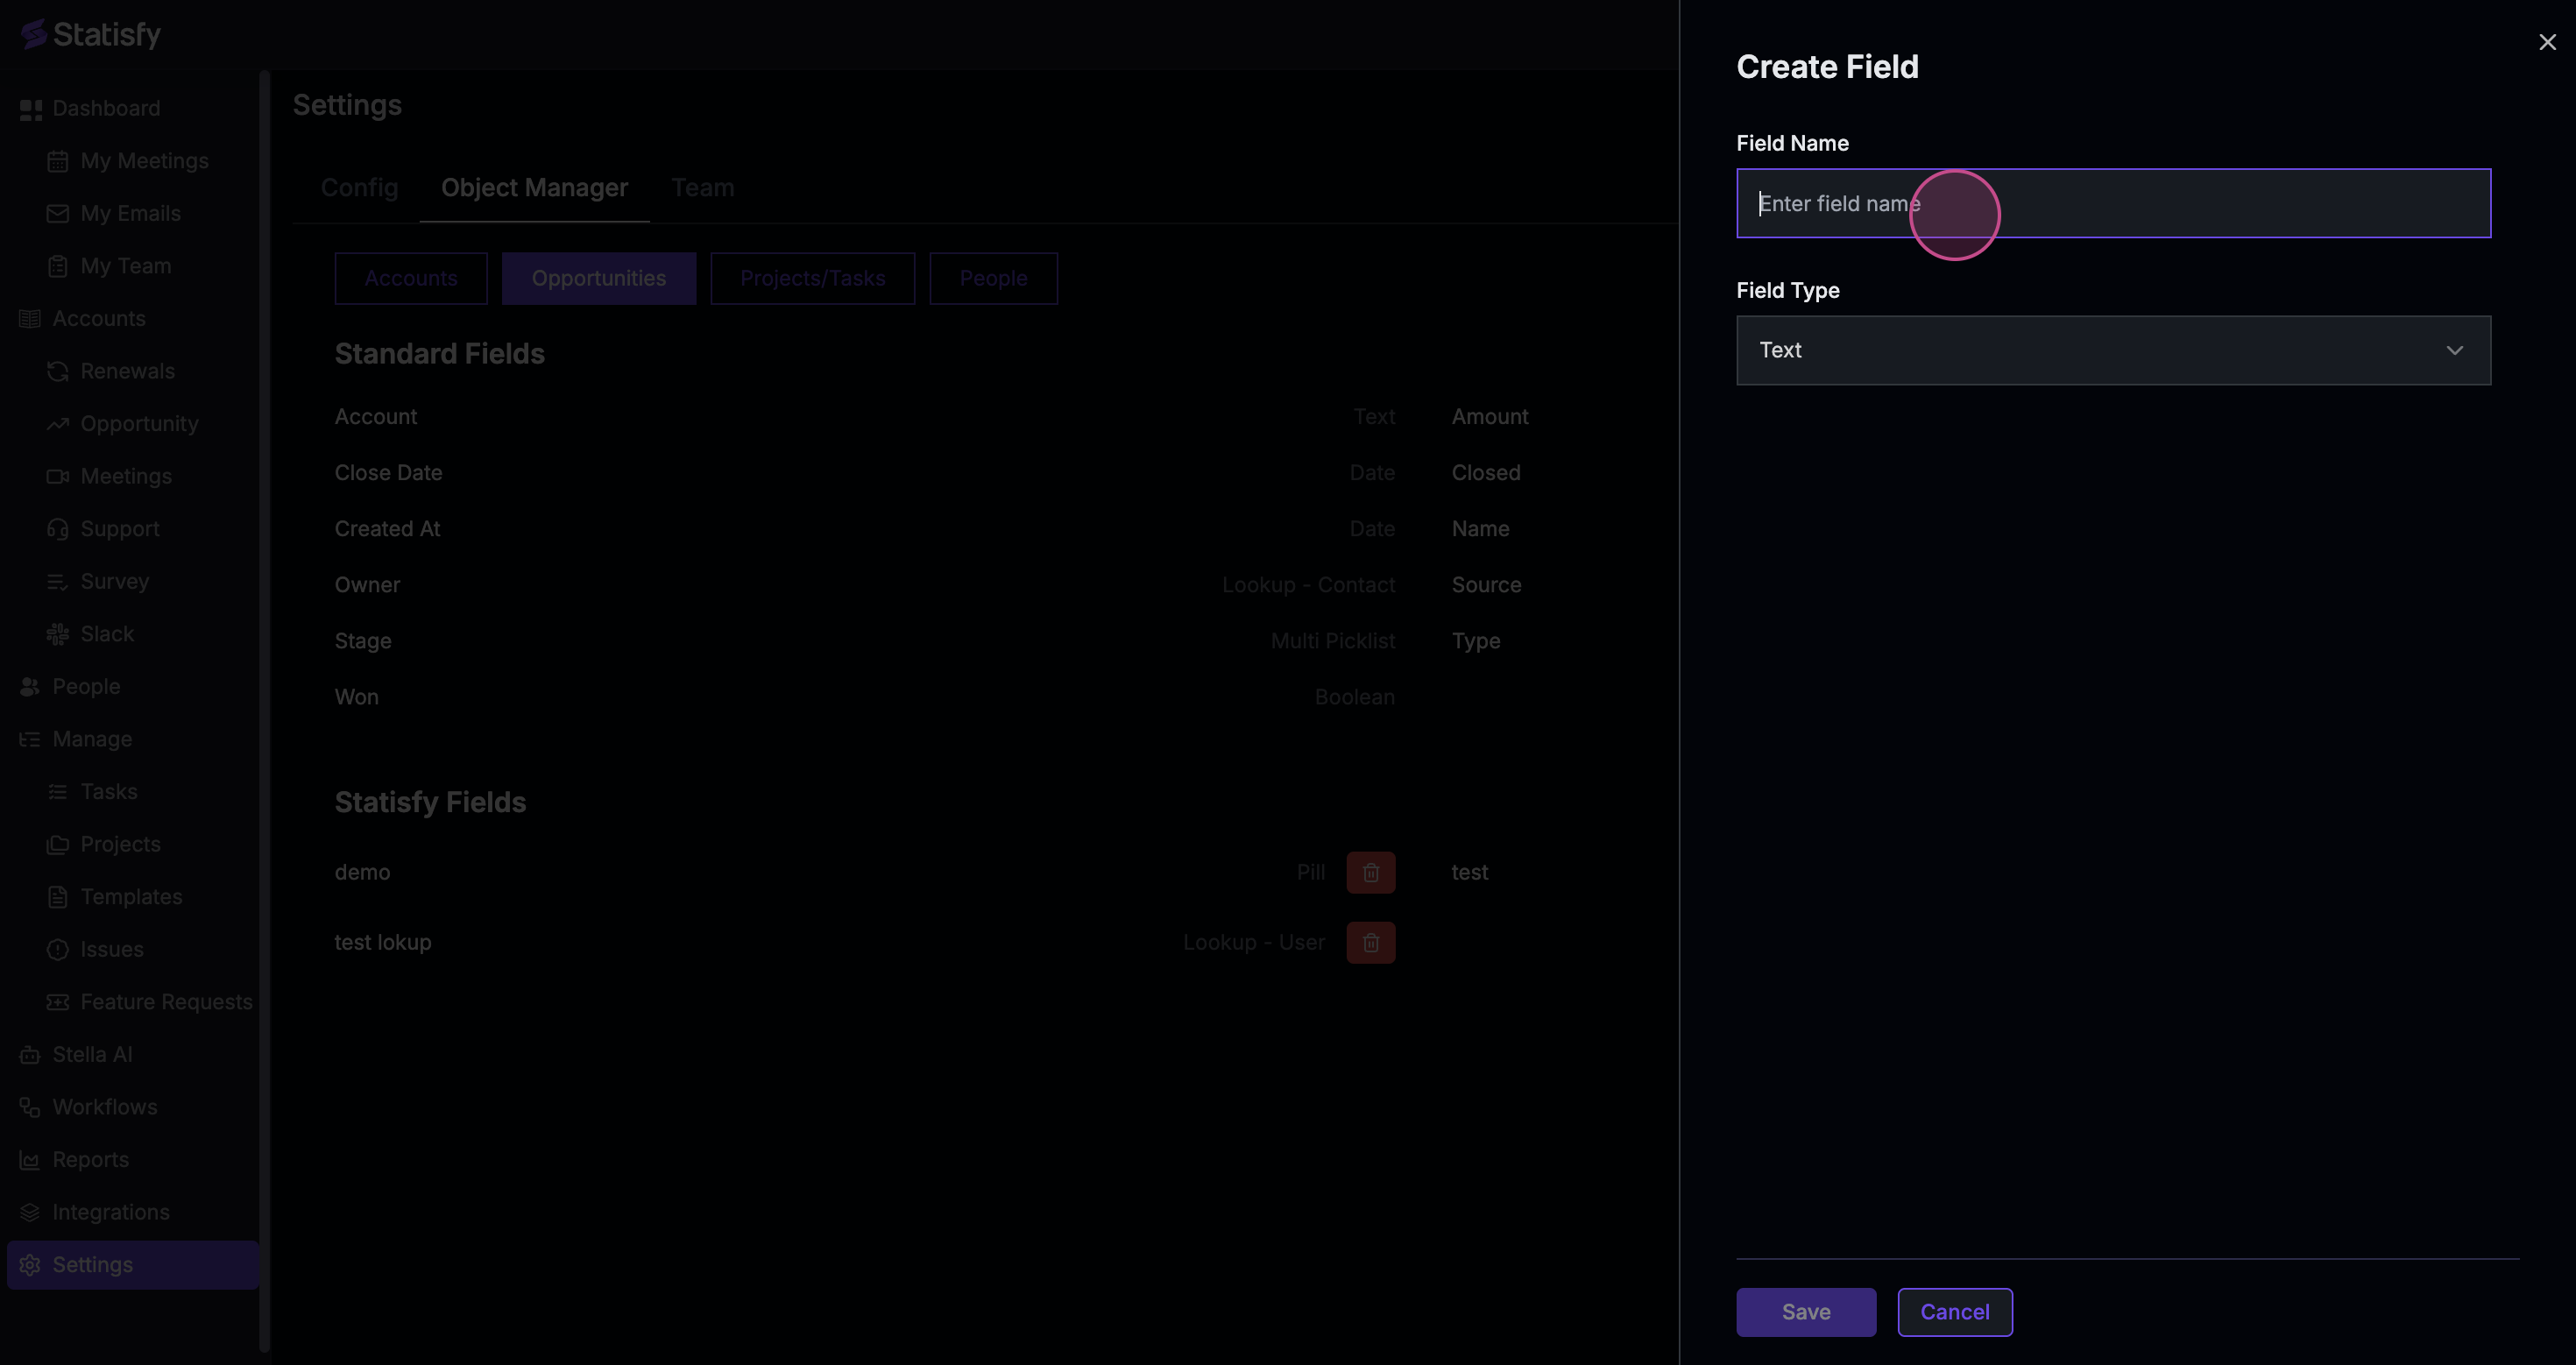
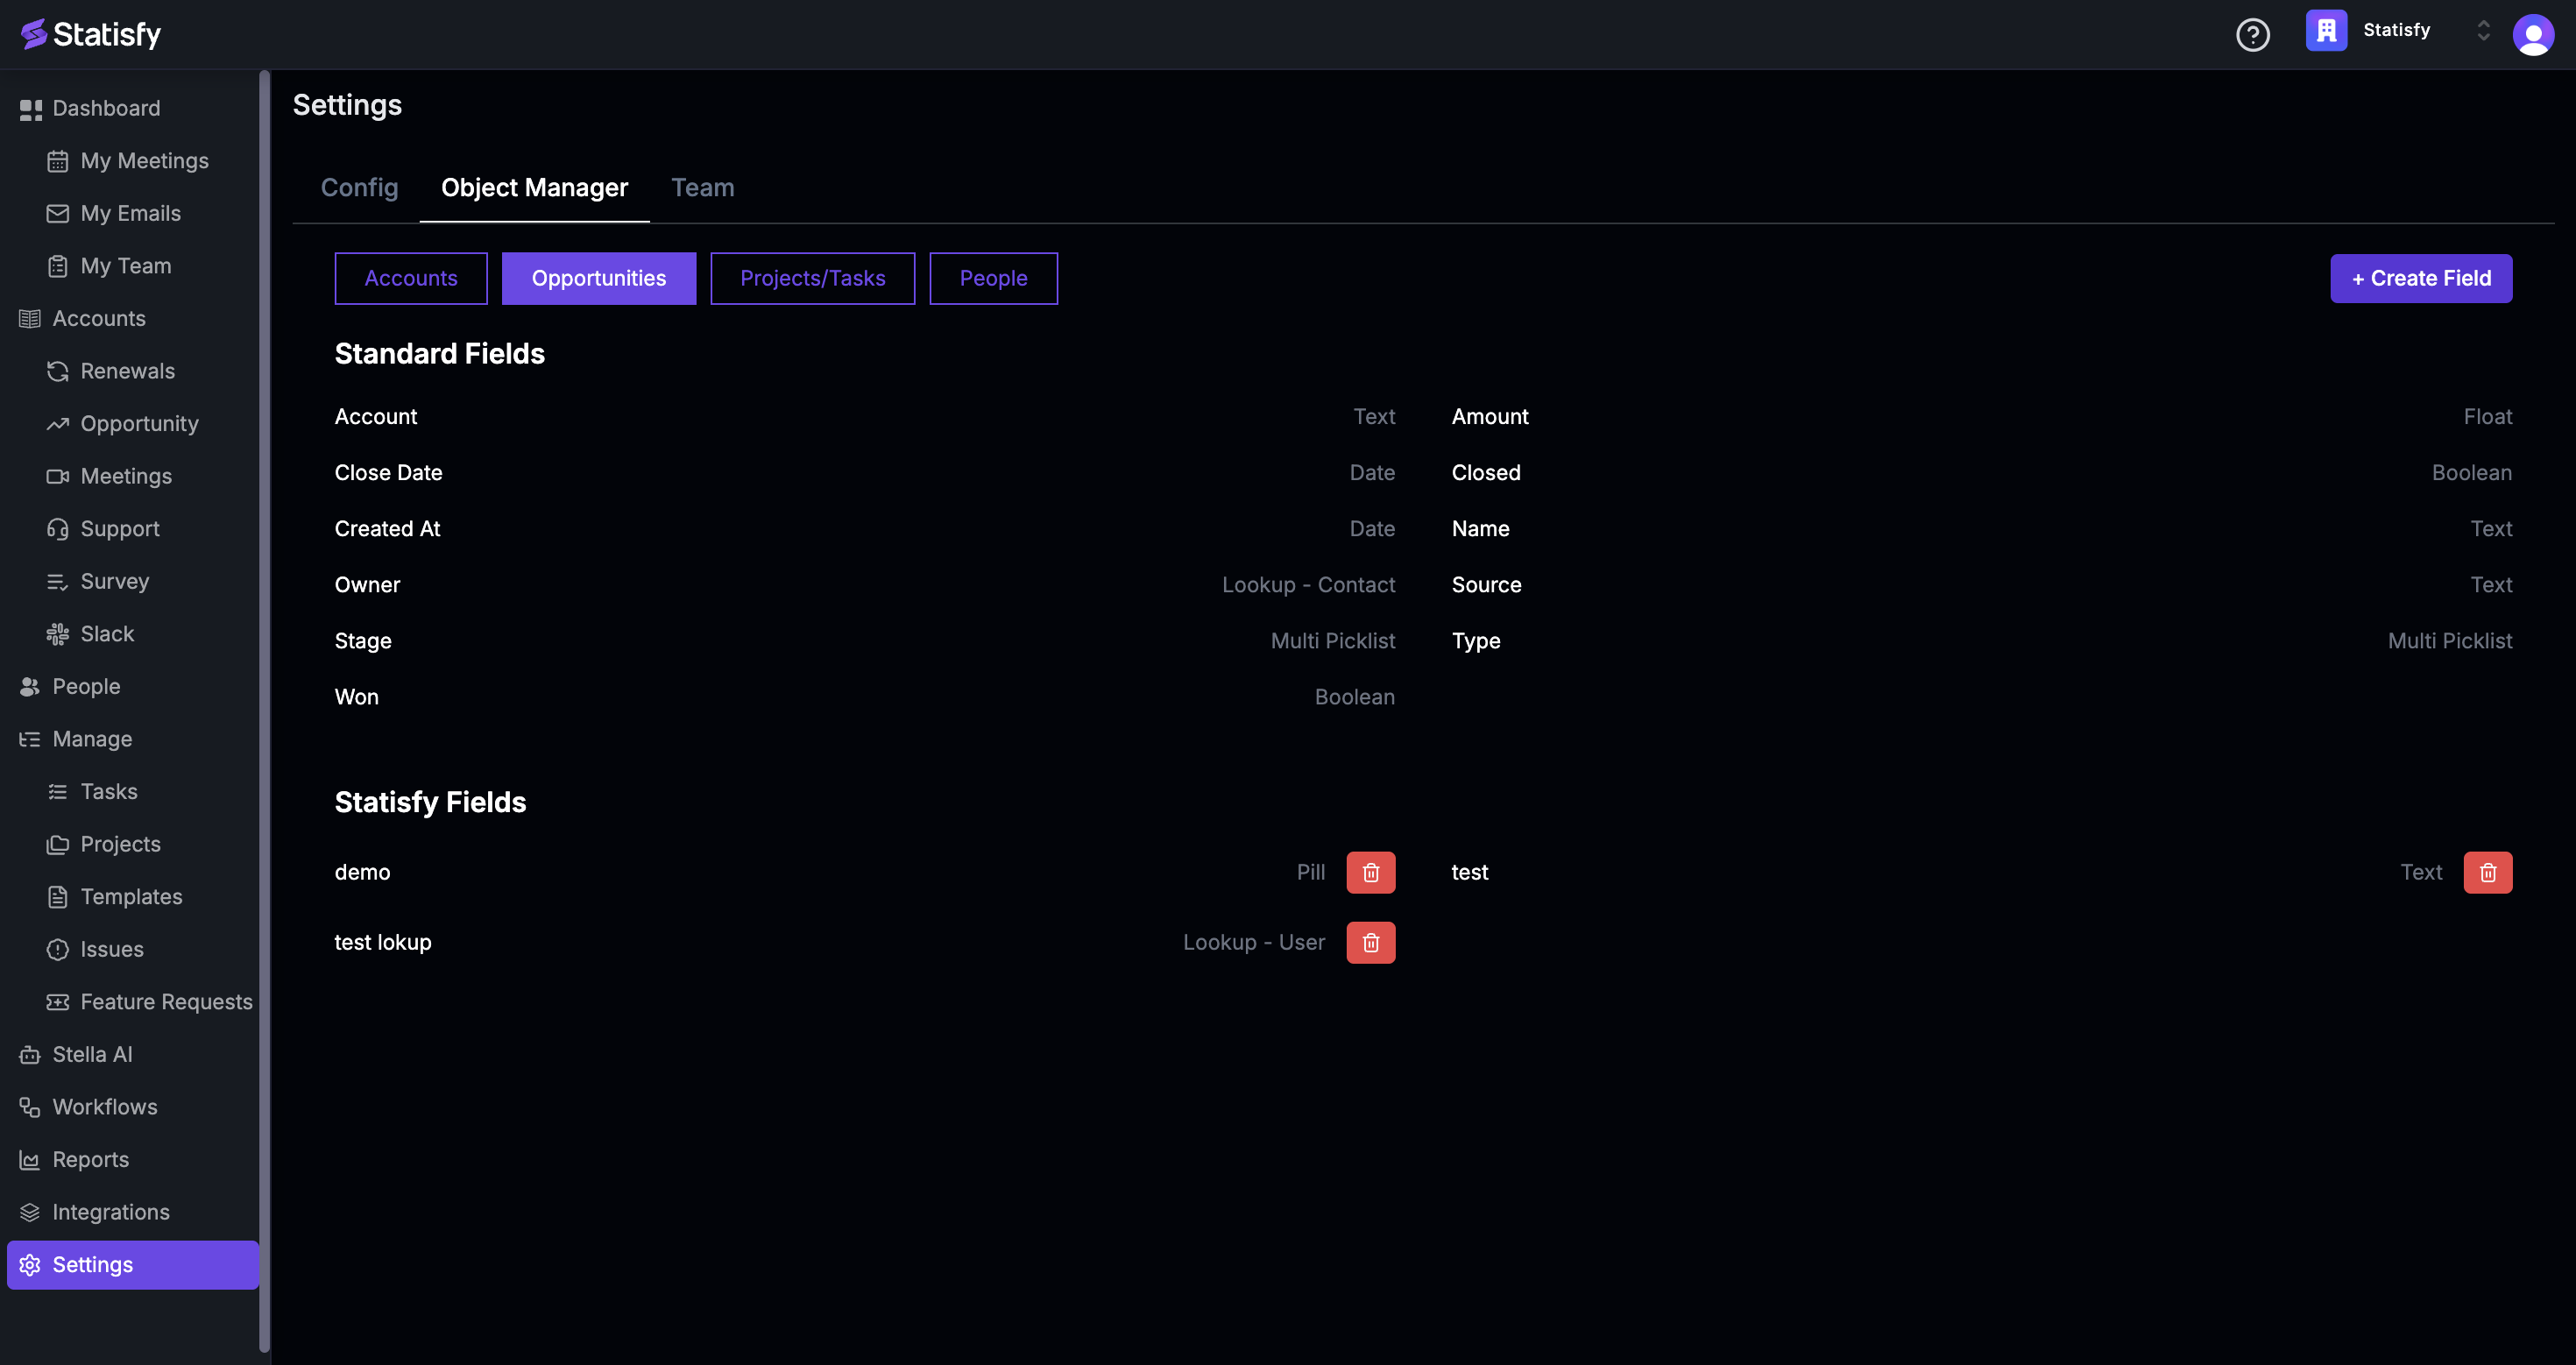 Step 5: Here, you’re able to assign a name to your field. You also have the option to specify the field type, such as currency.
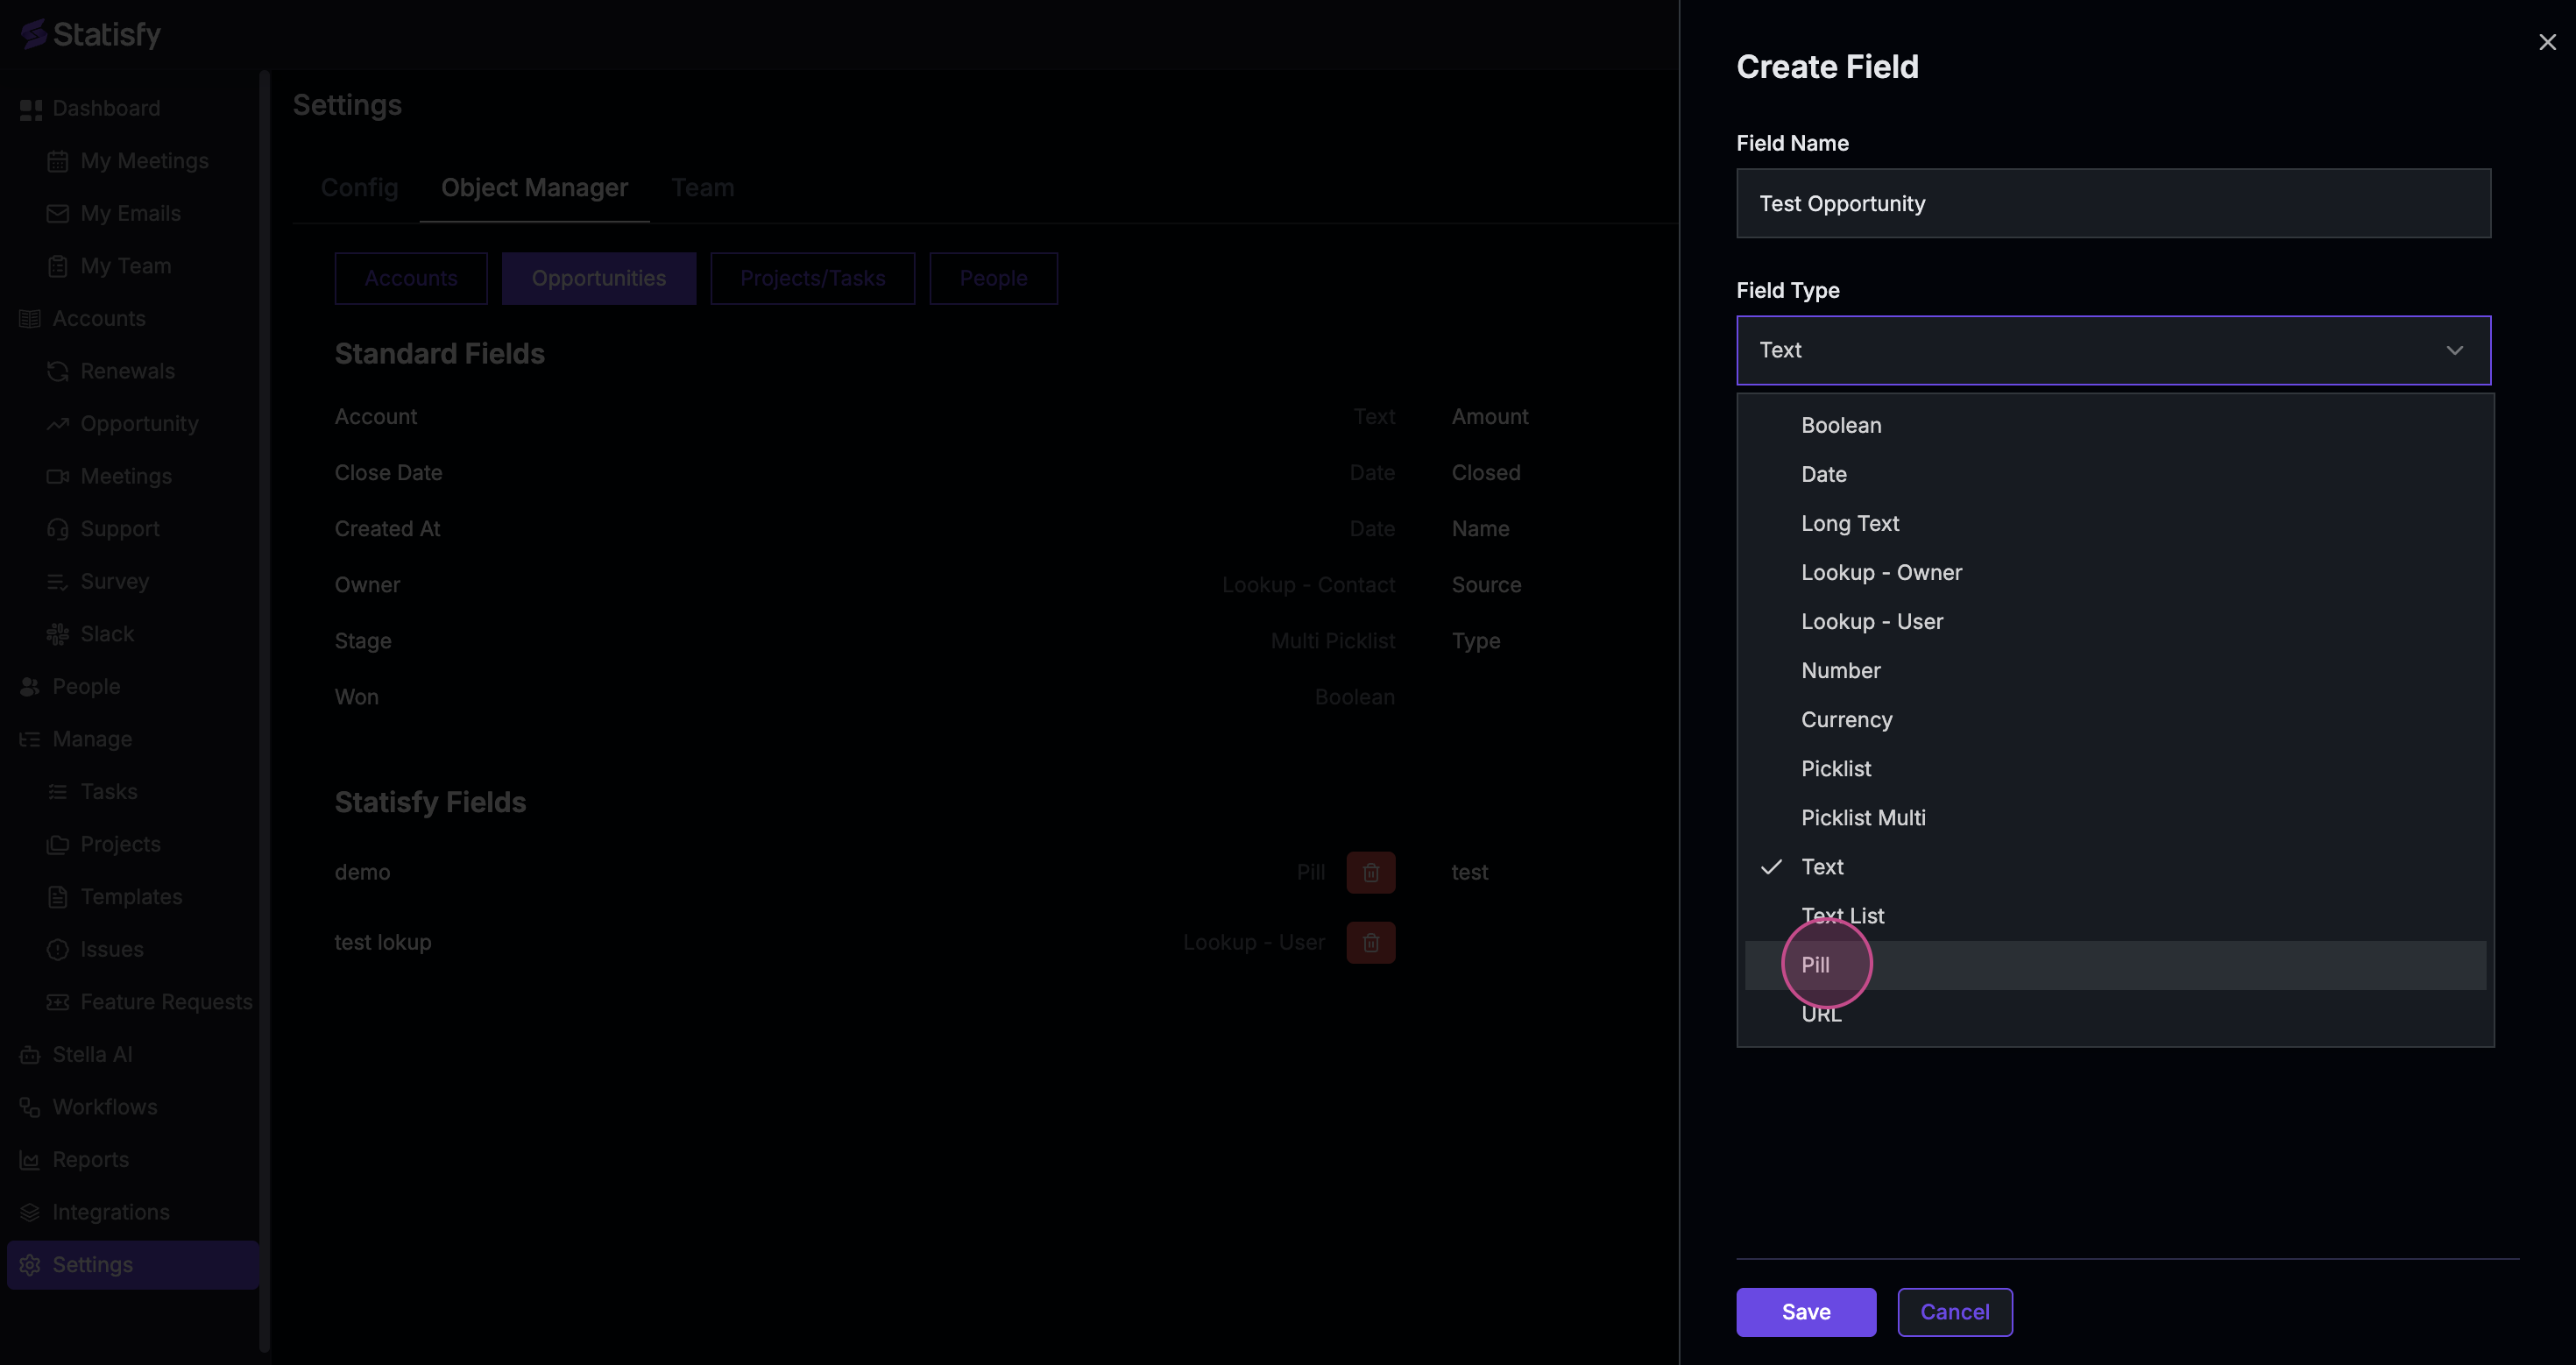
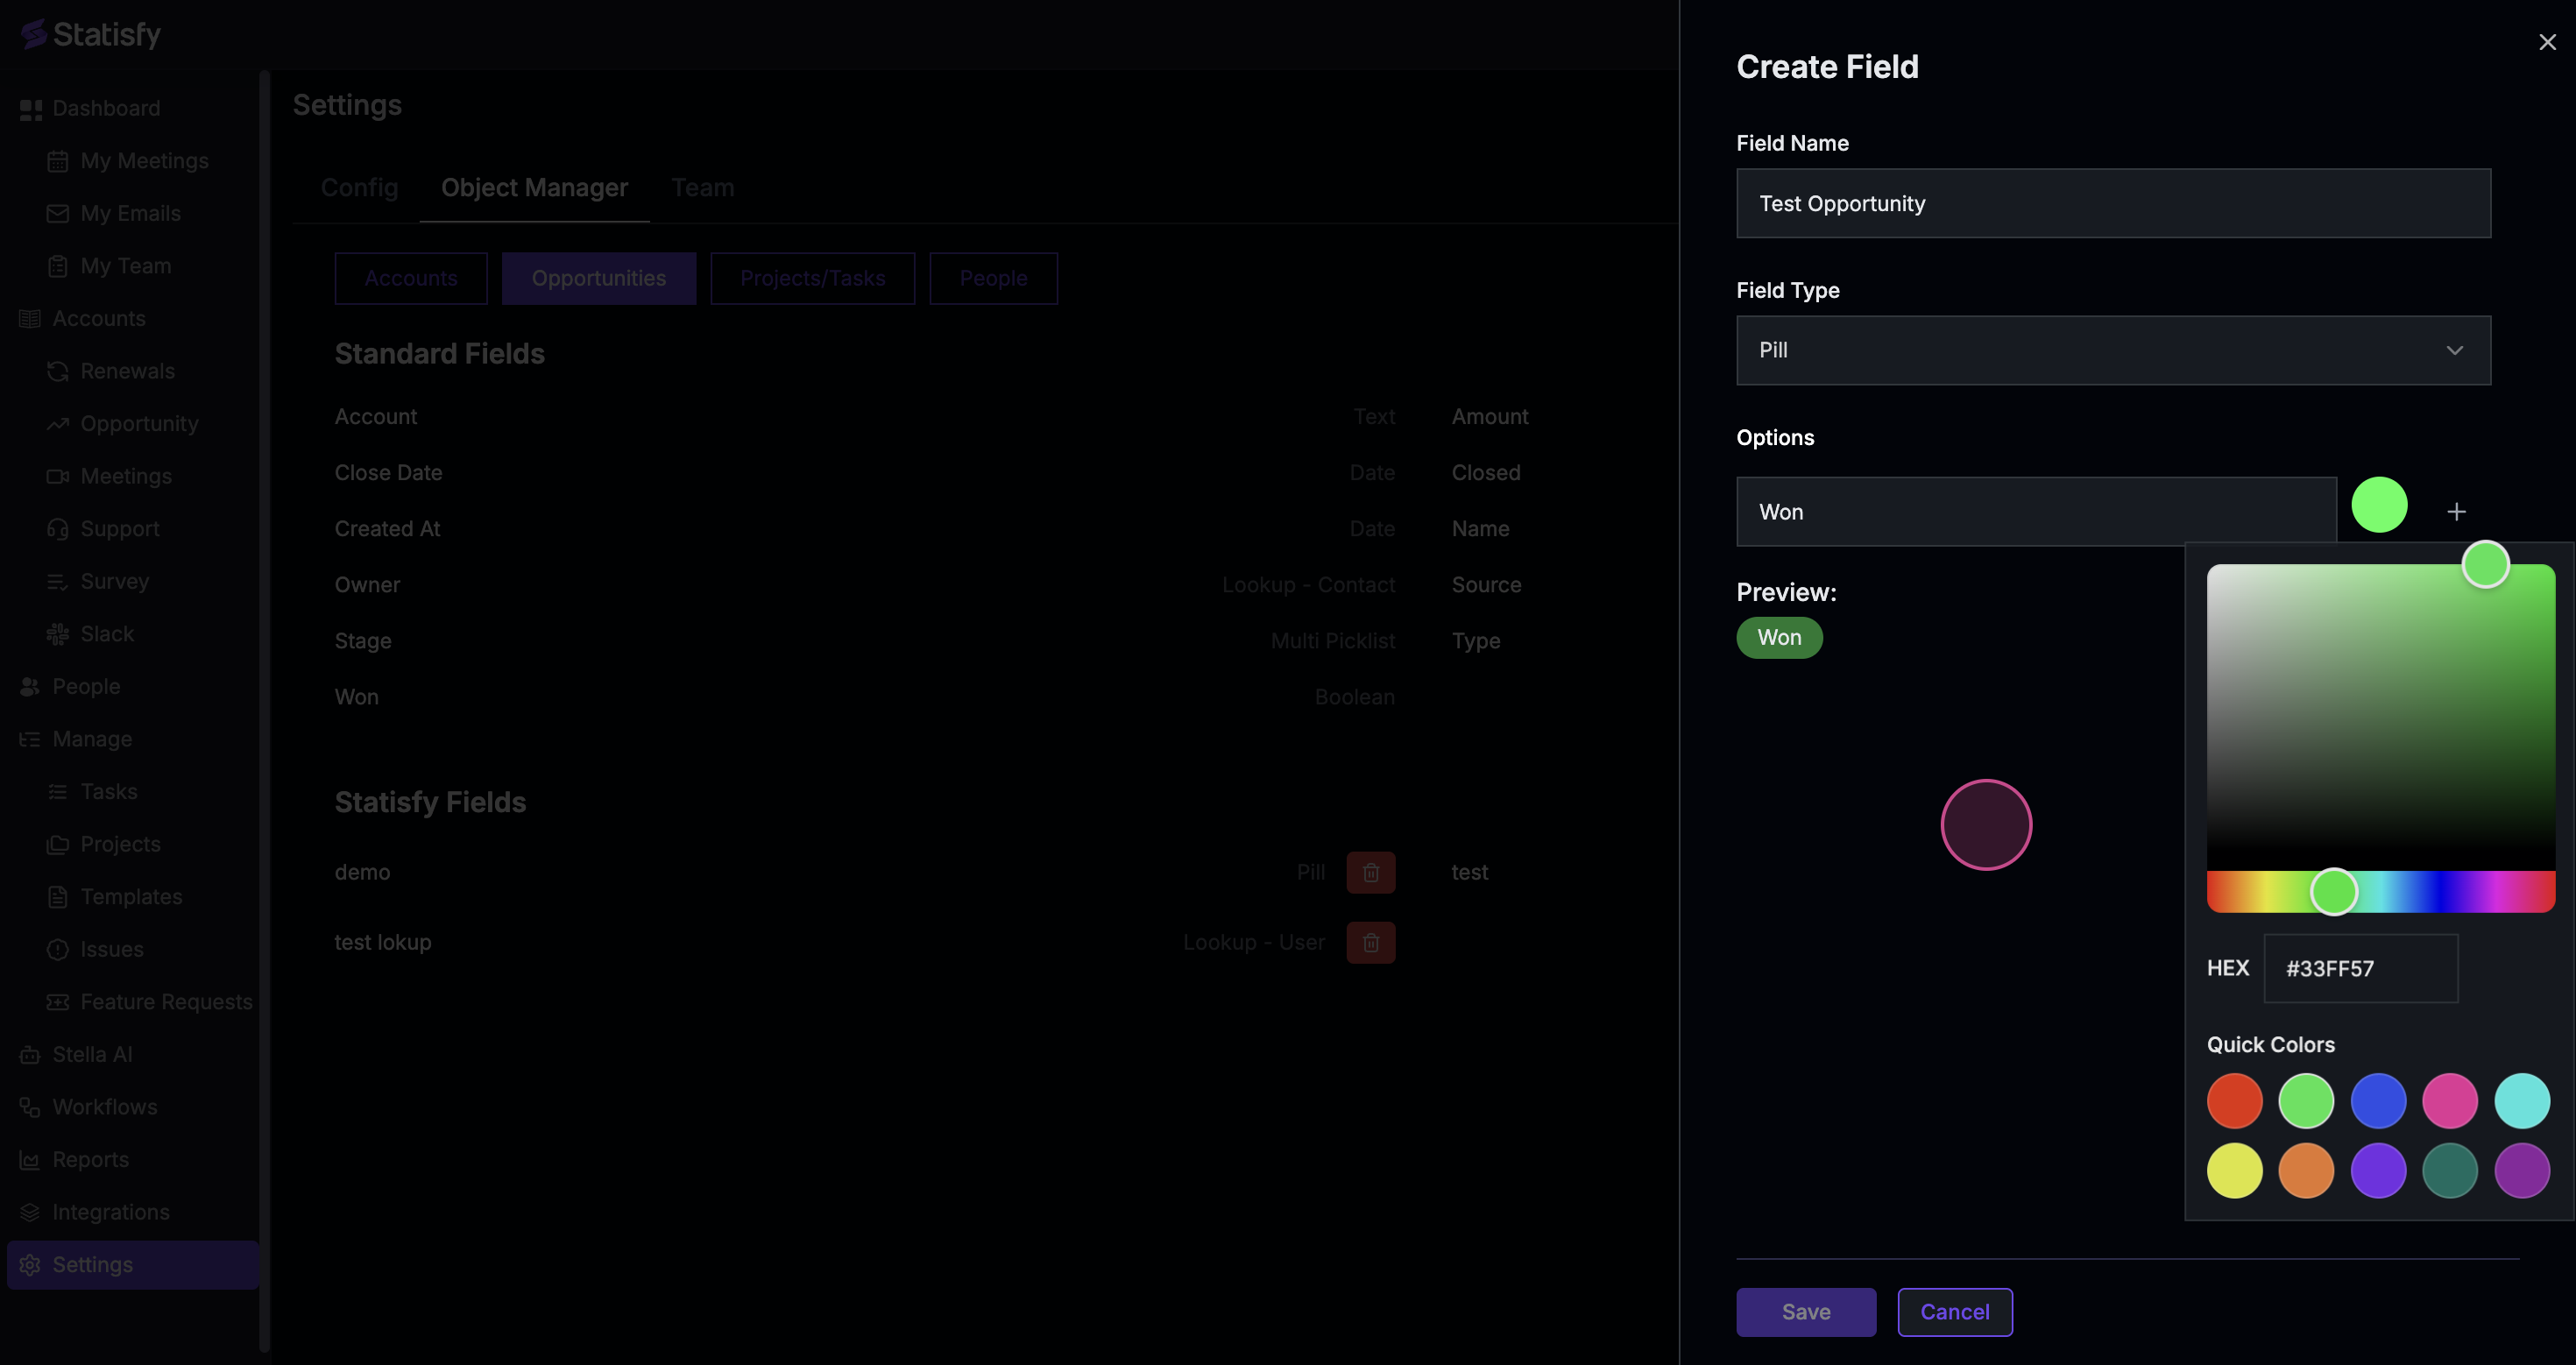
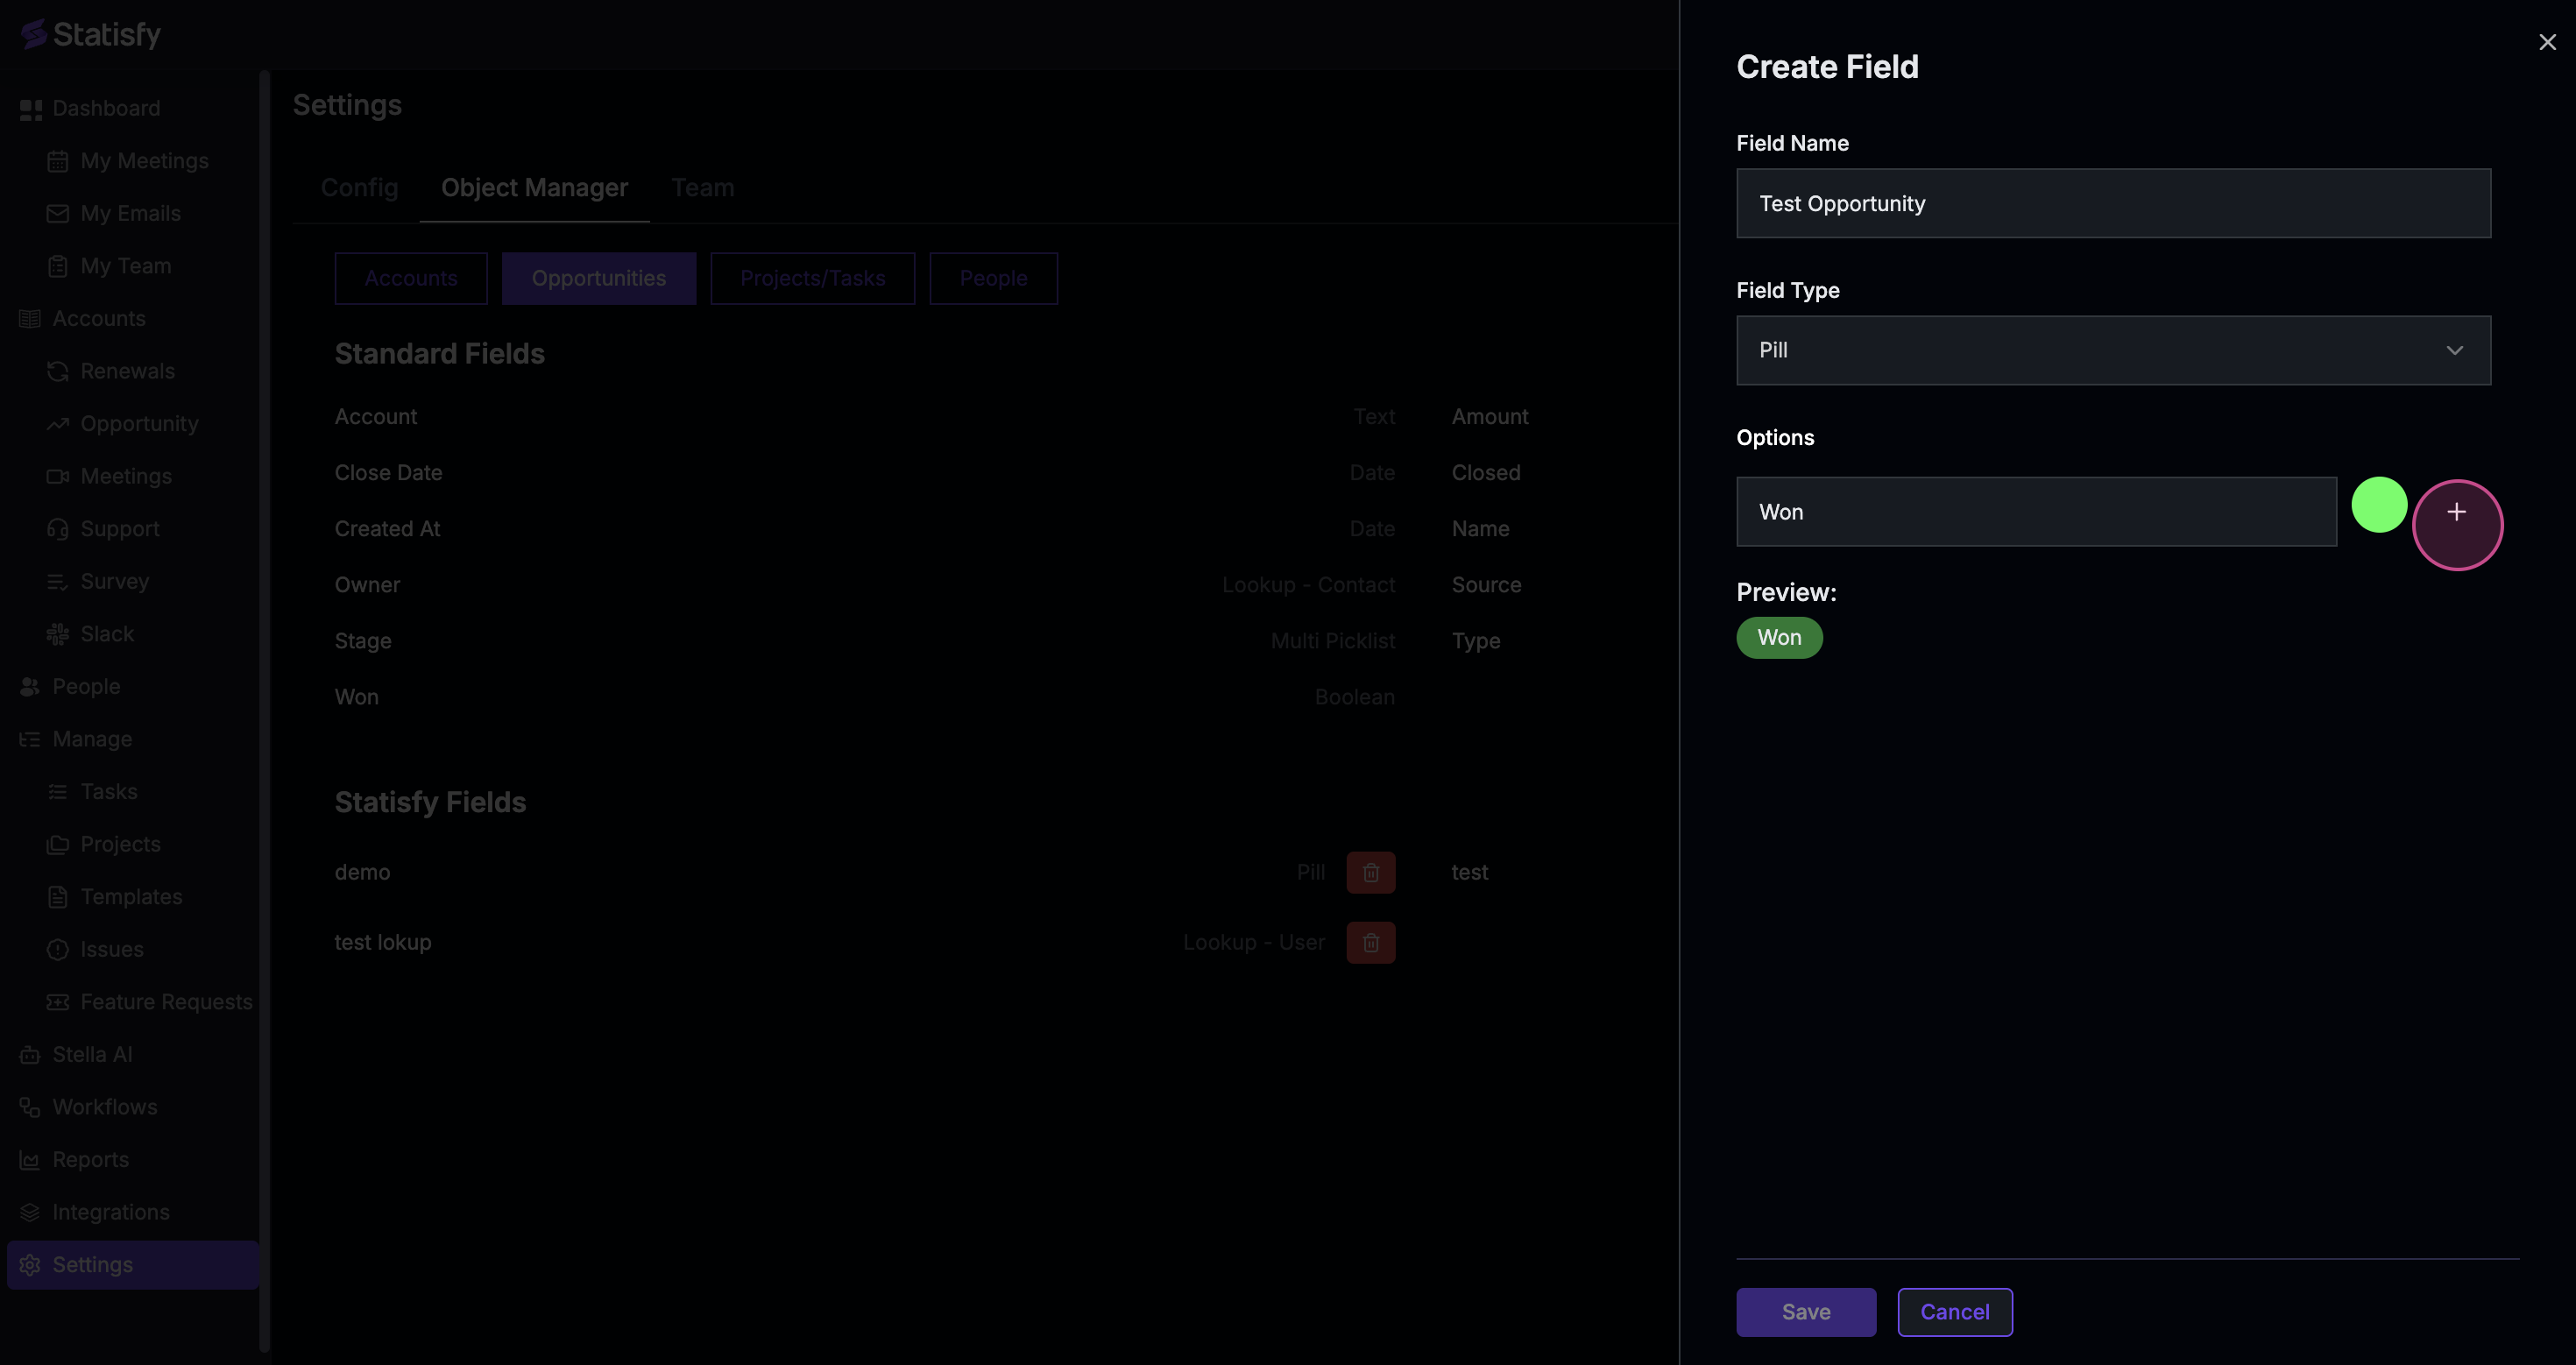
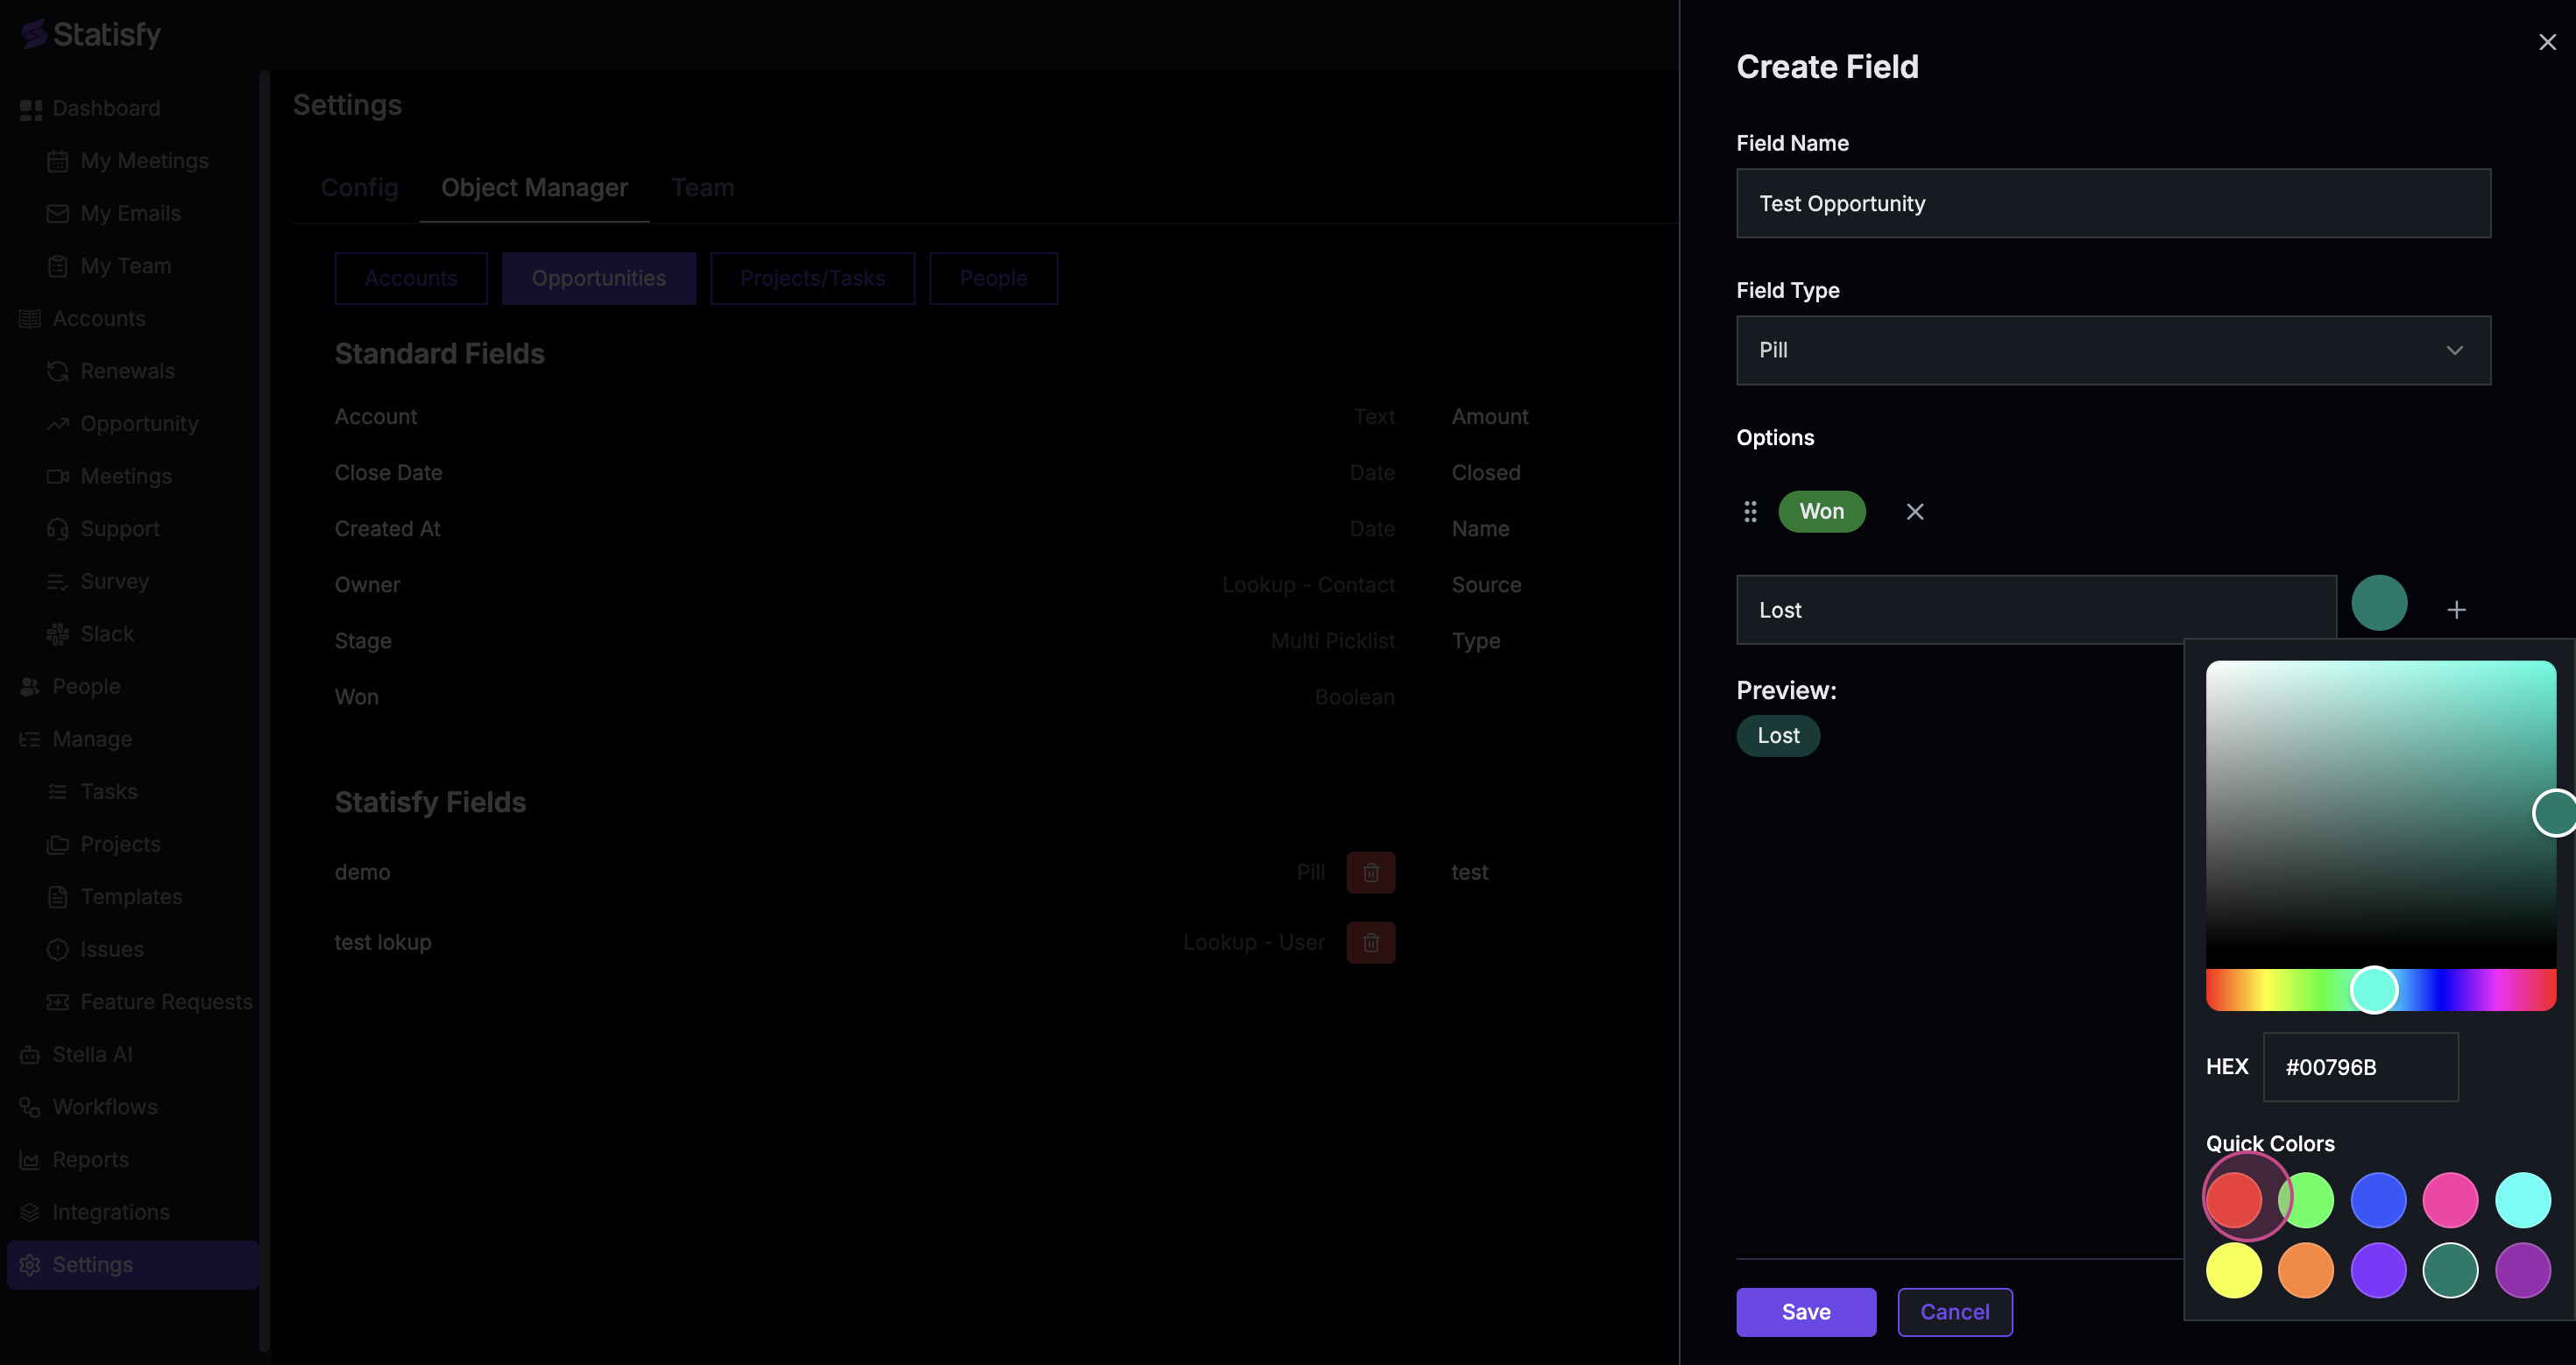
 Step 6: We’ve introduced a new field type called Pill, which allows for color coding.
 Step 7: For example, you might name your first Opportunity “Opportunity one”.
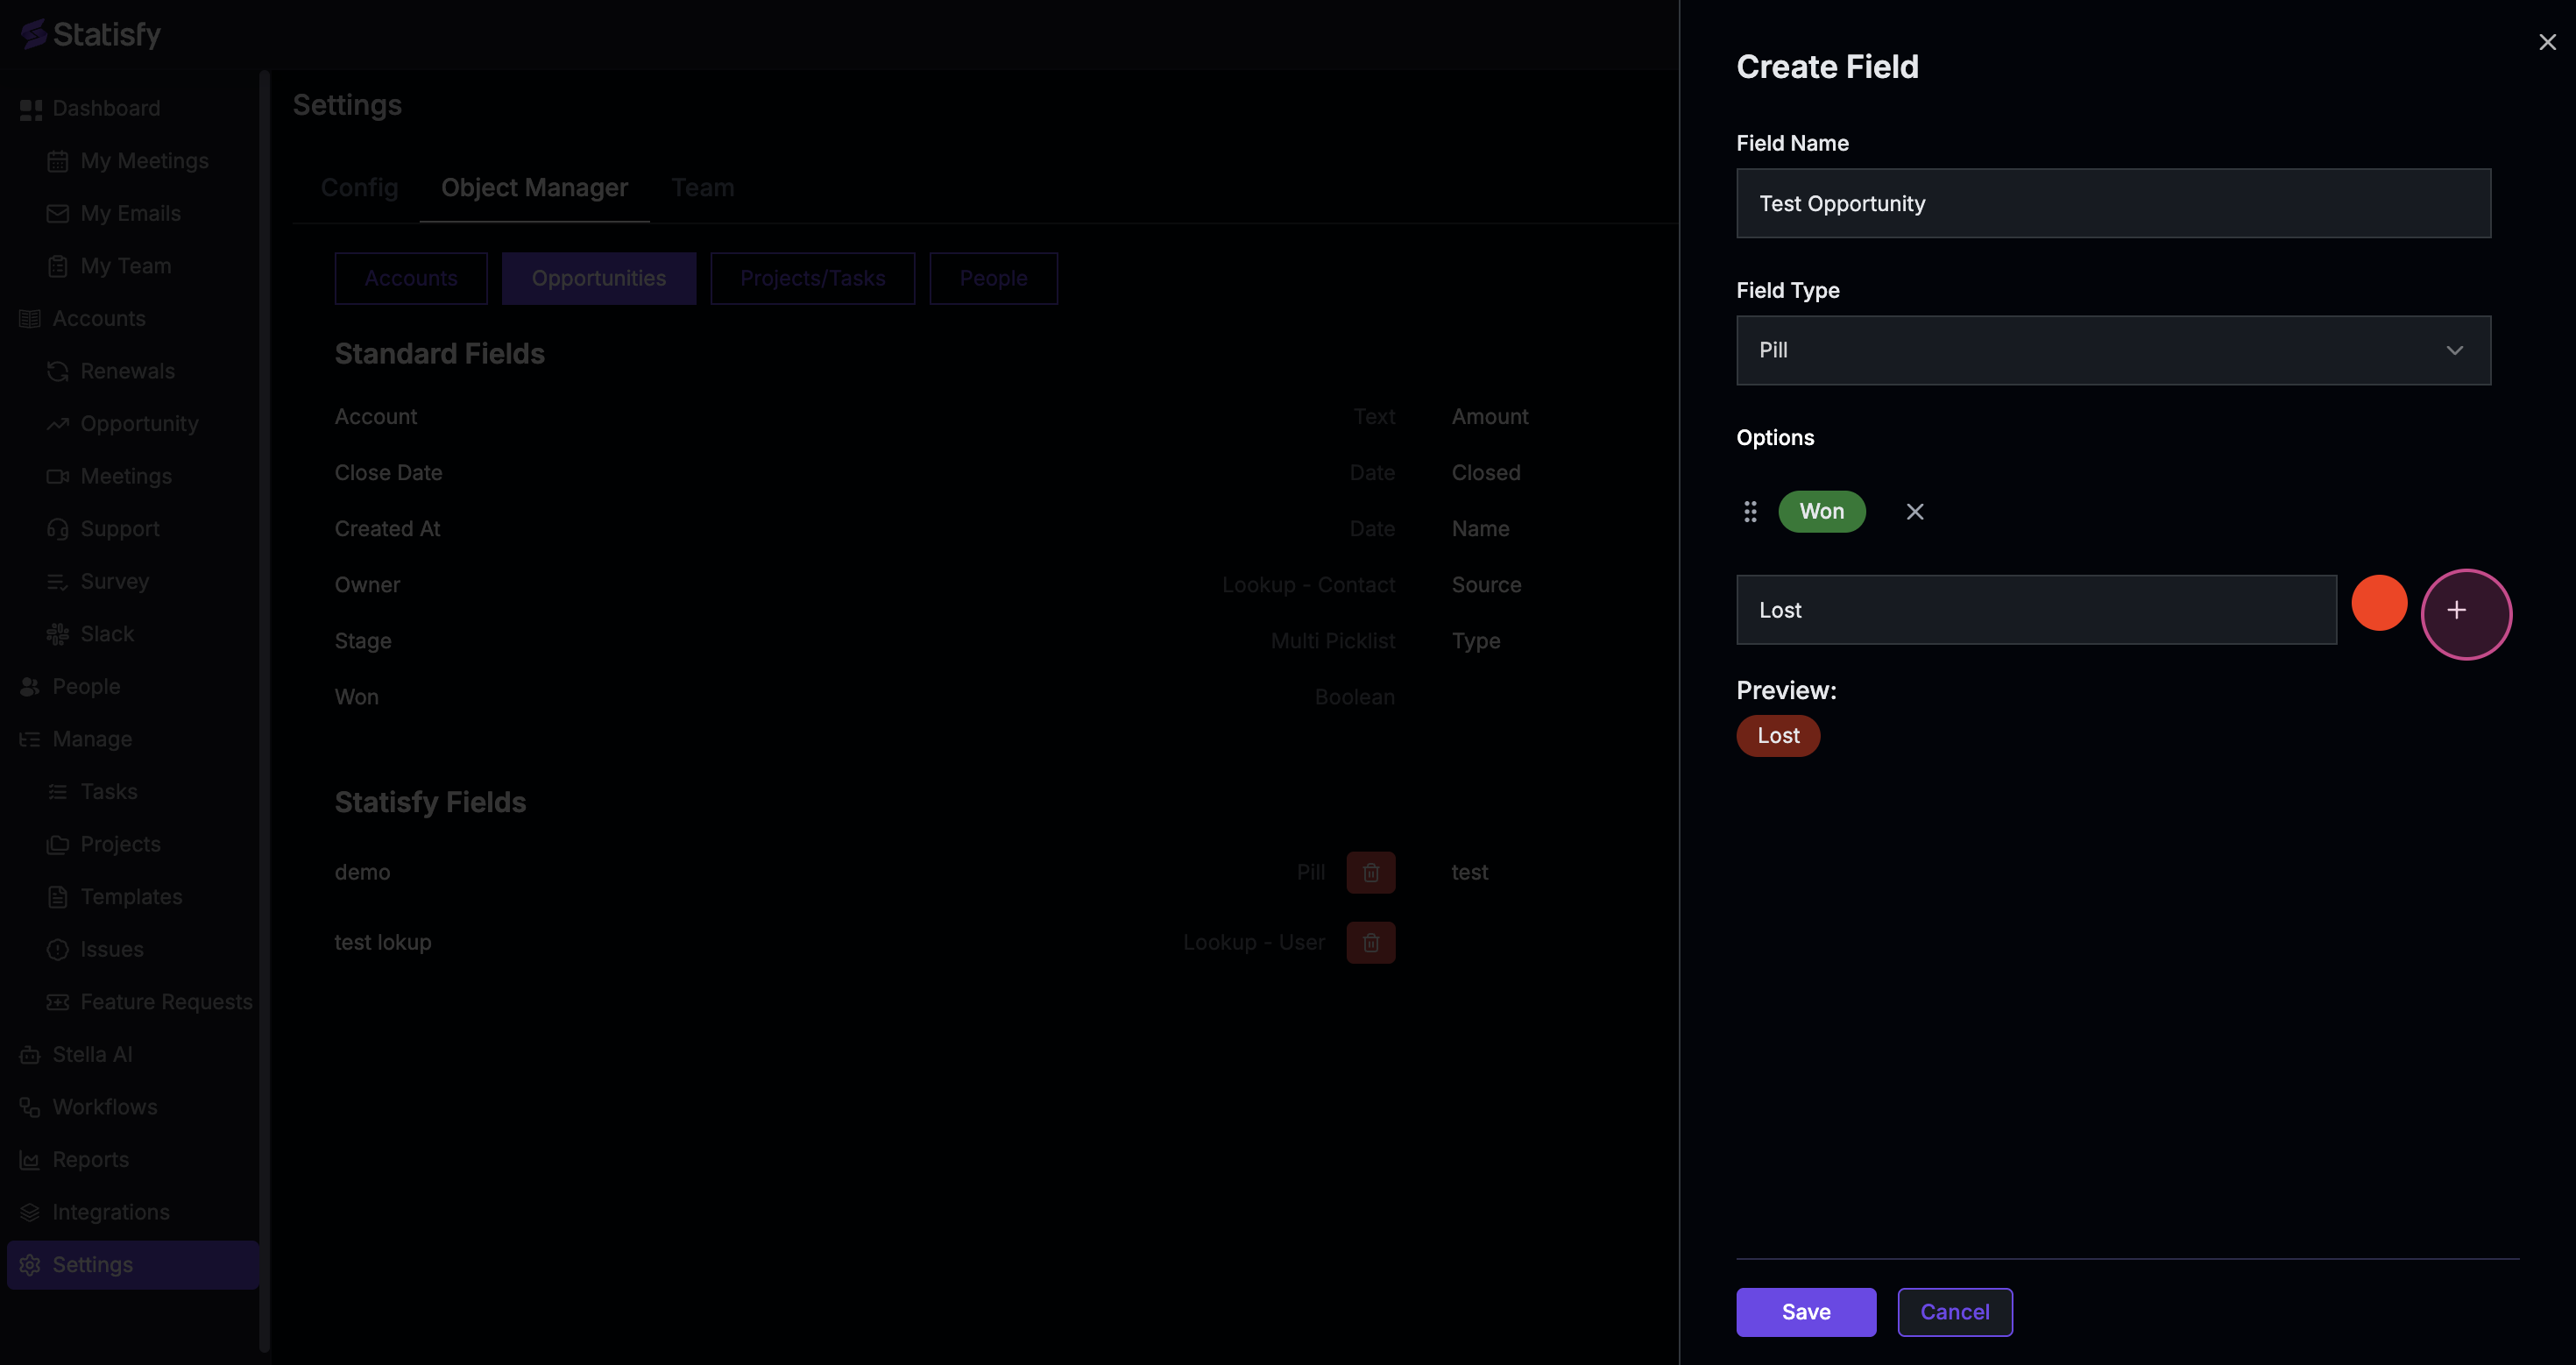
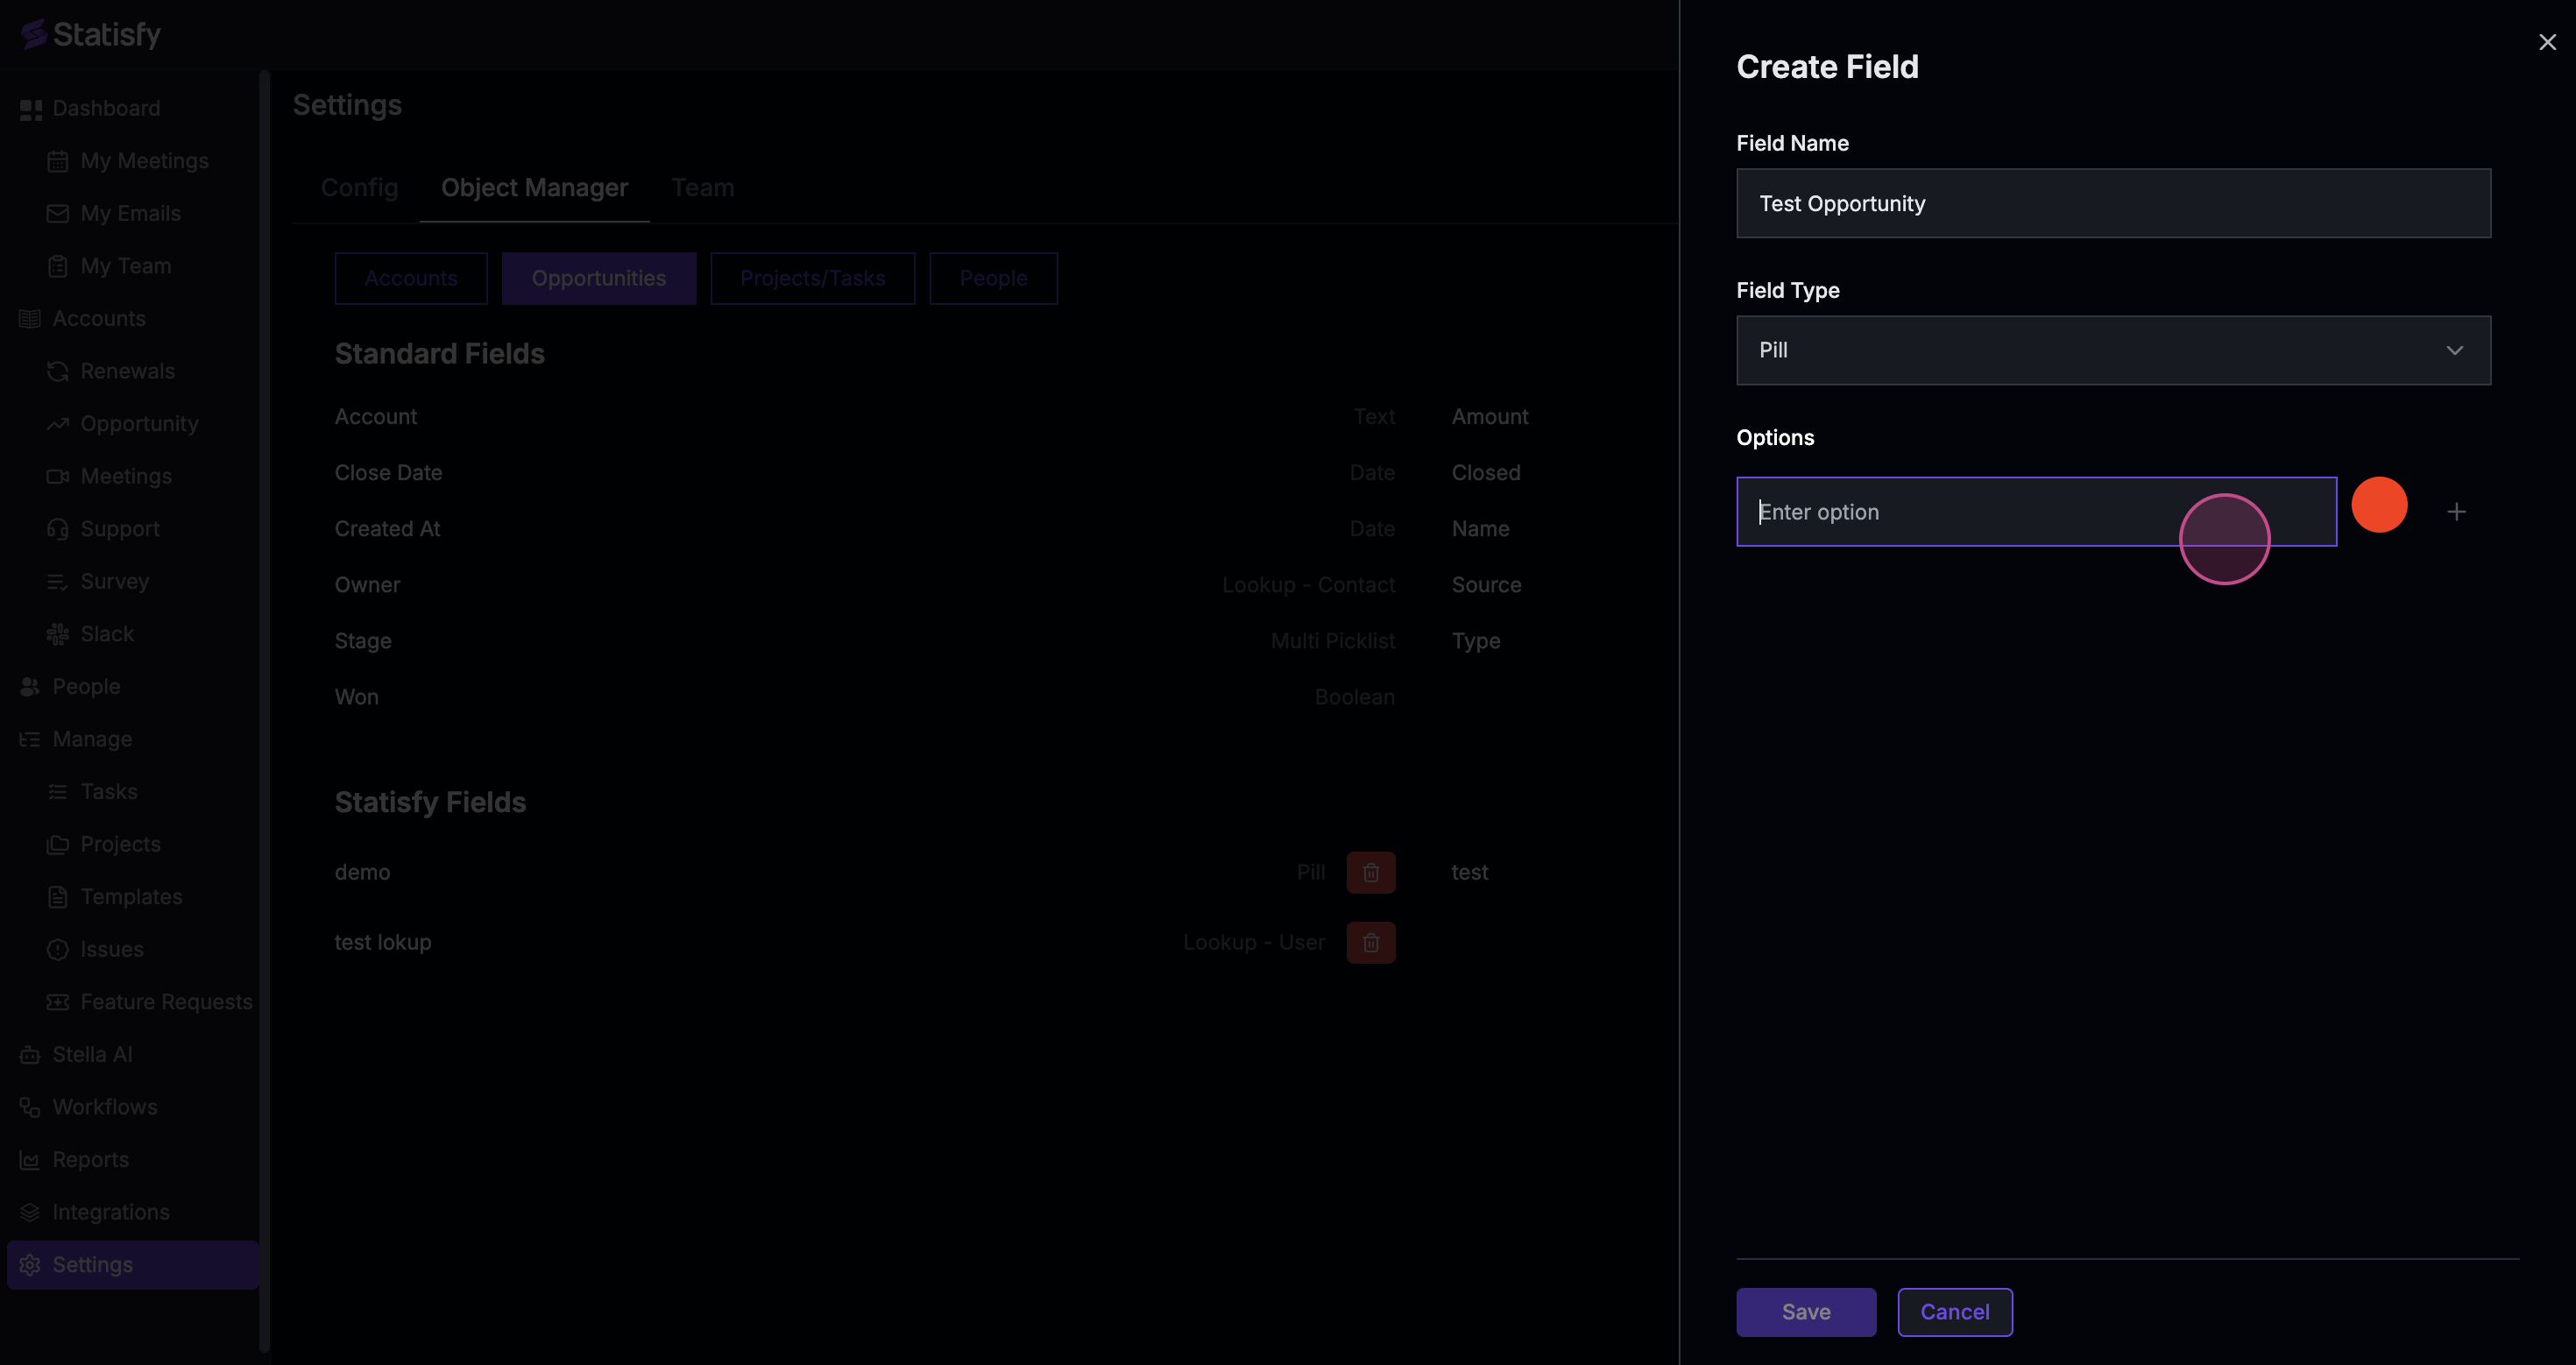 Step 8: Assign a color to this Opportunity, such as green.

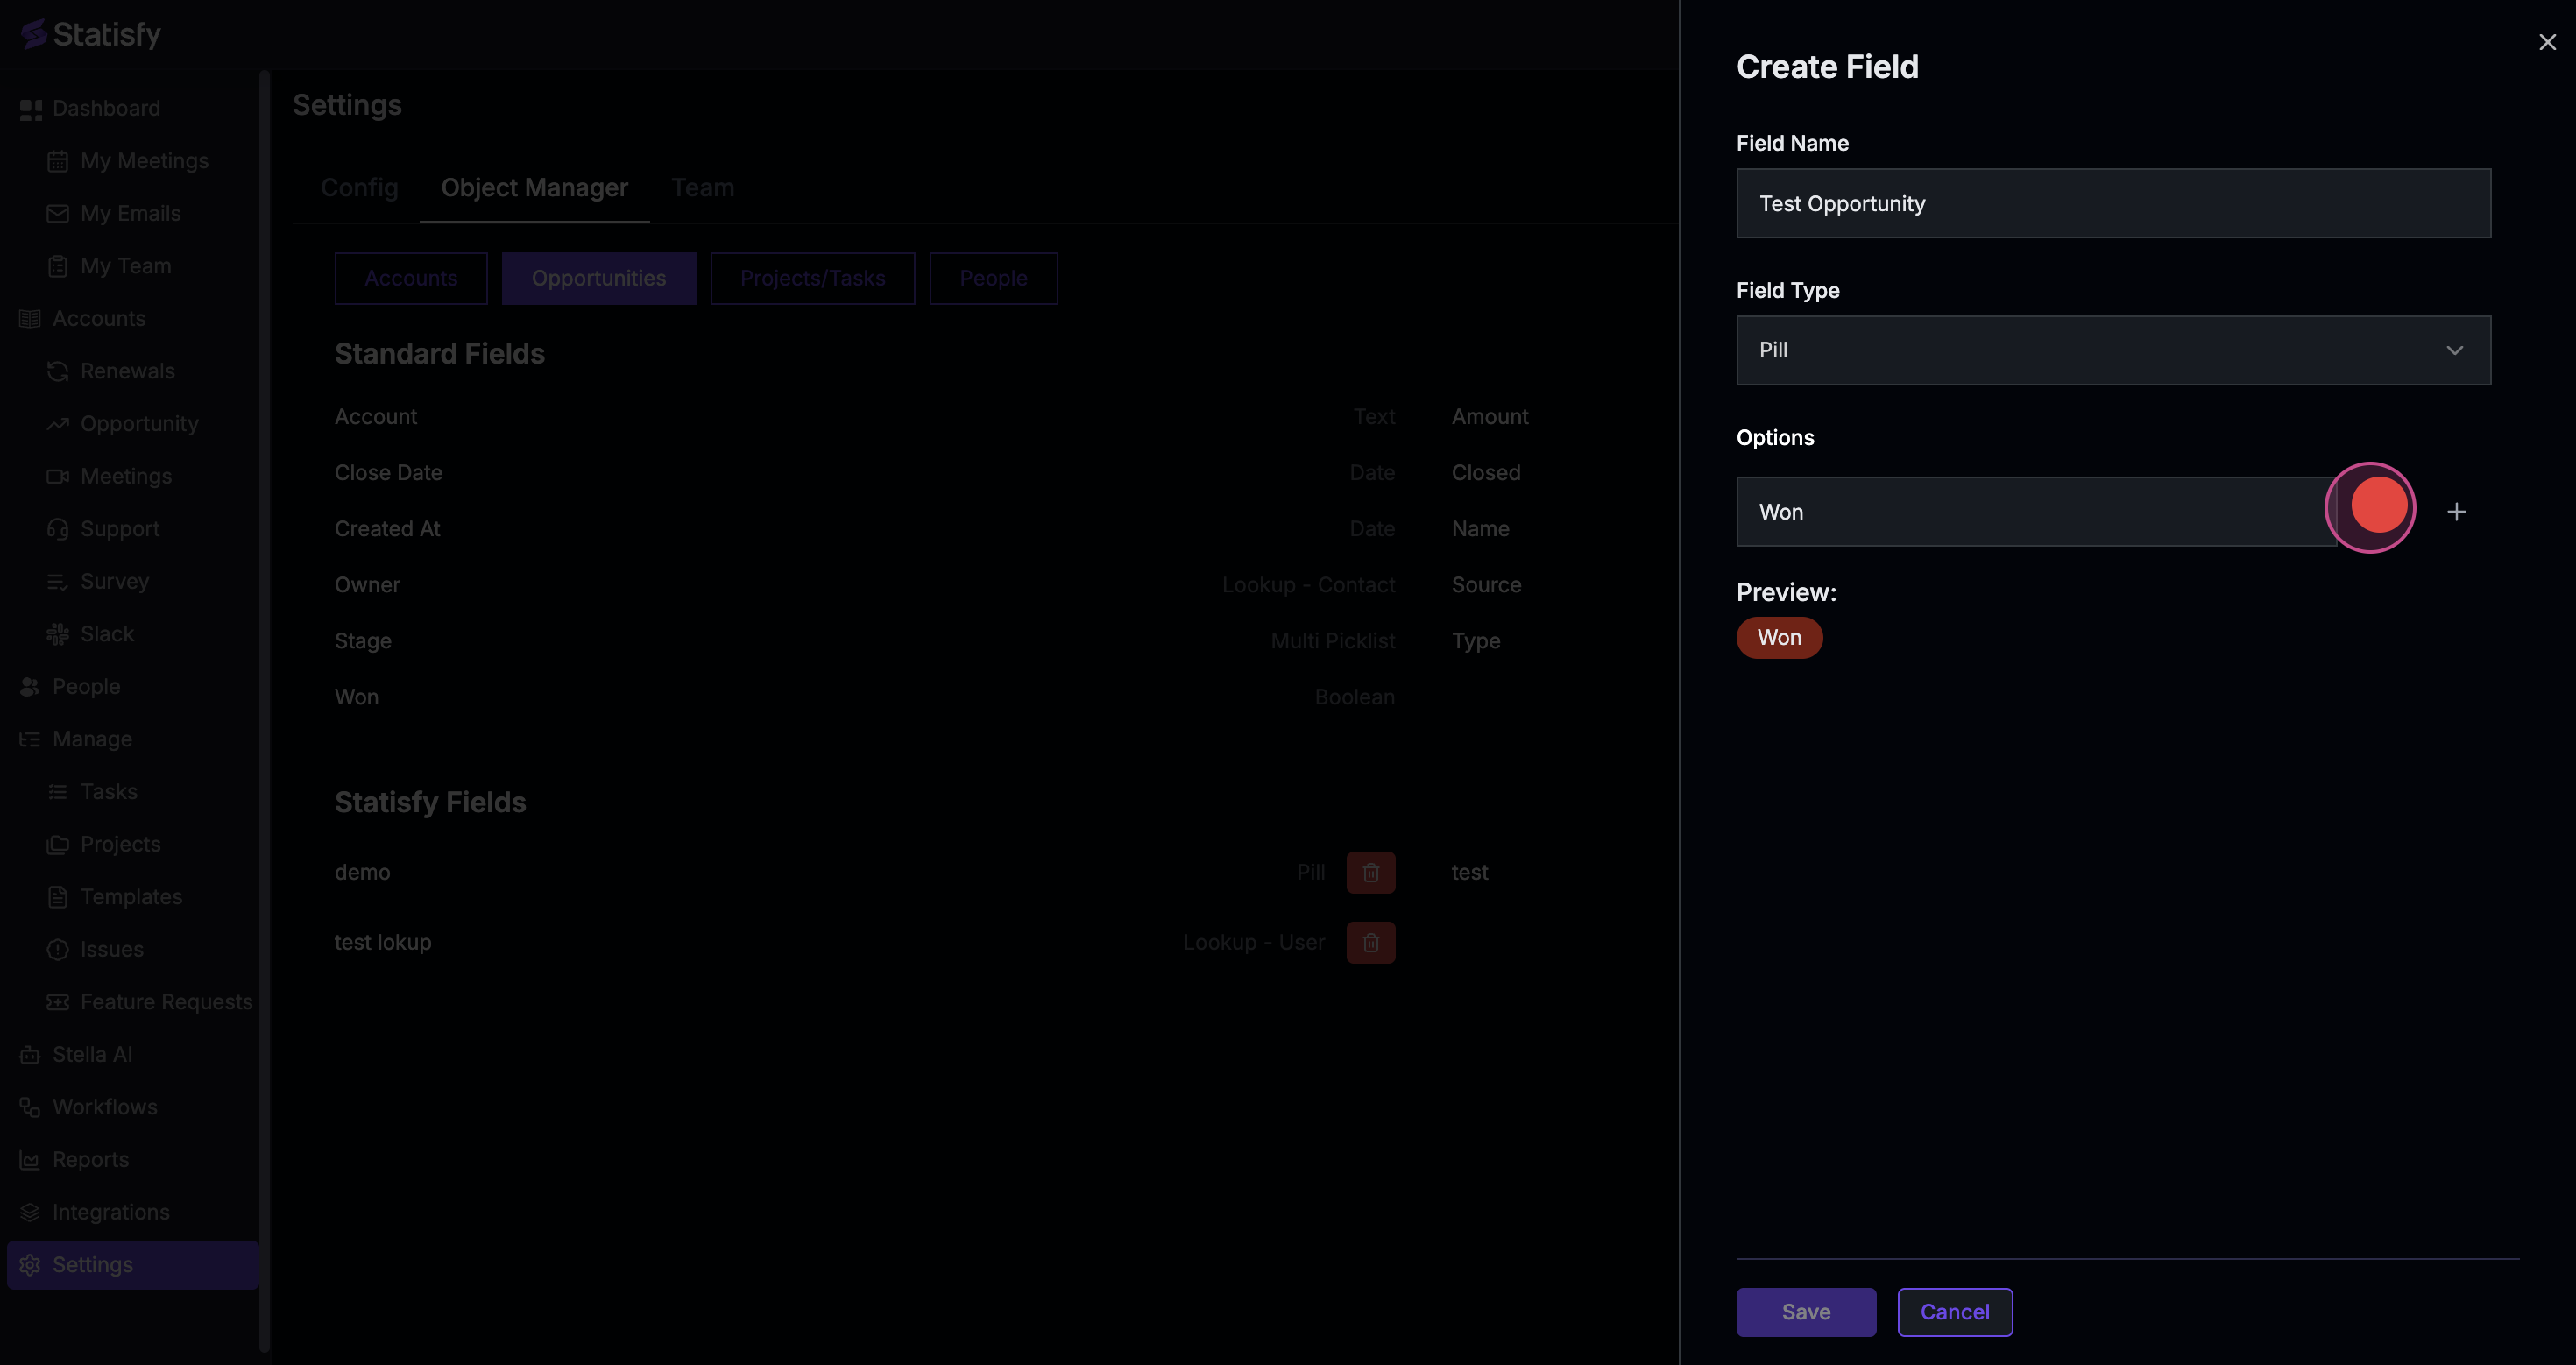

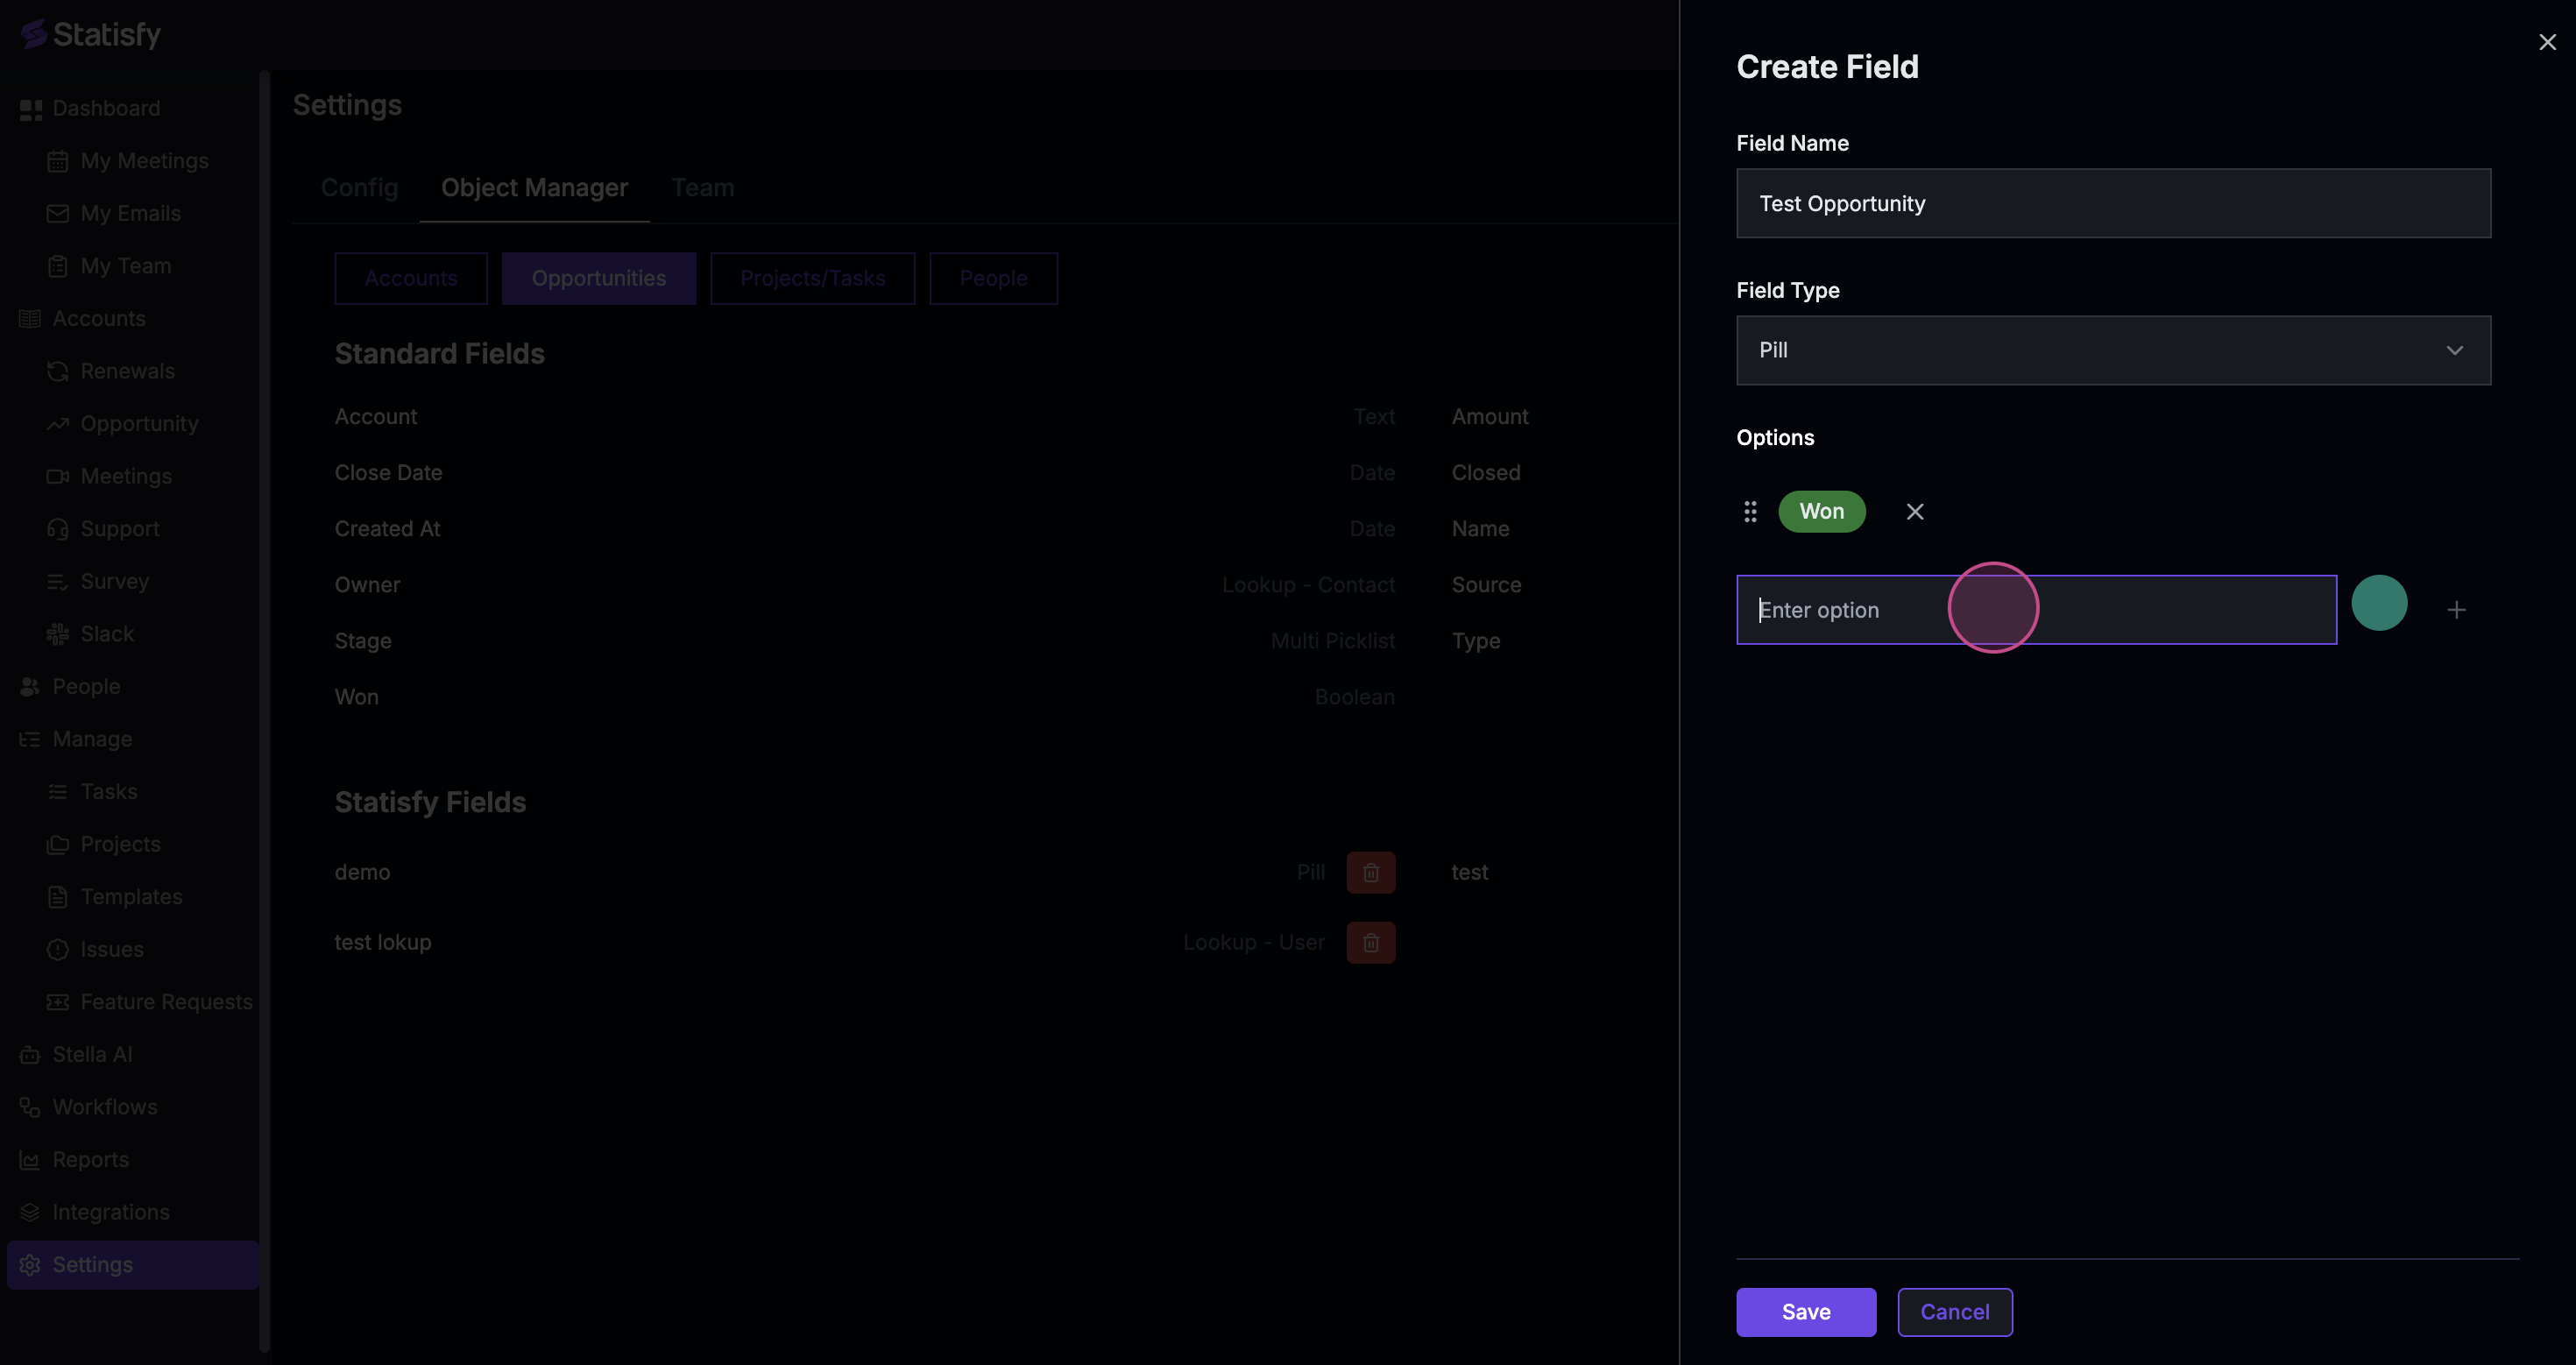
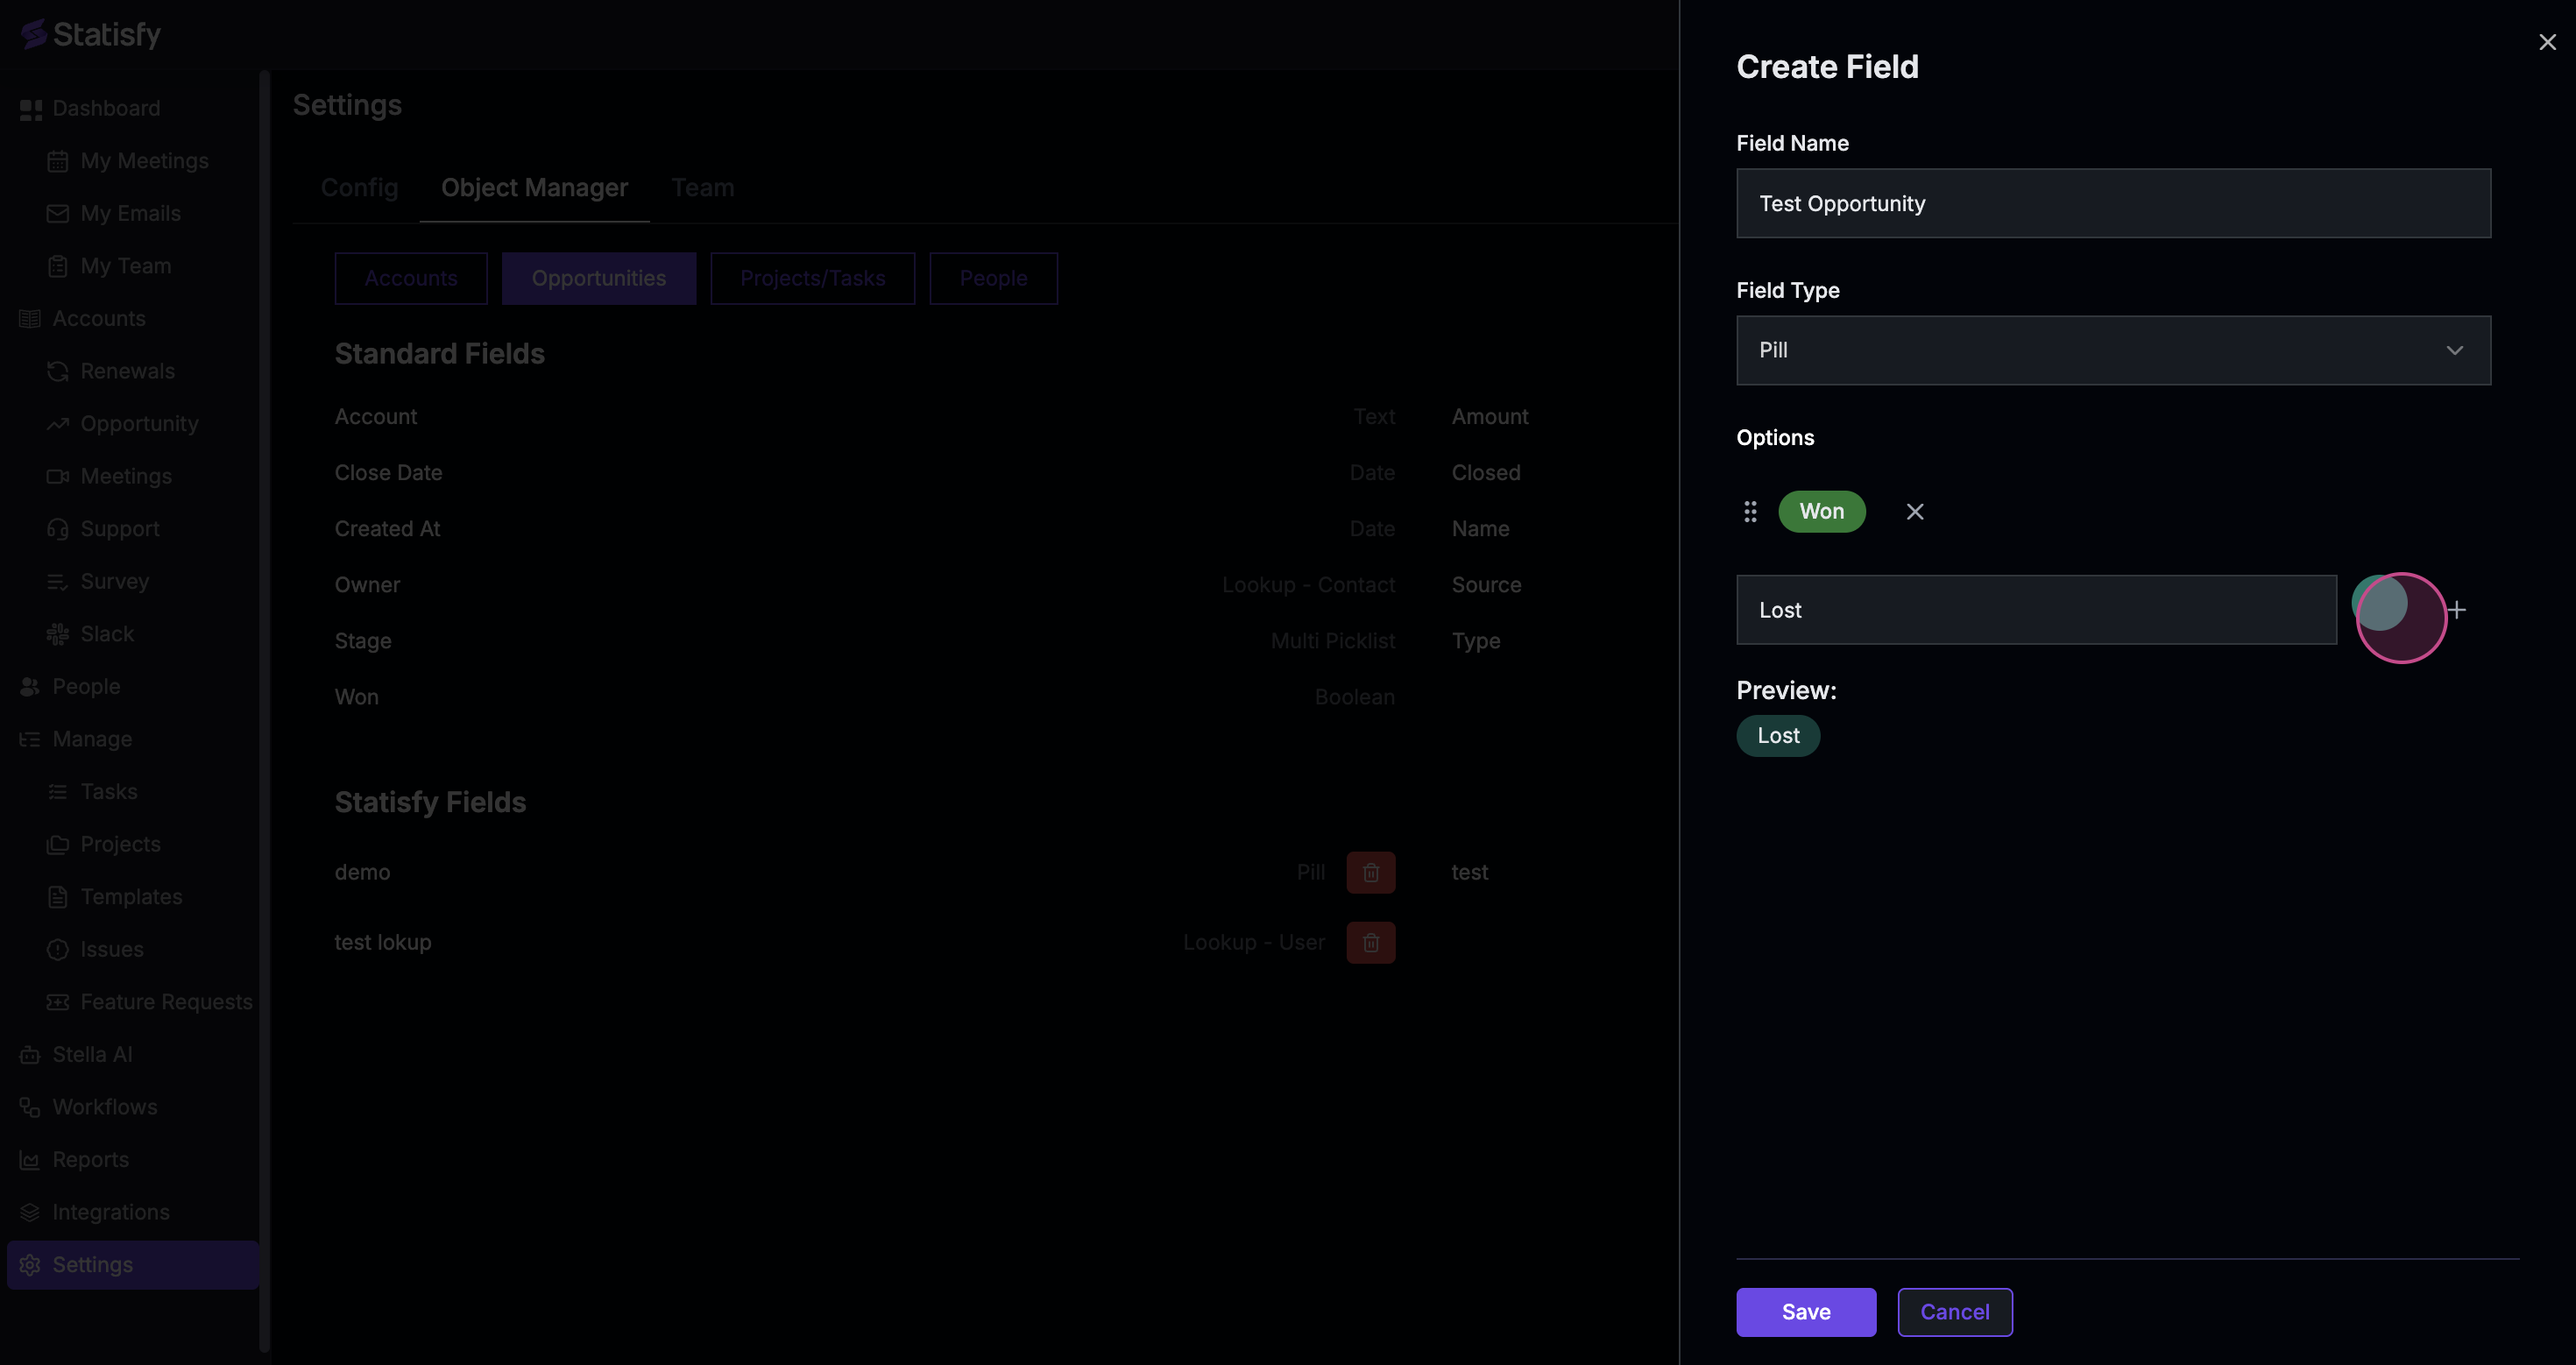
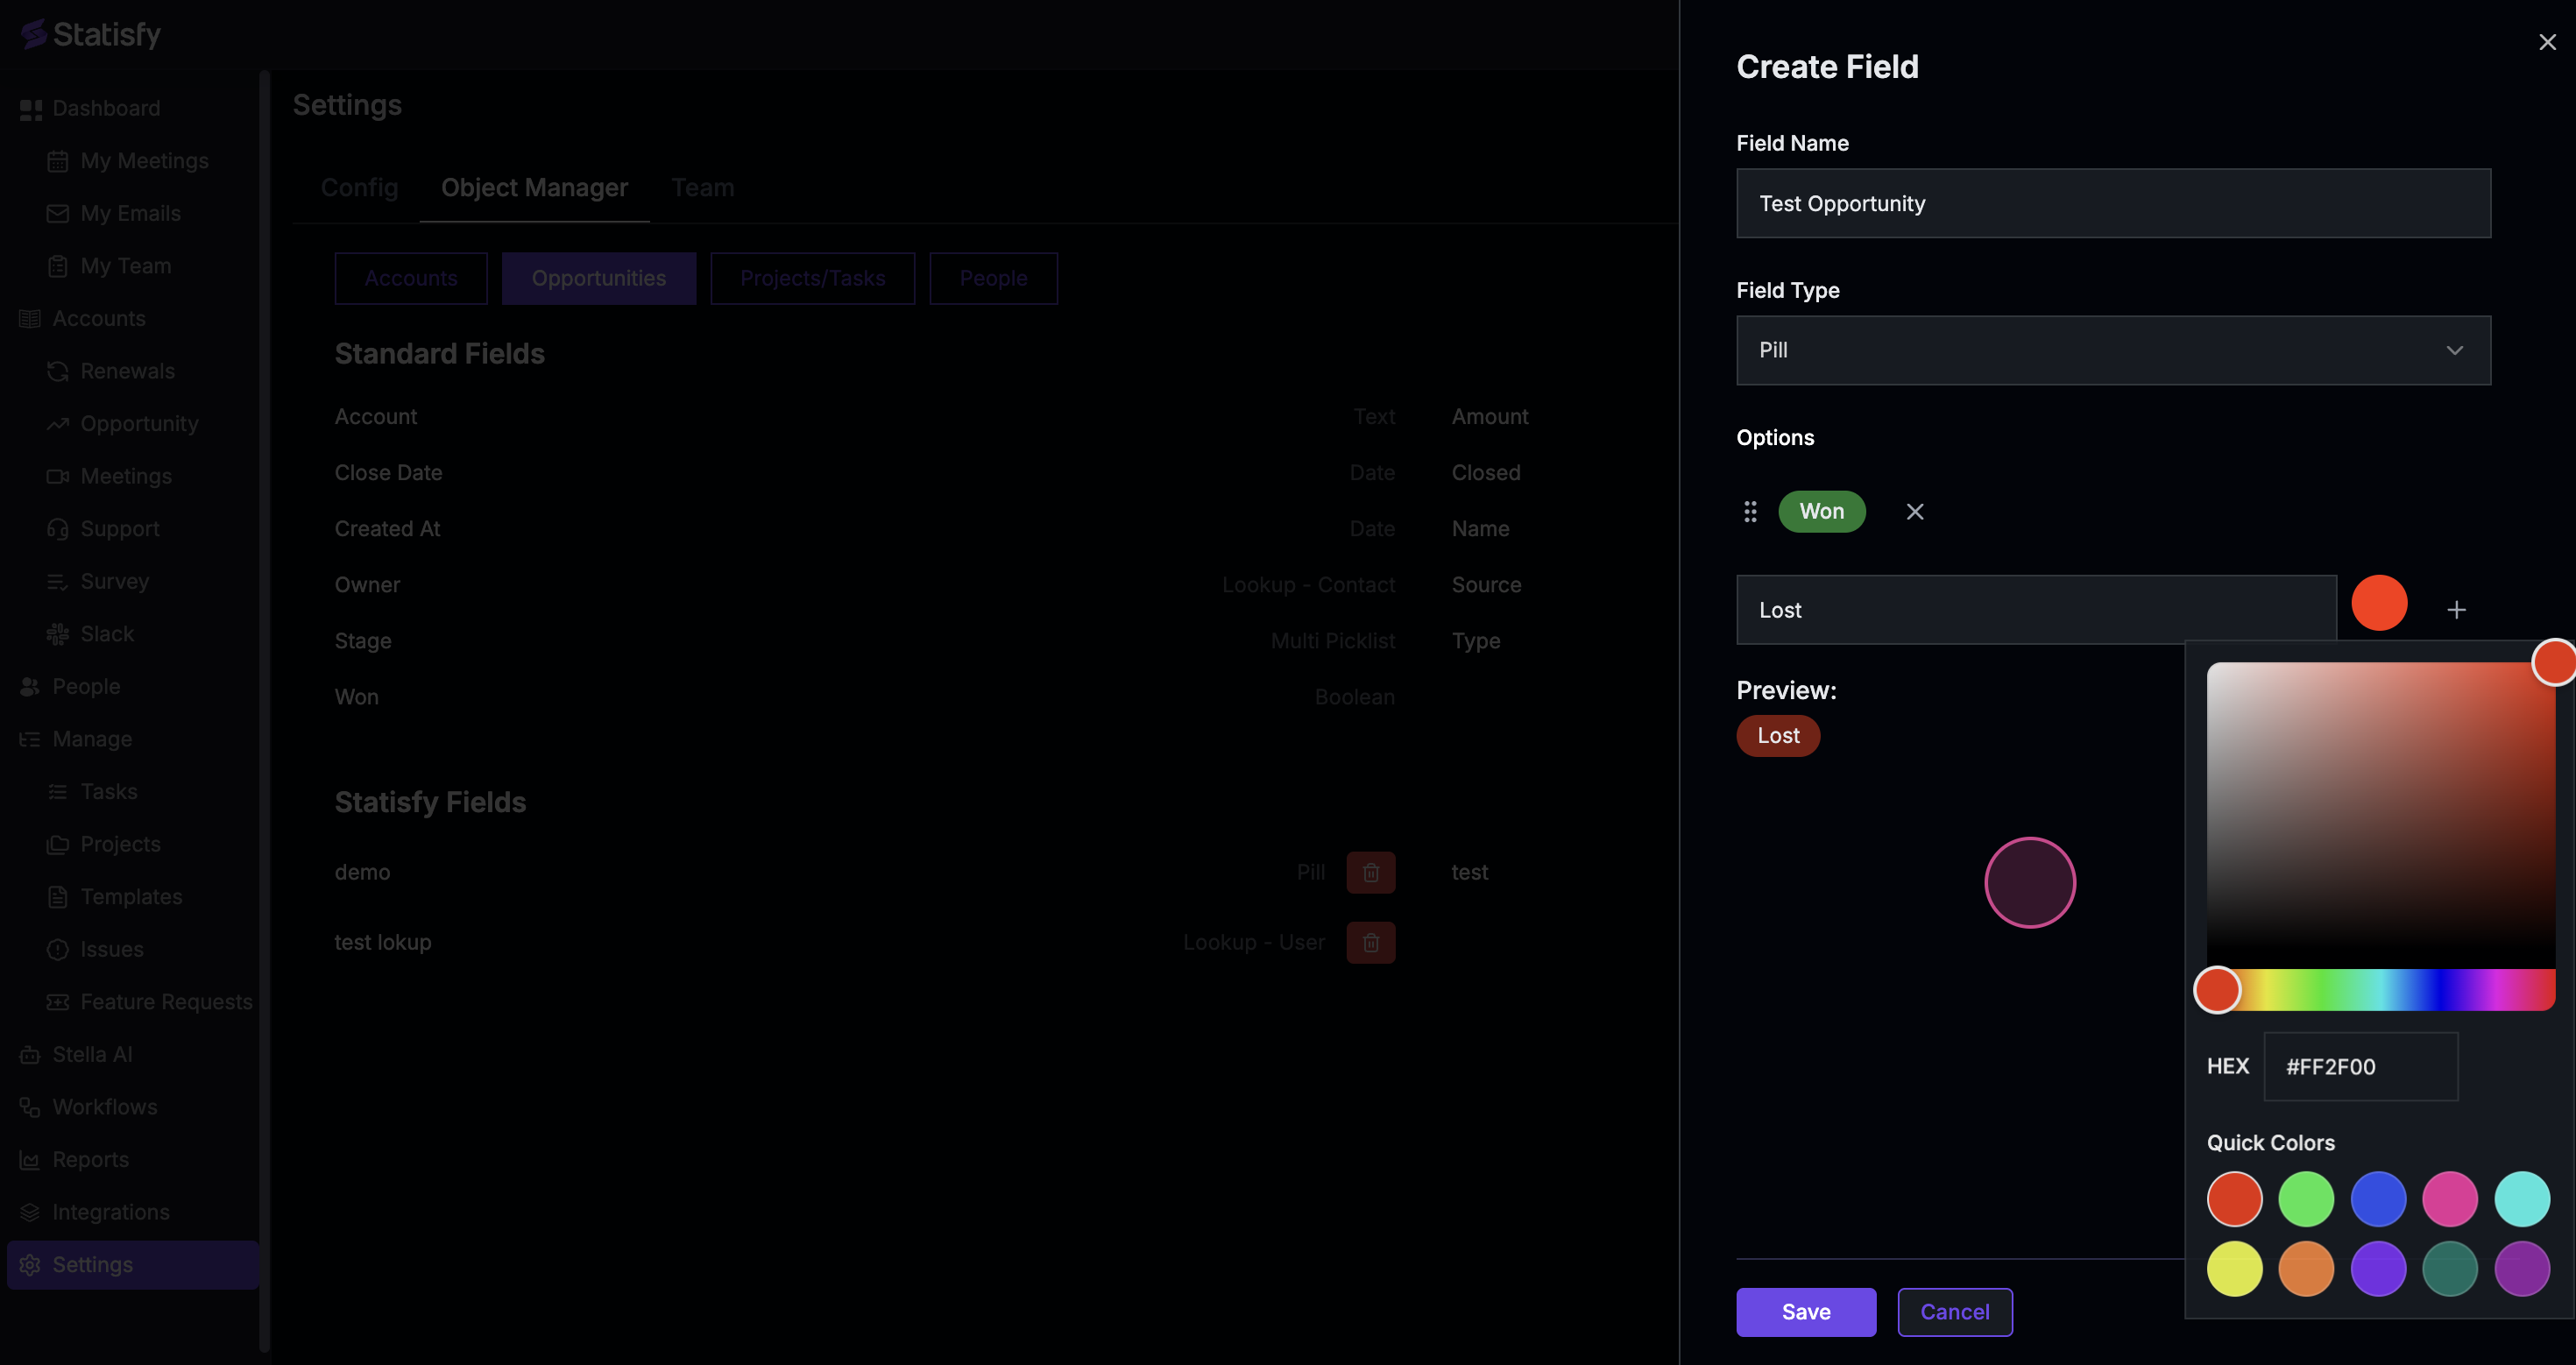
 Step 9: Add another Opportunity, perhaps named “the lost”, and assign it a different color, like red.
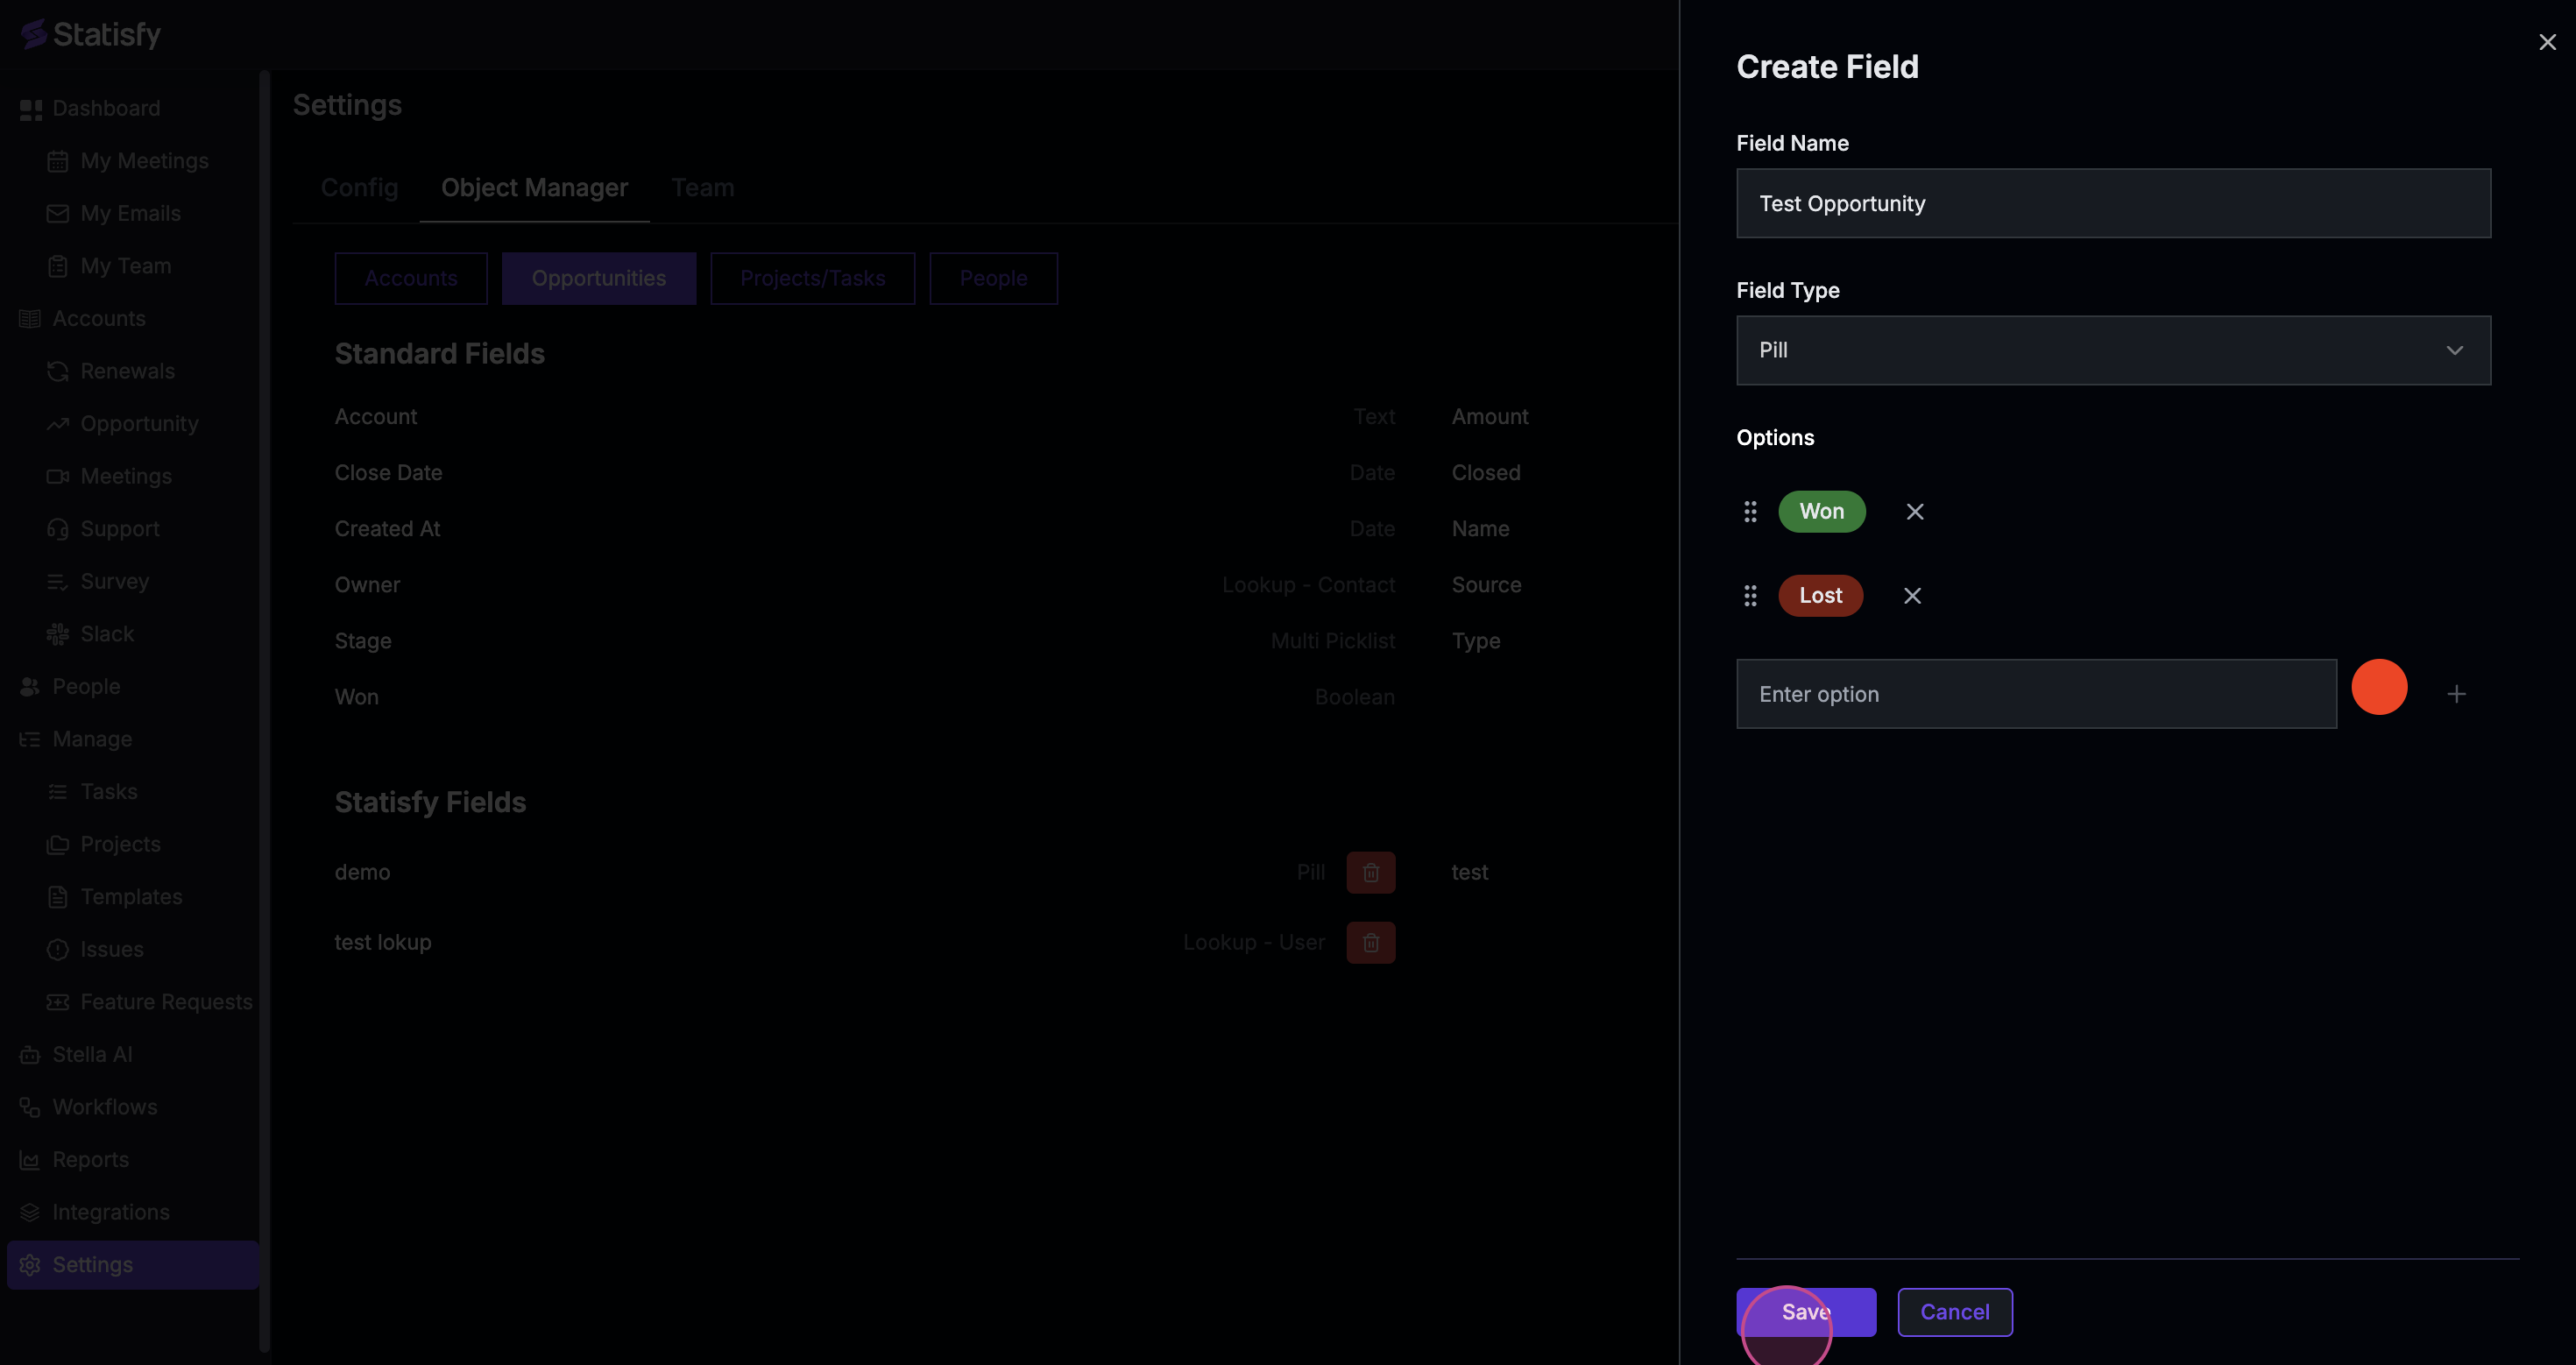
 Step 10: Once you’ve assigned names and colors, save your changes.
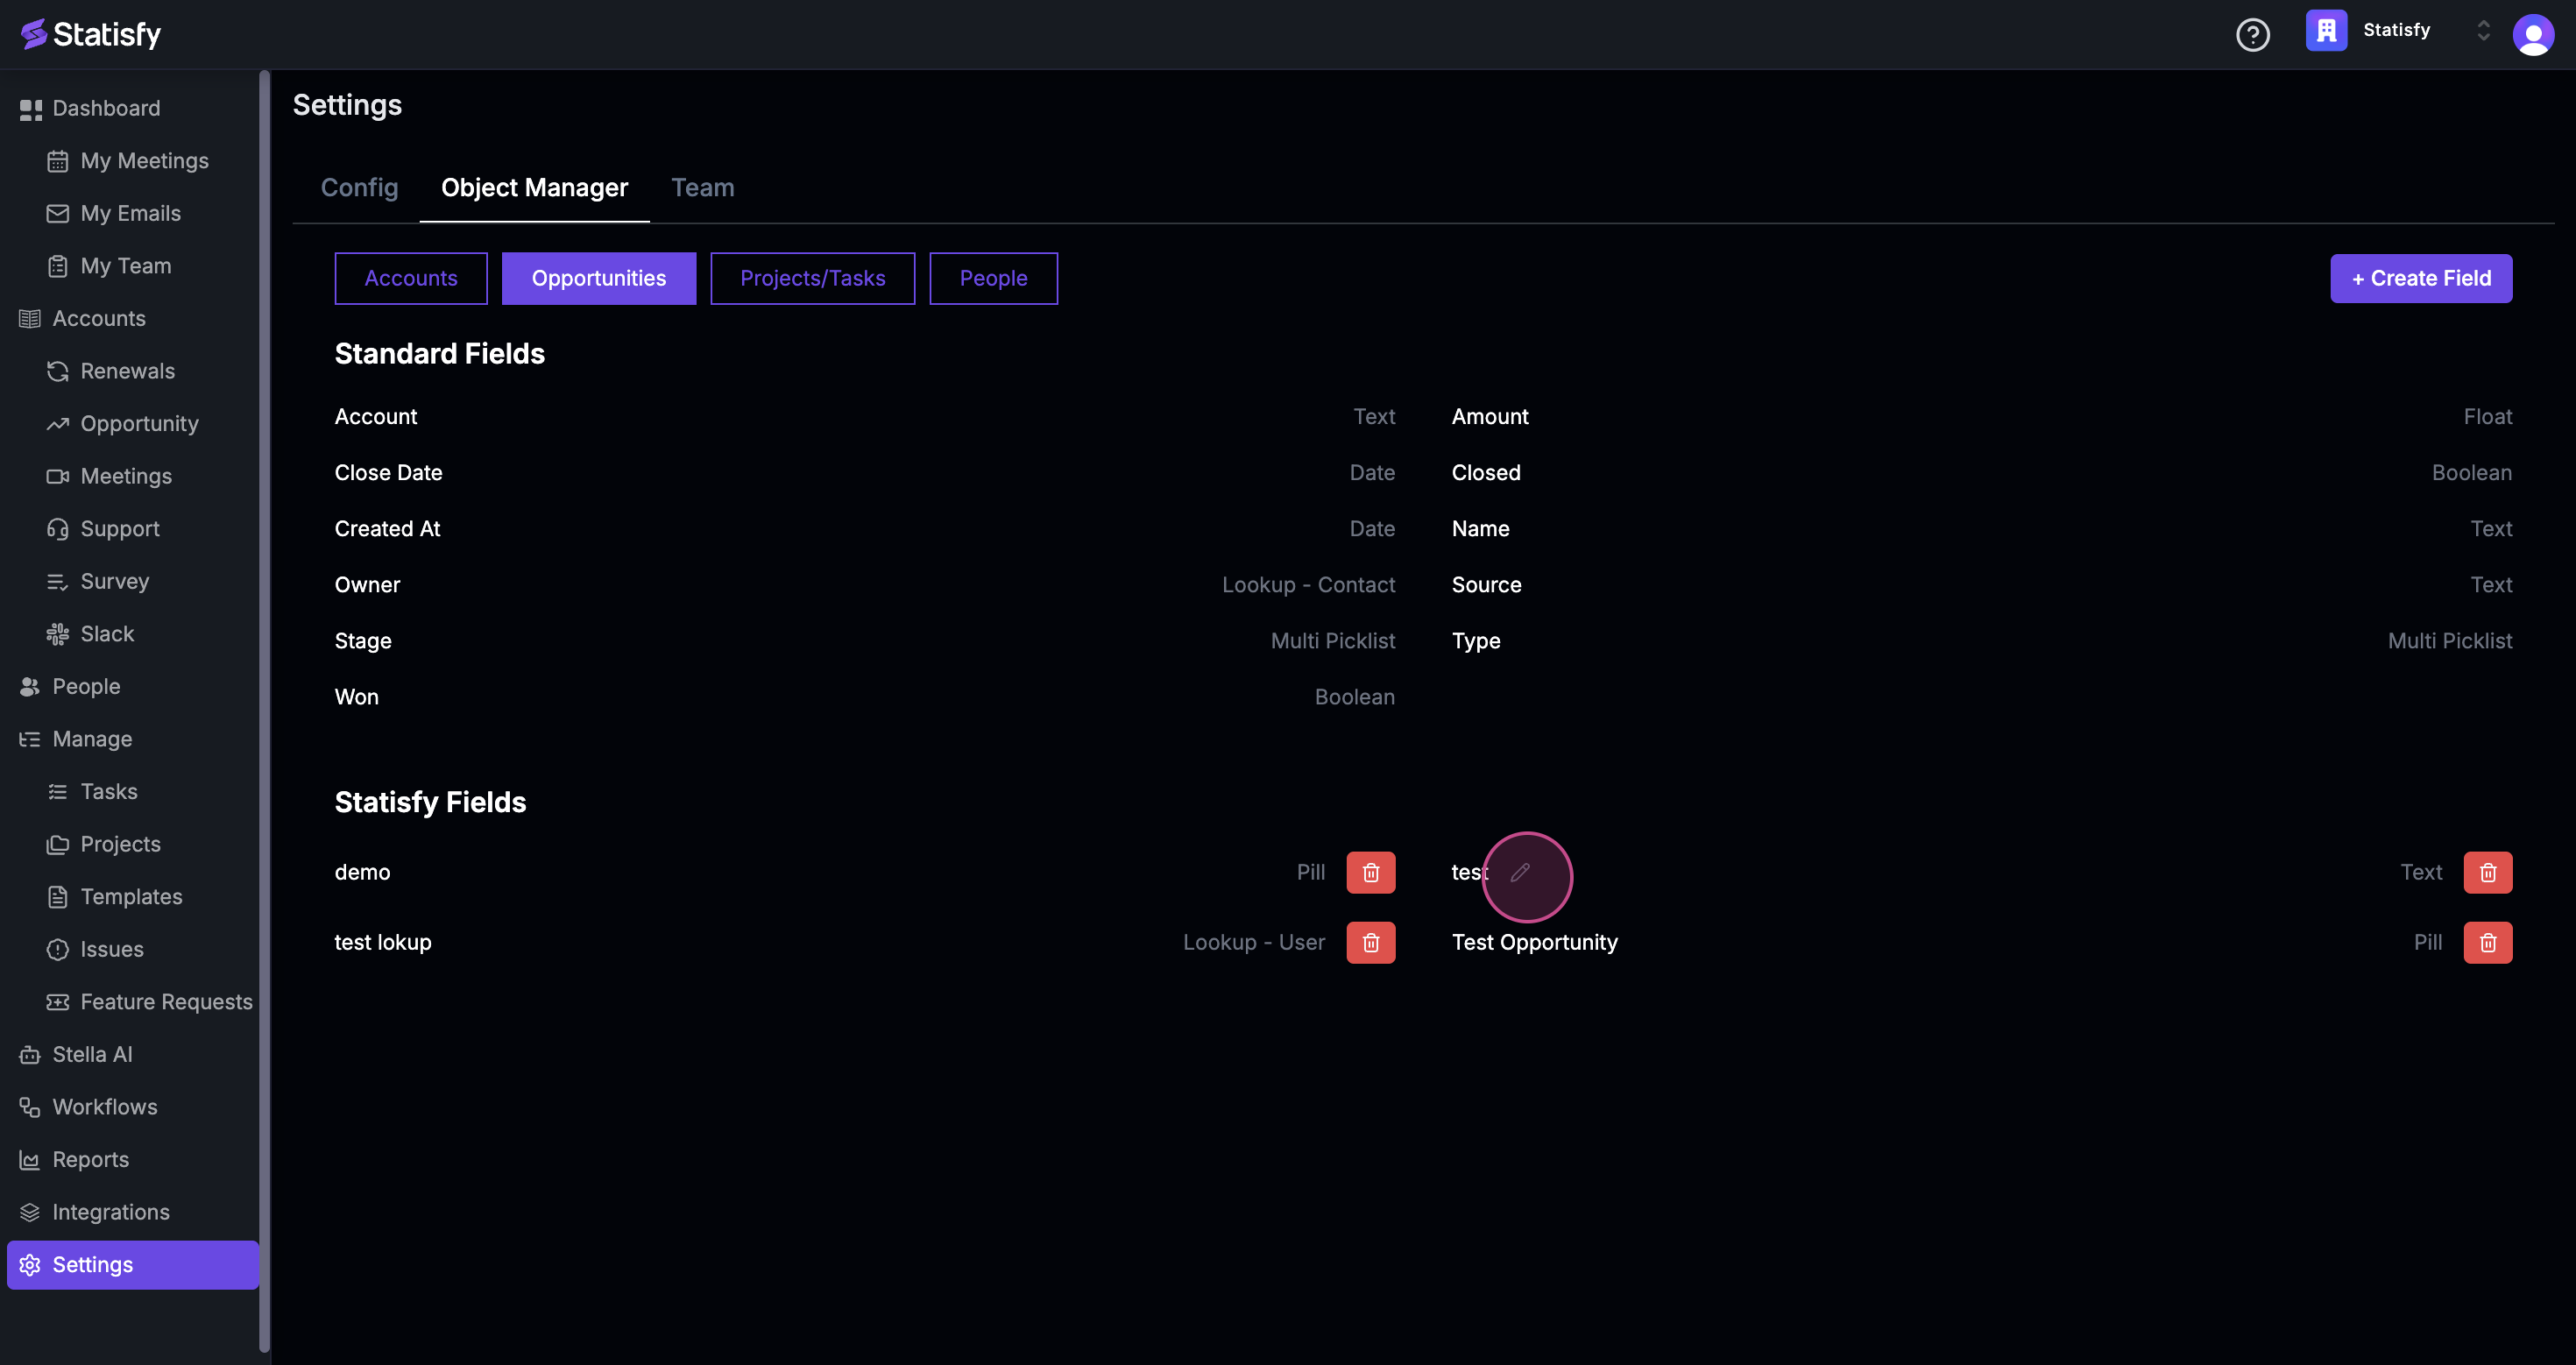
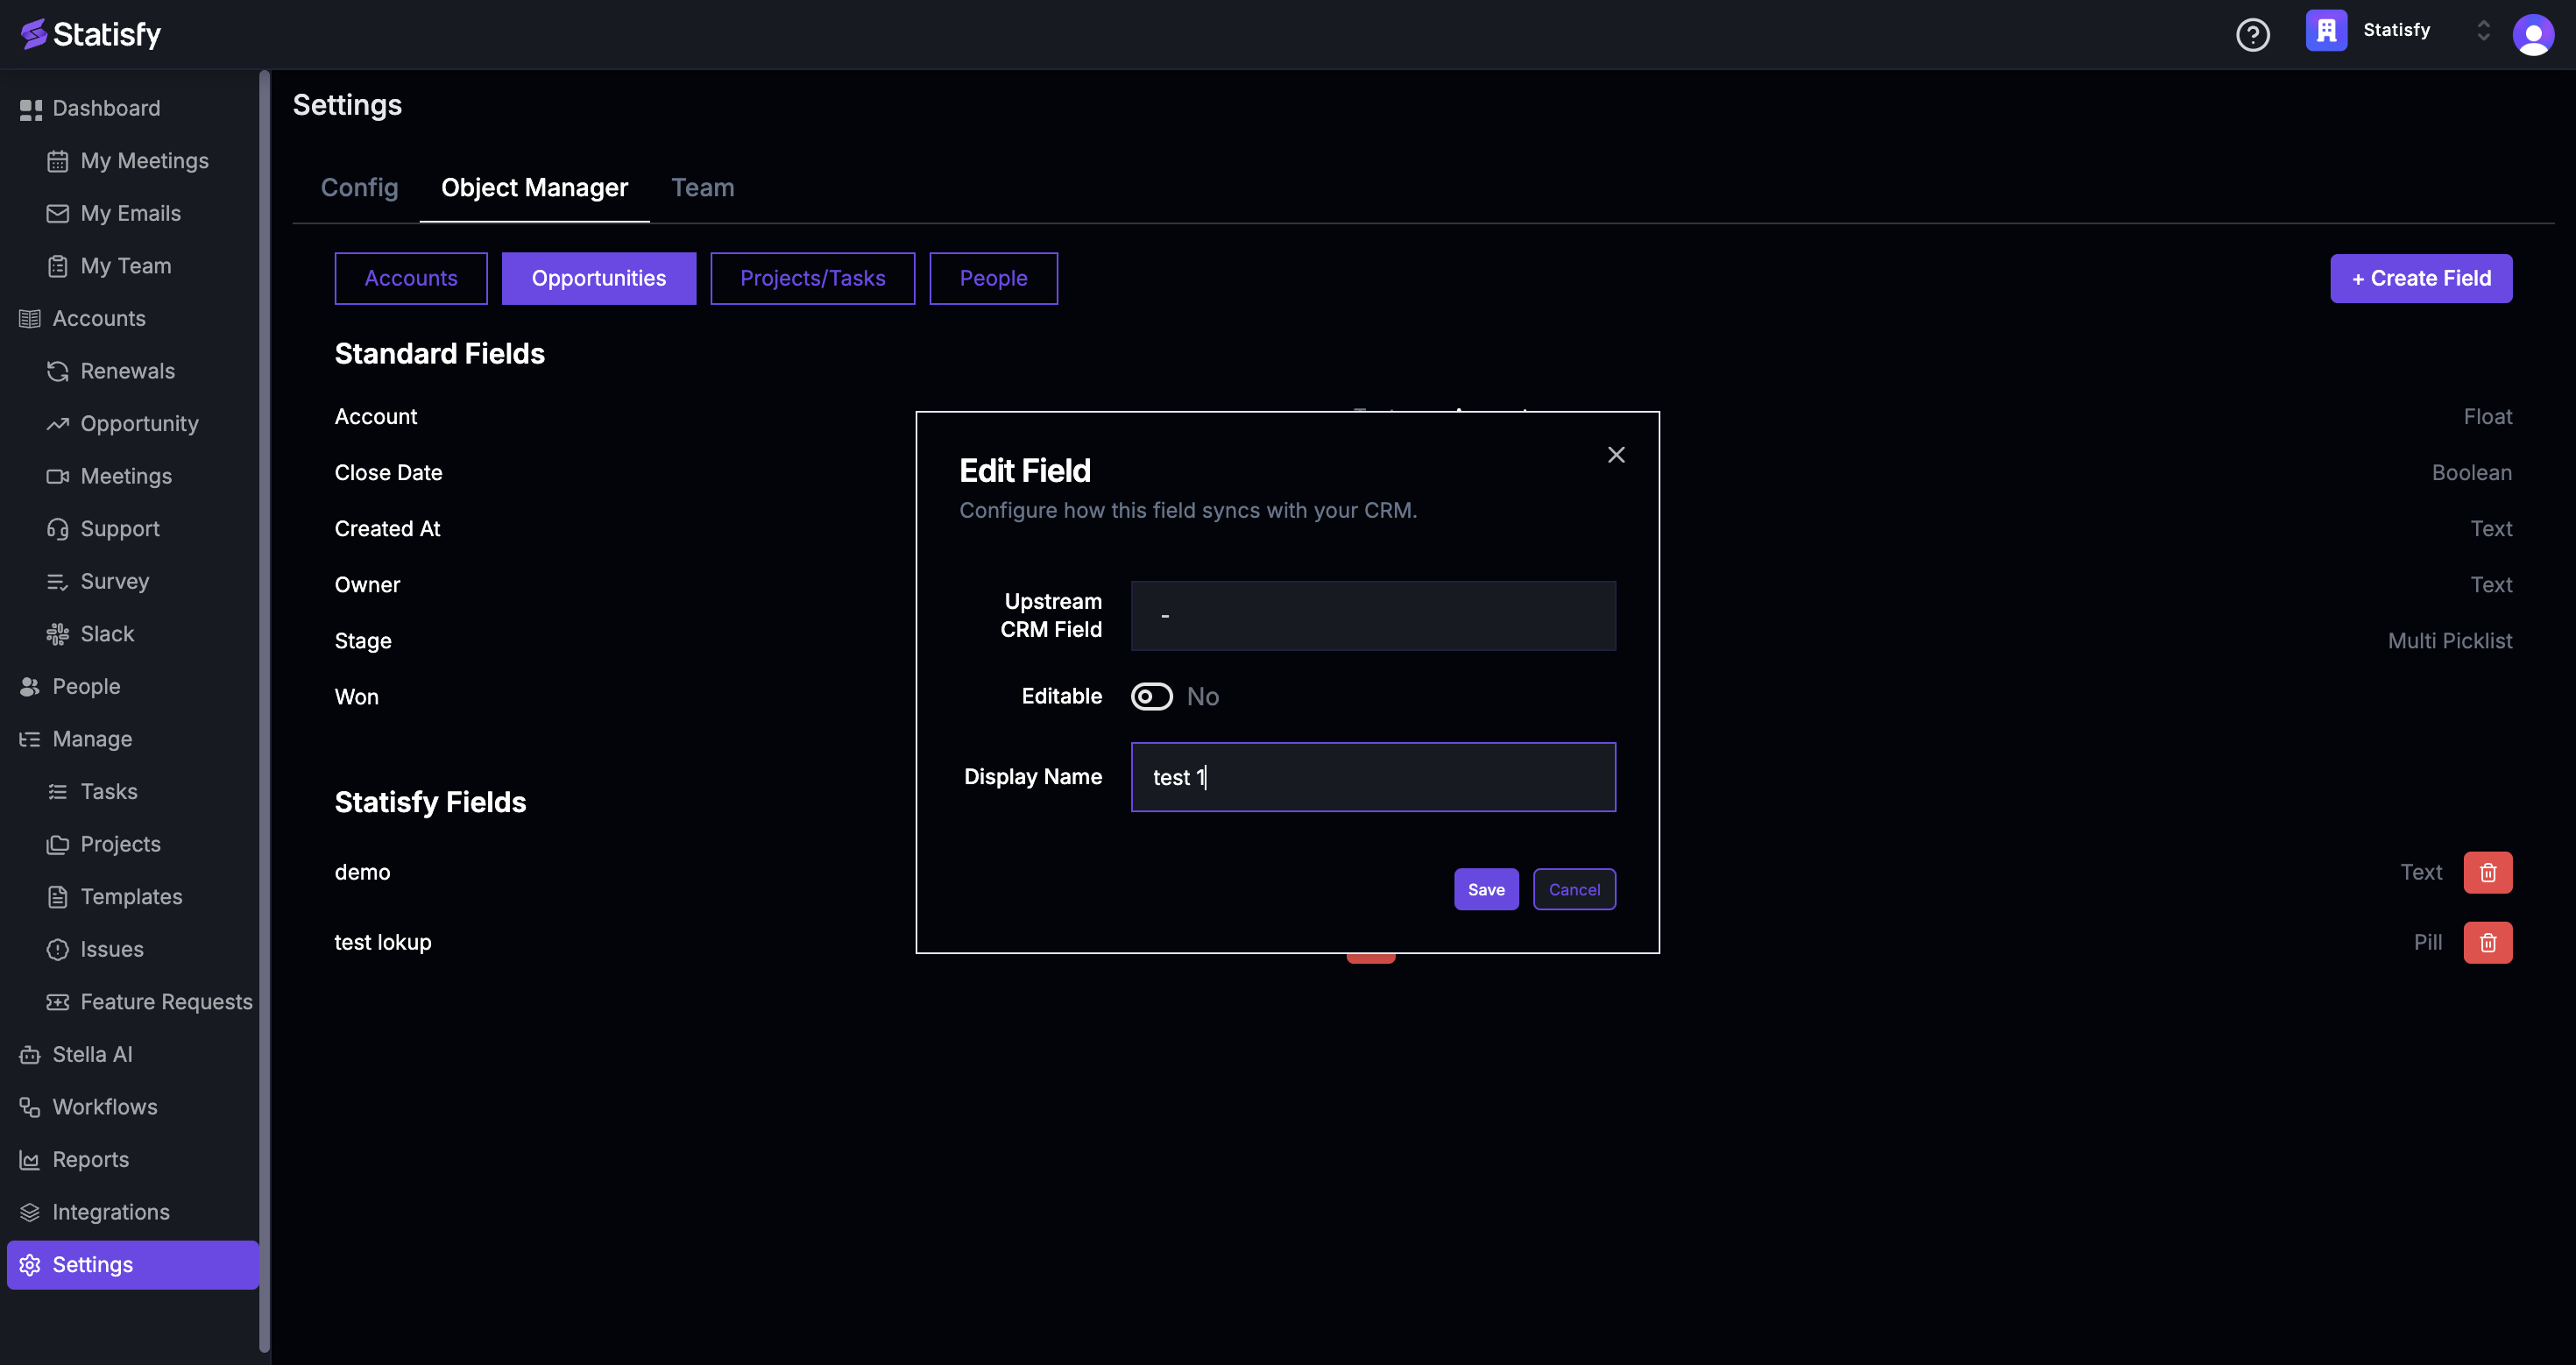
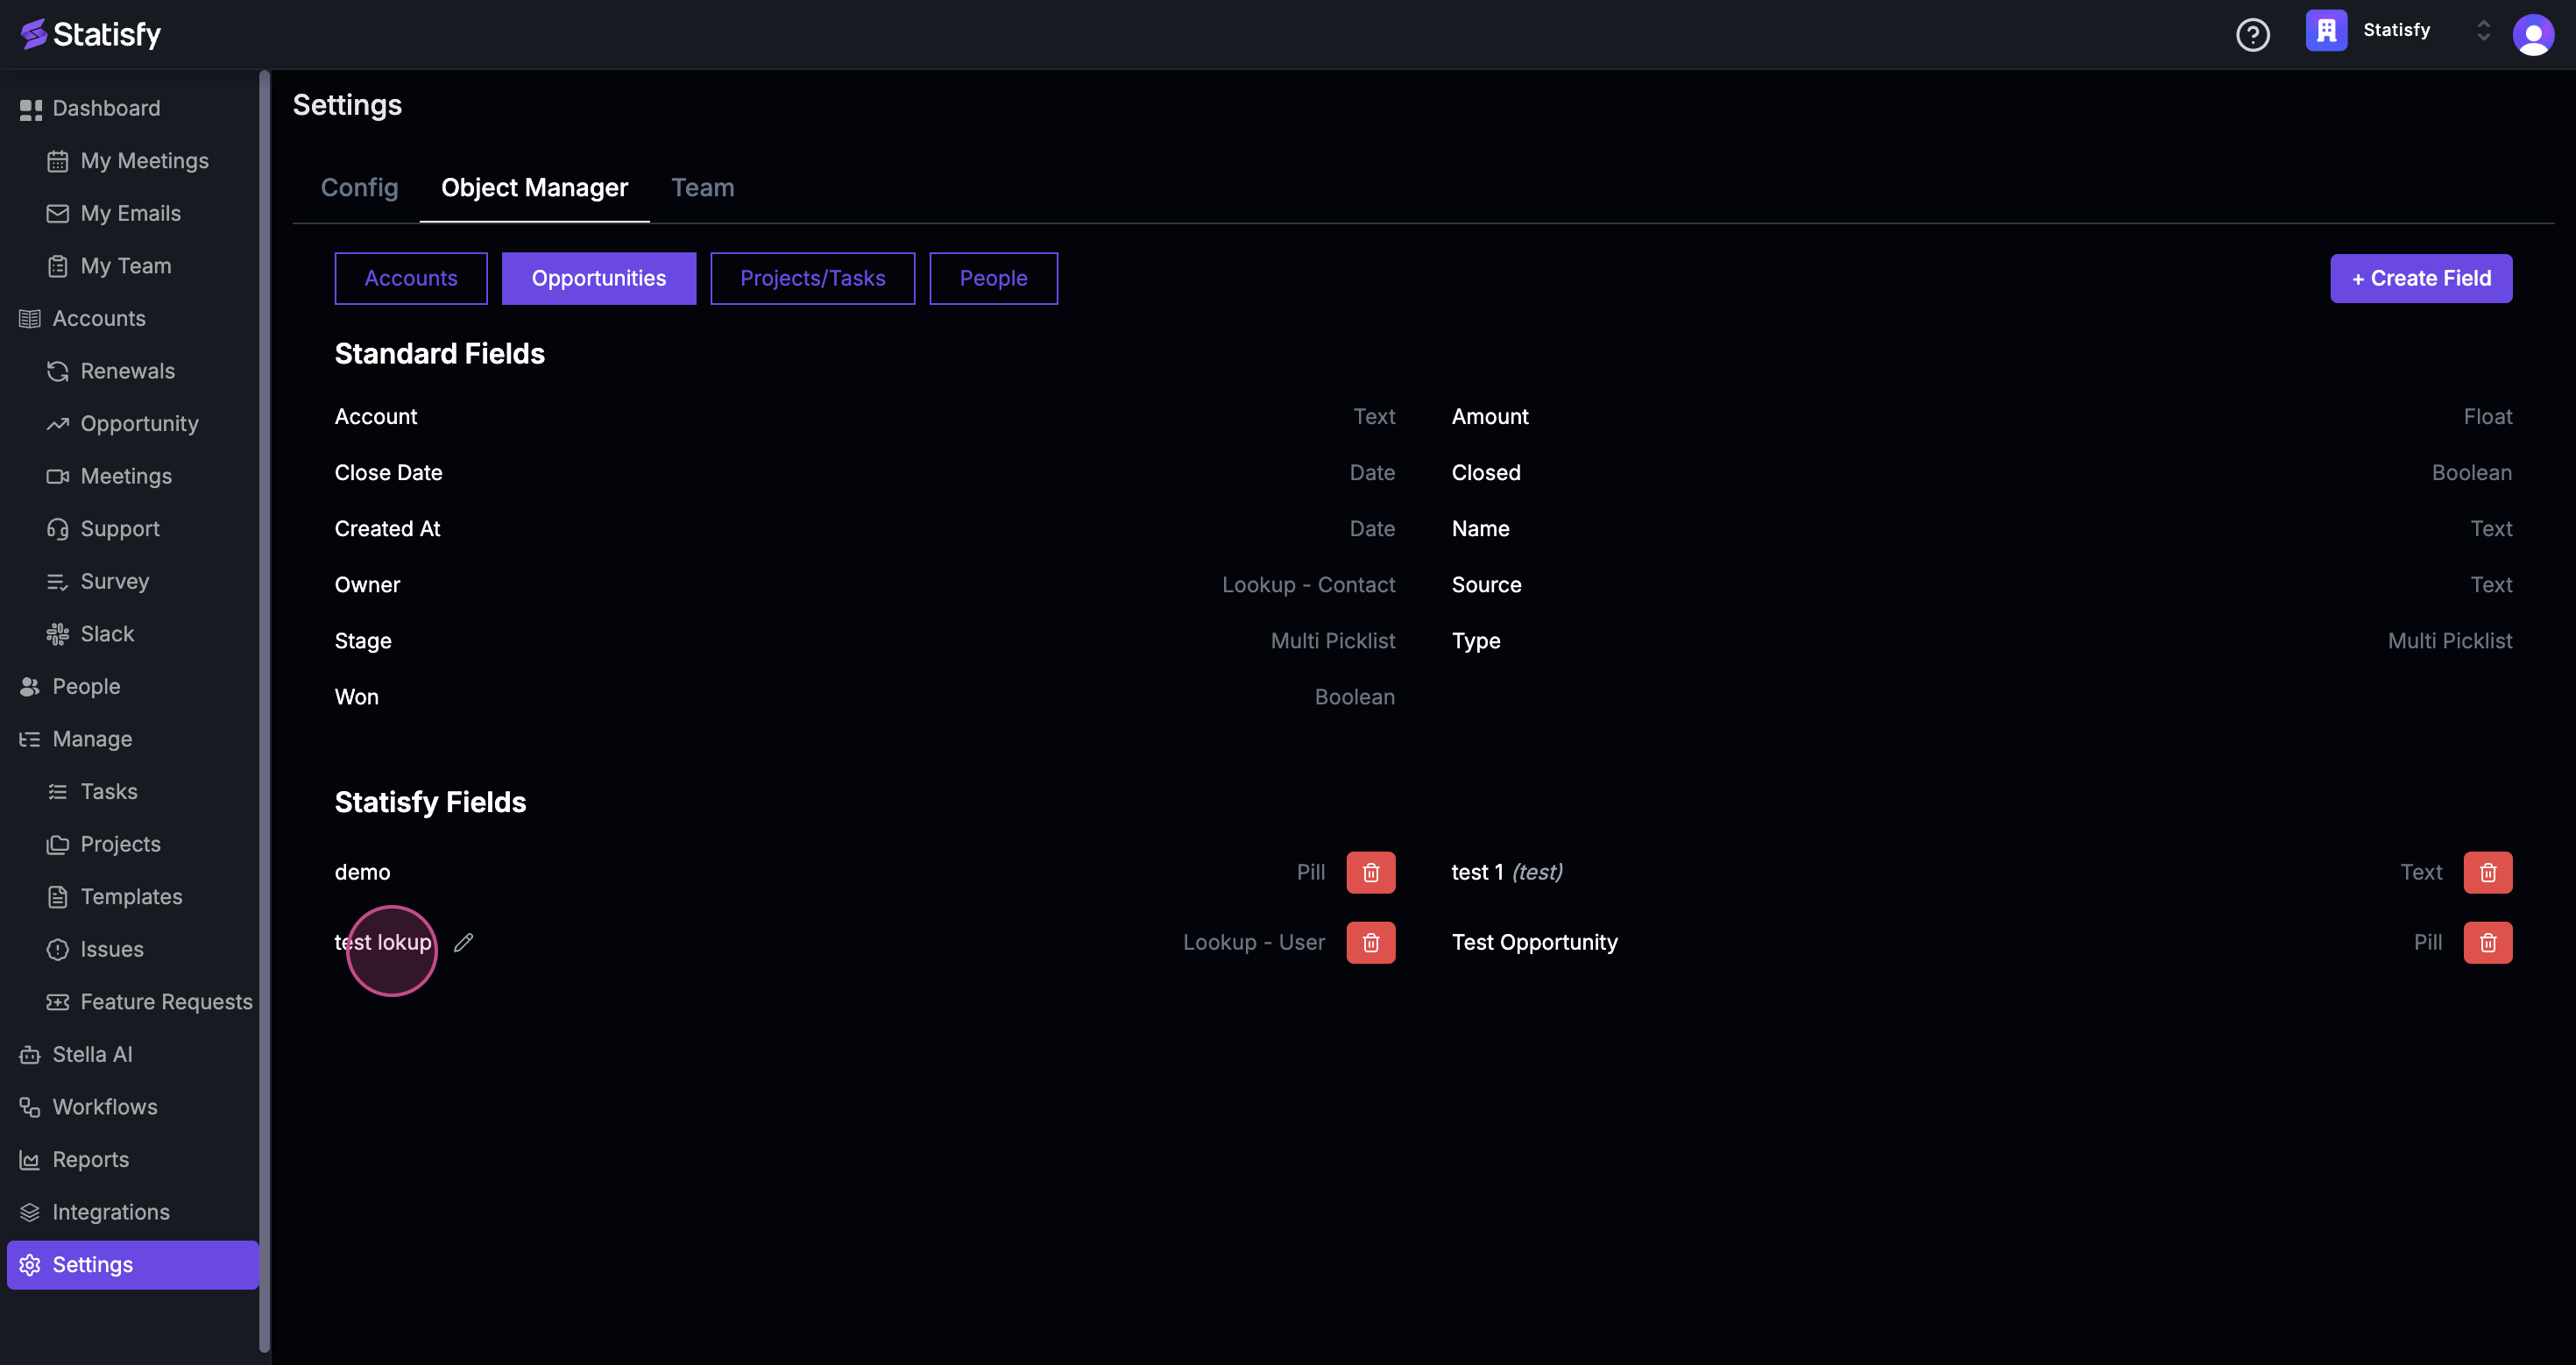
 Step 11: If you wish to rename a field, simply select it, change the name, and save your changes.
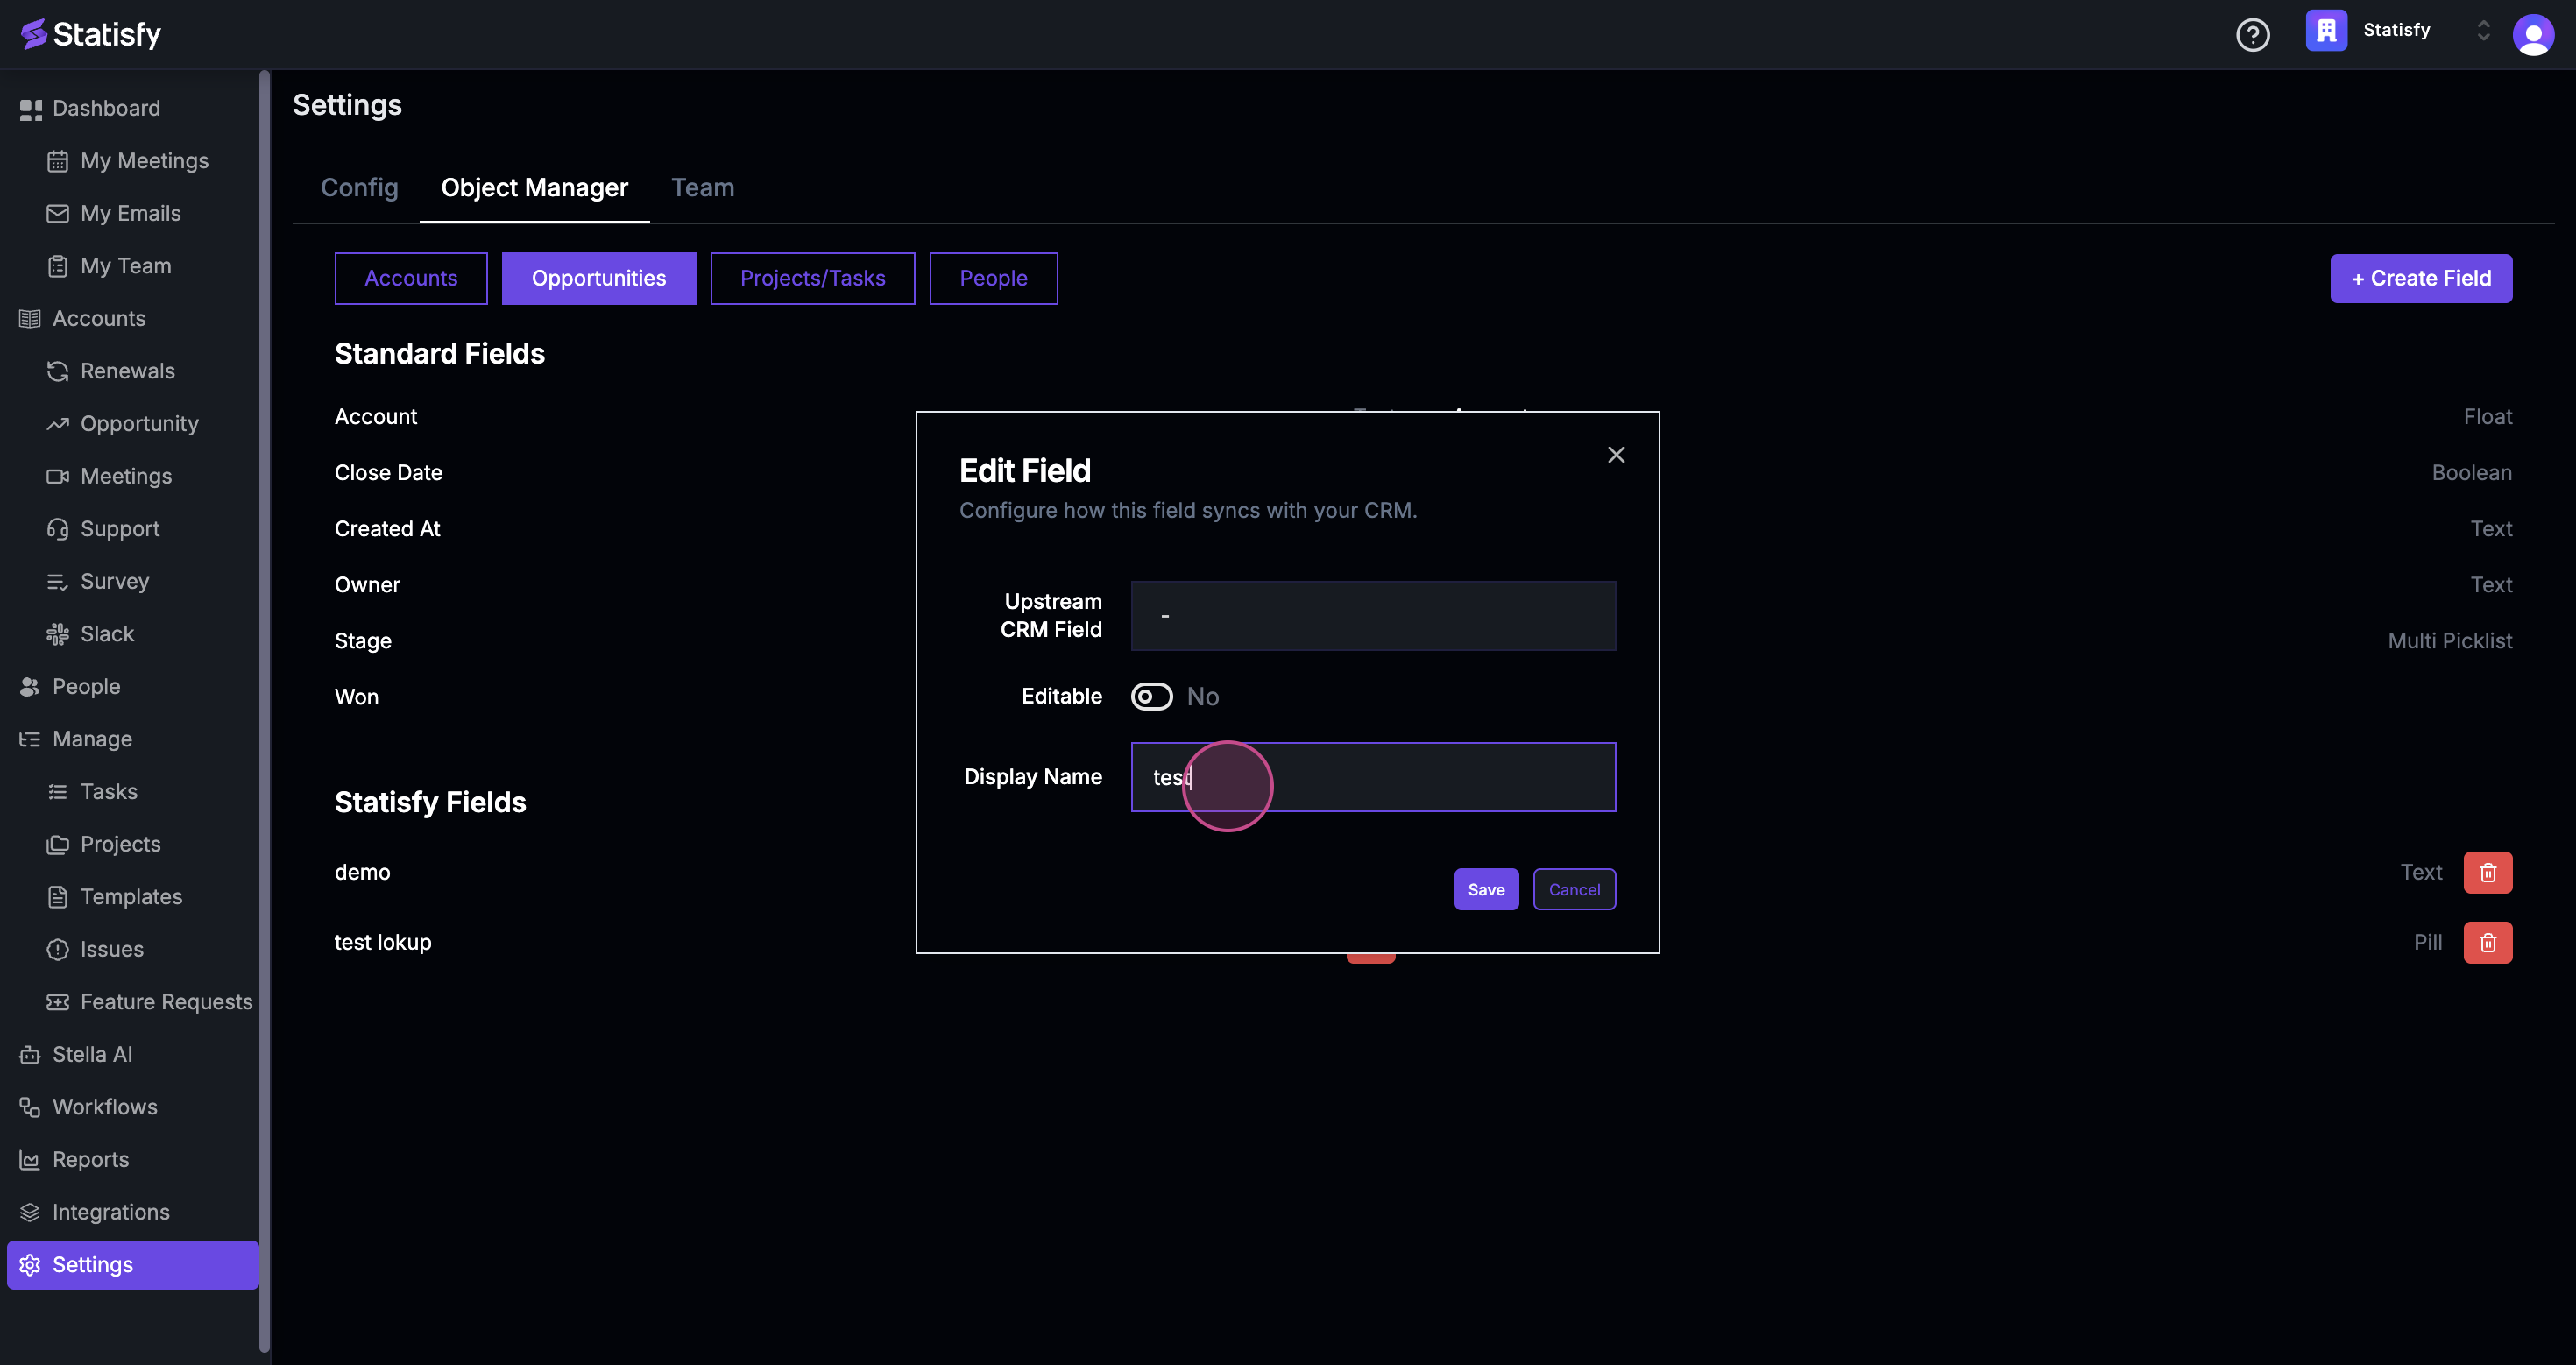
 Step 12: If your system is integrated with a CRM, you’ll find all the CRM fields below the Statisfy fields. You’re also able to create and edit some of these CRM fields.
Step 13: If you want to sync data between your system and the CRM, select the field you want to sync, click Edit, and save your changes. This will sync the values in both systems.
Step 12: If your system is integrated with a CRM, you’ll find all the CRM fields below the Statisfy fields. You’re also able to create and edit some of these CRM fields.
Step 13: If you want to sync data between your system and the CRM, select the field you want to sync, click Edit, and save your changes. This will sync the values in both systems.

 And that’s it! You’ve successfully created and edited custom fields in Opportunities.