Video Tutorial
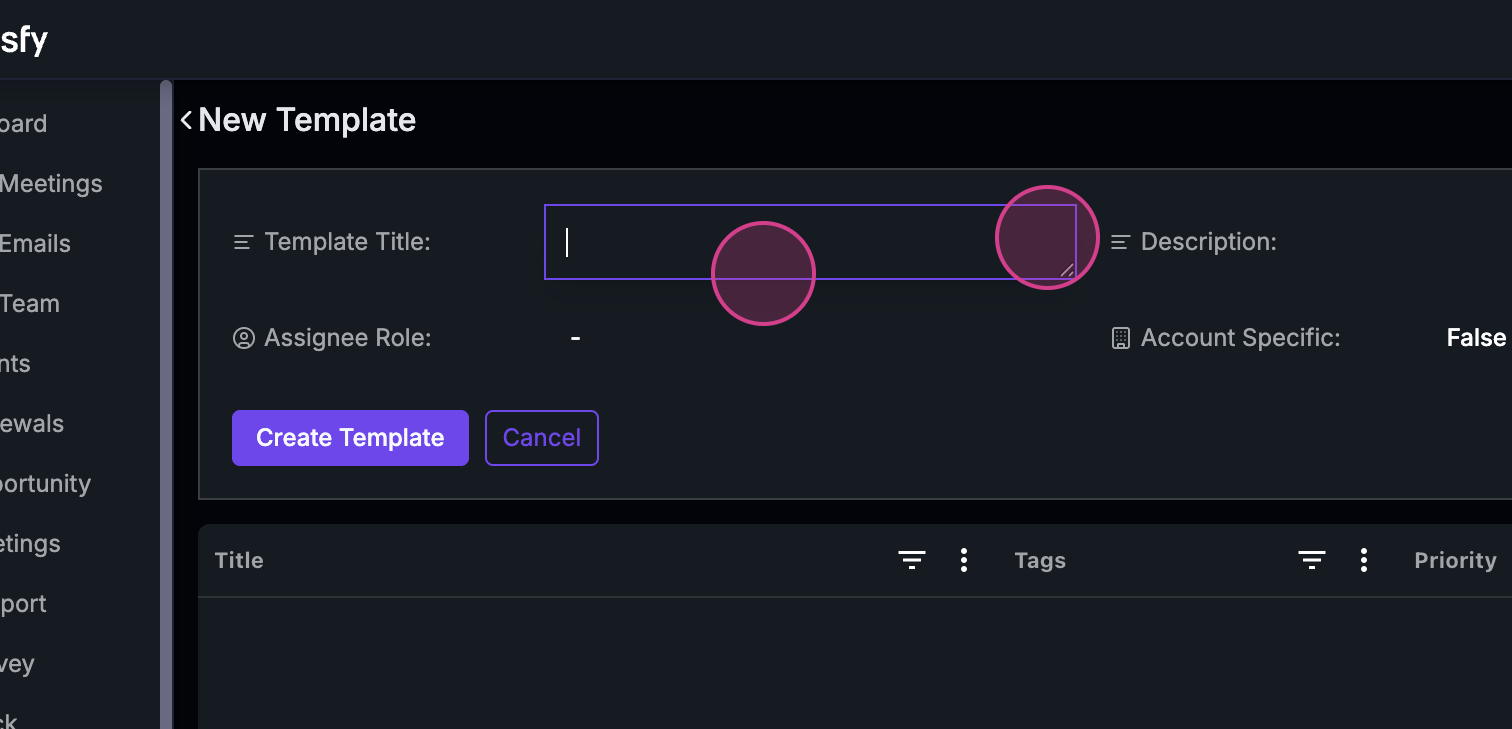
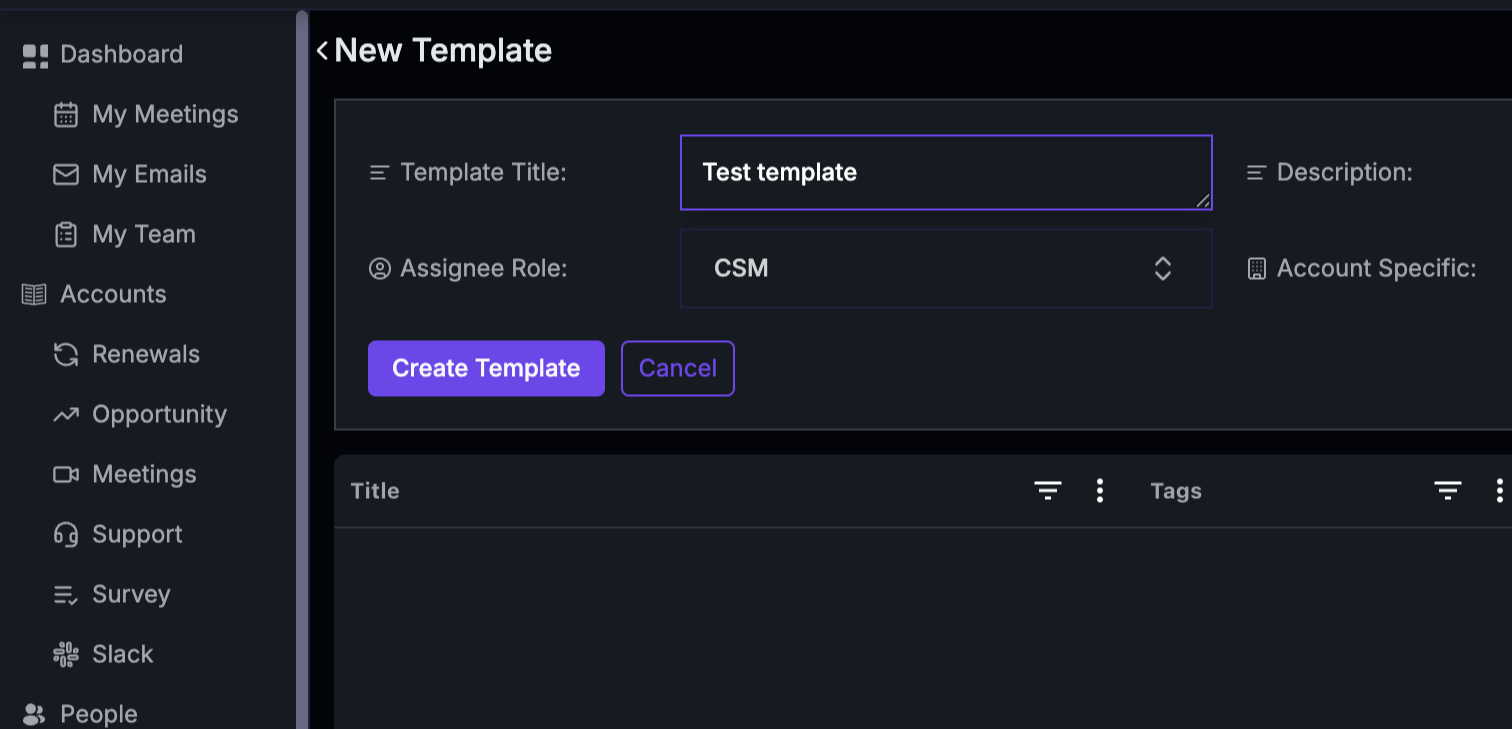
In this article, you’ll learn how to create a project template that can be reused for multiple projects. Step 1: Start by clicking on the Create Template button. Step 2: Enter a suitable title for your template.
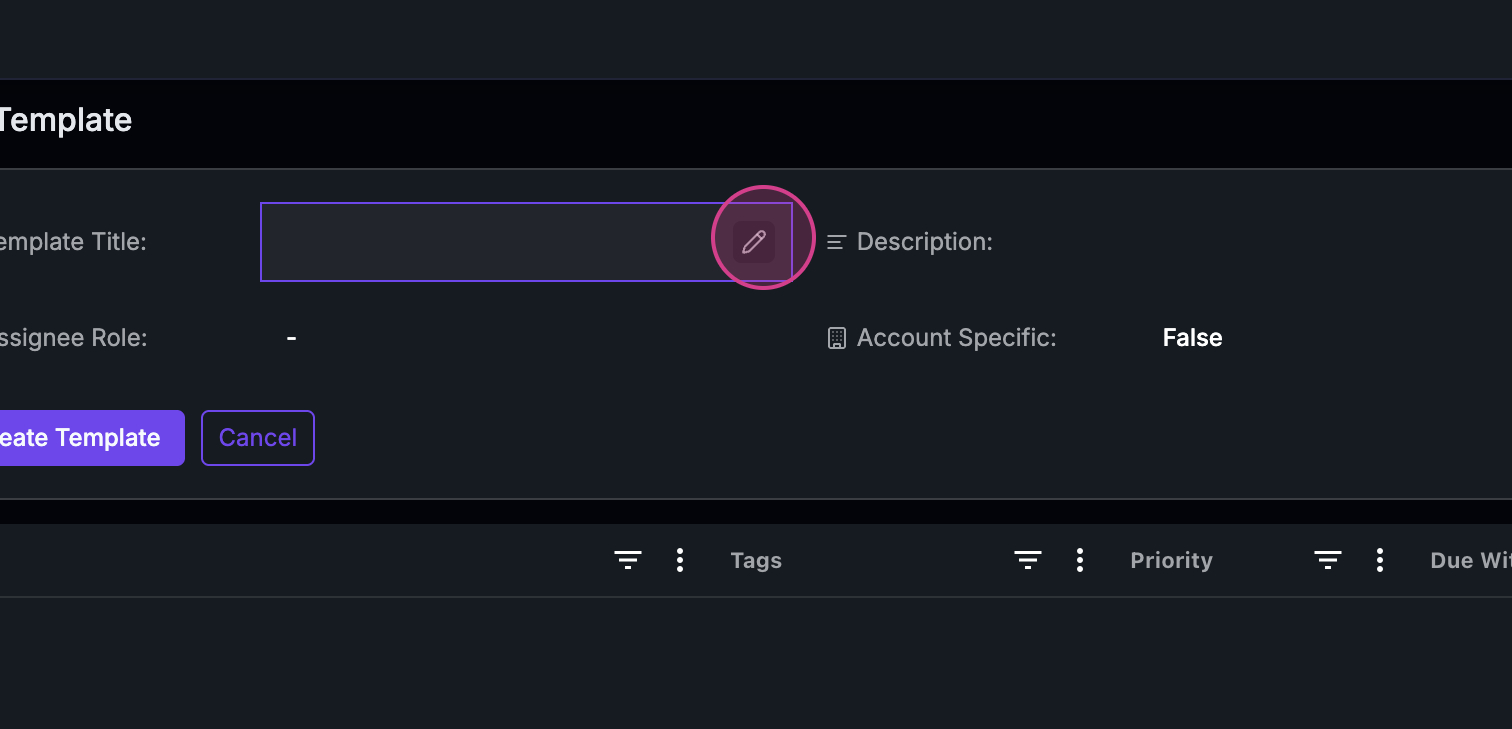
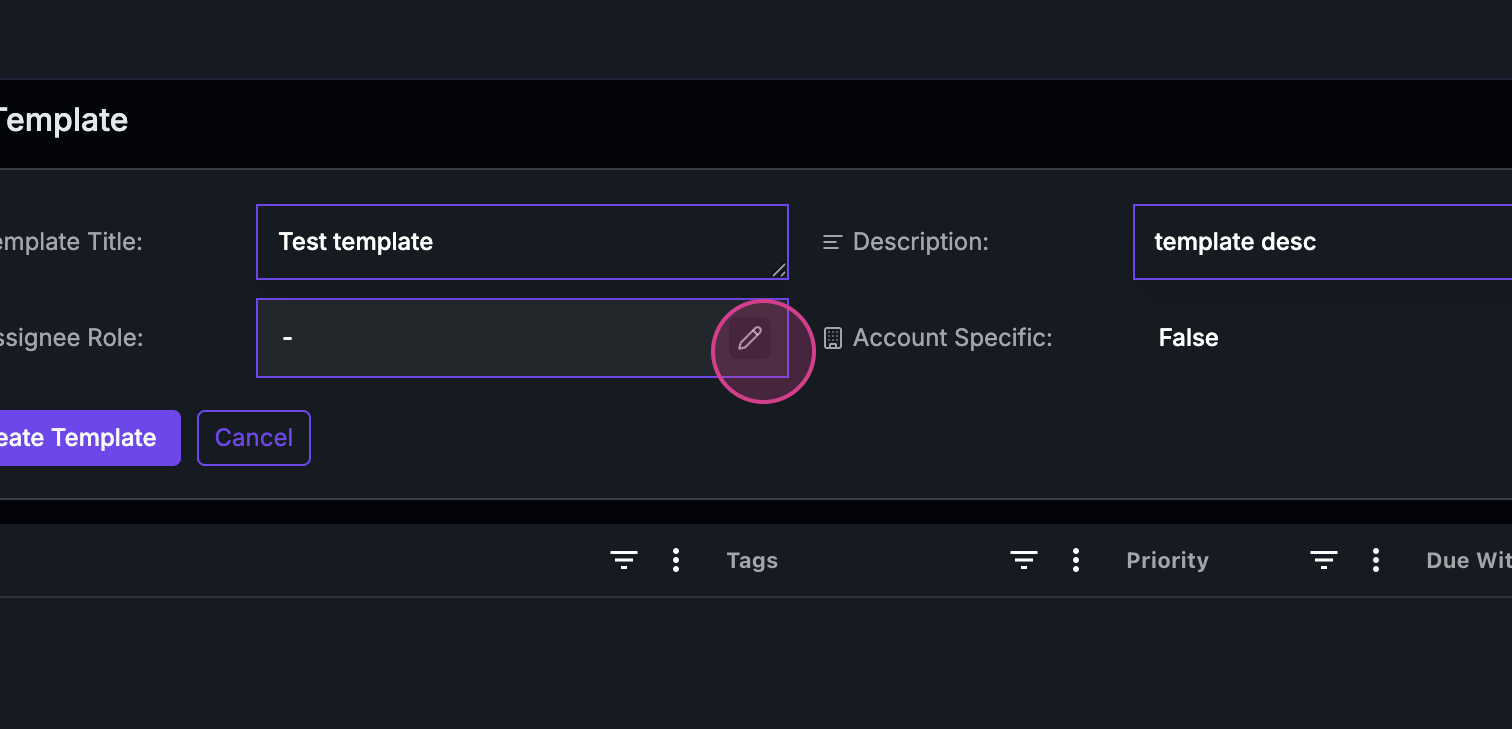
 Step 3: Add a description to your template.
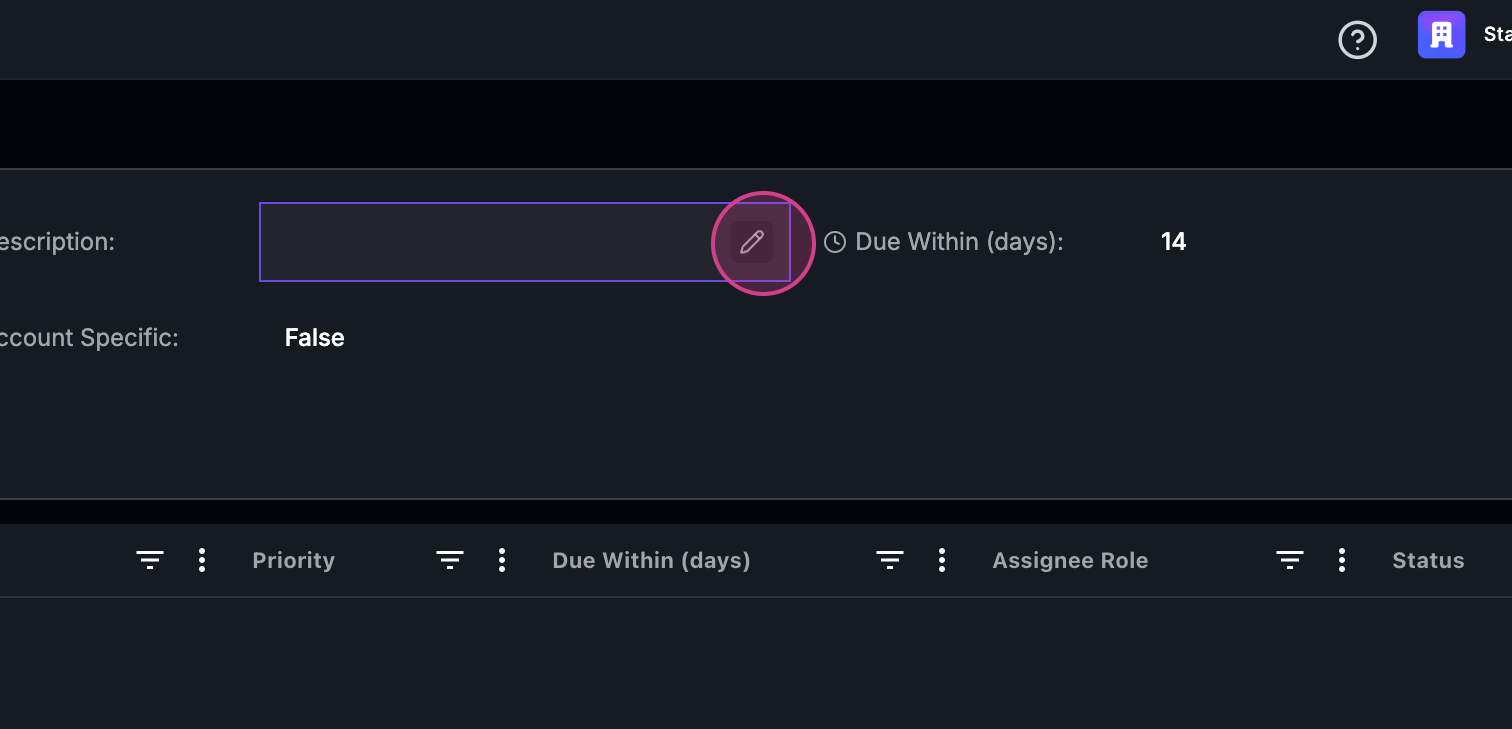
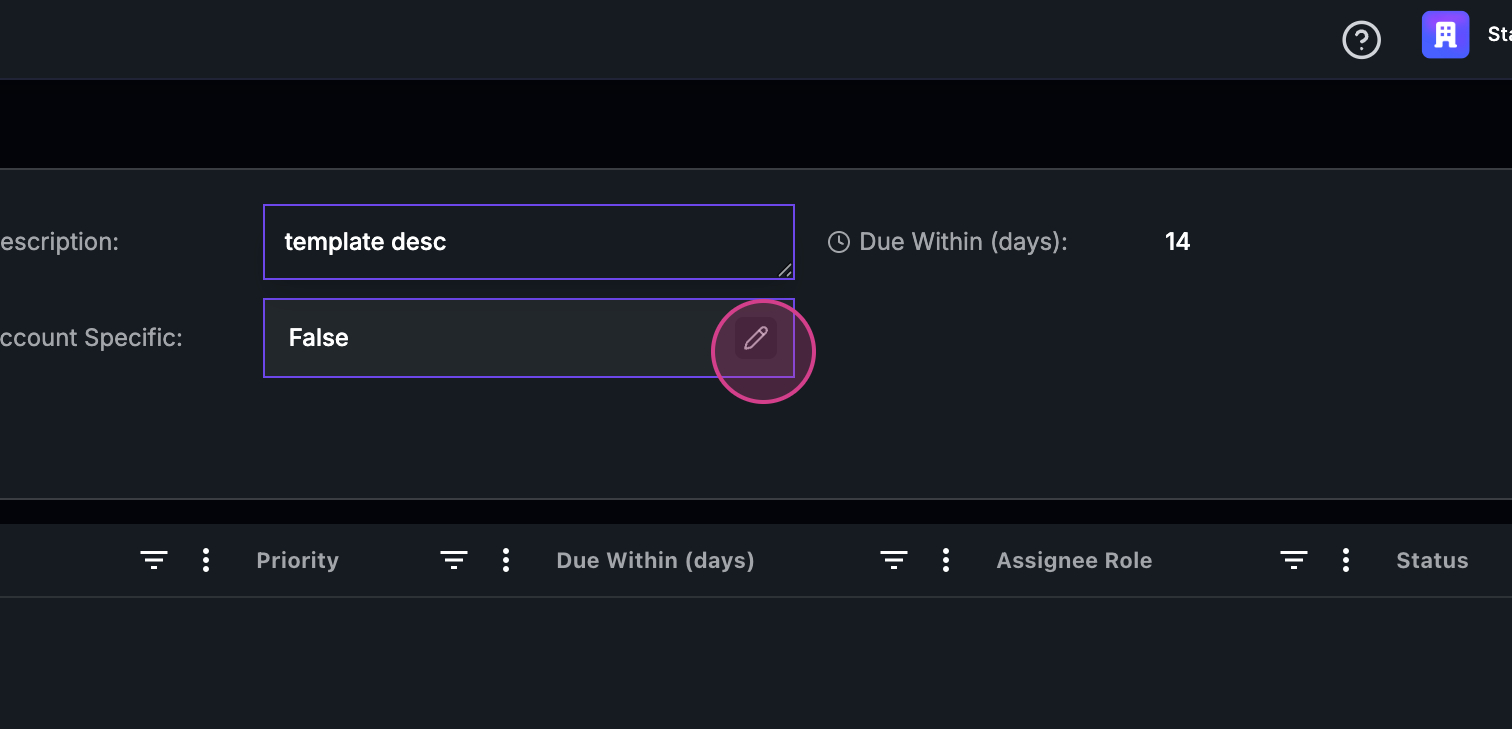
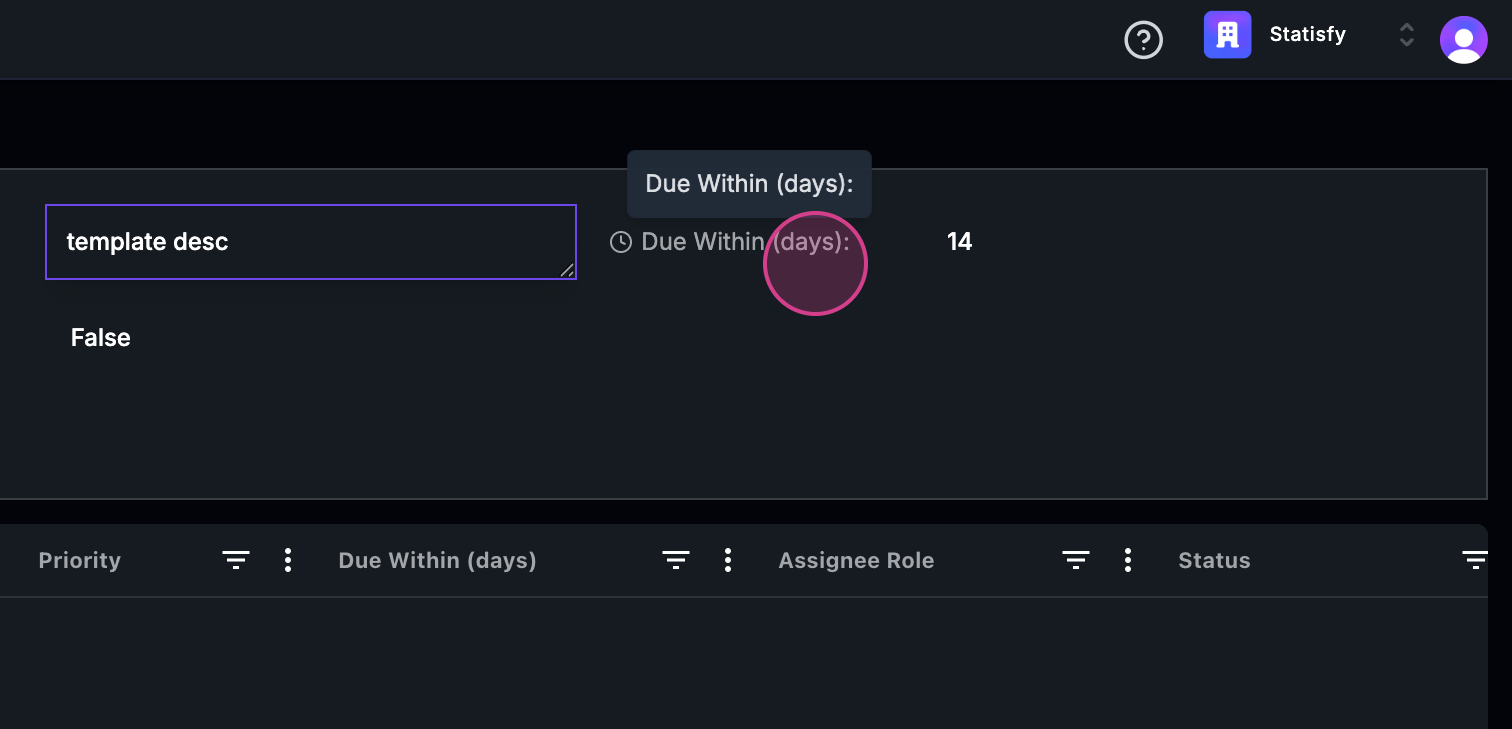 Step 4: Set the template’s overall Duration (days) — this defines how many days the template spans in total.
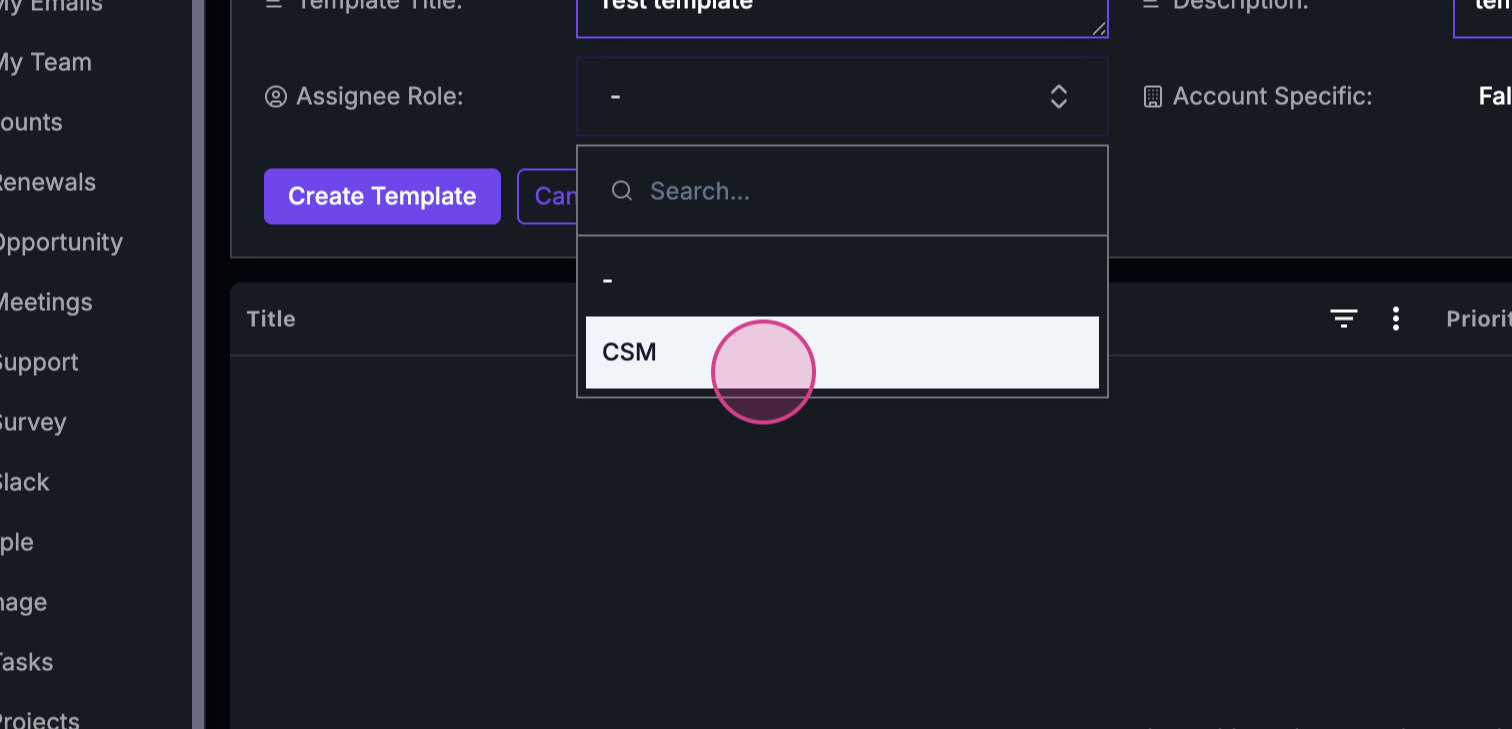
 Step 5: Assign a role who’ll manage this template.
 Step 6: Specify if this template will be account specific.
 Step 7: After filling in all the necessary information, click on Create Template.
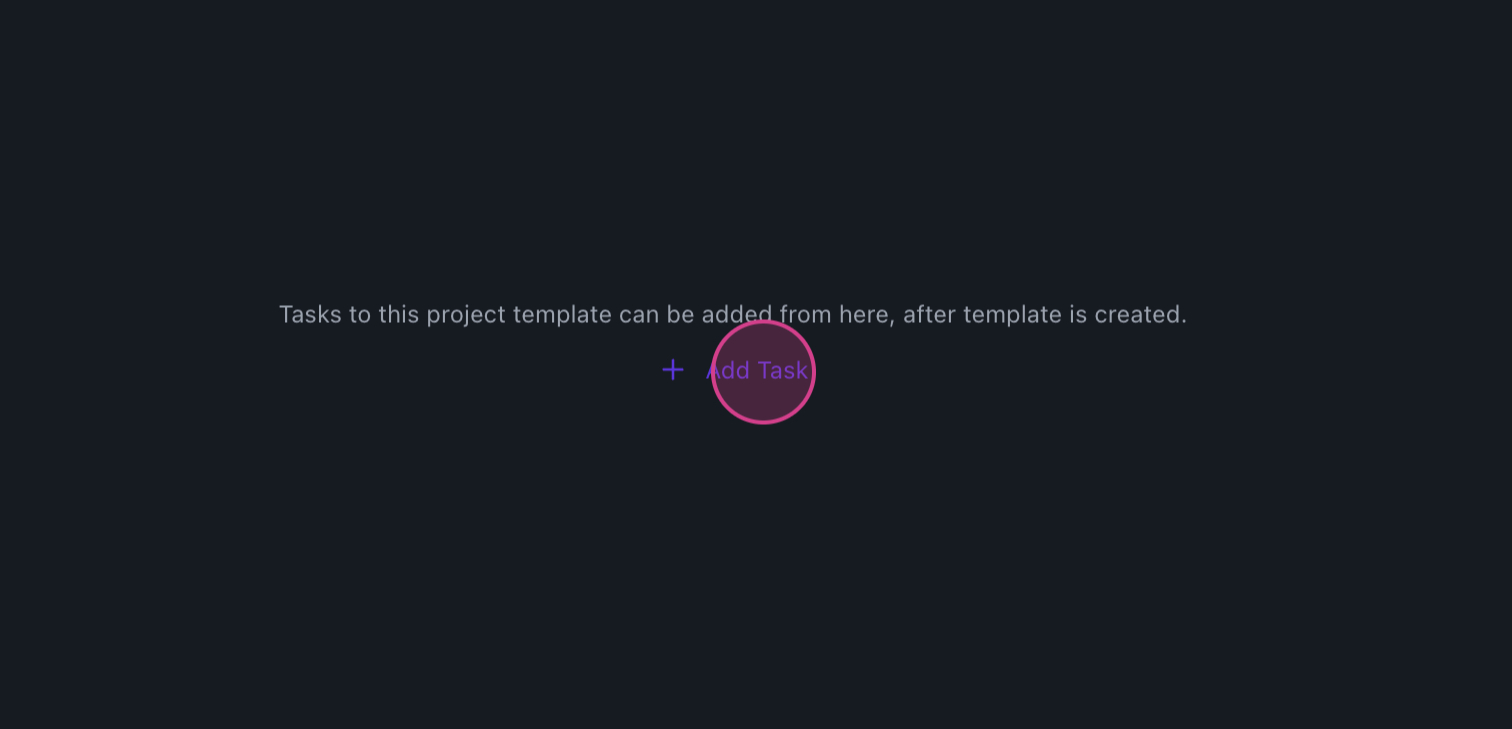
 Step 8: You’re now ready to add tasks to your template. Start by adding a title for your task.
 Step 9: Set the Start From and Duration for your task. Template tasks use day offsets instead of fixed dates:
- Start From (days) — how many days after the project start date this task begins (e.g., 0 = project start, 4 = four days later)
- Duration (days) — how many days the task lasts from its start date
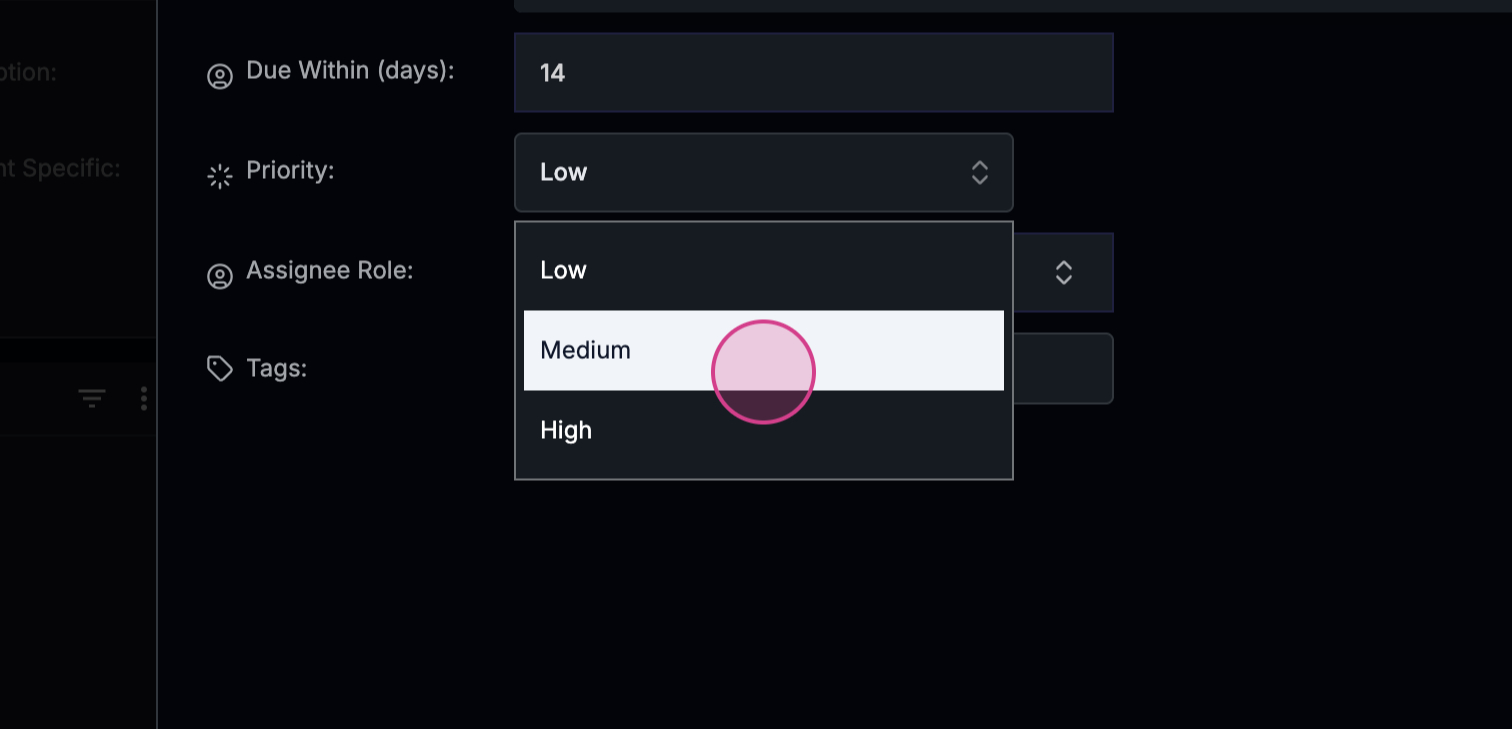
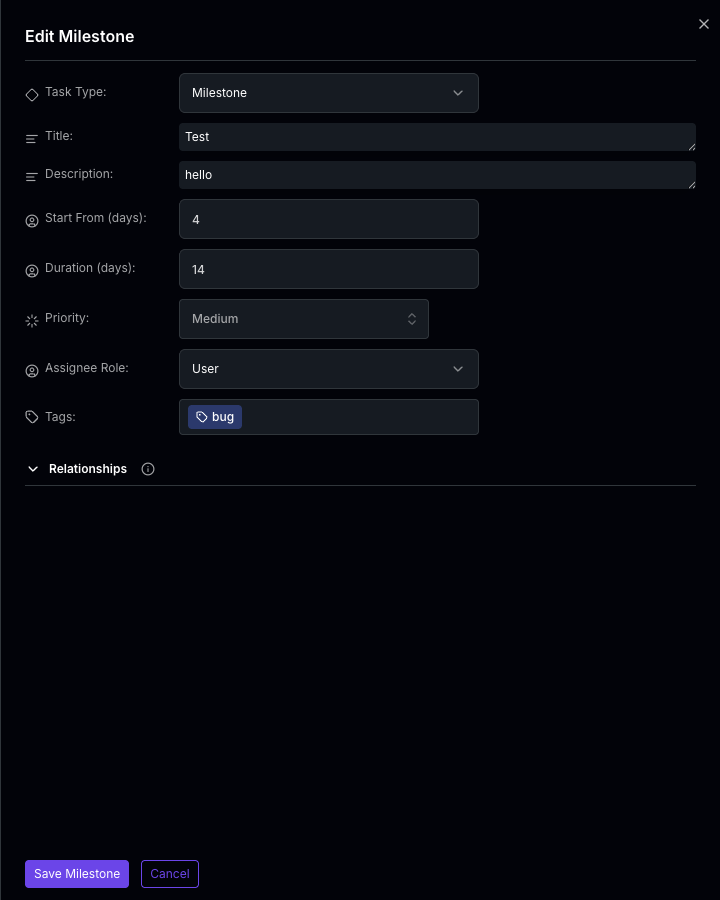 Step 10: Assign a priority level to your task.
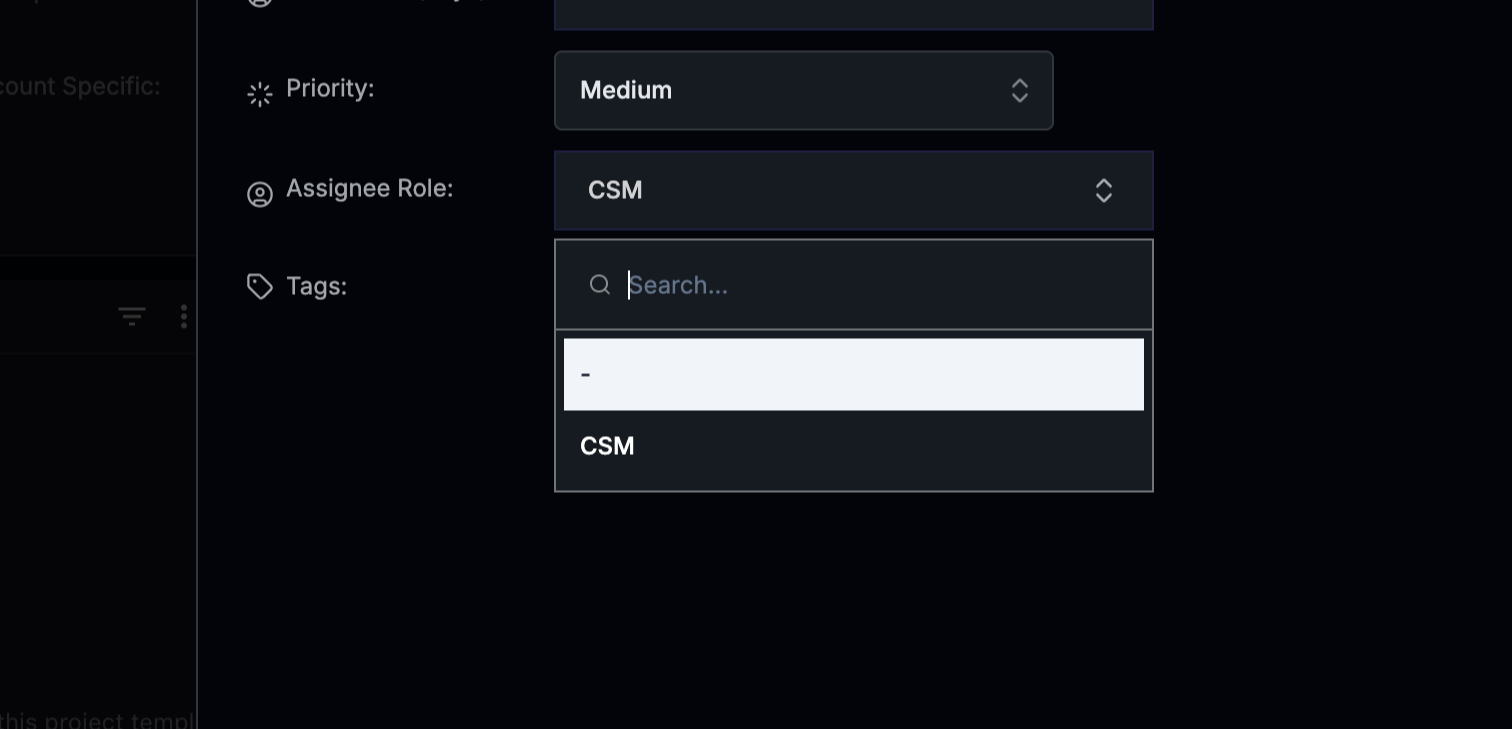
 Step 11: Choose an assignee for your task. If you don’t want to assign anyone, simply click on the hyphen.
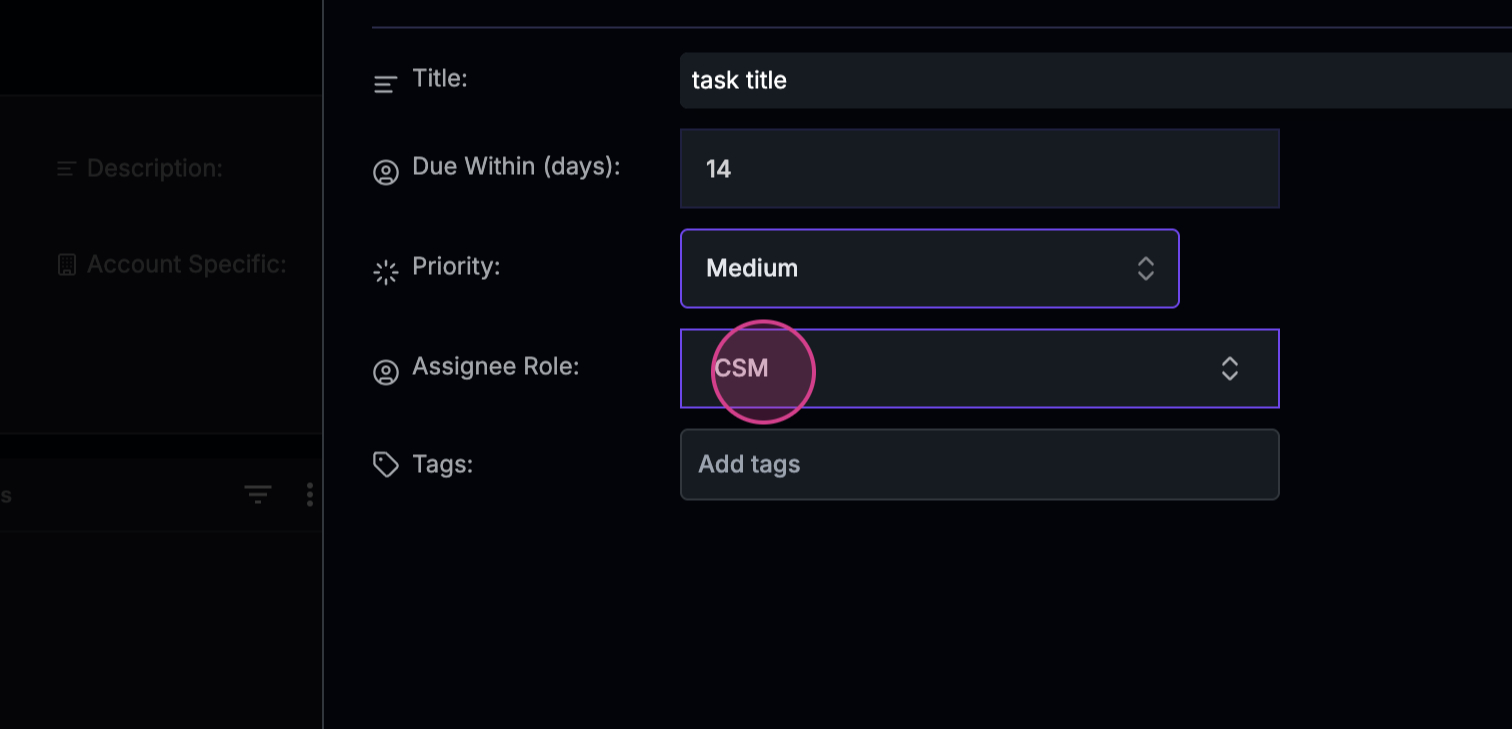
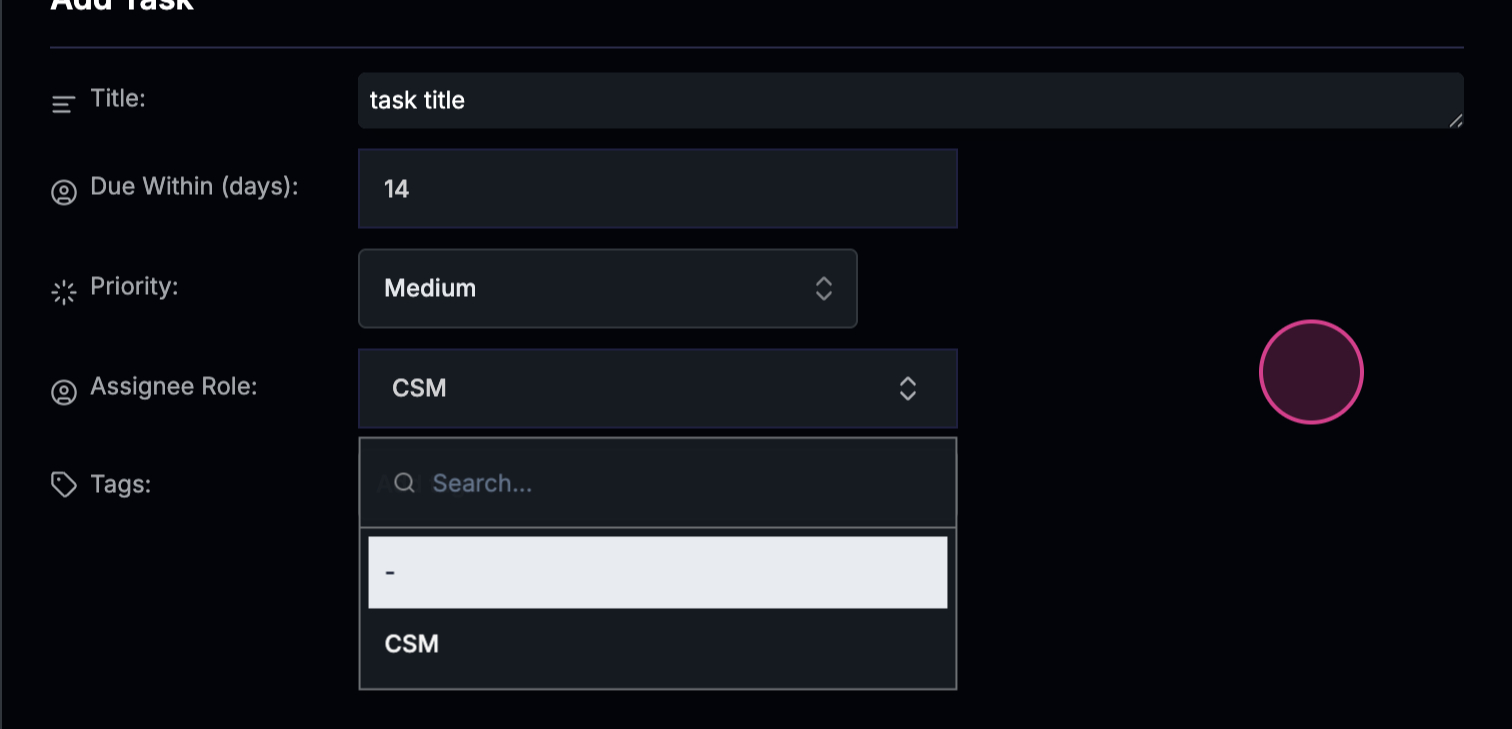

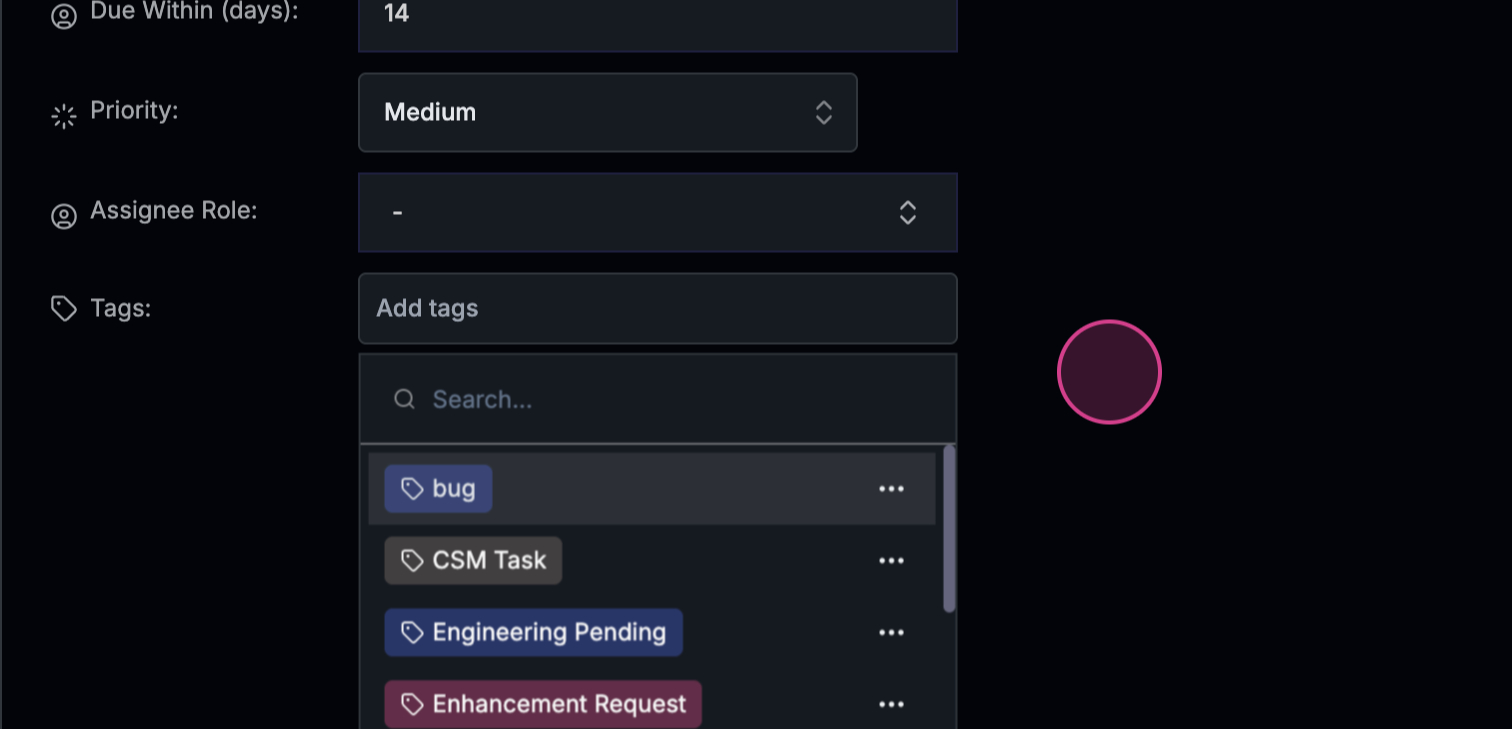
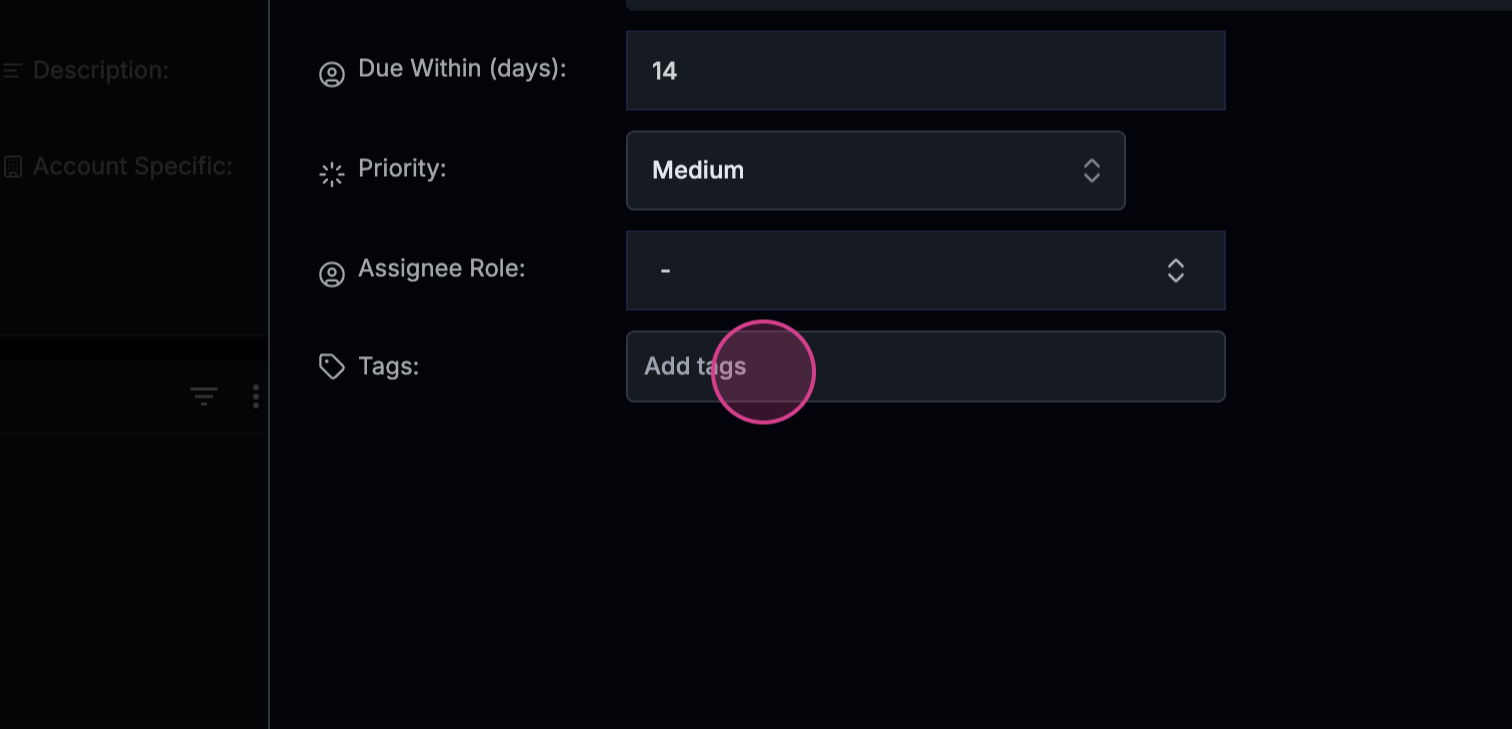 Step 12: Add any necessary tags to your task.
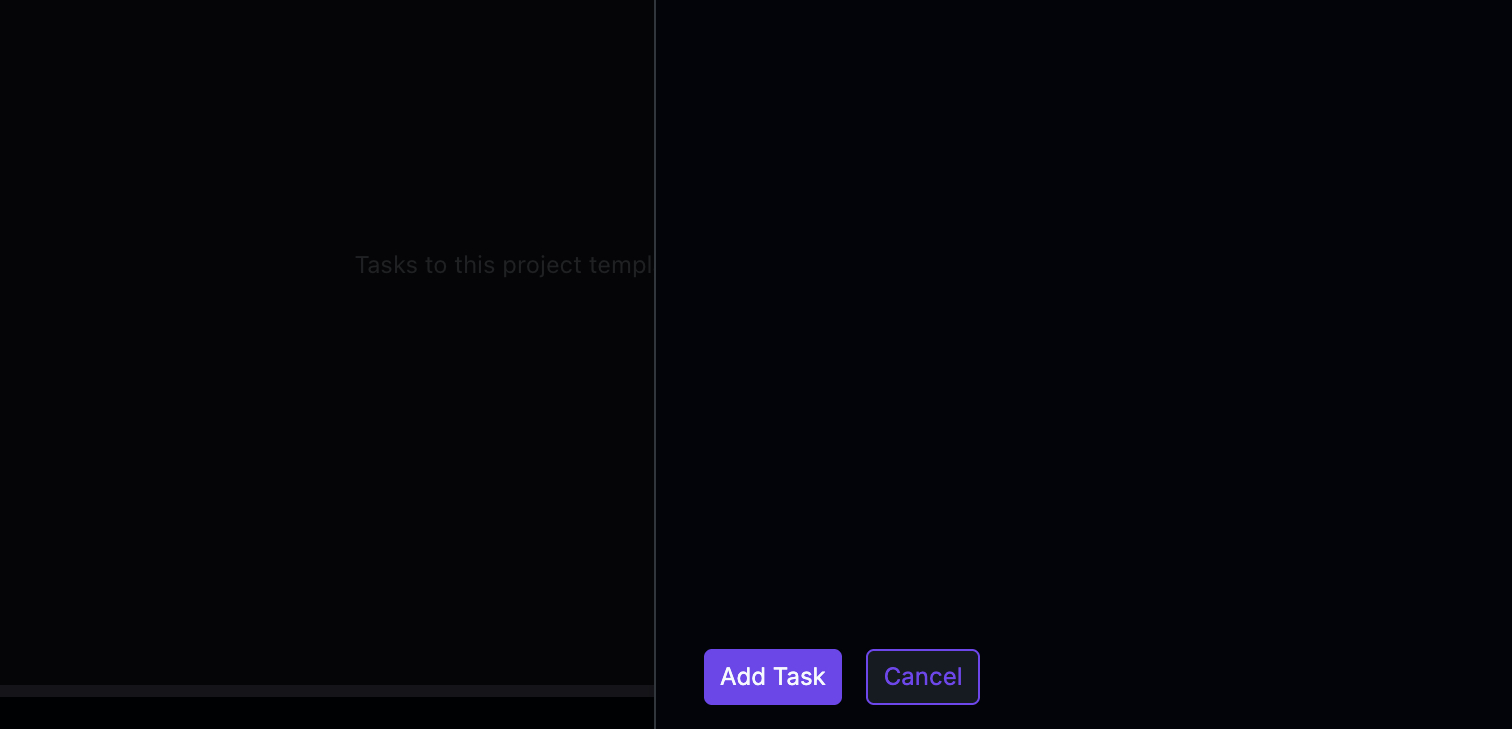
 Step 13: Click on Add Task to finalize your task creation.
 And that’s it! You’ve successfully created a project template that can be used to create multiple projects.