Video Tutorial
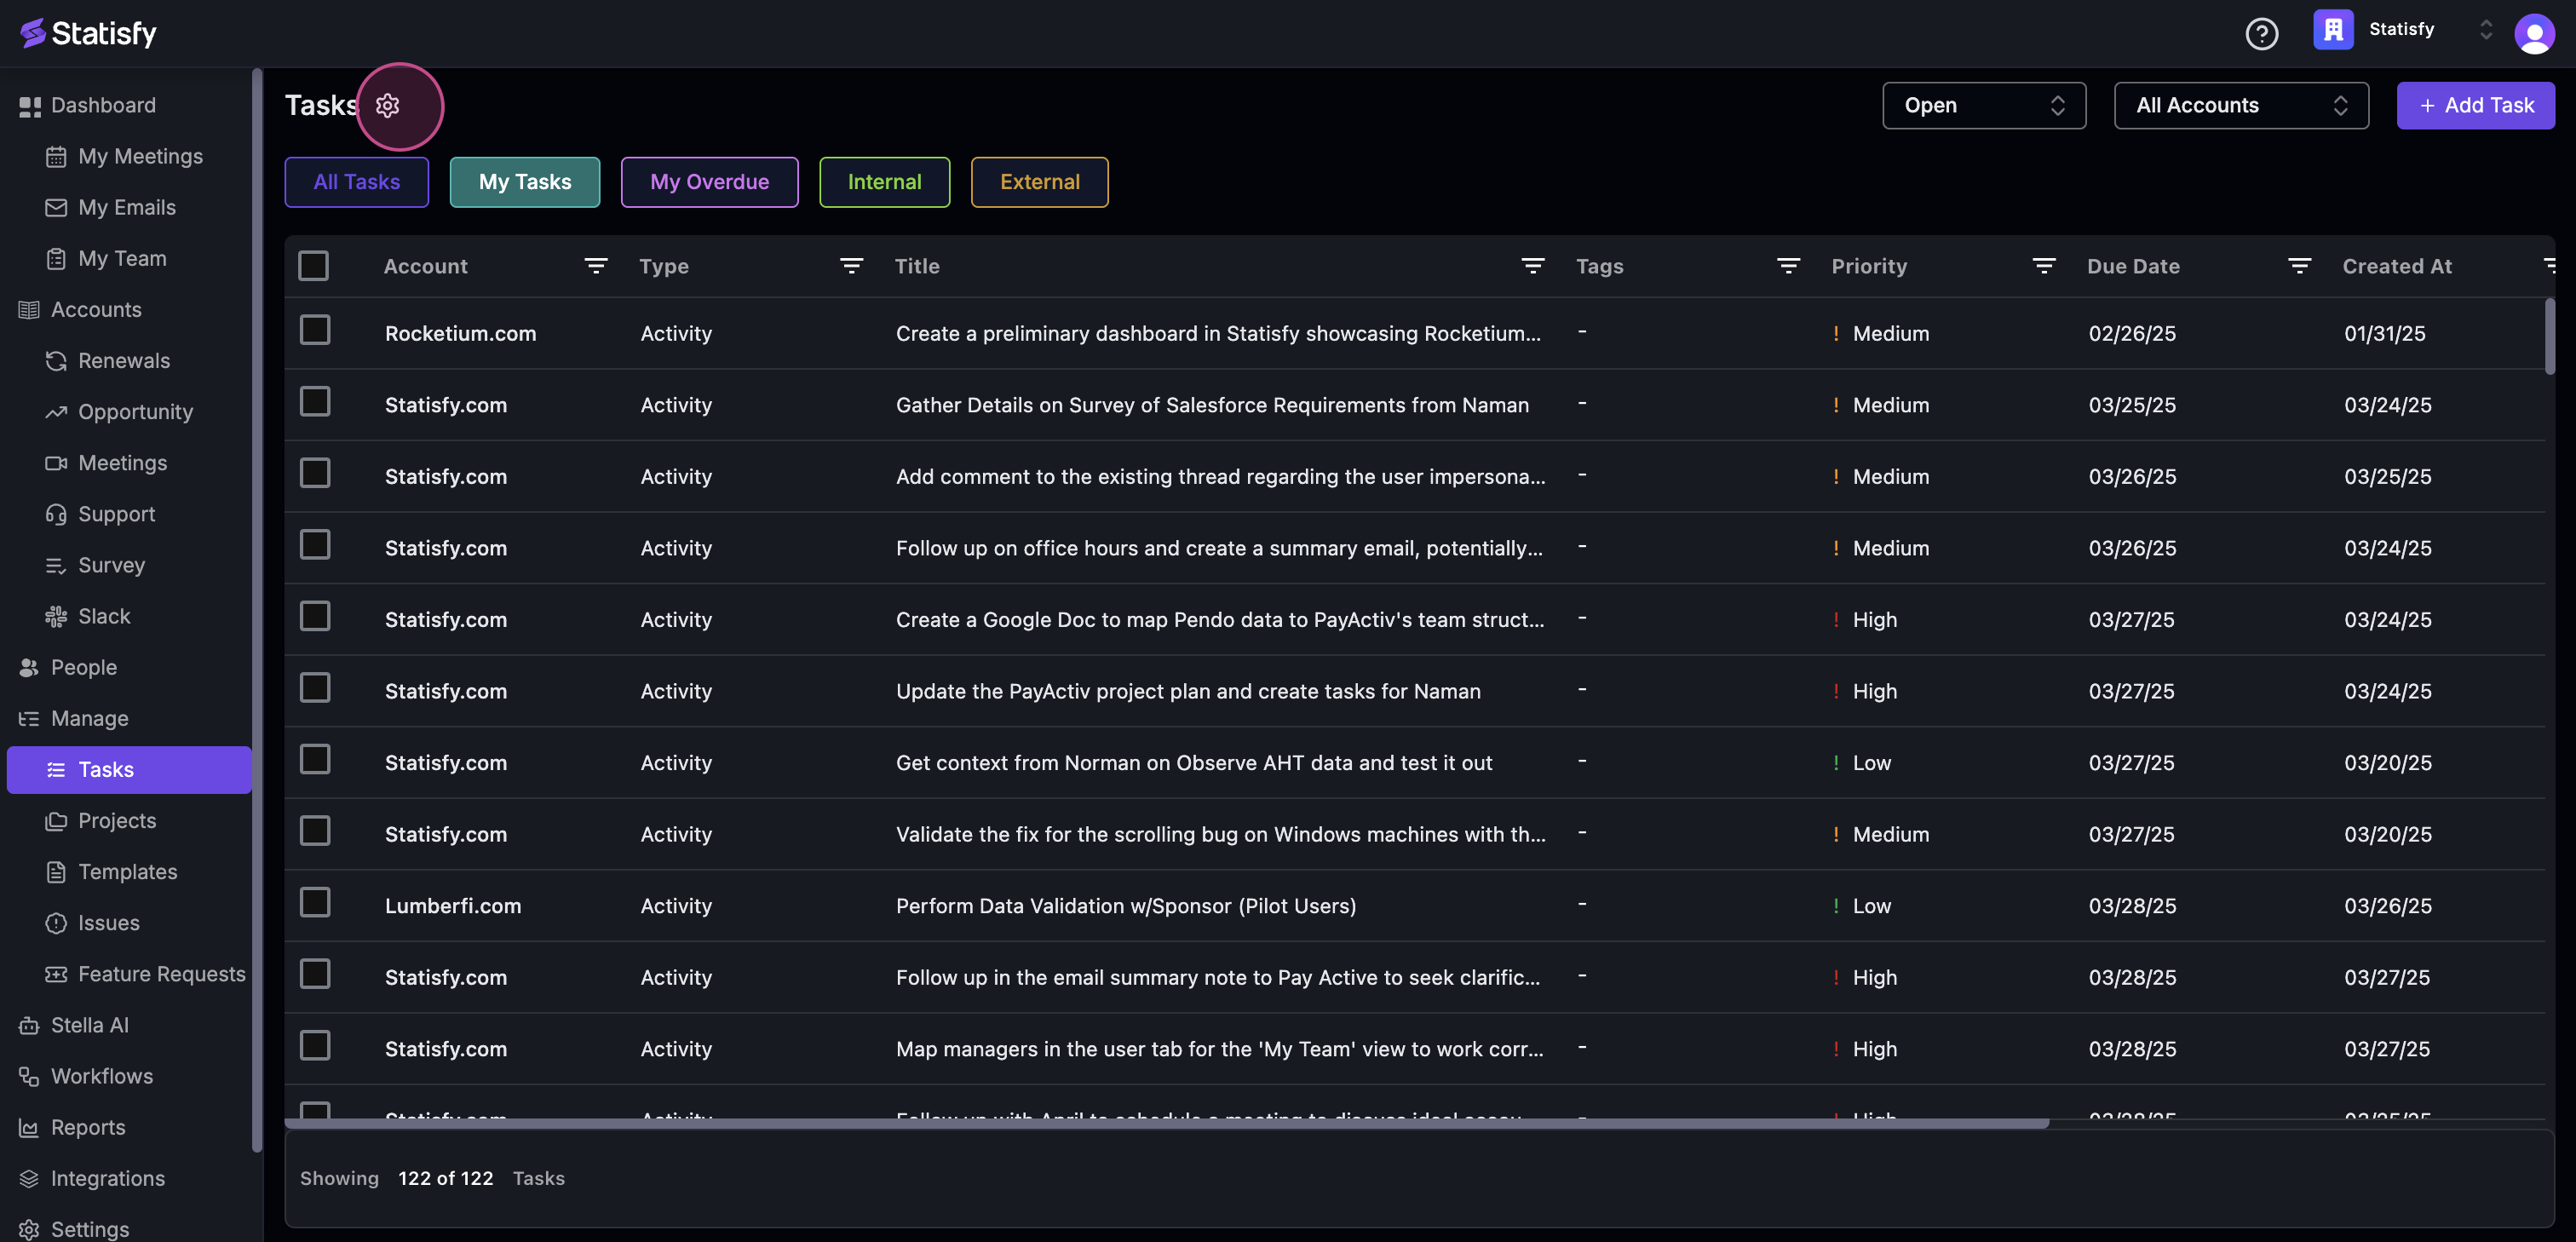
This article will guide you through the process of navigating the task management interface under the “Manage” section. Step 1: Start by clicking on the “Task” option. This will display a list of tasks, which could be manually created or automatically generated from a note-taking meeting.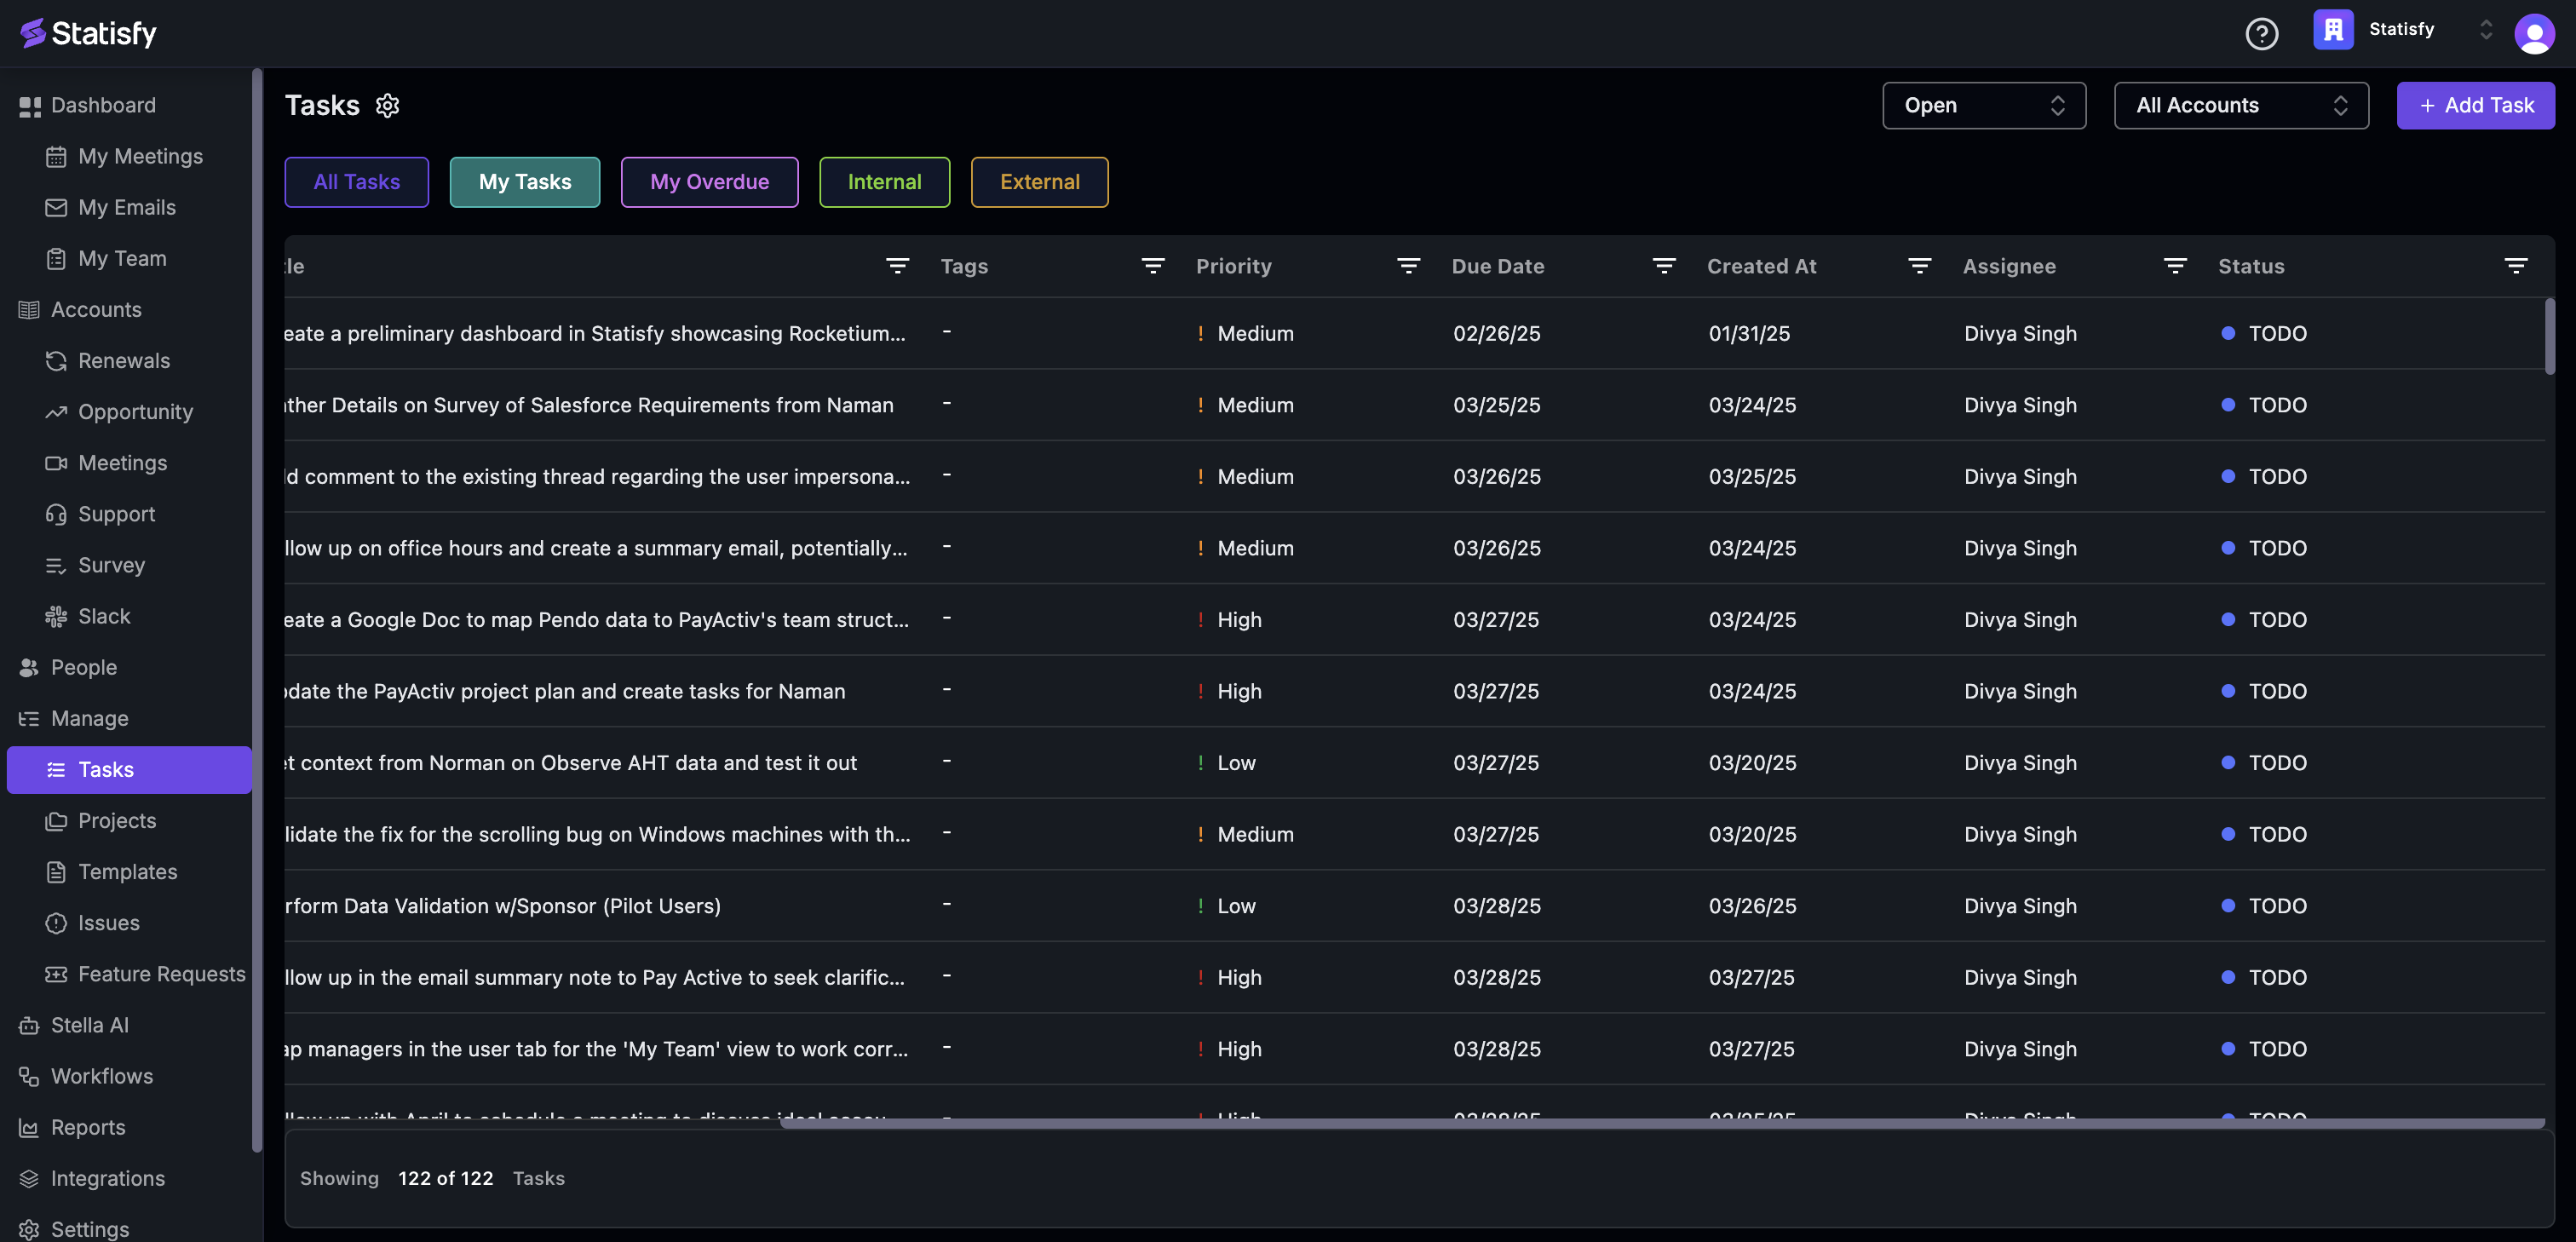 Step 2:
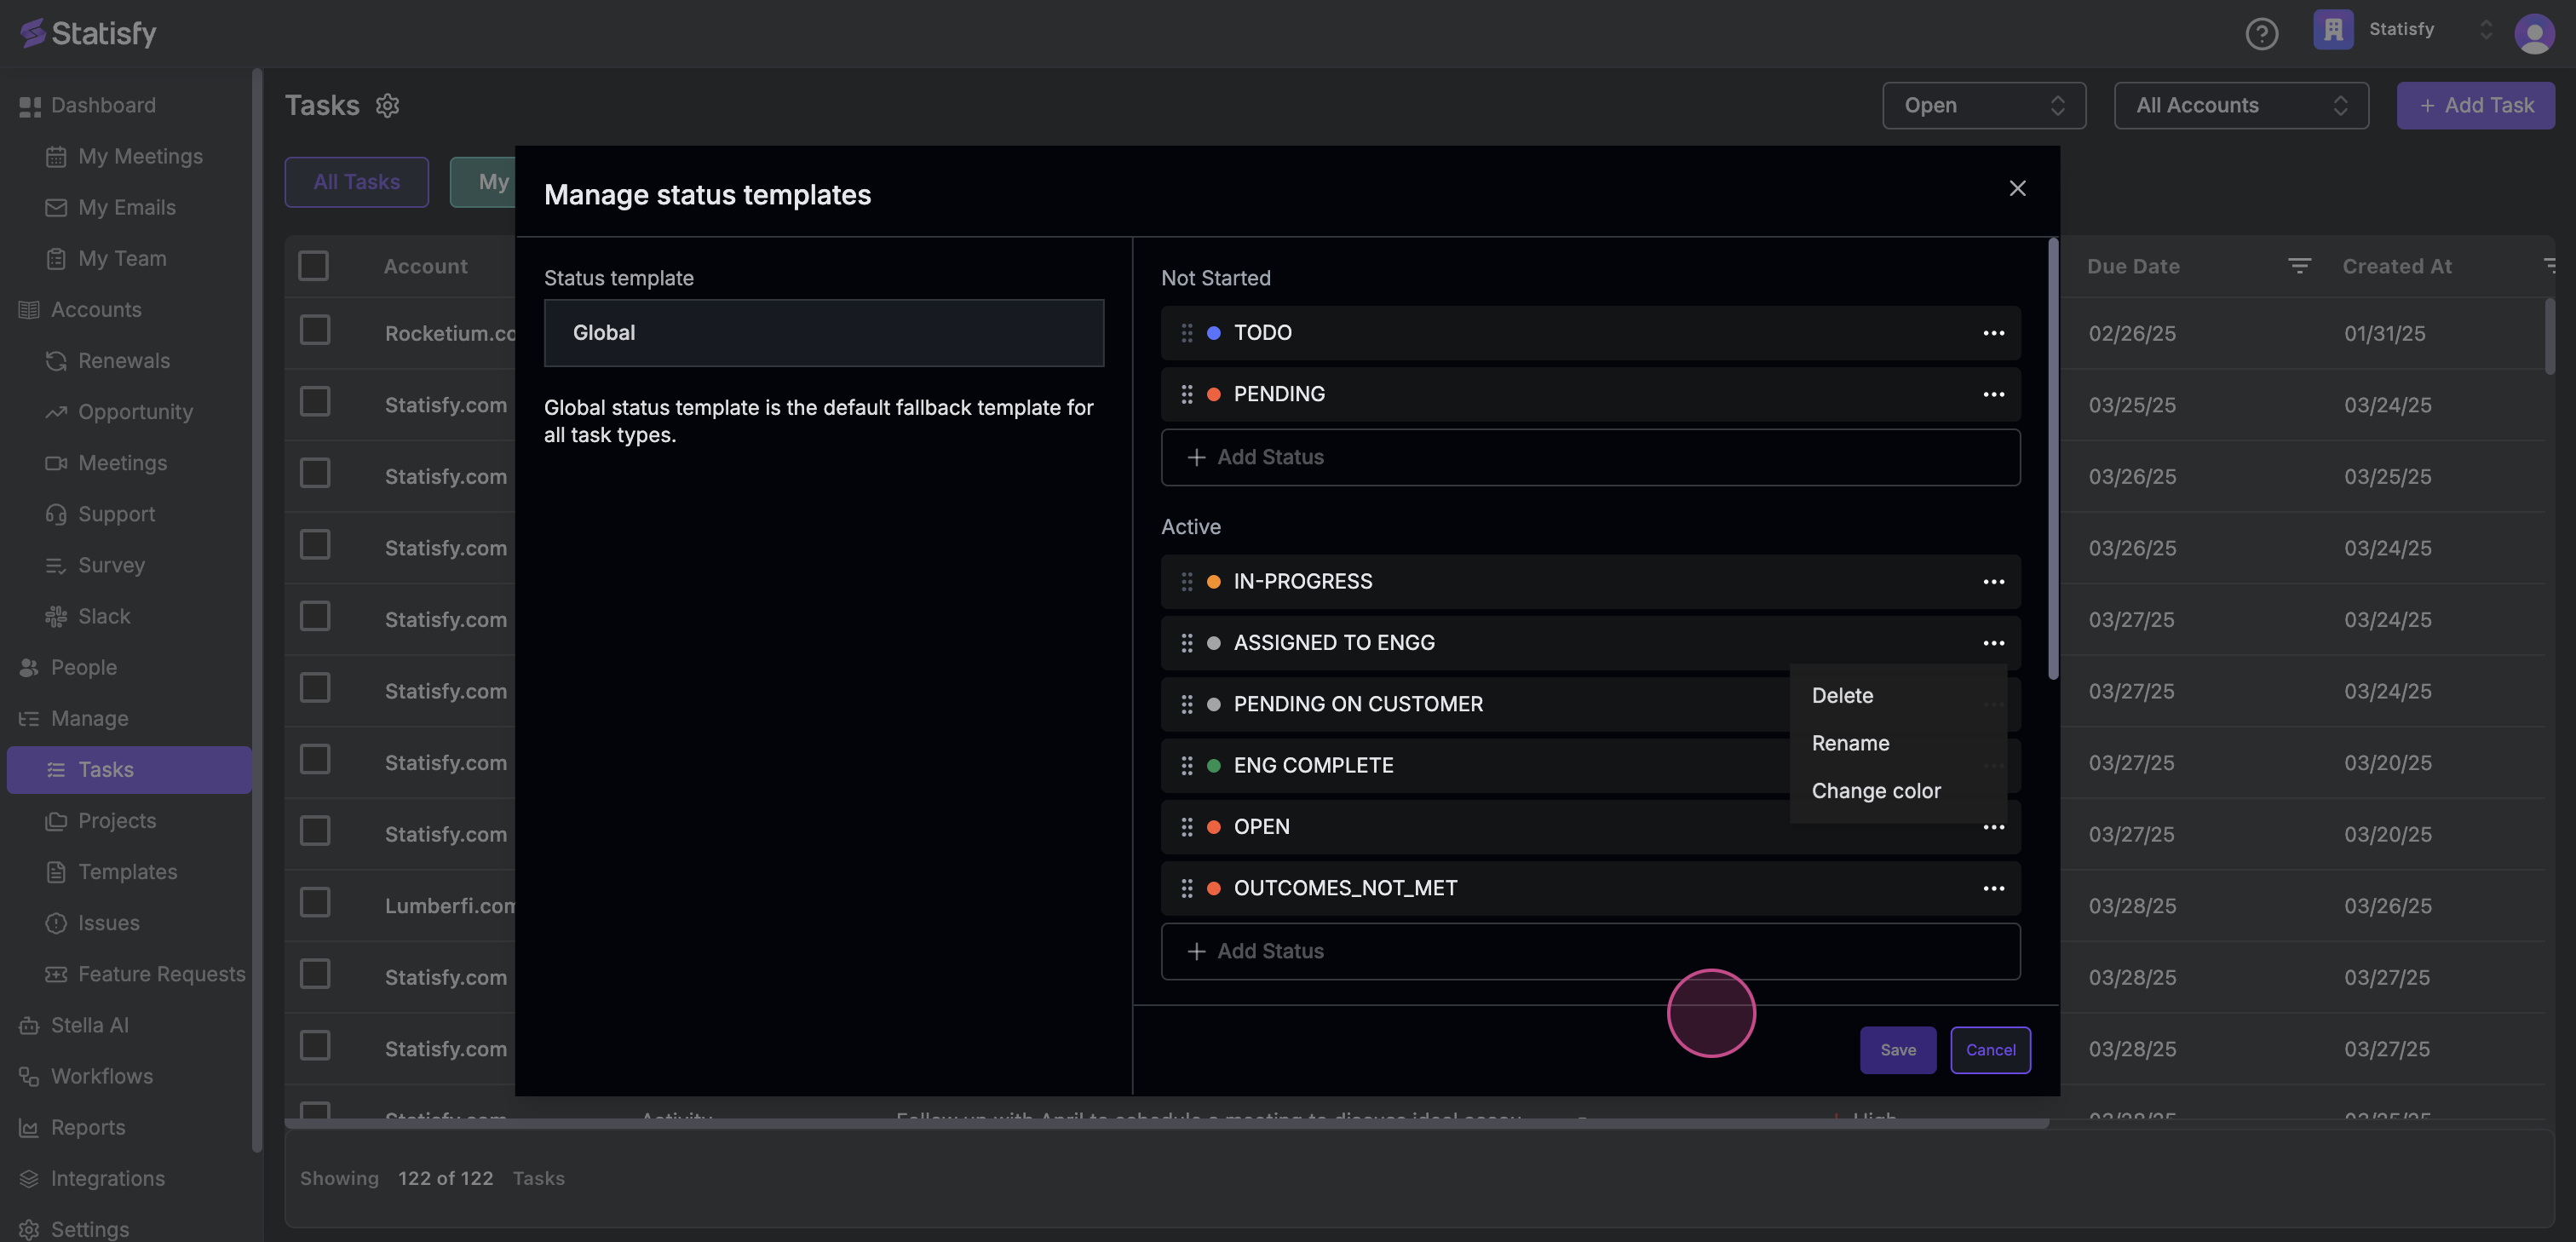
Look for the gear icon next to the task. This icon is used to manage status templates.
Step 2:
Look for the gear icon next to the task. This icon is used to manage status templates.
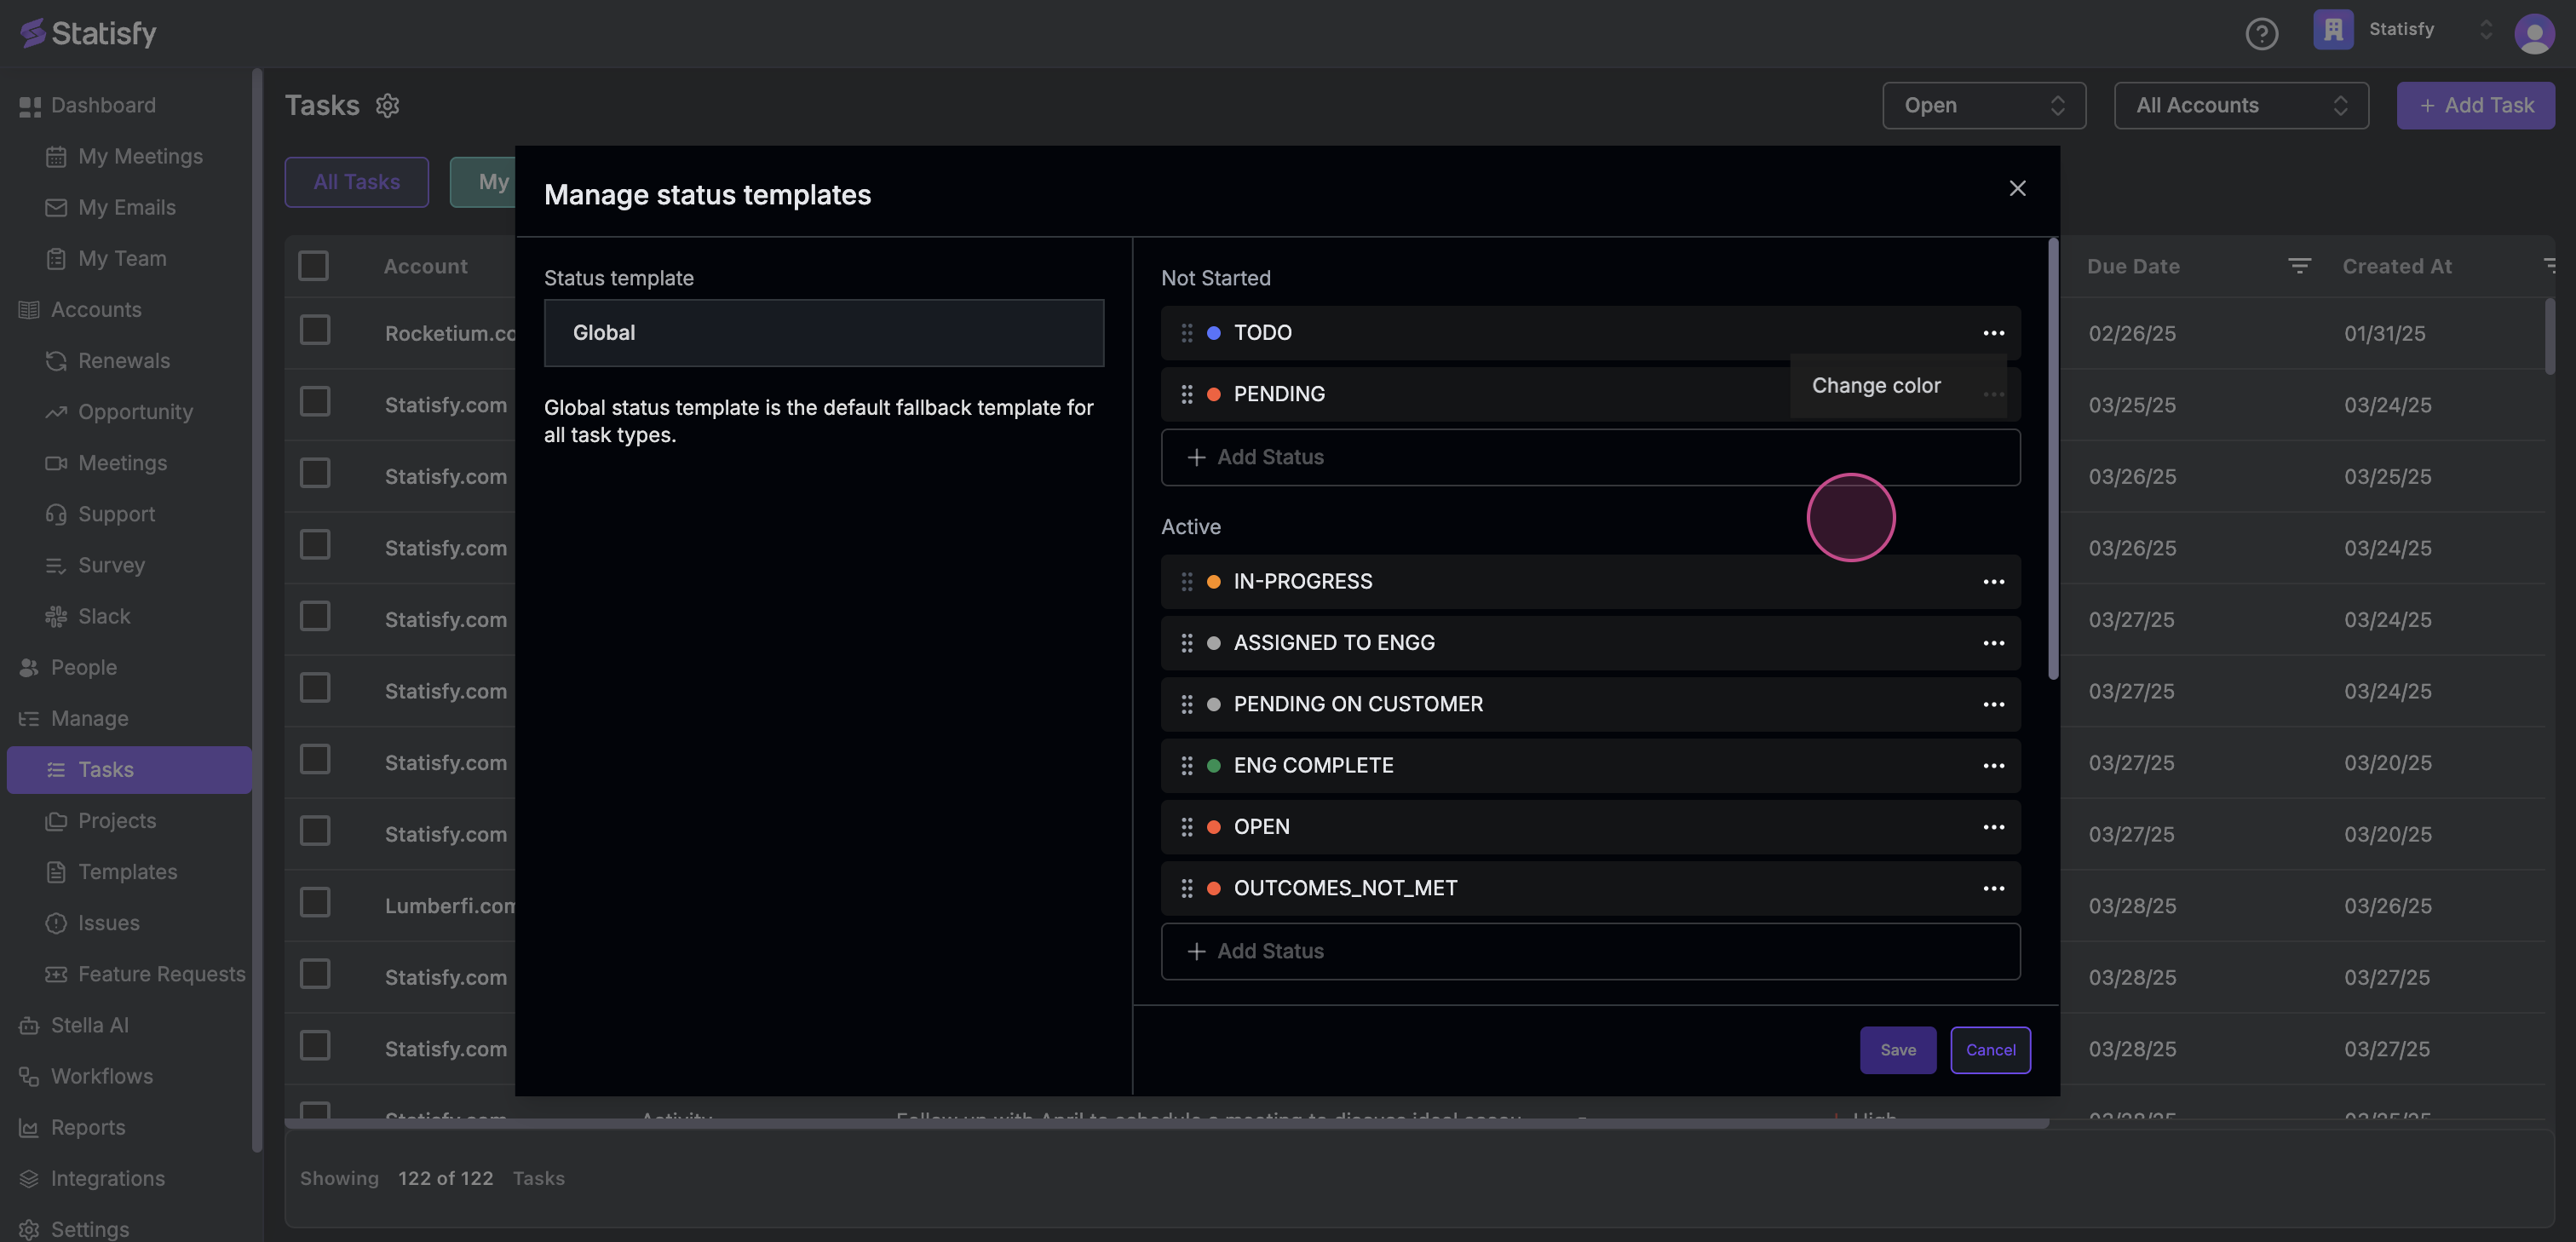
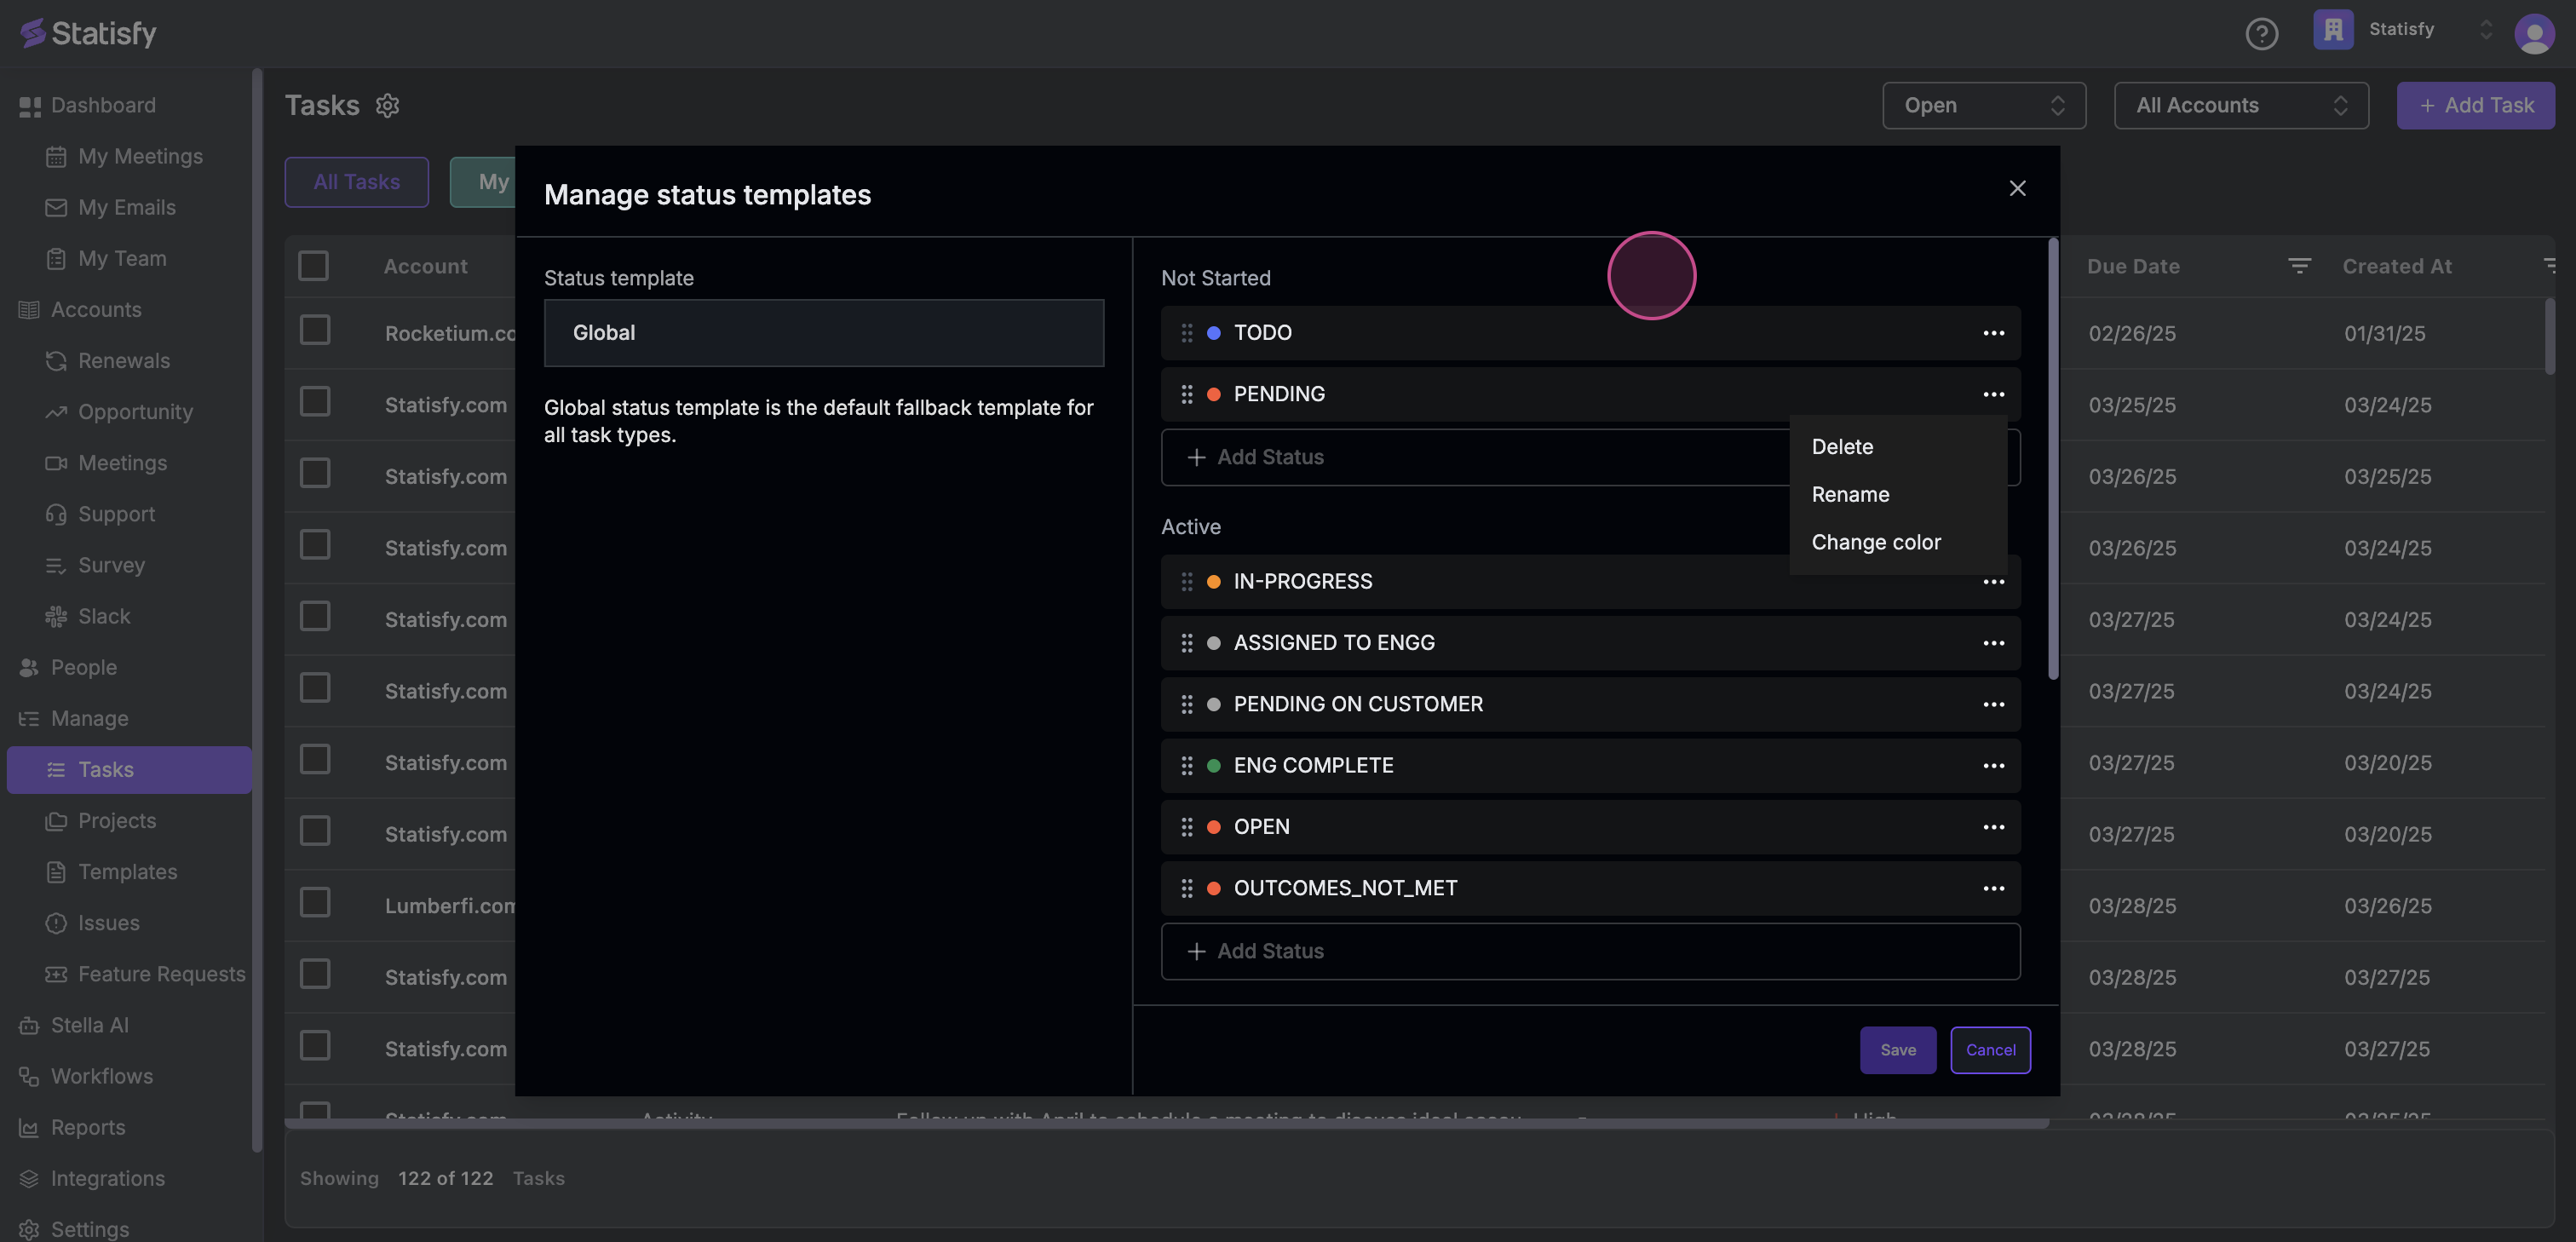
 Step 3:
Here, you’re able to manage all the statuses. You’re free to change the color of the status, delete it, or rename it.
Step 3:
Here, you’re able to manage all the statuses. You’re free to change the color of the status, delete it, or rename it.
 Step 4:
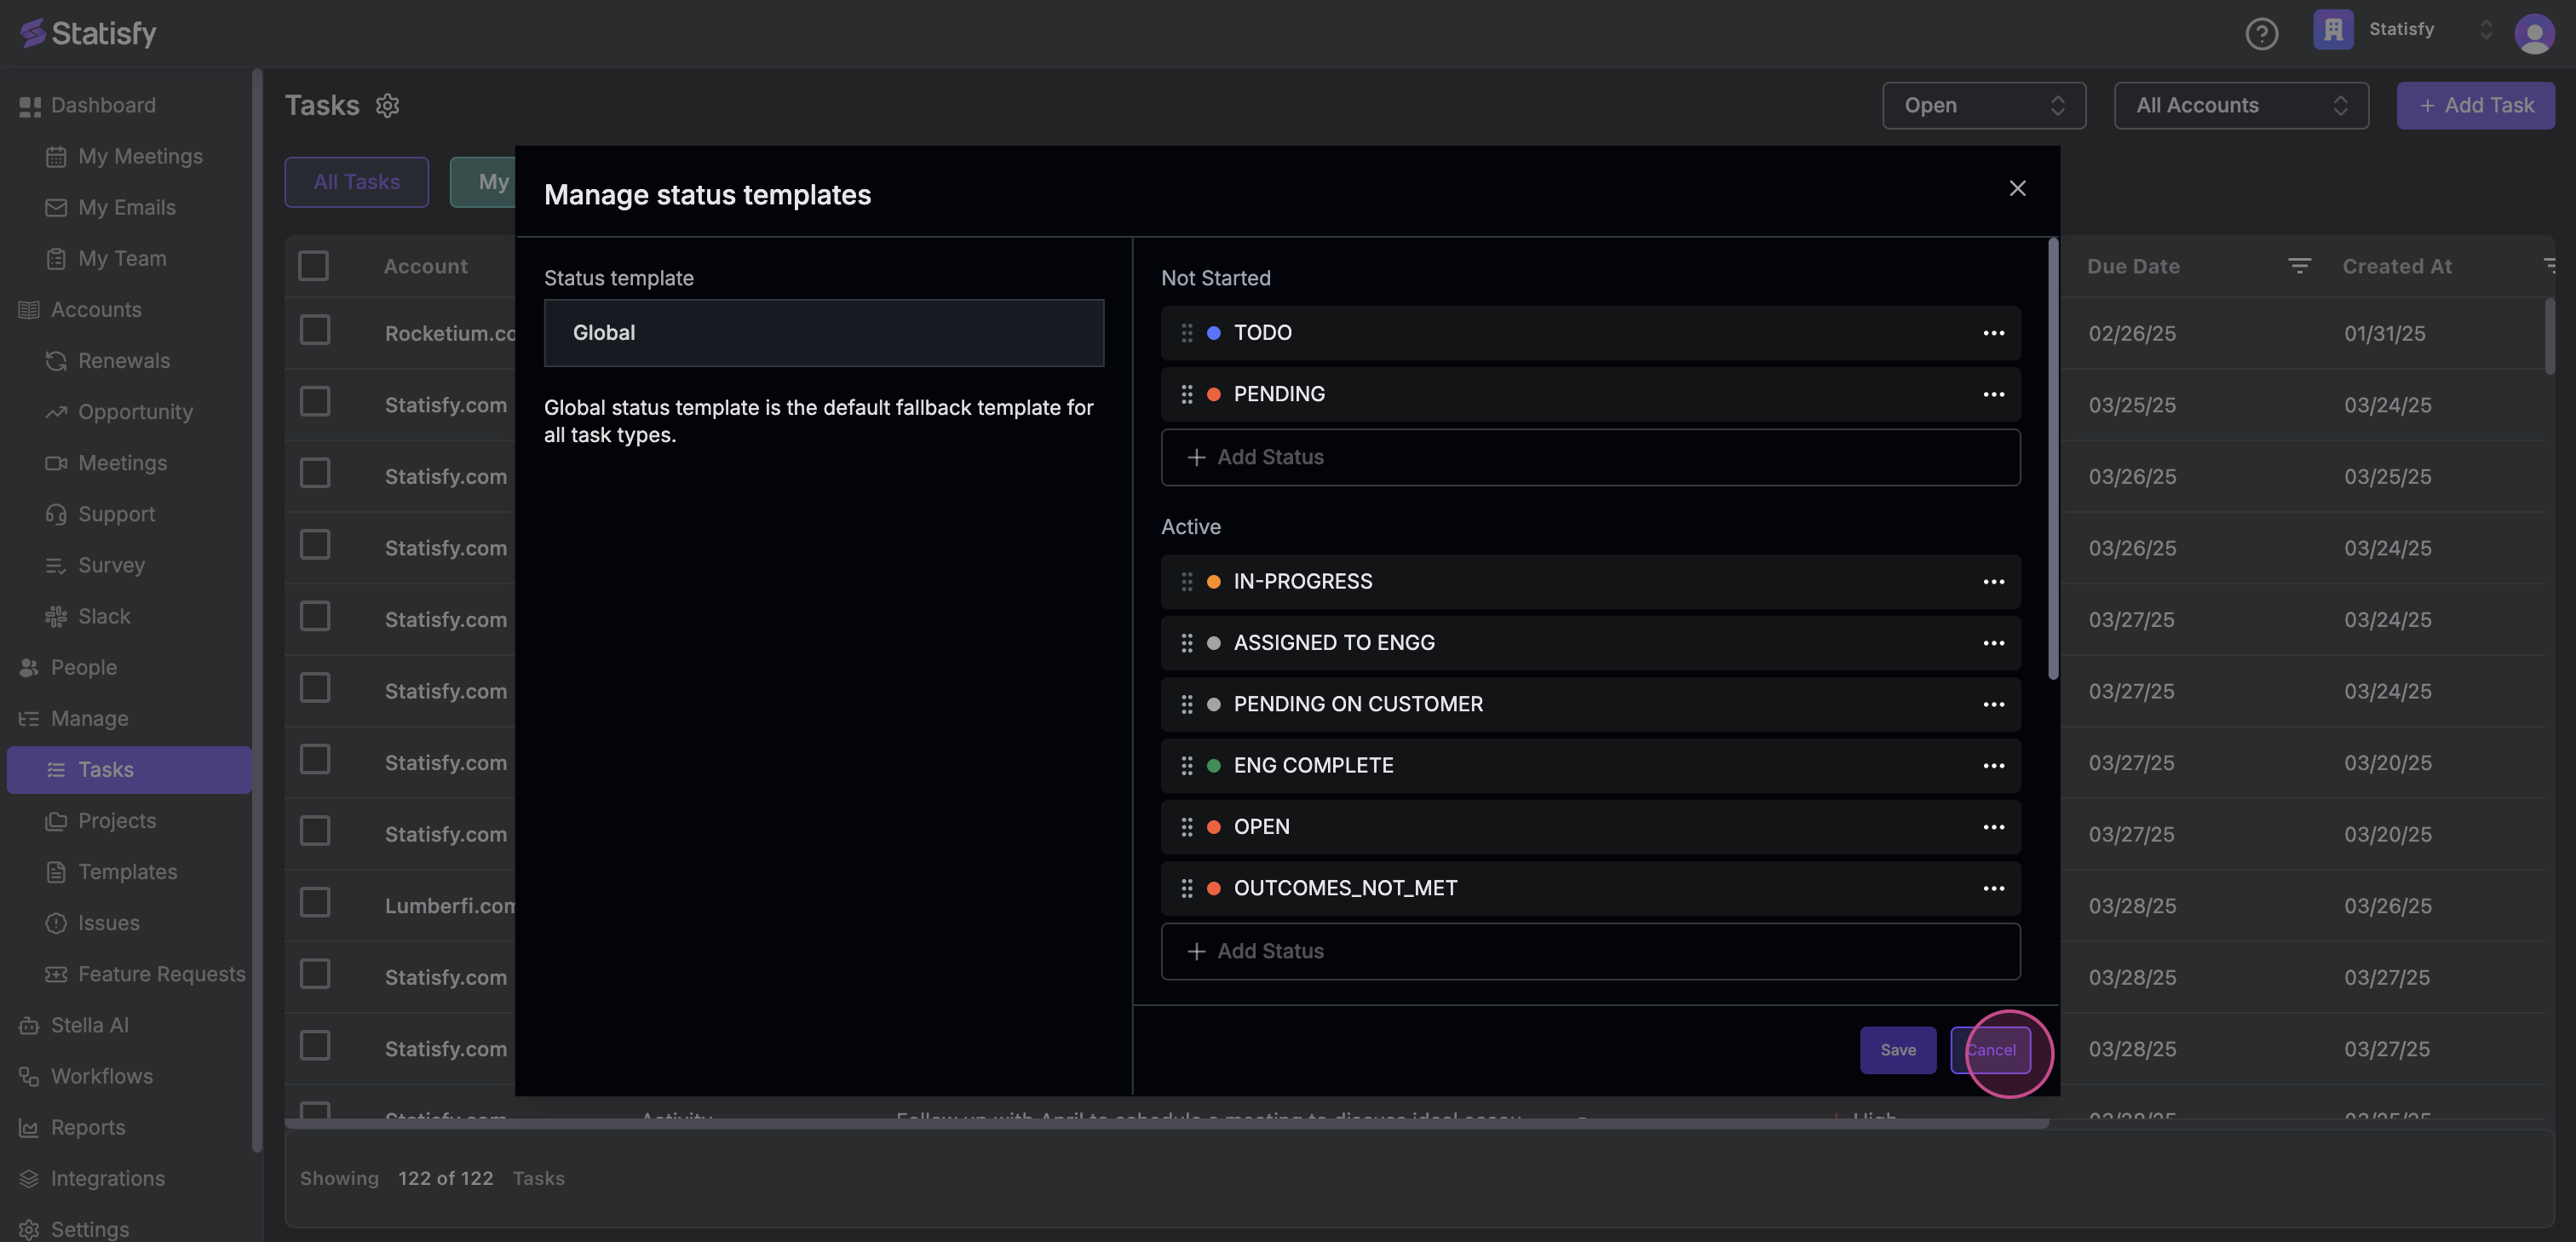
After making changes, remember to hit the save button.
Step 4:
After making changes, remember to hit the save button.
 Step 5:
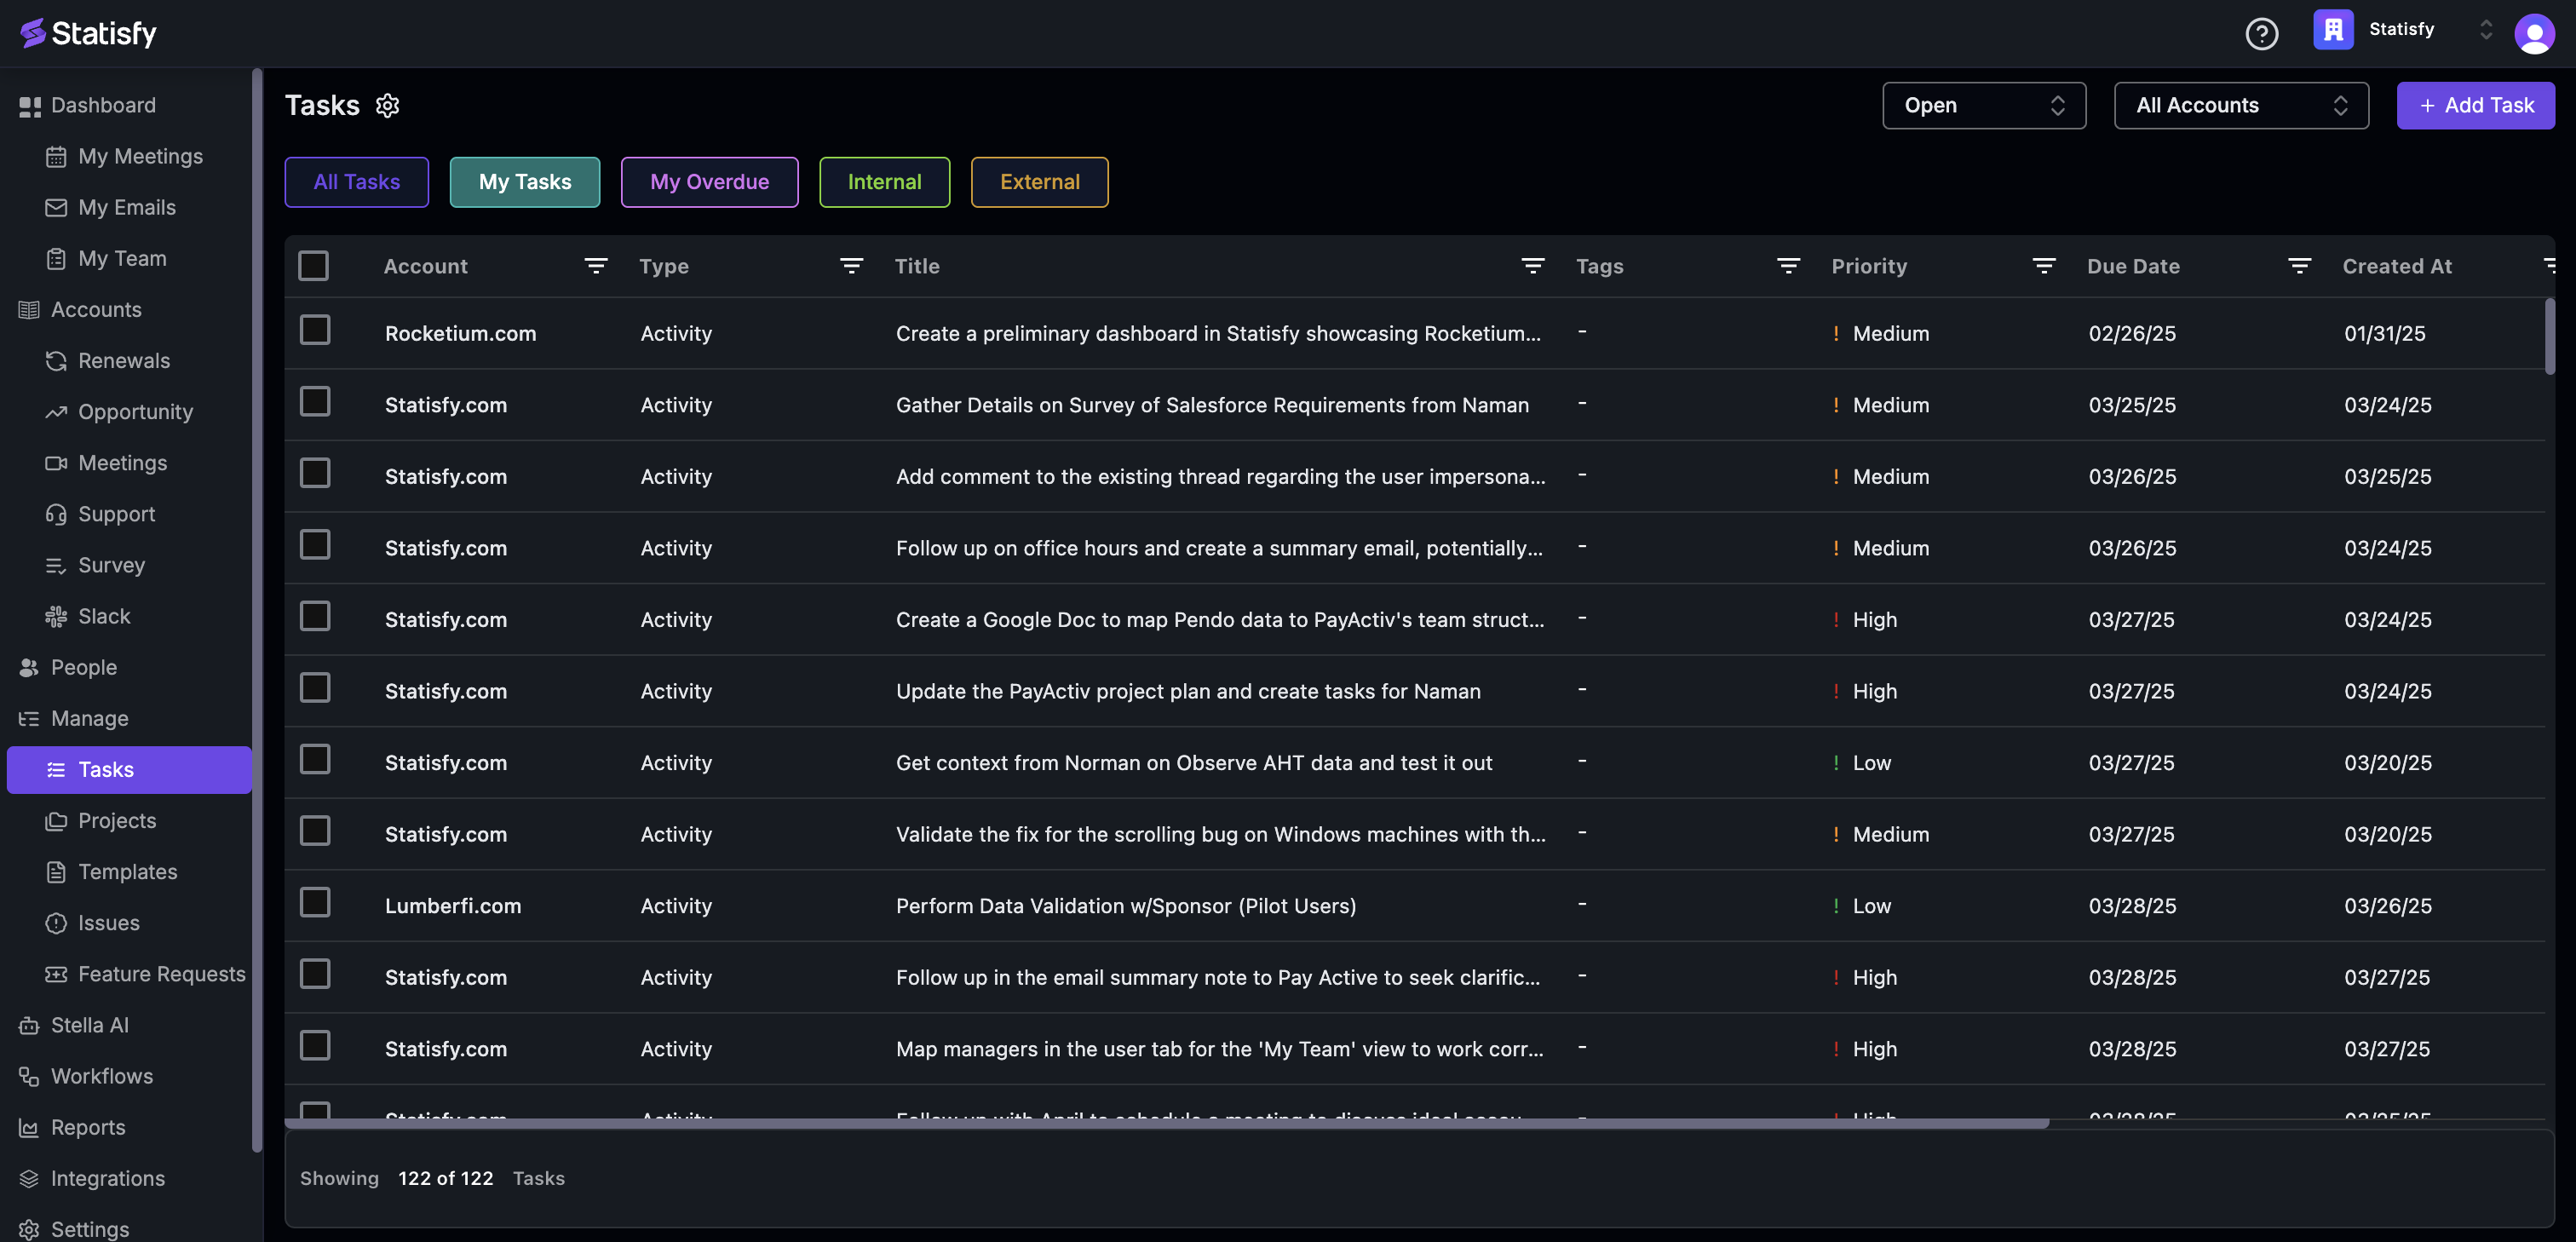
Click on All Tasks to view all tasks, regardless of their assignment.
Step 5:
Click on All Tasks to view all tasks, regardless of their assignment.
 Step 6:
To view tasks assigned to you, click on My Task.
Step 6:
To view tasks assigned to you, click on My Task.
 Step 7:
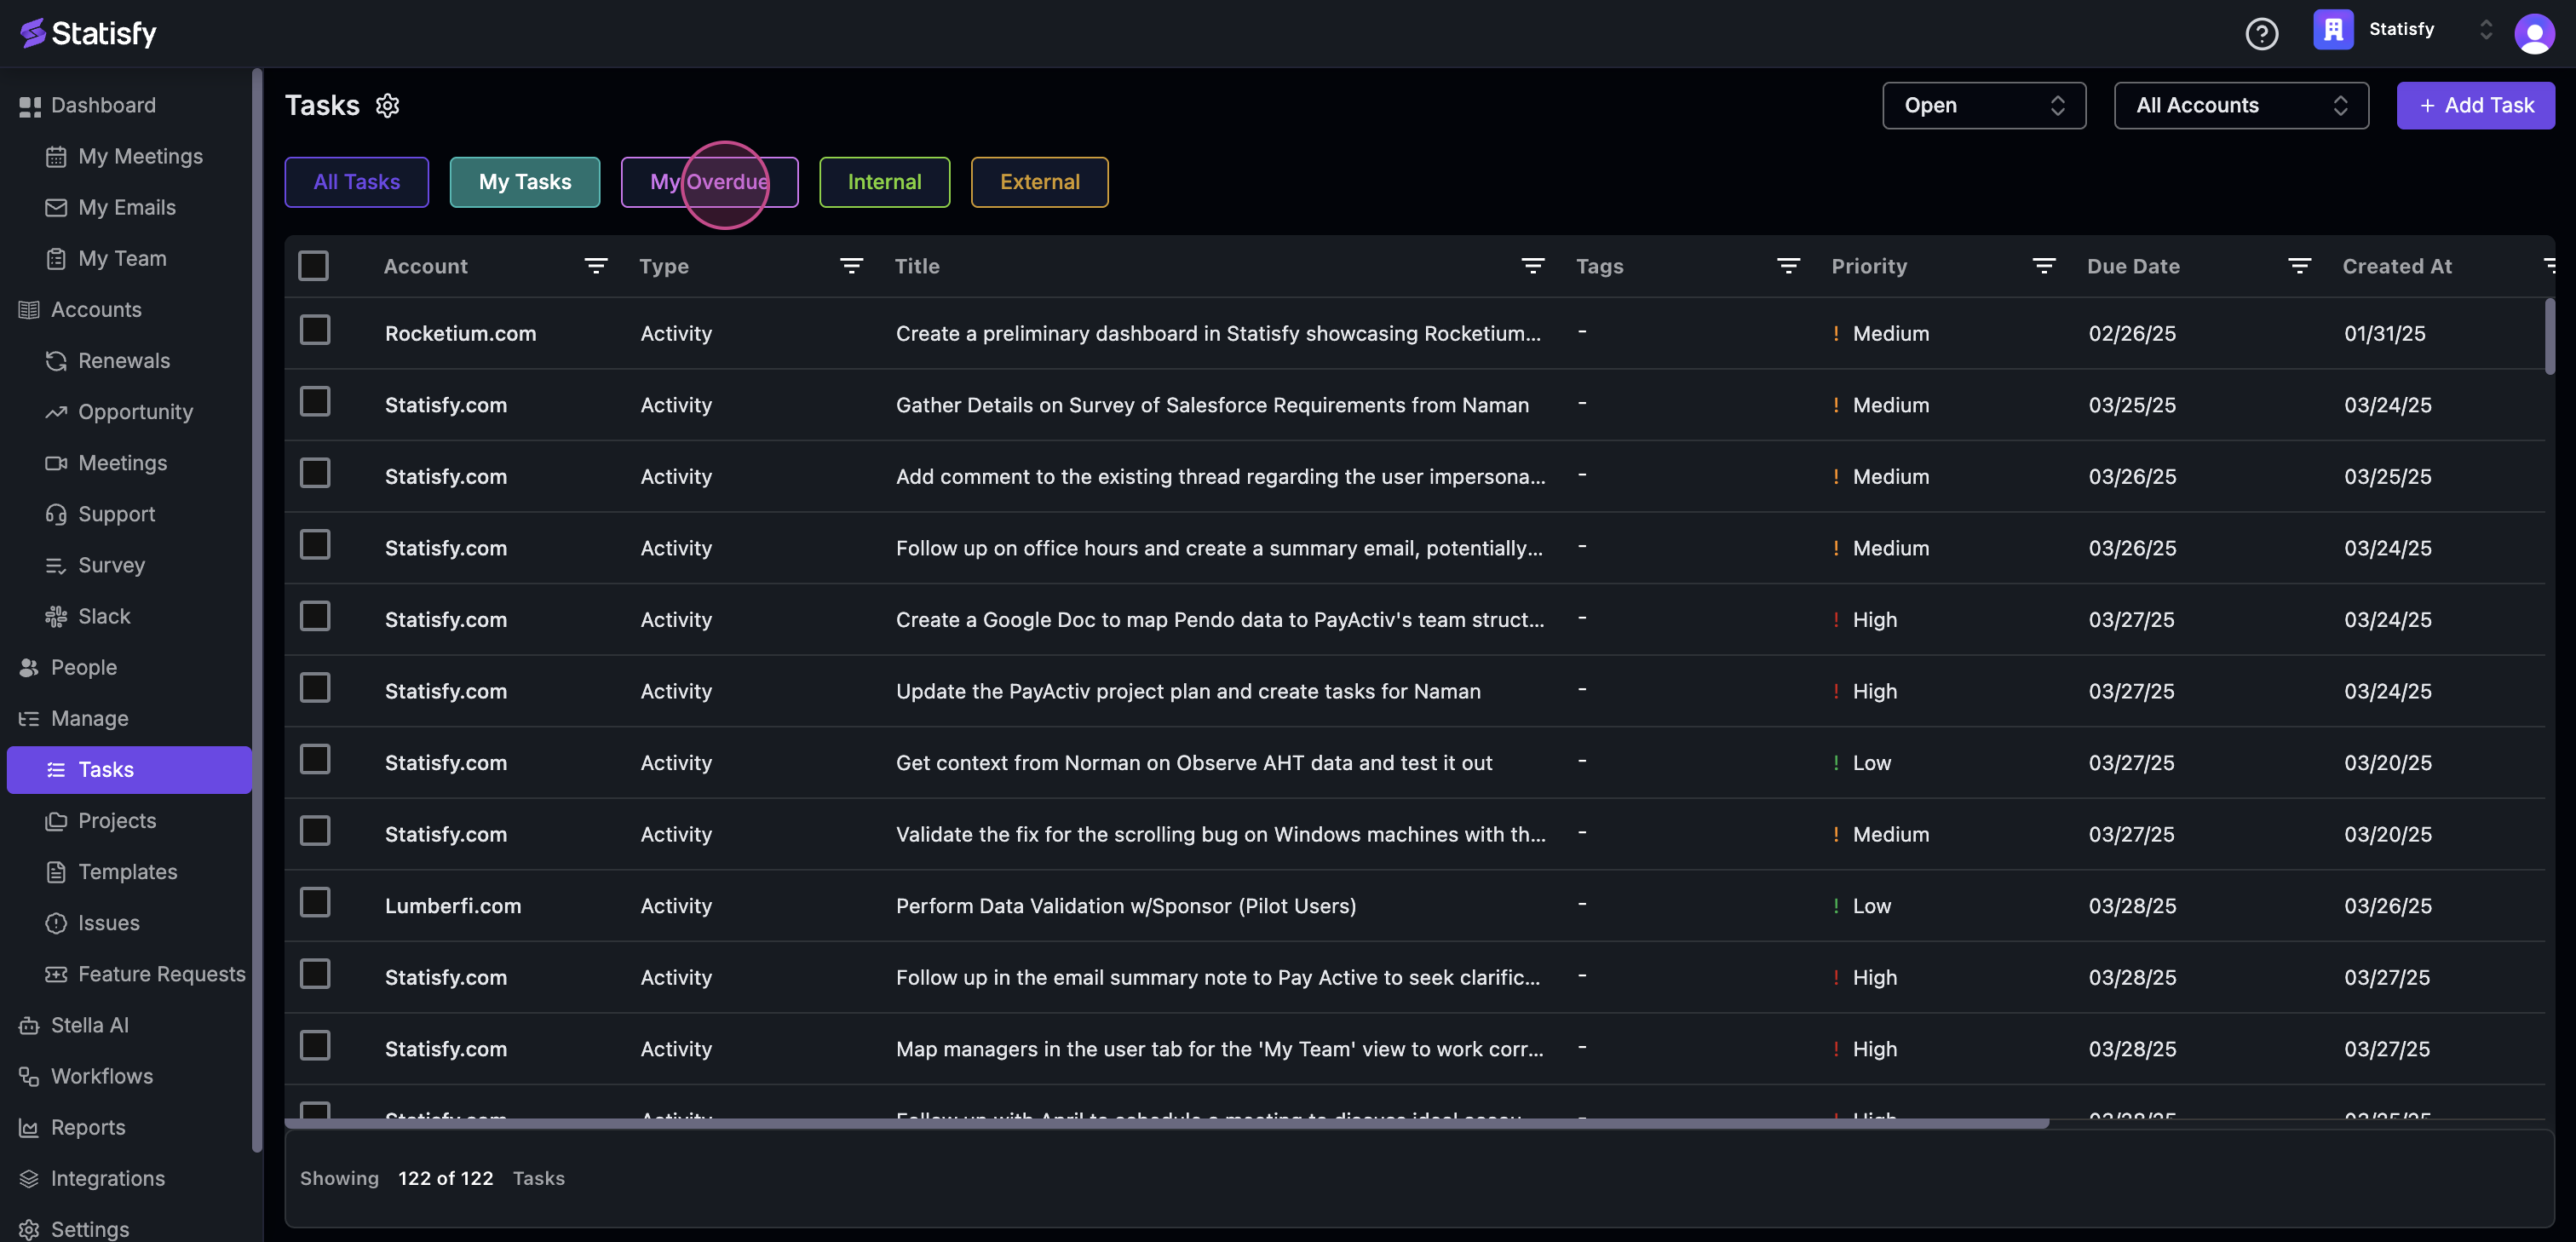
Tasks that have passed their due date will be found under My Overdue Tasks.
Step 7:
Tasks that have passed their due date will be found under My Overdue Tasks.
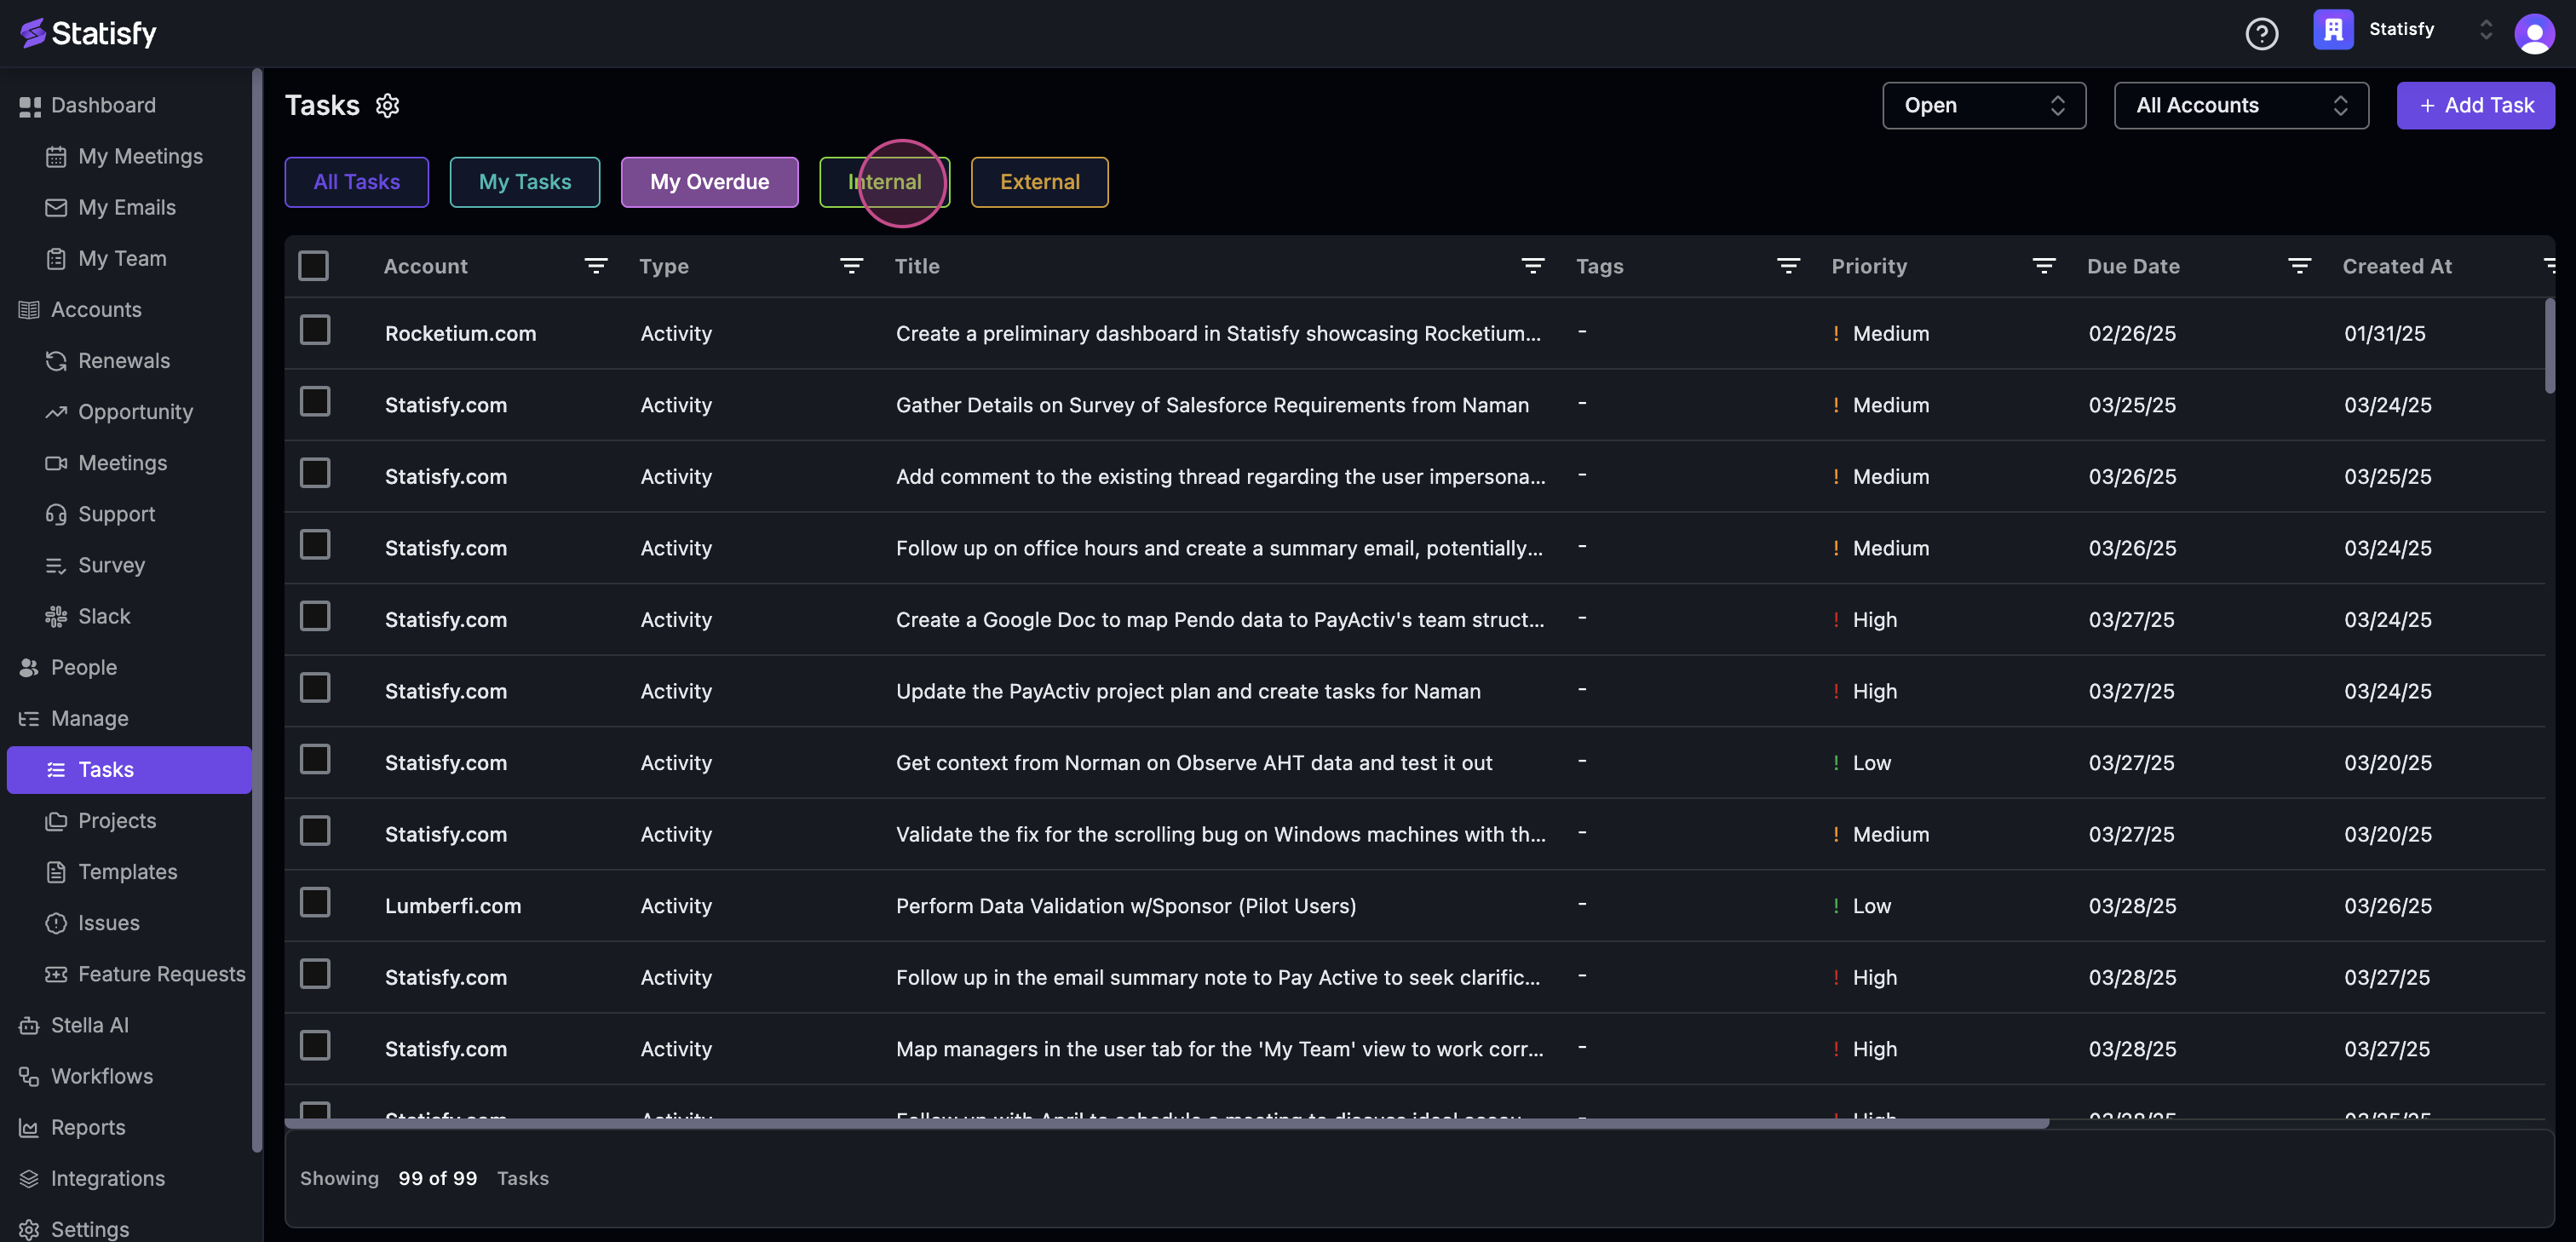
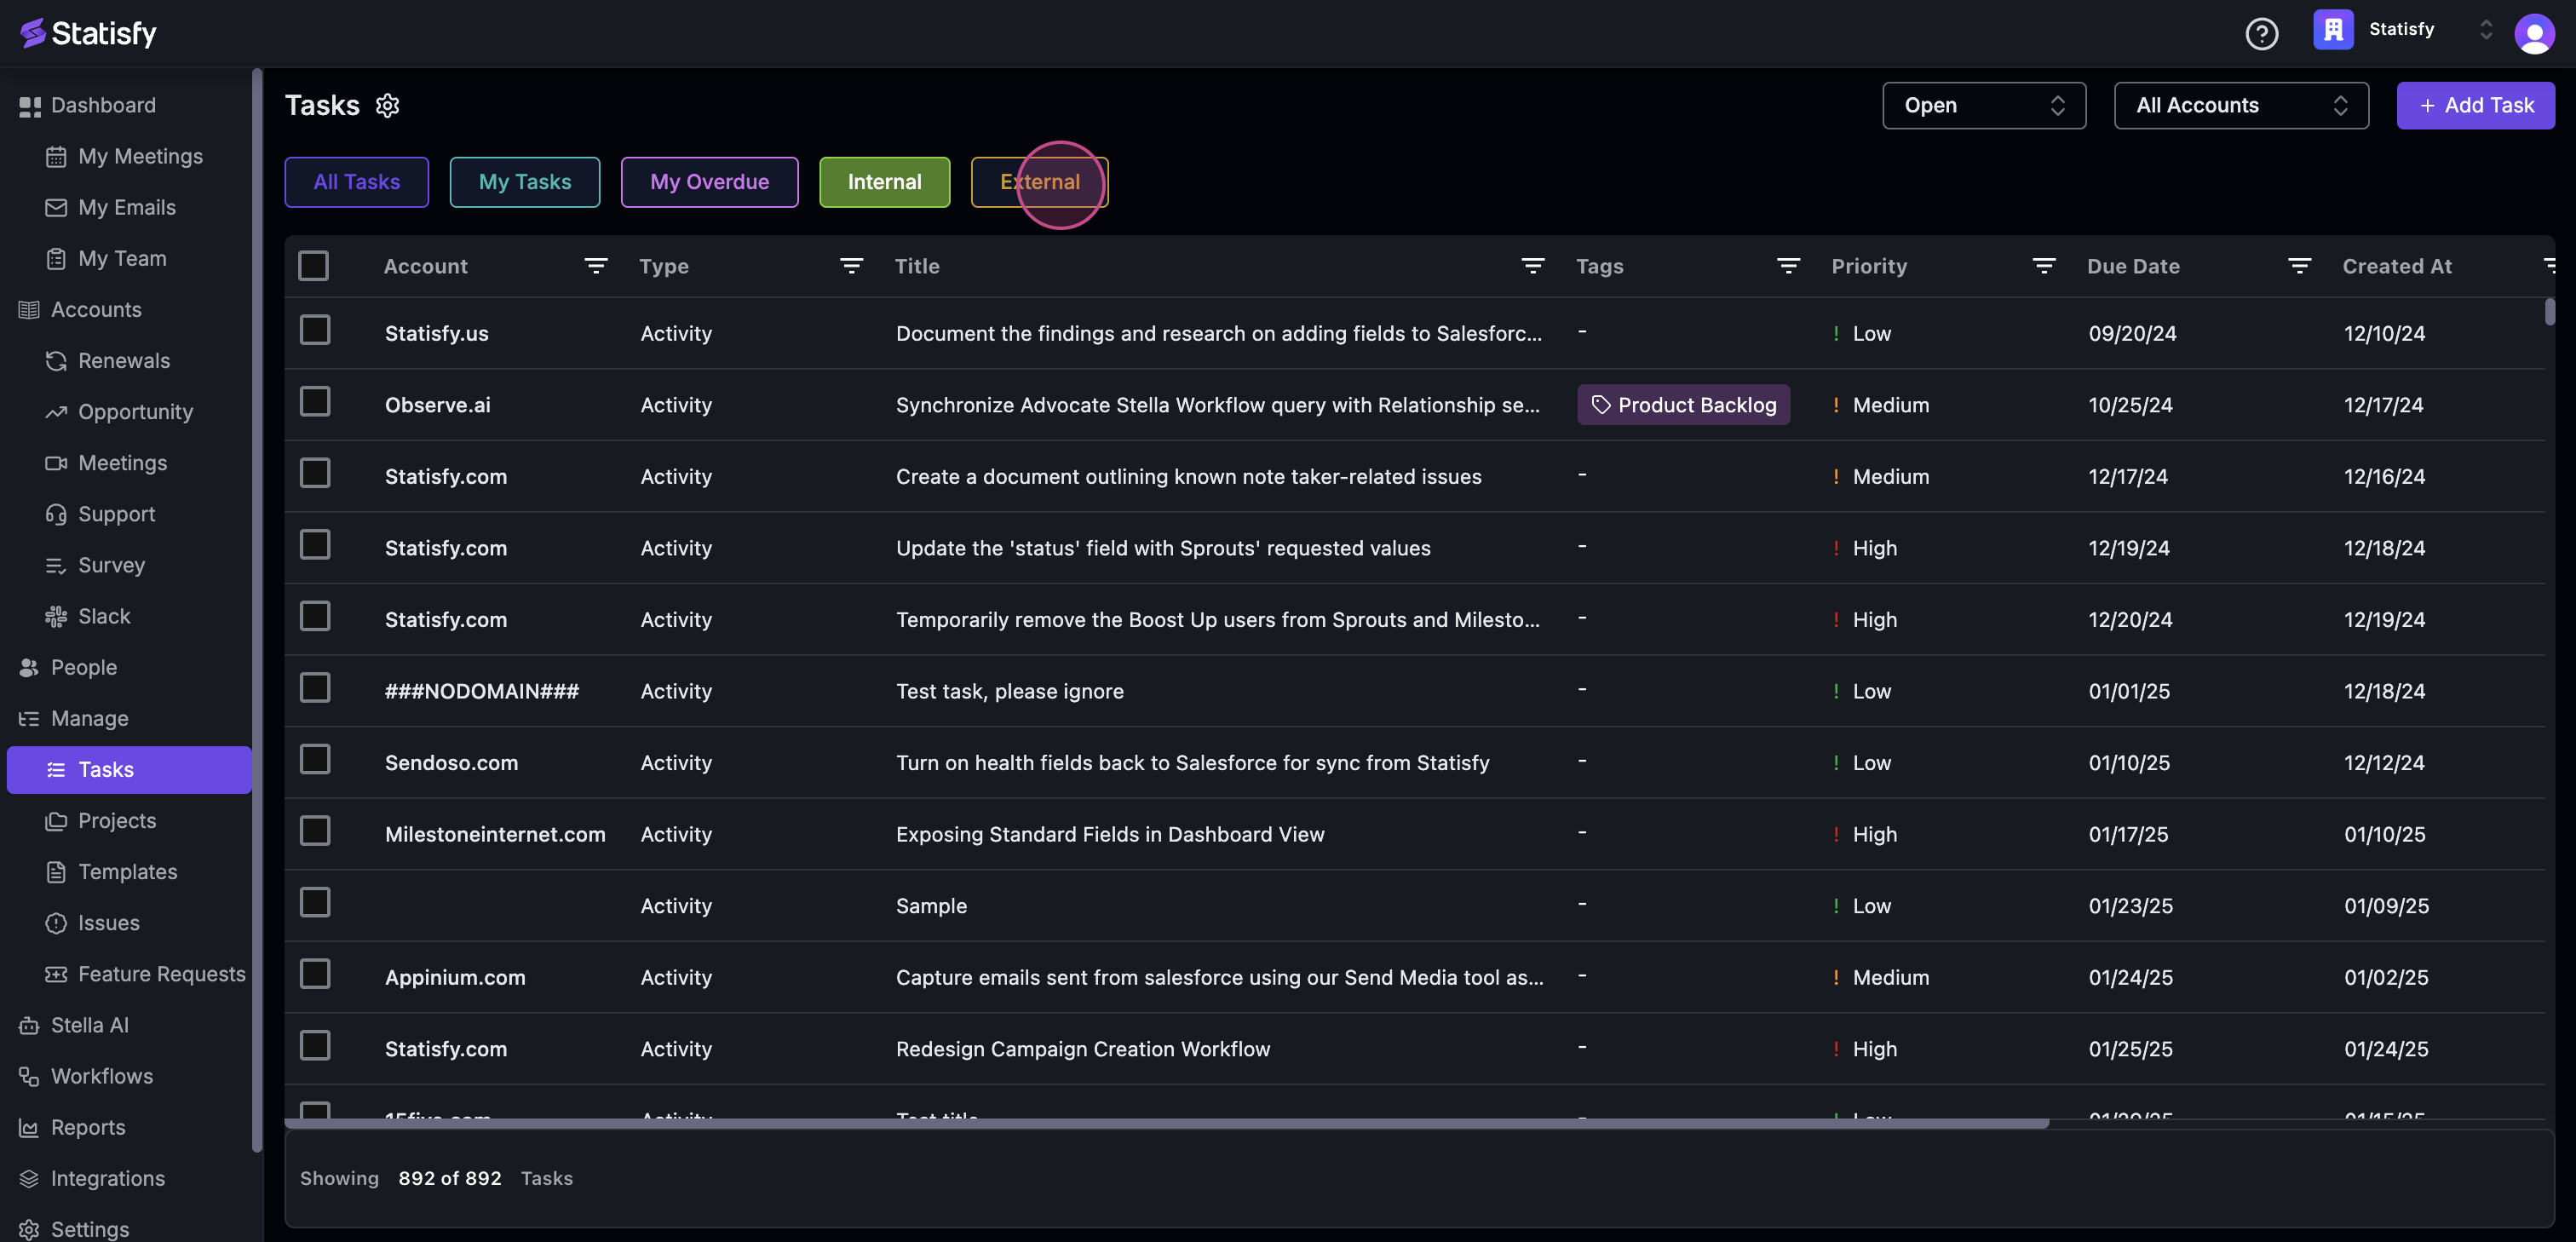
 Step 8:
Tasks within the organization are located under Internal Task, while tasks outside the organization are under External Task.
Step 8:
Tasks within the organization are located under Internal Task, while tasks outside the organization are under External Task.
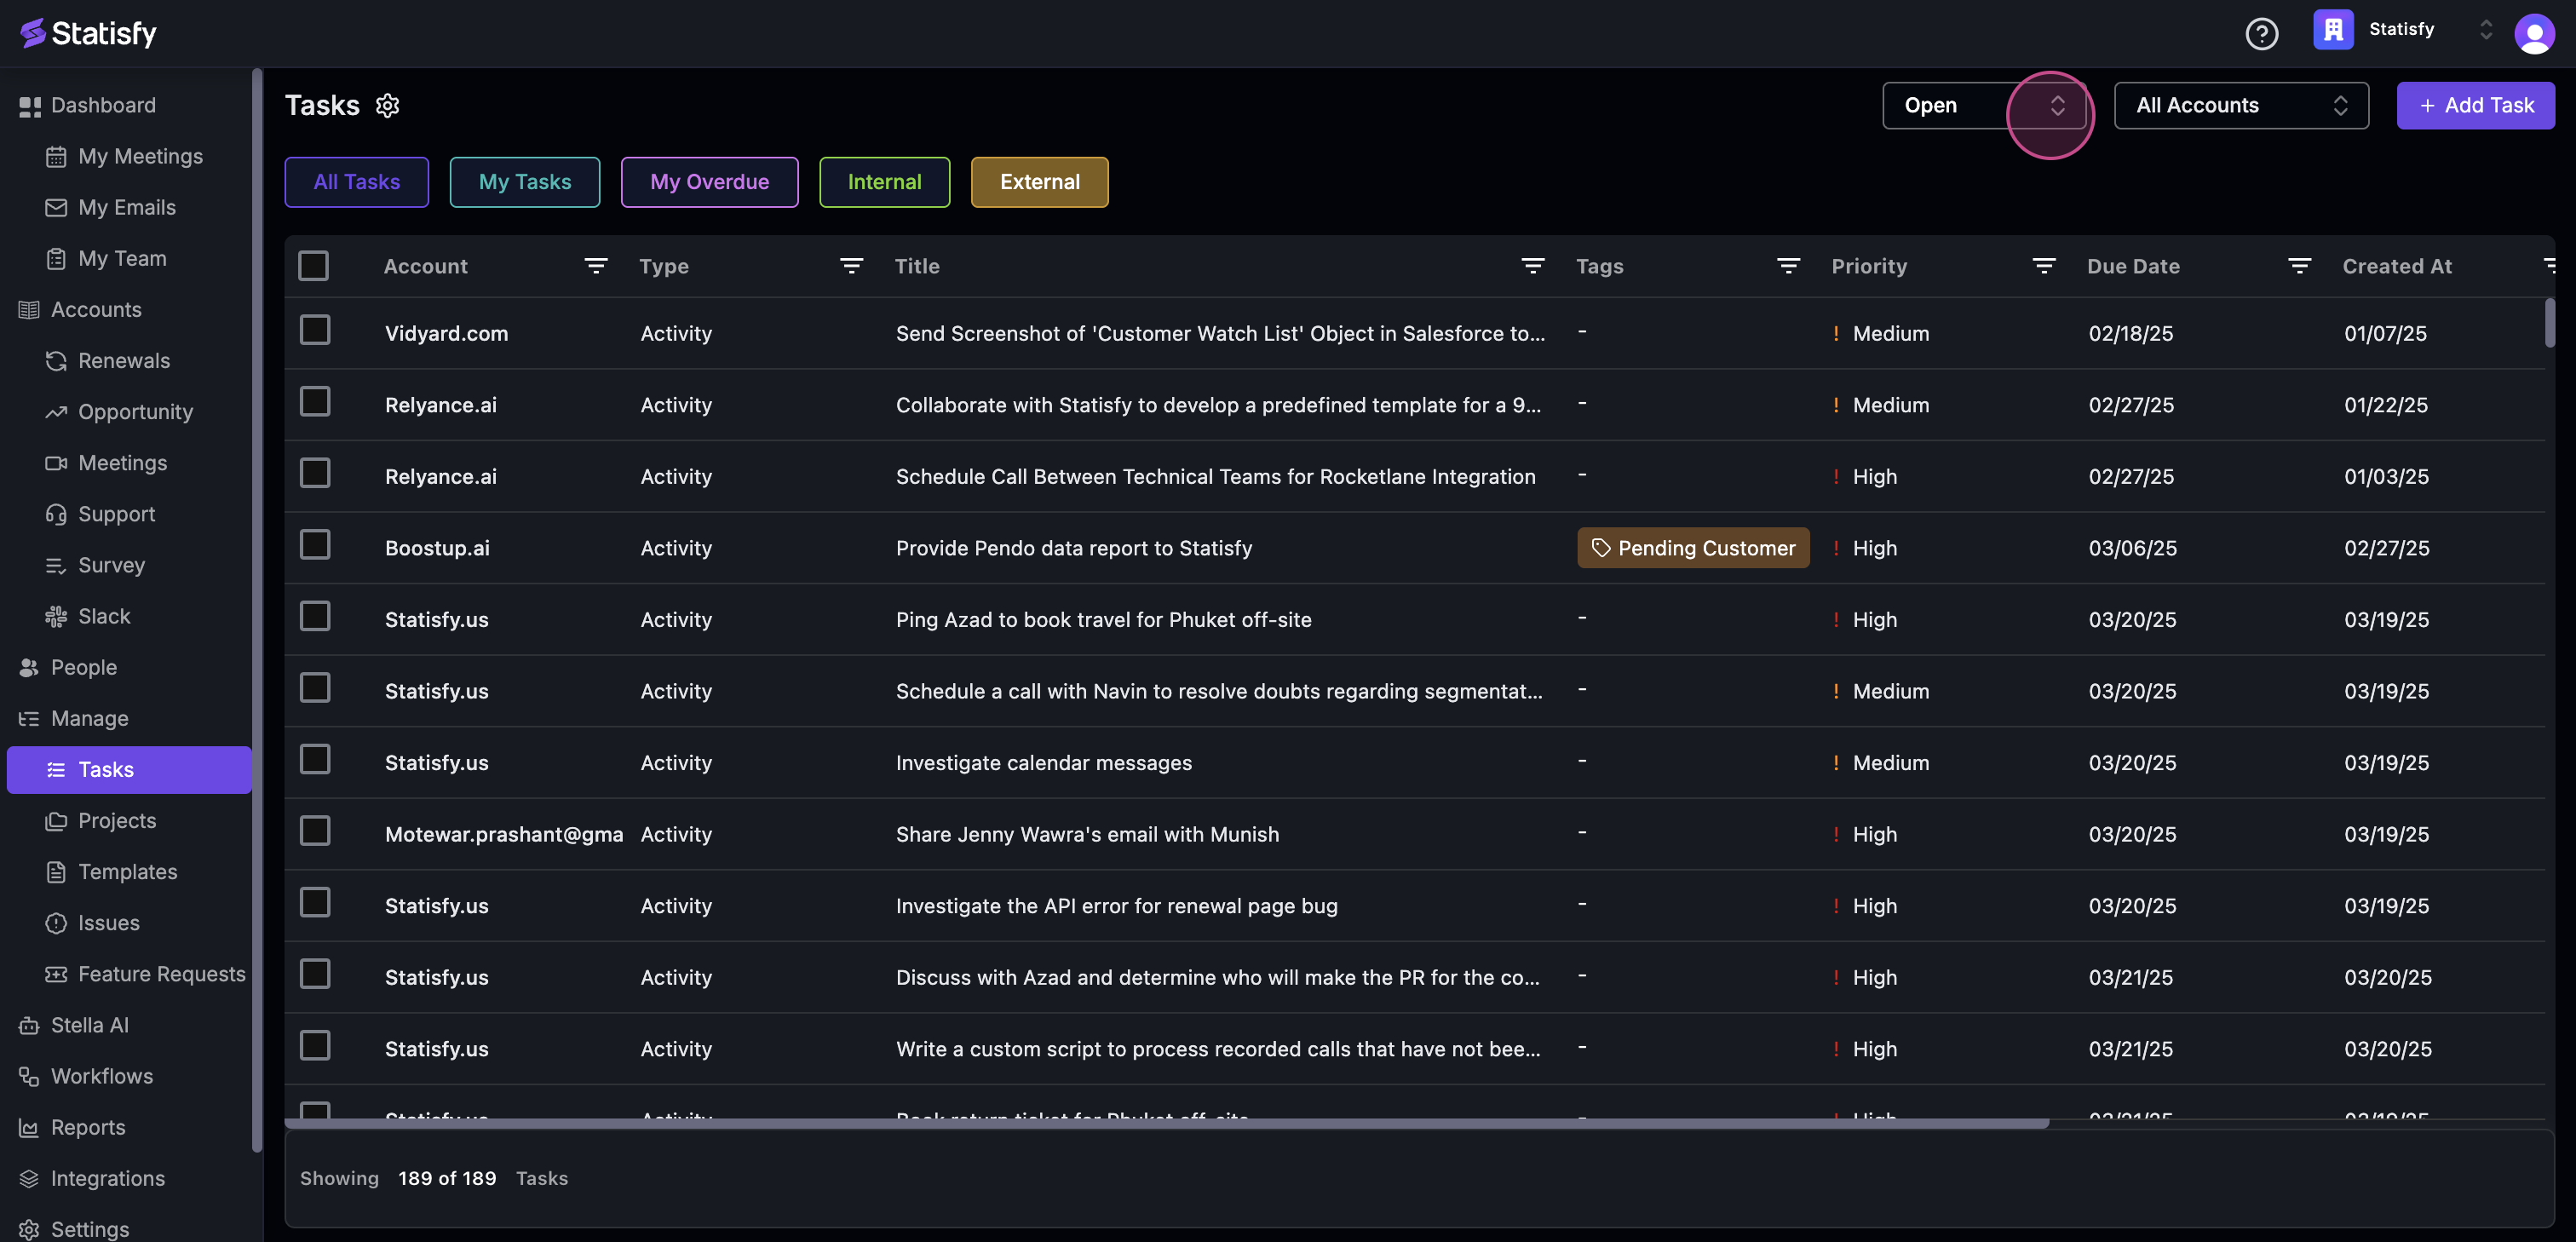
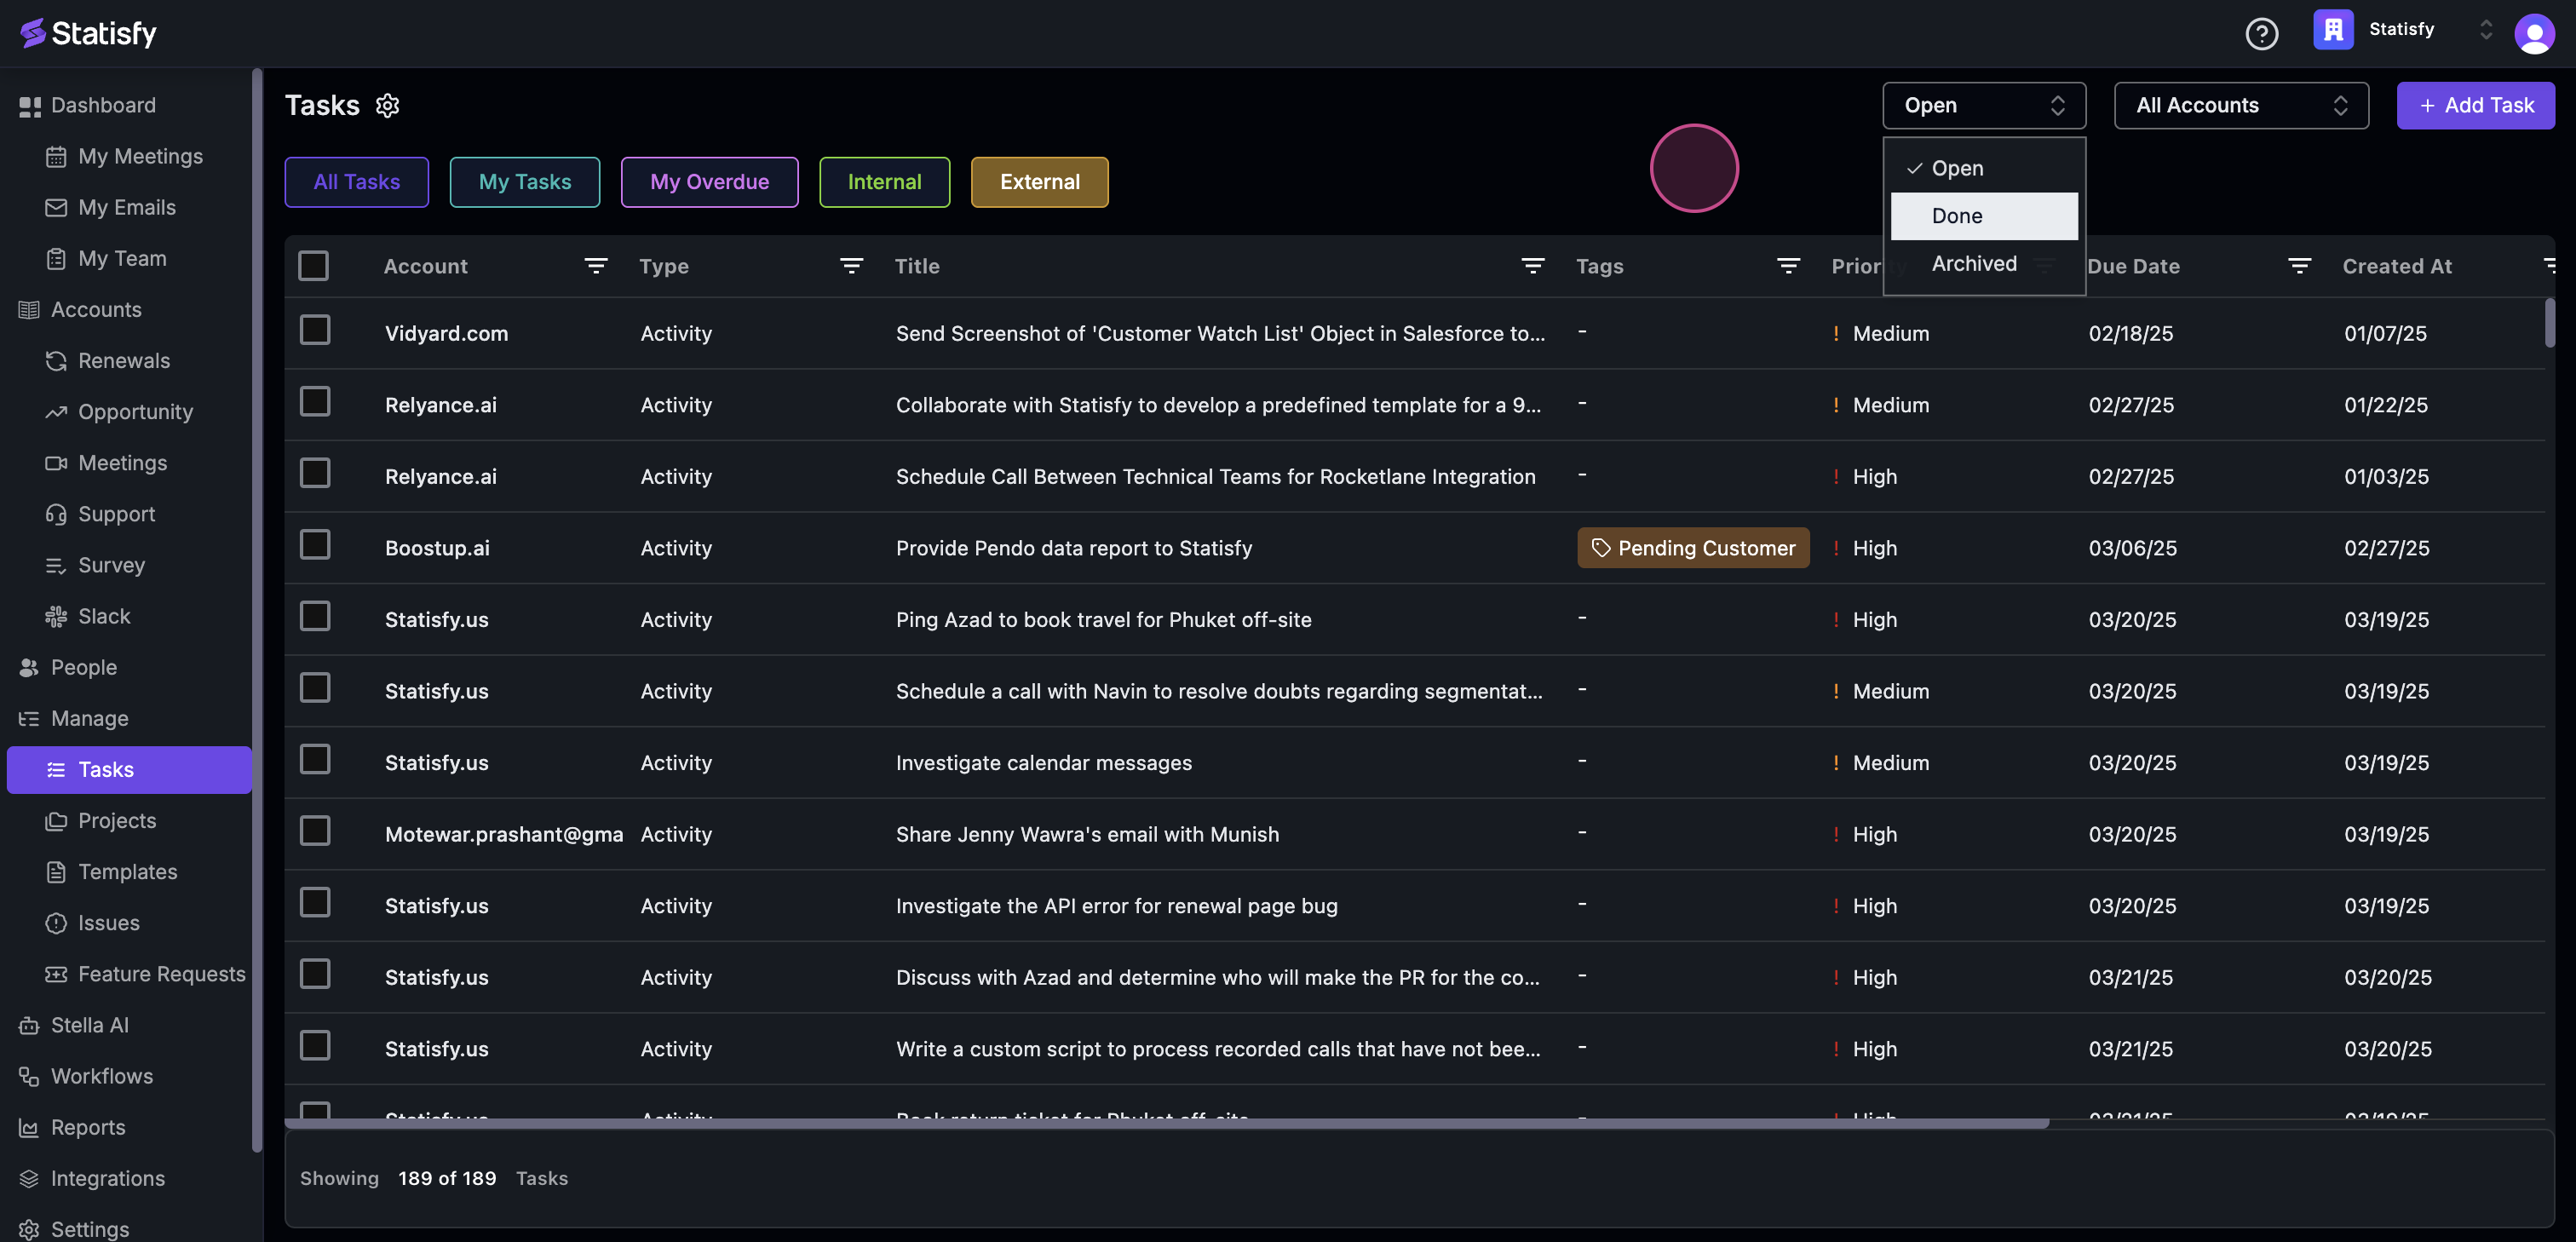
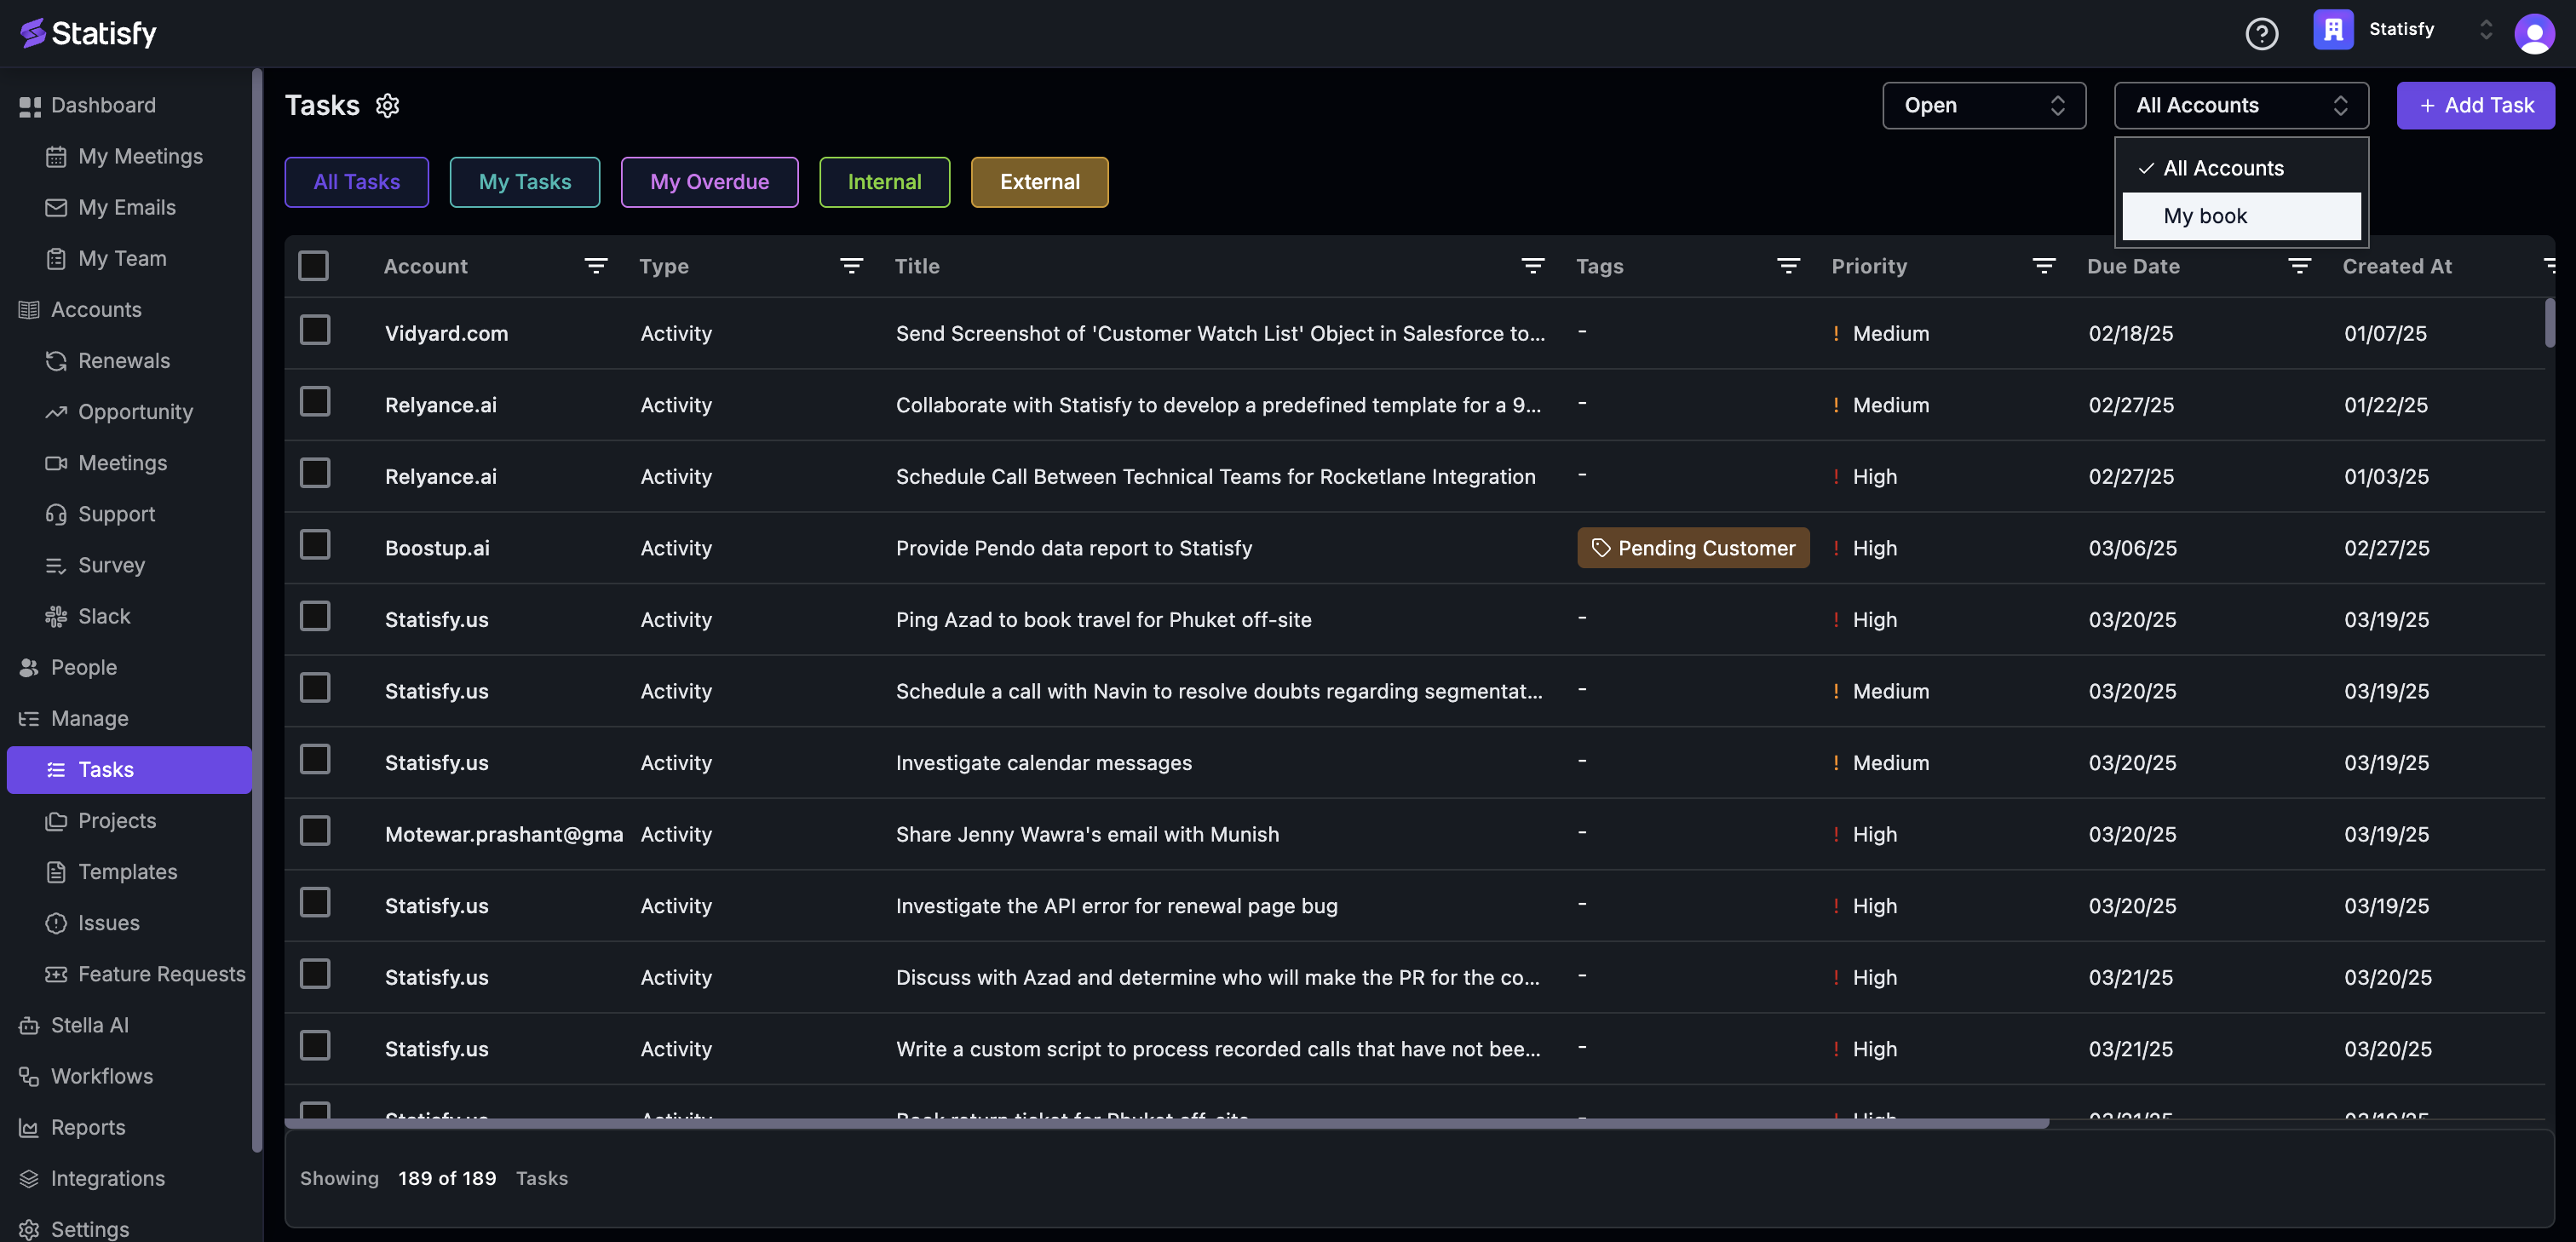
 Step 9:
Tasks can also be displayed based on their status: open, done, or archived. They can also be displayed based on all accounts or just your book.
Step 9:
Tasks can also be displayed based on their status: open, done, or archived. They can also be displayed based on all accounts or just your book.

 Step 10:
To manually add a new task, use the Add Task icon.
Step 10:
To manually add a new task, use the Add Task icon.
 Step 11:
Use the filters to sort through the account type, title tags, etc.
Step 11:
Use the filters to sort through the account type, title tags, etc.
 Step 12:
To edit multiple tasks at once, click the checkboxes next to the tasks you want to update. A bar appears showing how many tasks are selected (for example, 3 selected) — click the X on the bar at any time to clear your selection.
Step 12:
To edit multiple tasks at once, click the checkboxes next to the tasks you want to update. A bar appears showing how many tasks are selected (for example, 3 selected) — click the X on the bar at any time to clear your selection.
- In the bar, open the Select field to edit… dropdown. You can type in the search box to quickly find the field you need.
- Choose the field and enter the new value. You can bulk edit Title, Due Date, Priority, Assignee, Description, Status, and Tags, as well as most task custom fields.
- Click Apply to Selected to update every selected task in one go (the button shows Applying… while the change saves), or Cancel to back out. A “Tasks updated successfully.” confirmation appears when the update completes.
A few custom fields are view-only in bulk edit — for example, fields that link a task to an account or an external contact. Edit those on the individual task instead.