Video Tutorial
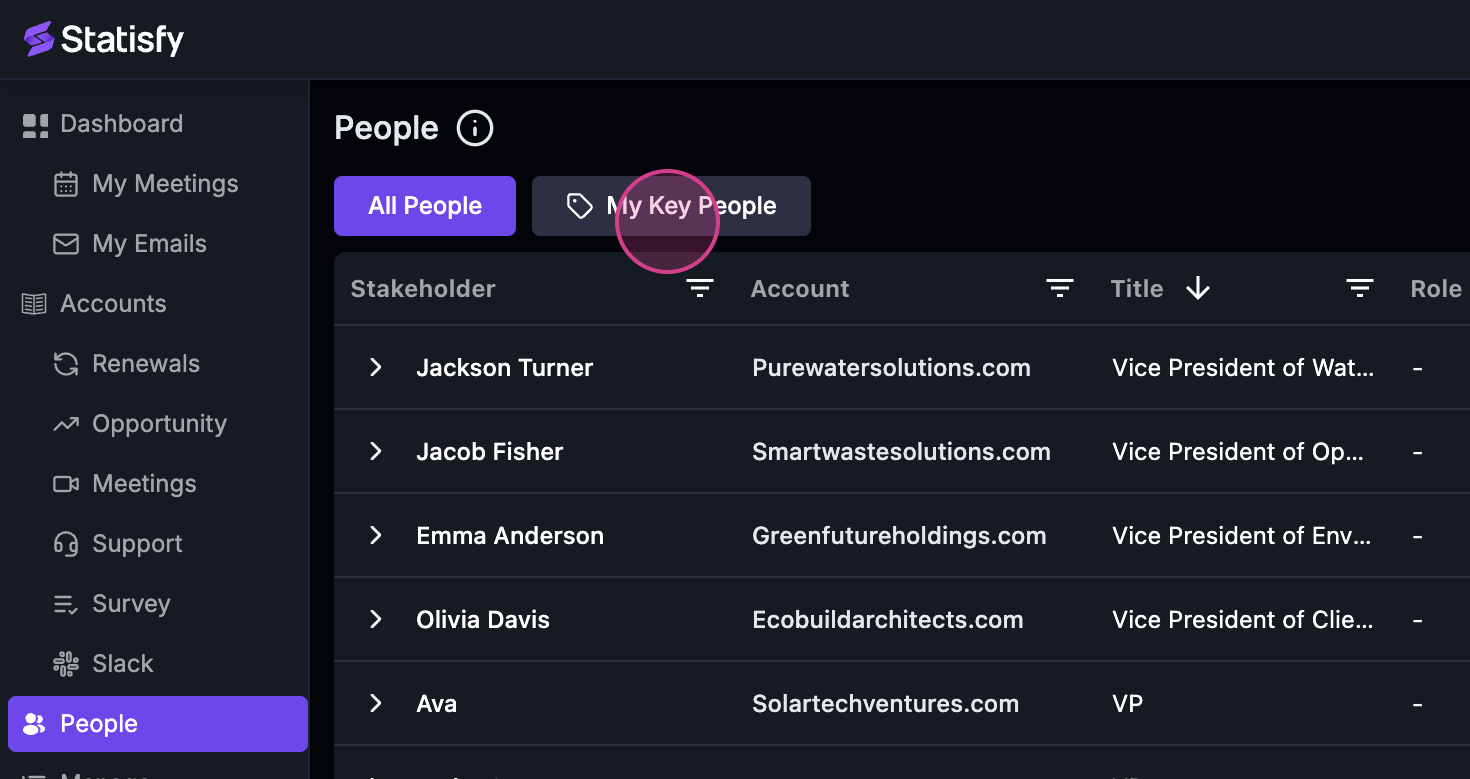
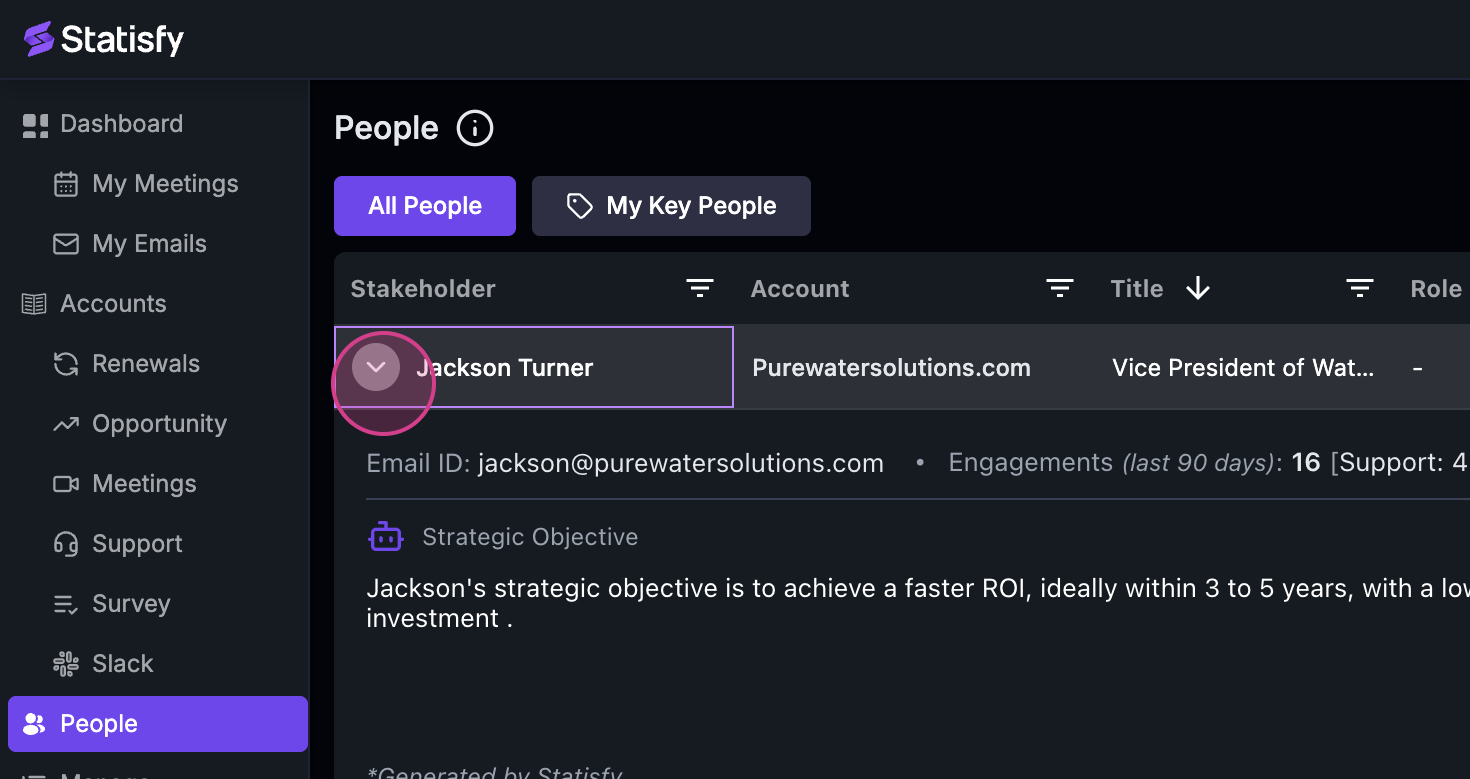
In this tutorial, we’ll explore the ‘People’ section and how to effectively use its features. Step 1: Navigate to the ‘People’ section. Here, you’ll find two categories: ‘All People’ and ‘My Key People’. Step 2: To mark a person as a key individual, select their name. For this example, we’re using ‘Jacob’.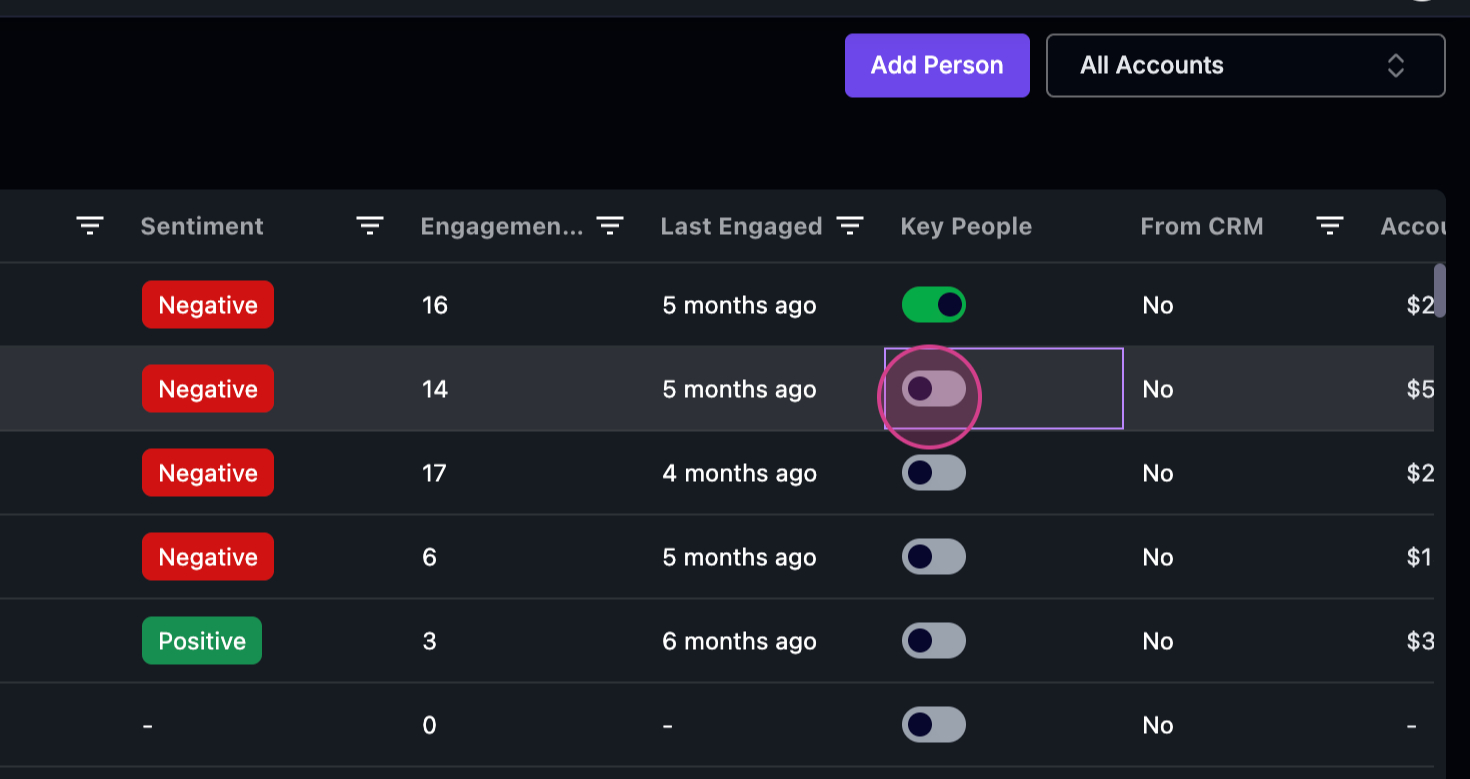 Step 3: Once you’ve marked Jacob as a key person, he’ll be tagged as such and moved to the ‘My Key People’ section.
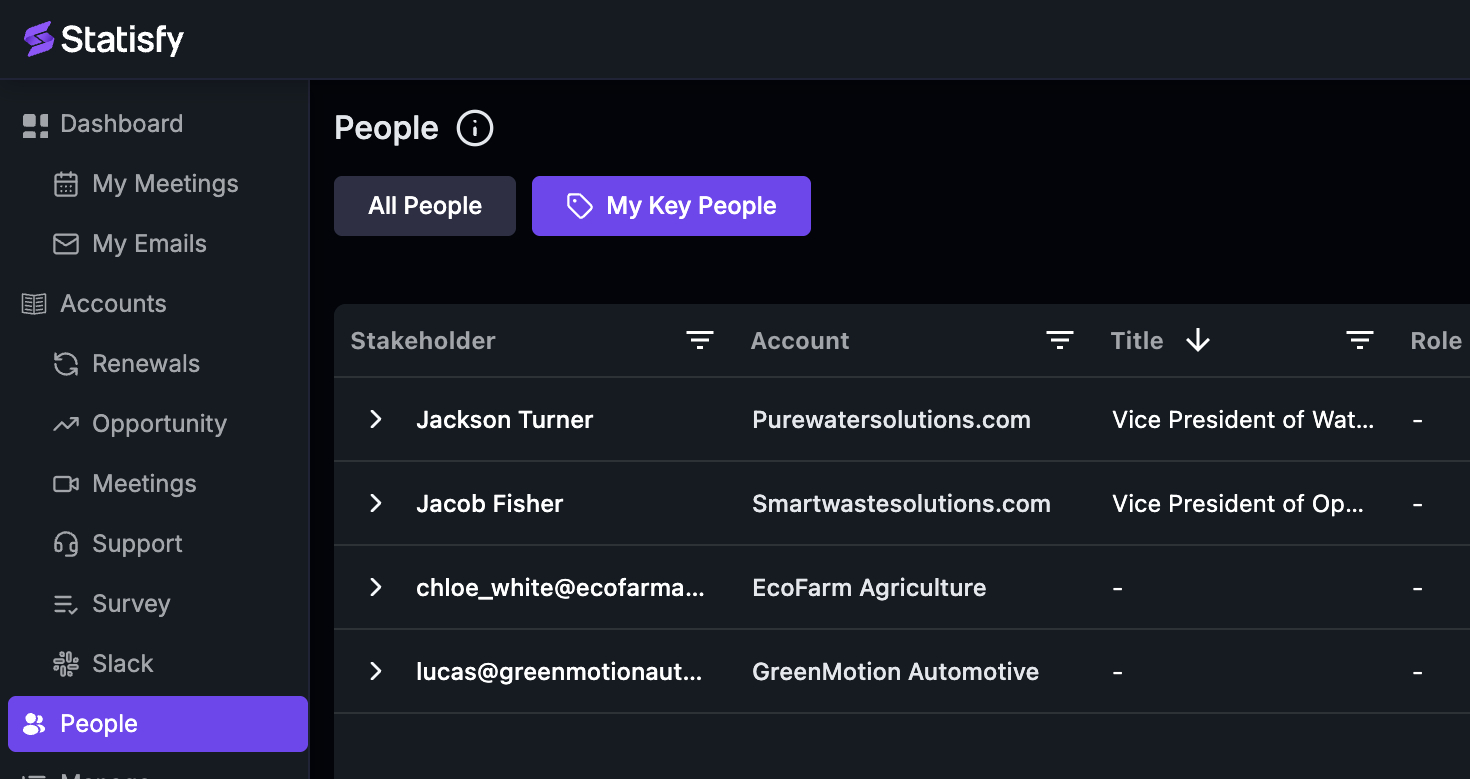
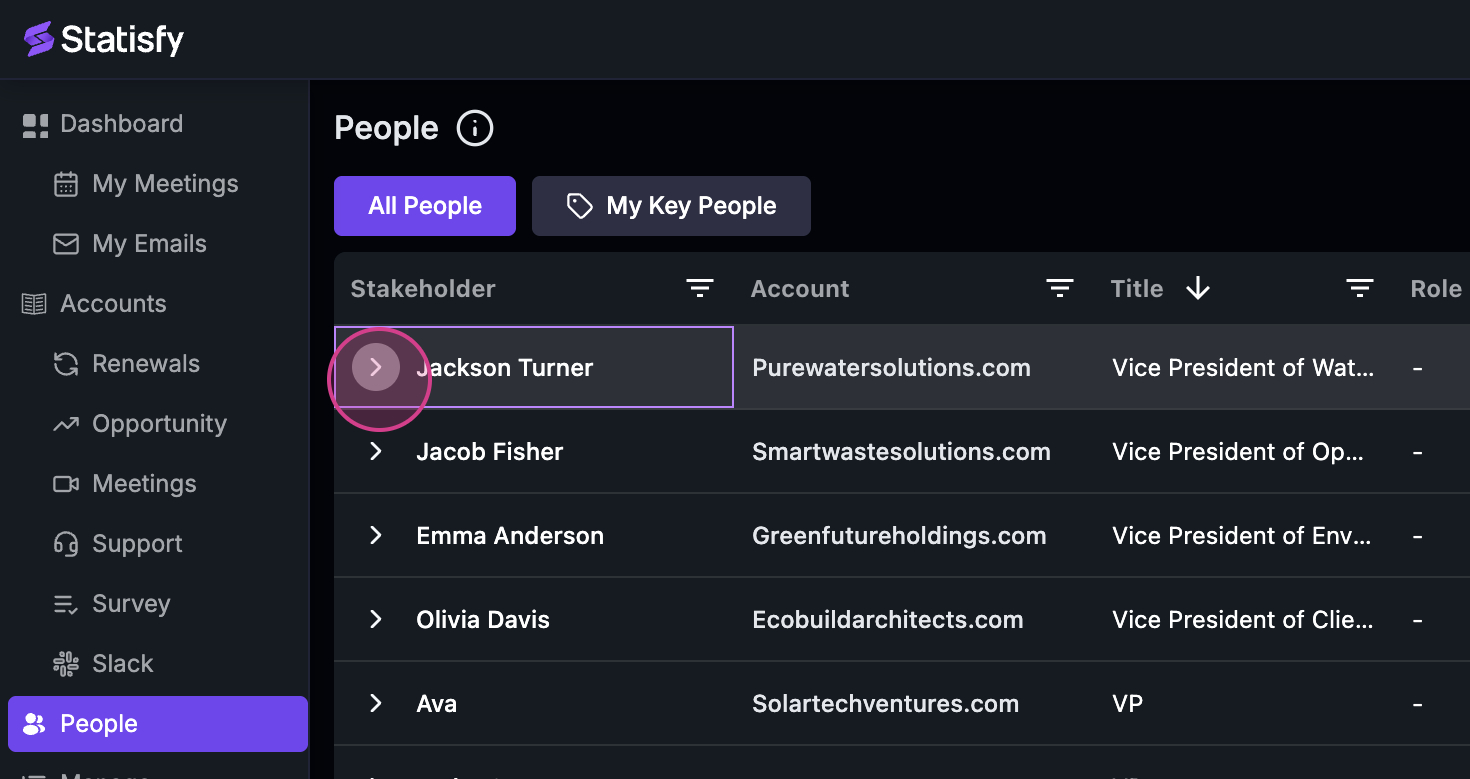
 Step 4: To return to the ‘All People’ section, simply click on it.
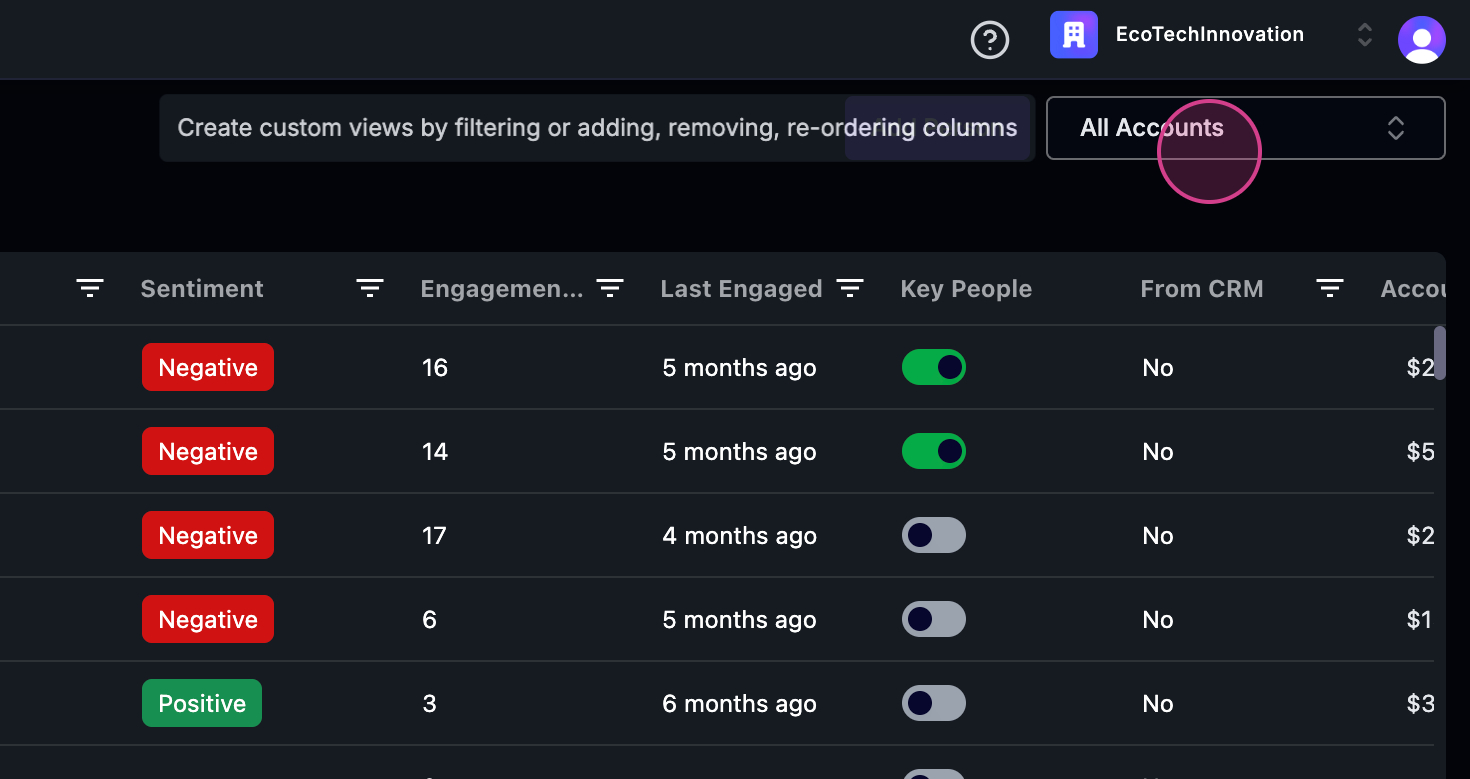
 Step 5: In each person’s profile, you’ll find their name, the account they belong to, their title, role, sentiment, engagement level, last interaction, key person status, import status, current ARR, and renewal date.
Origin Field
The Origin column indicates where a person record was created:| Origin Value | Description |
|---|---|
| CRM | The person was synced from your connected CRM (Salesforce, HubSpot, etc.) |
| STATISFY | The person was created manually within Statisfy |
- Open the column selector in the People list and add the Origin column
- To filter by origin, apply a segment filter on the Origin field — for example, filter by
Origin = CRMto see only CRM-synced contacts, orOrigin = STATISFYfor manually created ones - Origin filters can be combined with other field filters (e.g., Title, Account) for more targeted views
 Step 7: In the expanded view, you’ll see the person’s email ID, last engagement, total number of engagements, communication mode, strategic objective, and sentiment.
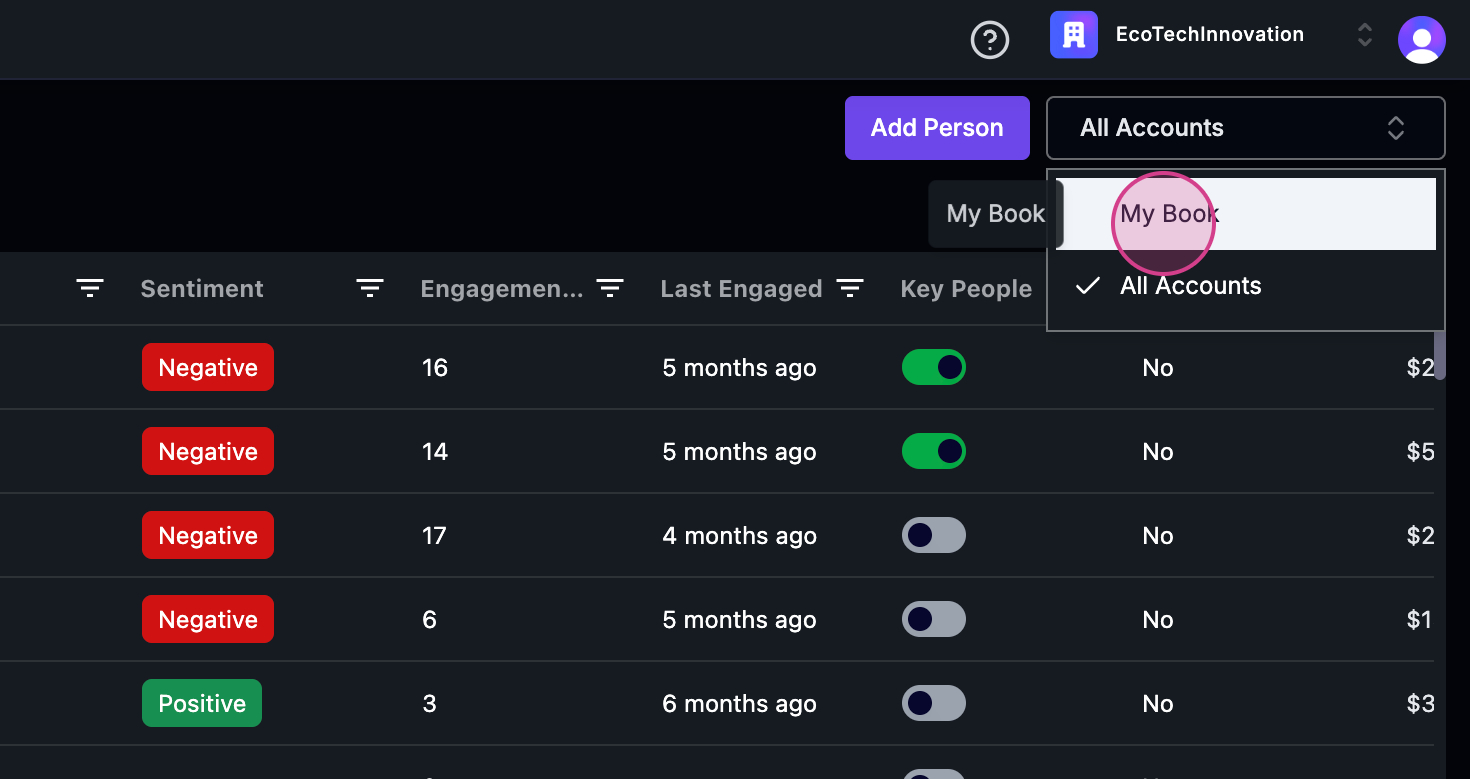
Step 8: Now, let’s look at the two views available in the ‘People’ section: ‘All Accounts’ and ‘My Book’.
Step 7: In the expanded view, you’ll see the person’s email ID, last engagement, total number of engagements, communication mode, strategic objective, and sentiment.
Step 8: Now, let’s look at the two views available in the ‘People’ section: ‘All Accounts’ and ‘My Book’.
 Step 9: ‘All Accounts’ is visible to all admins or managers.
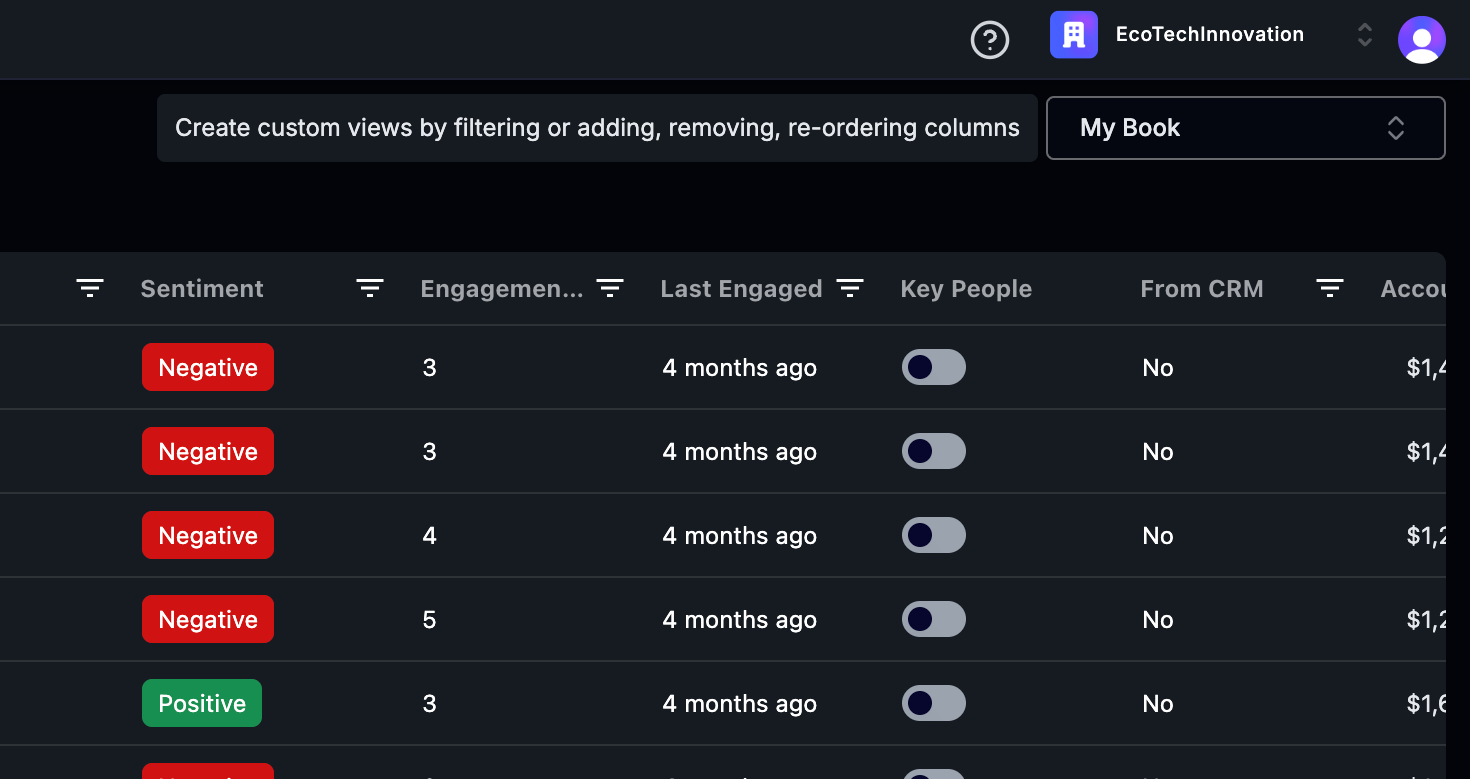
 Step 10: ‘My Book’ is a personalized view. If you’re a CSM assigned to specific accounts, you’ll only see those accounts here.
 And that’s it! You’ve now learned how to navigate and use the ‘People’ section effectively. Thank you for following along.