Video Tutorial
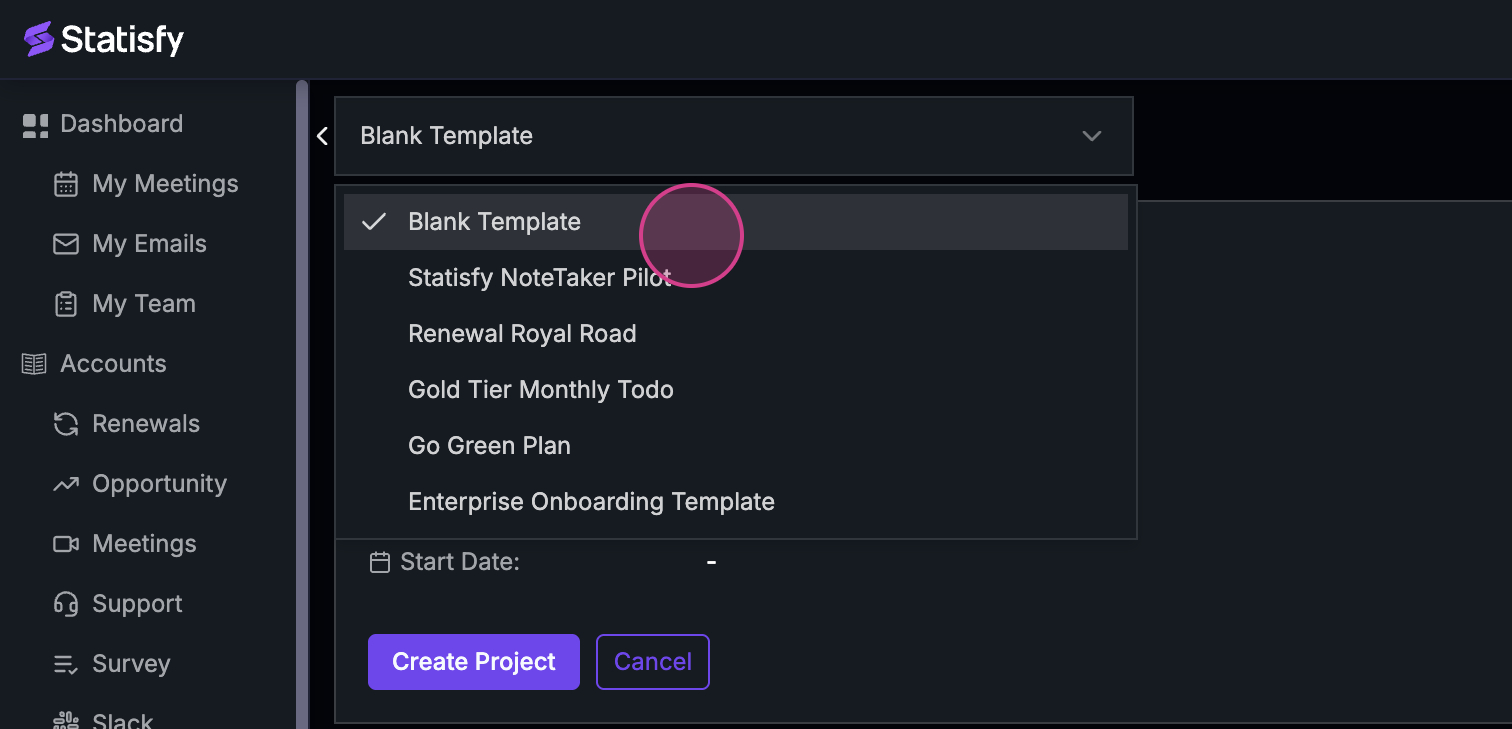
In this article, you’ll learn how to create a new project using a blank template and add tasks to it. Step 1: Start by clicking on Create Project. Step 2: From the options, select Blank Template.
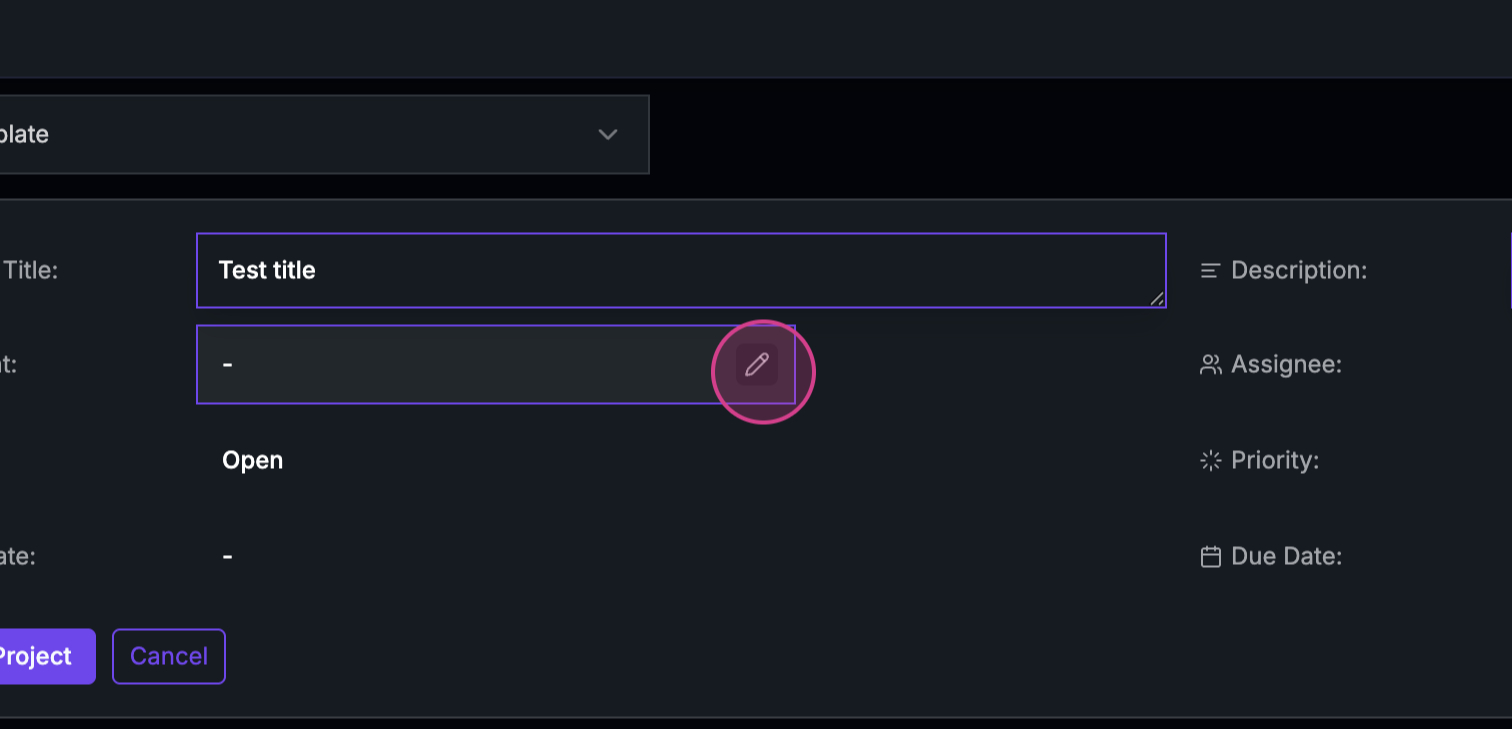
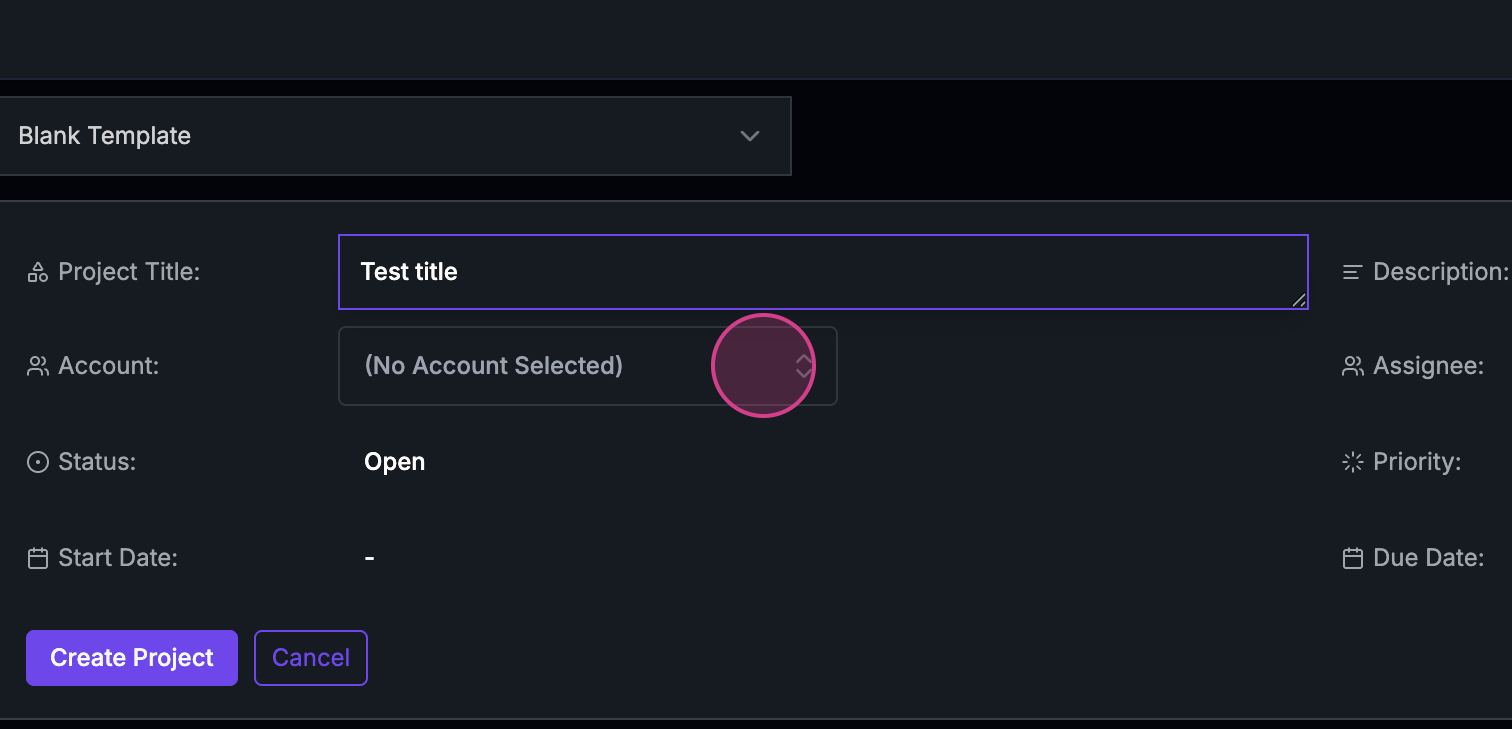
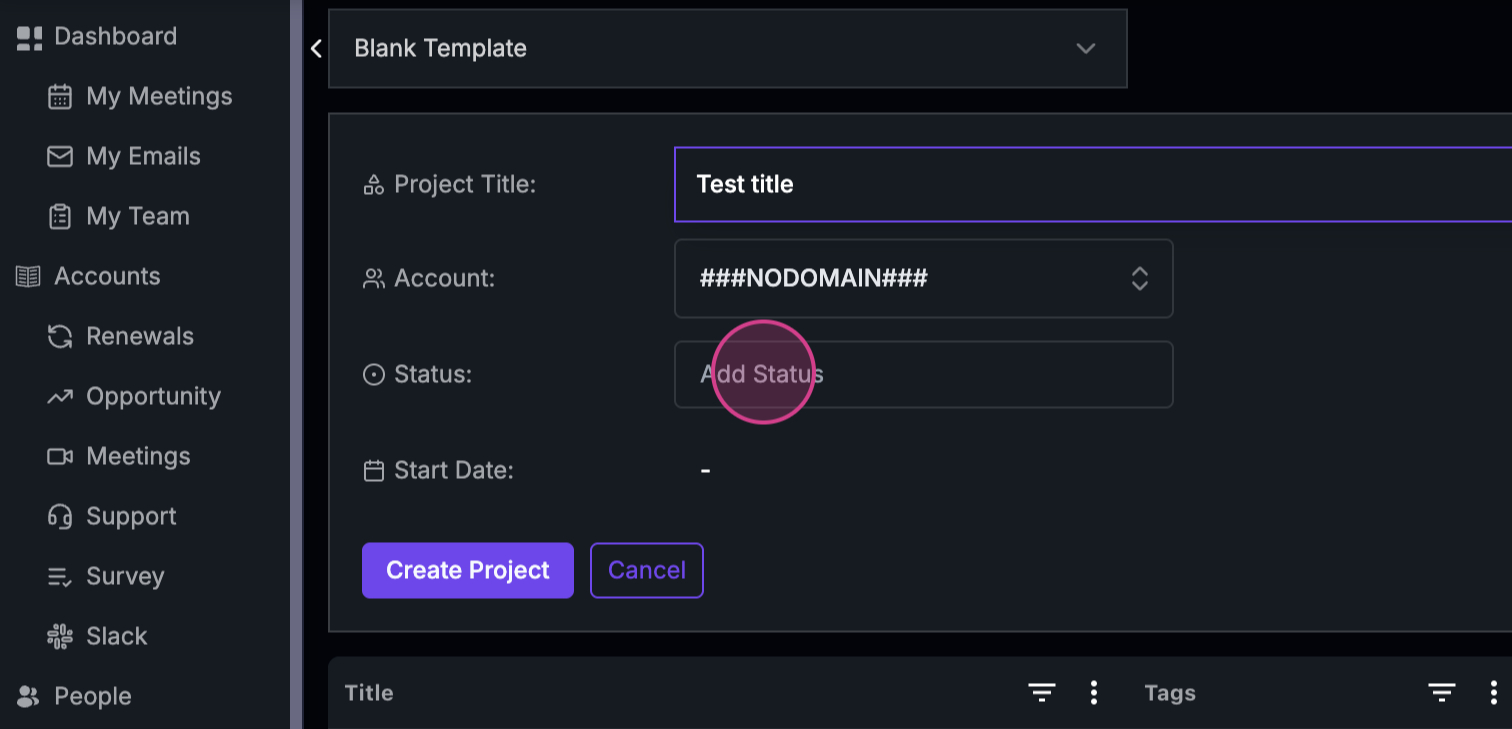
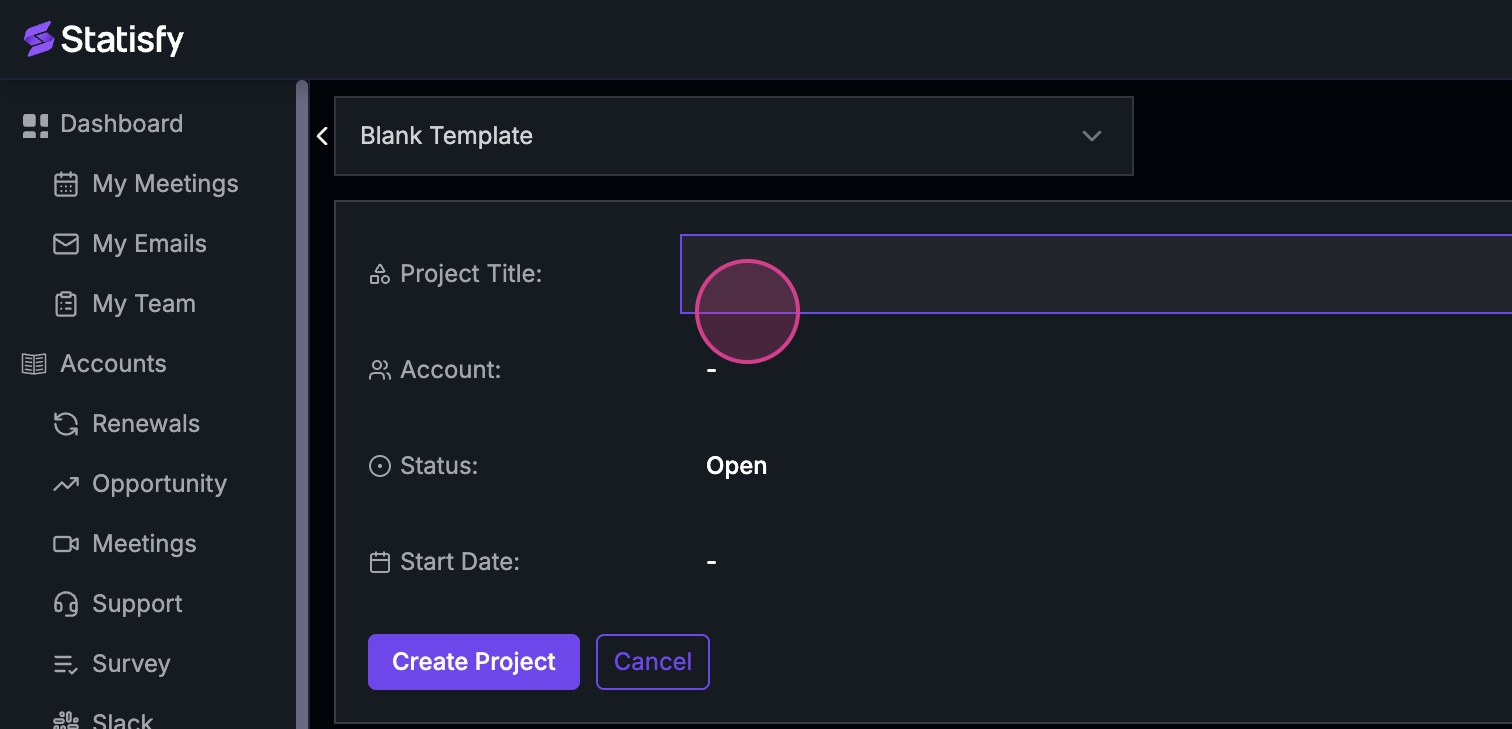 Step 3: Now, it’s time to give your project a title. For this tutorial, we’re using “test title”.
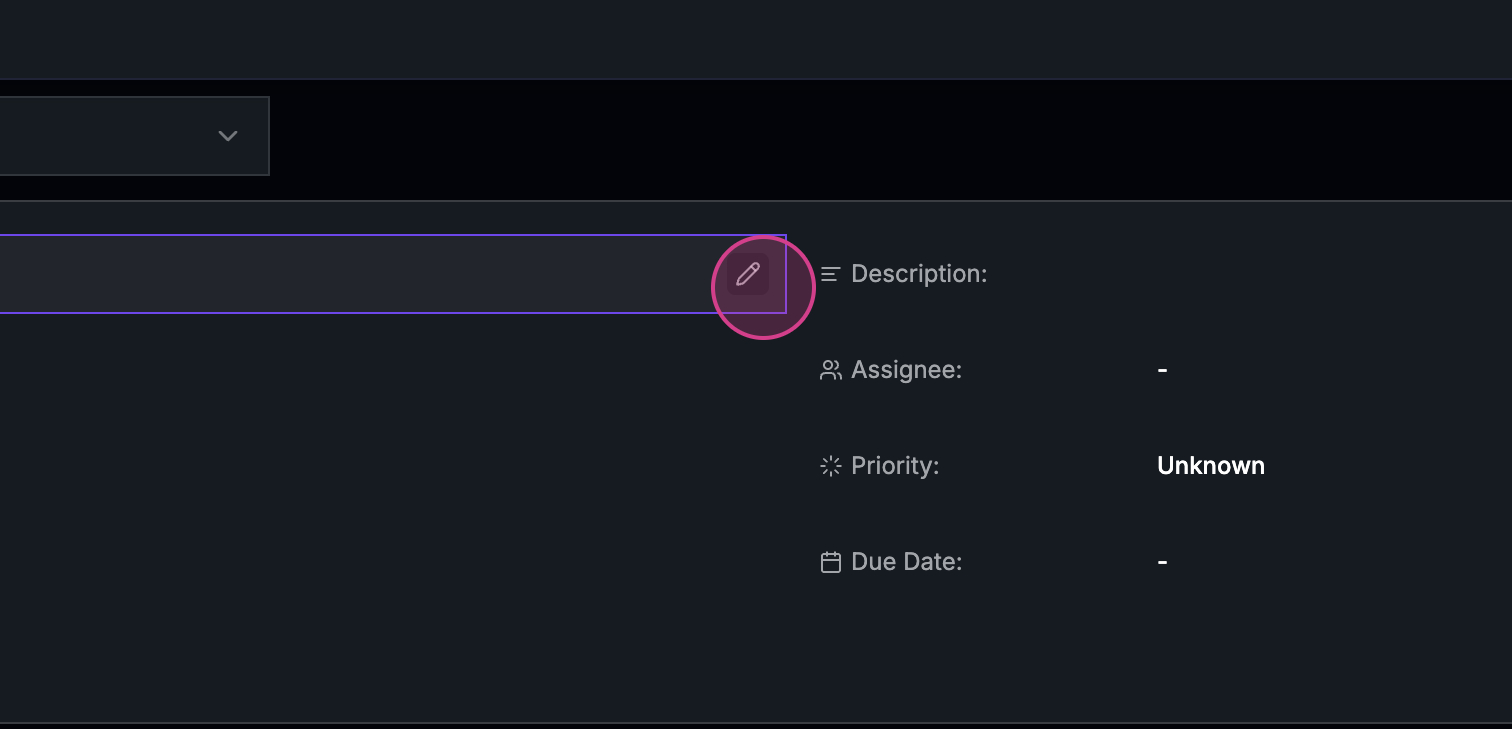
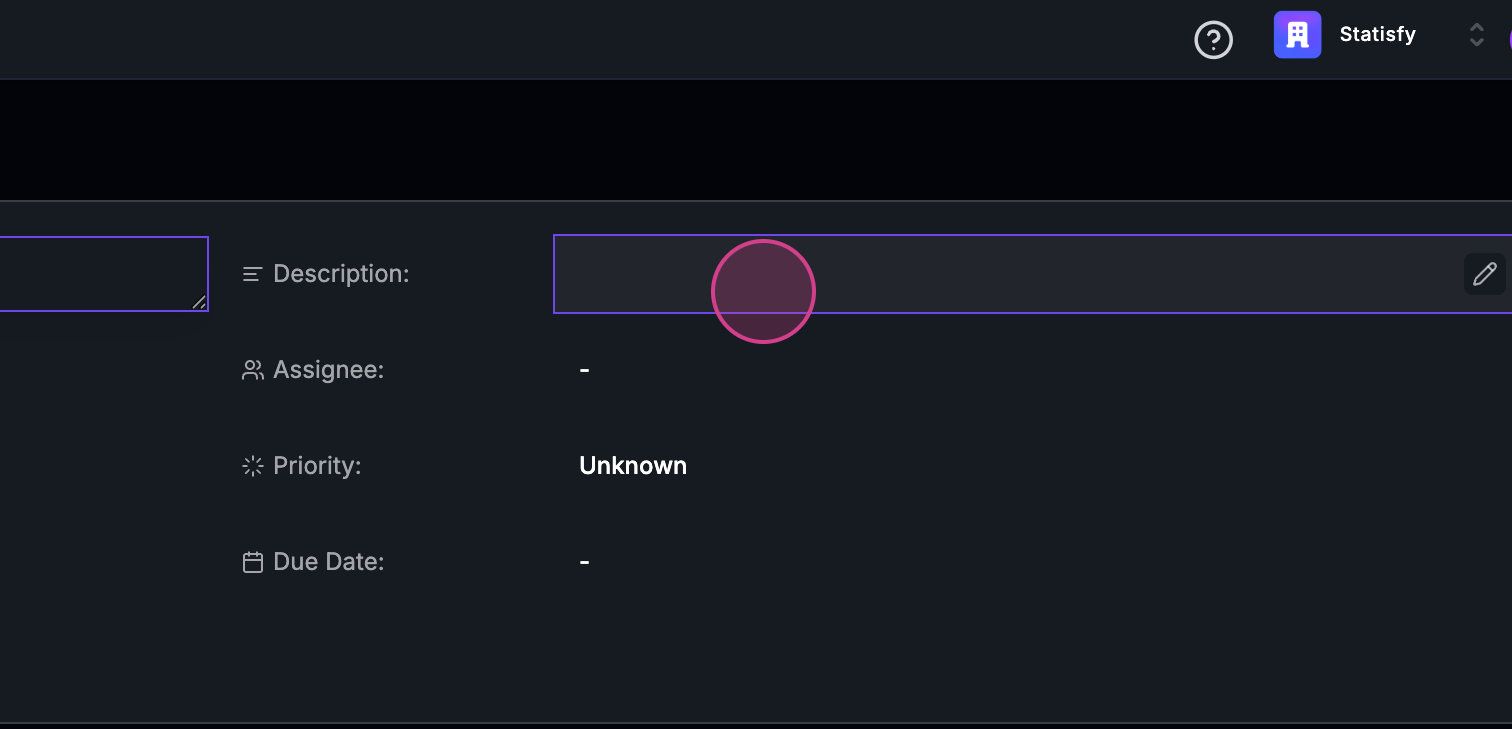
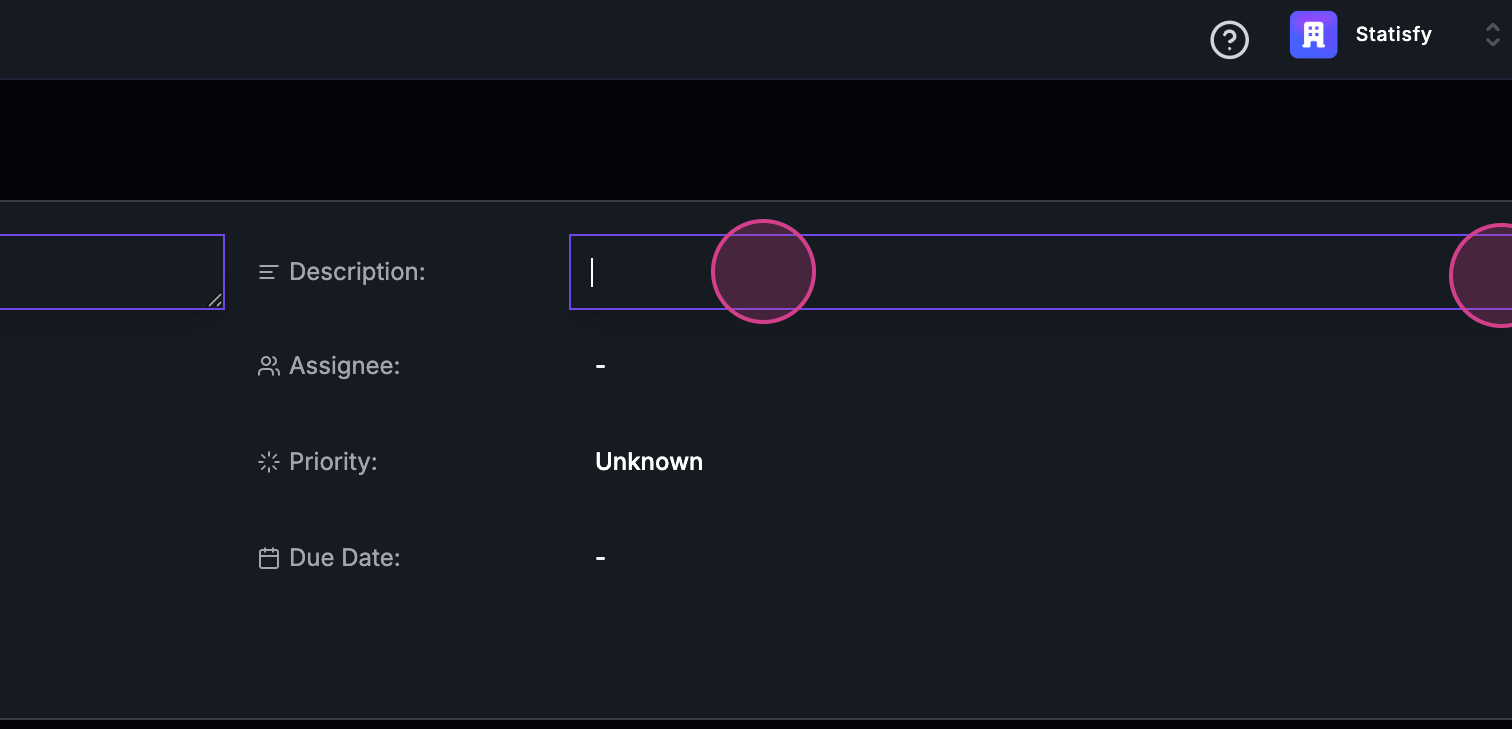
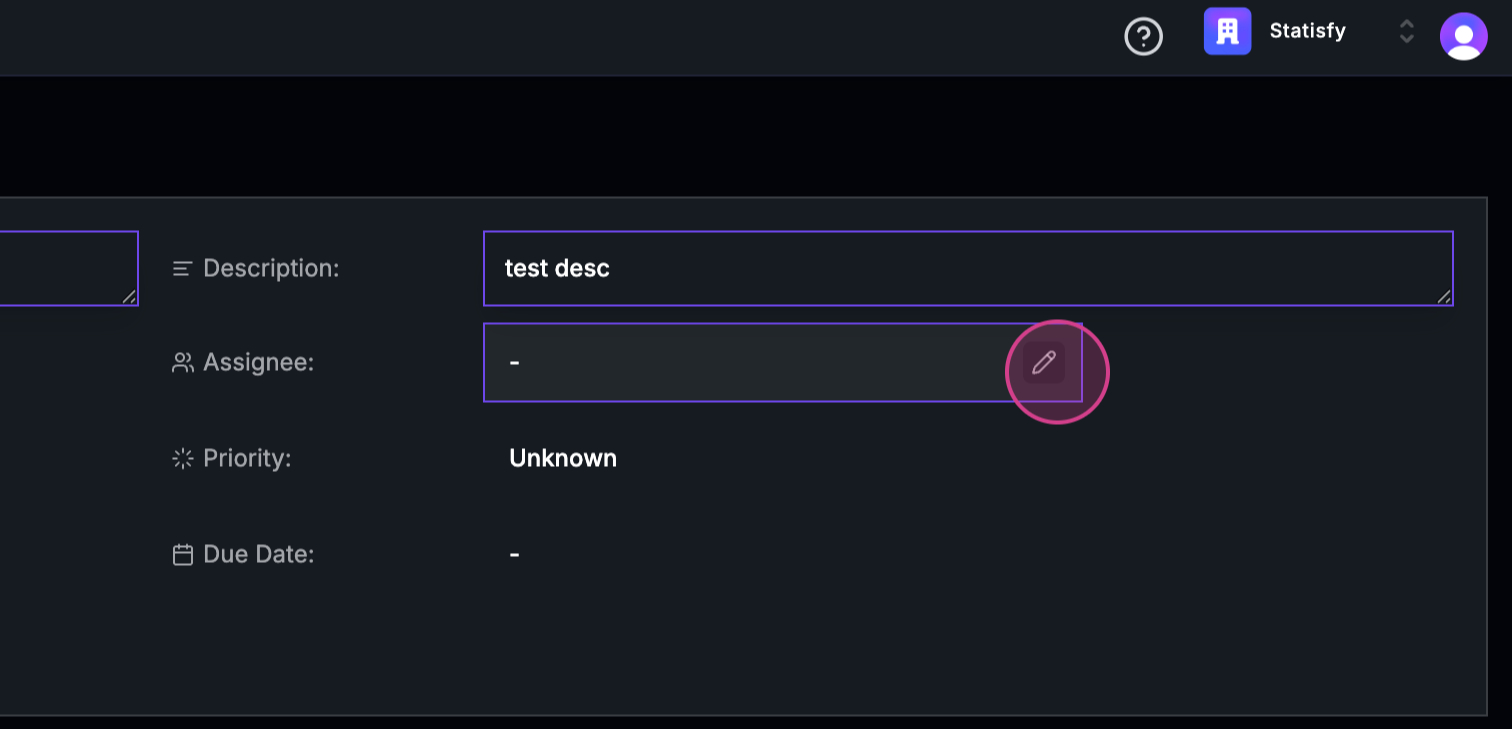
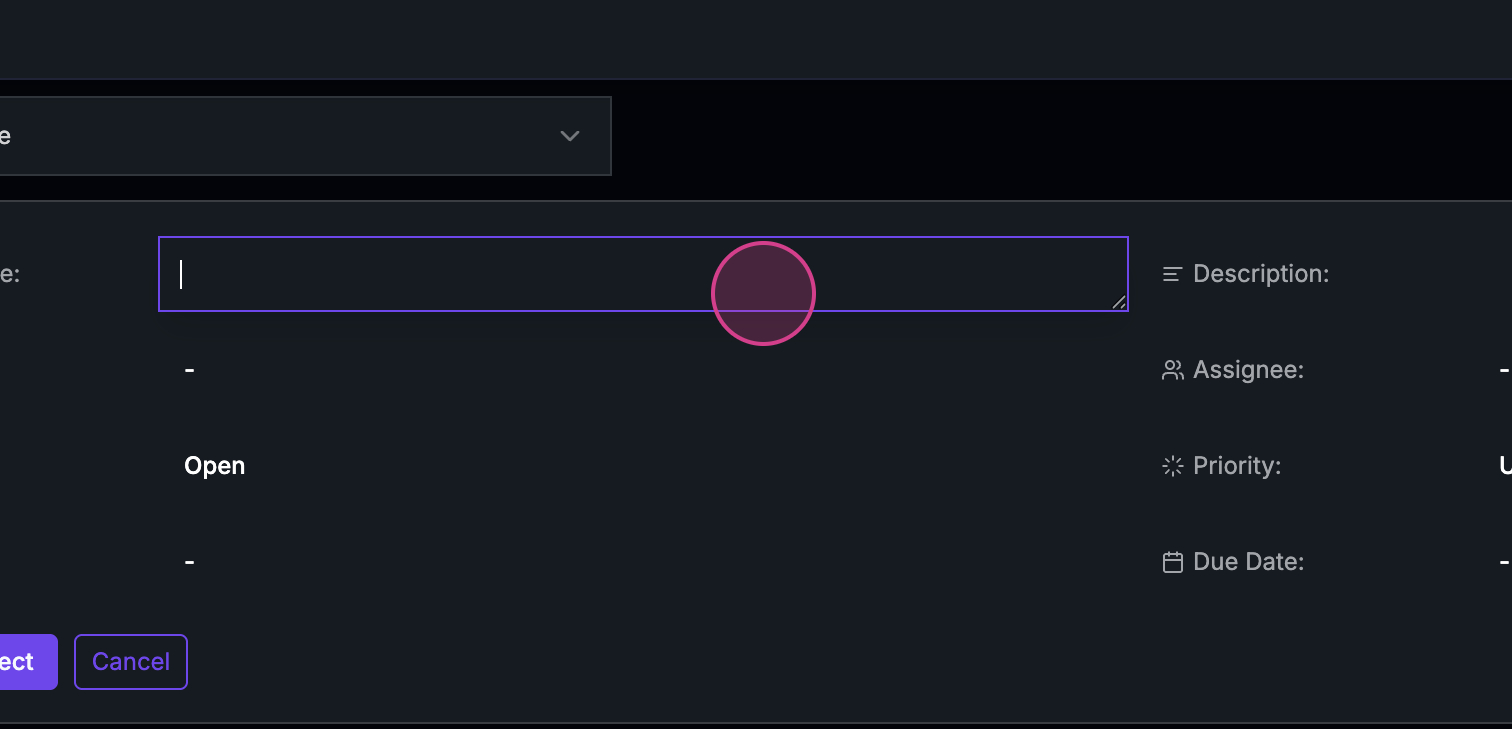 Step 4: Add a description to your project. We’re using “test description” for this example.
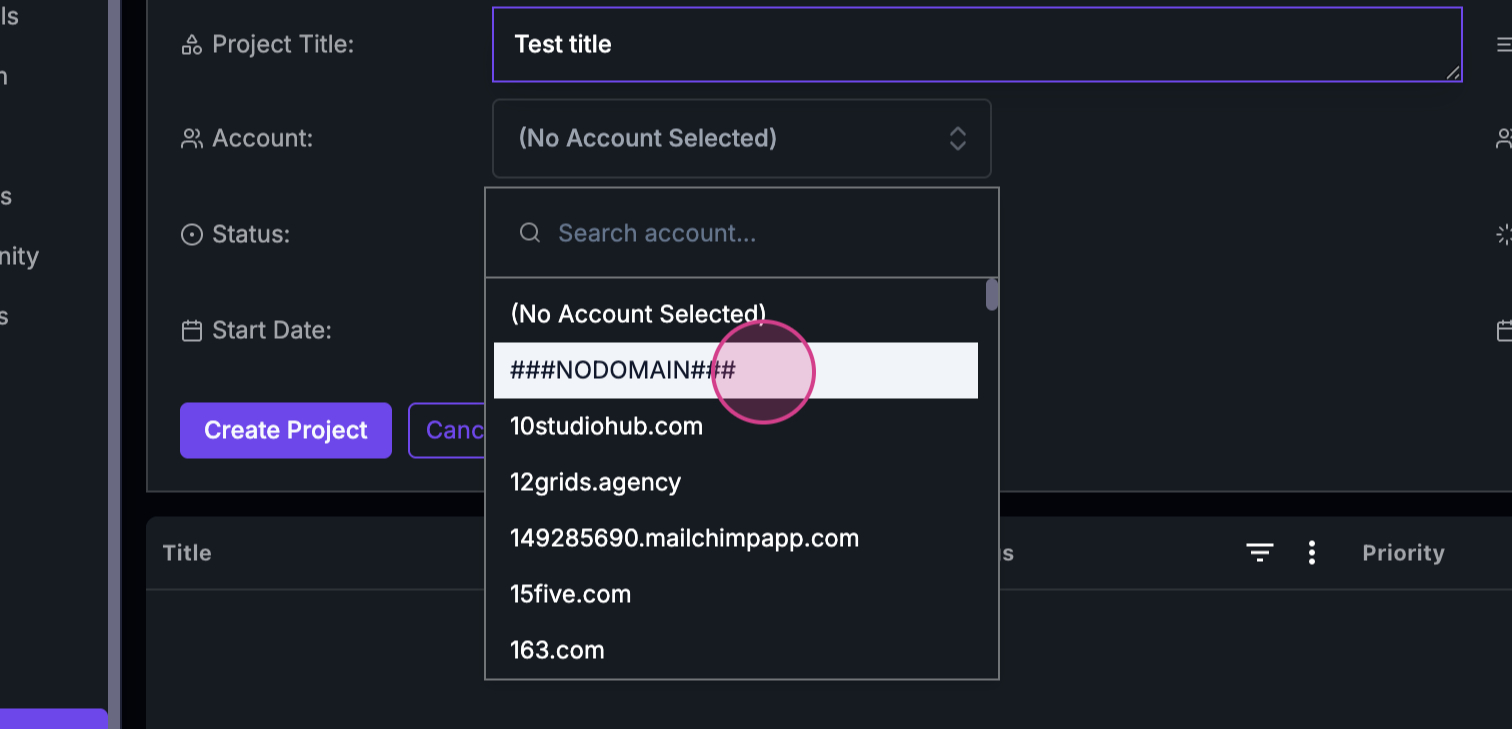
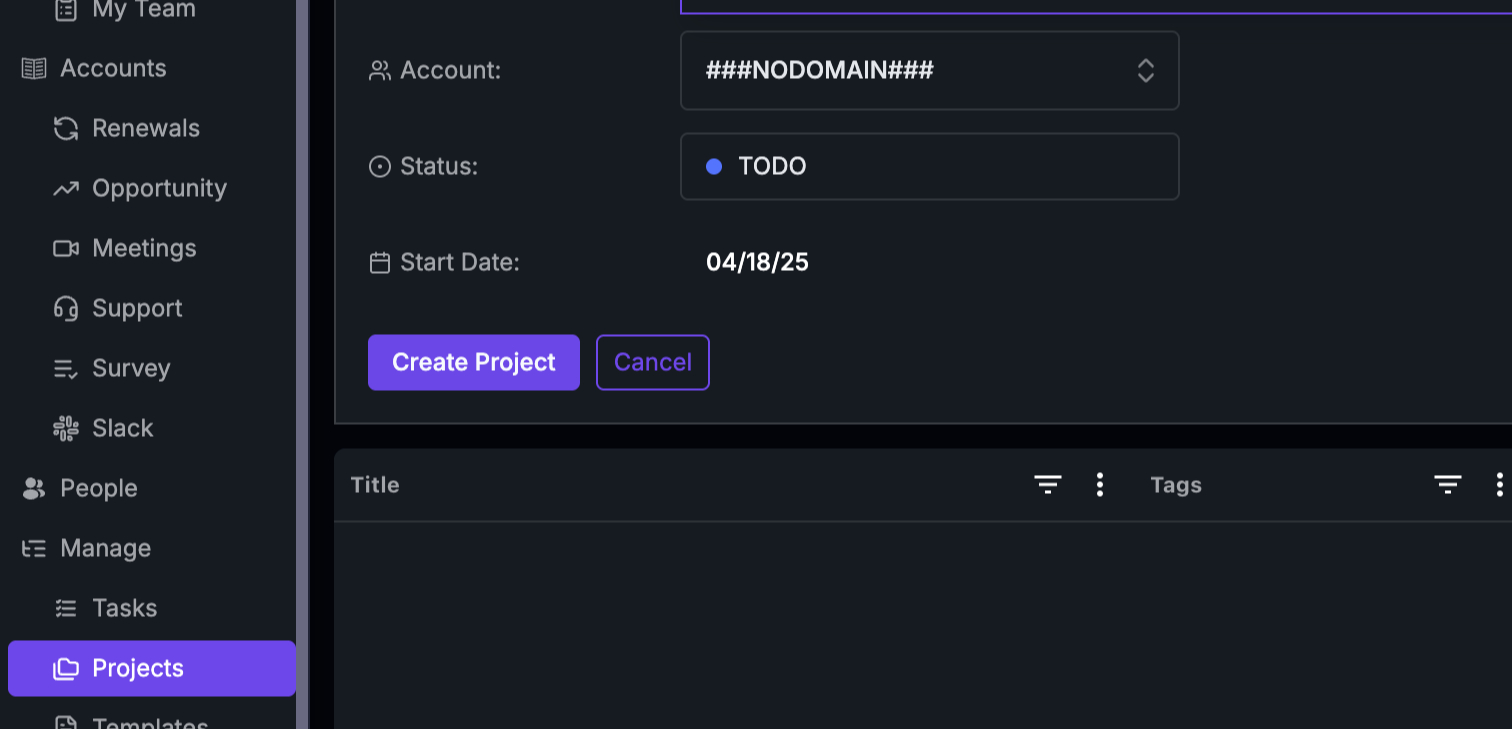
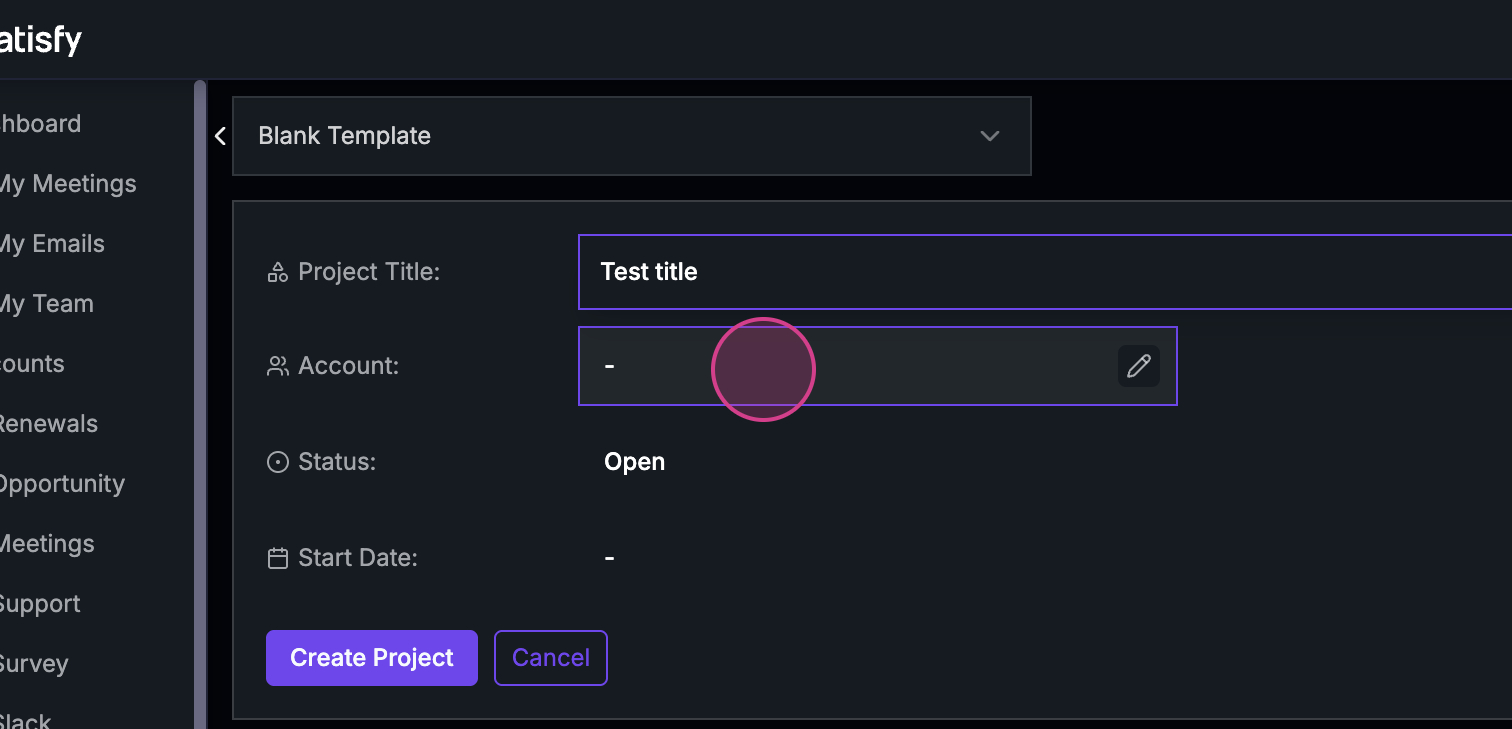 Step 5: Select an account from the drop-down menu.
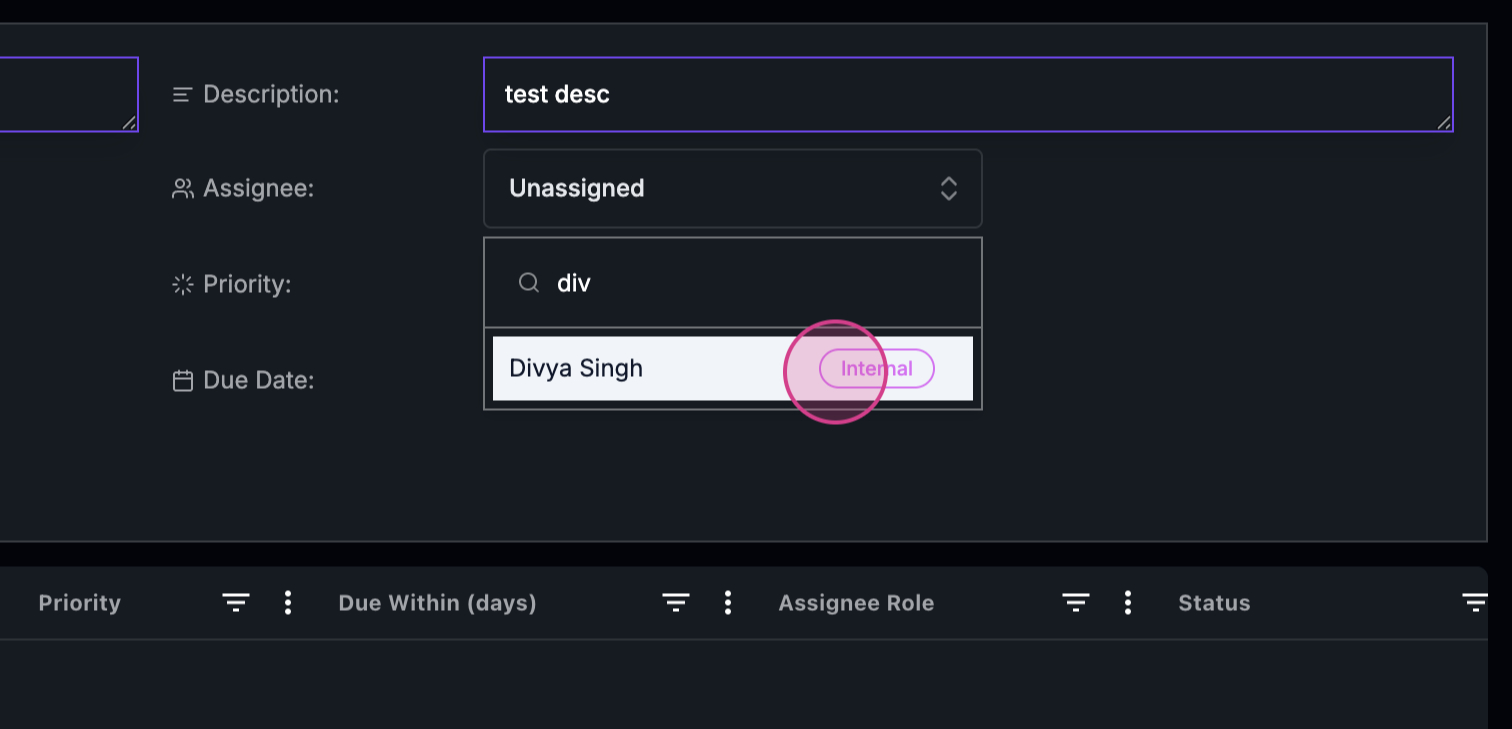
 Step 6: Choose an assignee for the project.
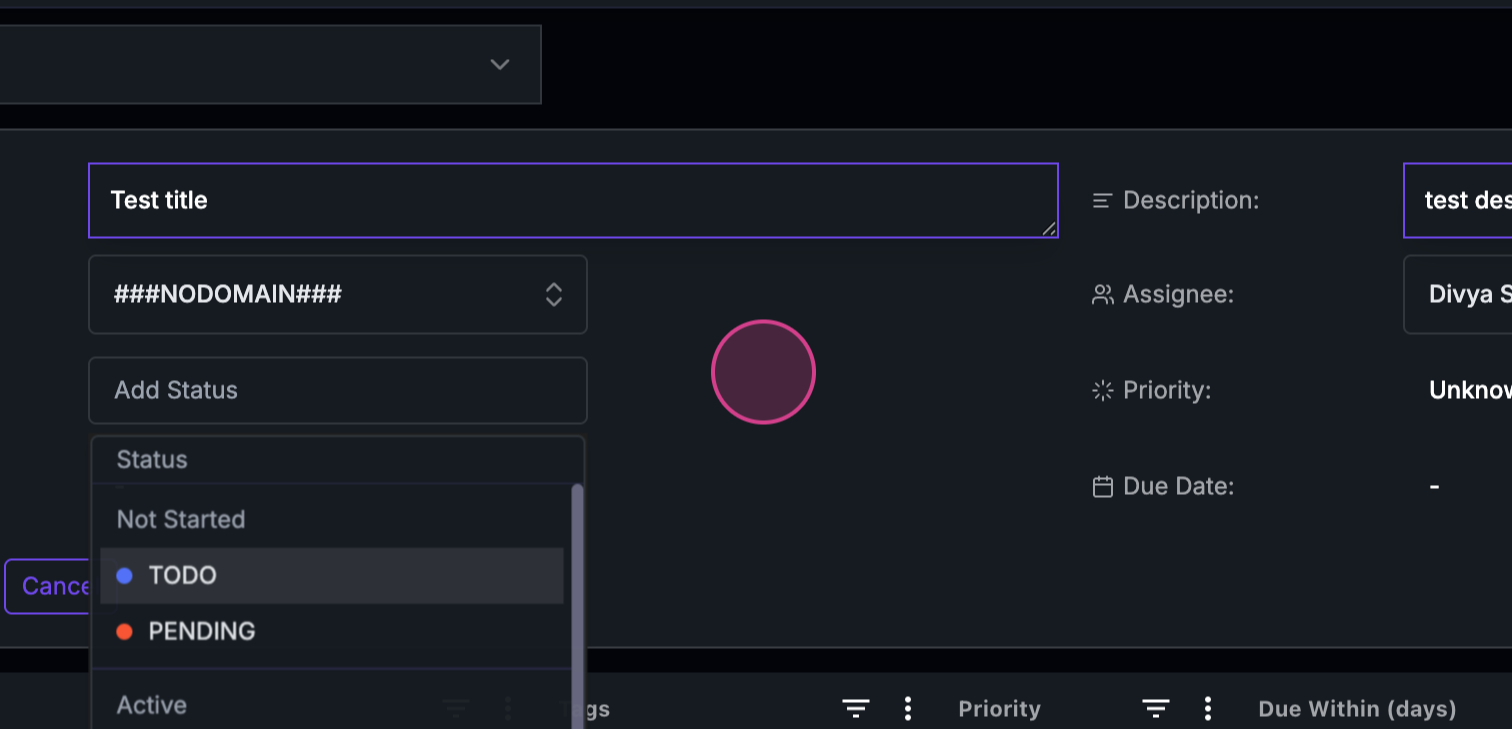
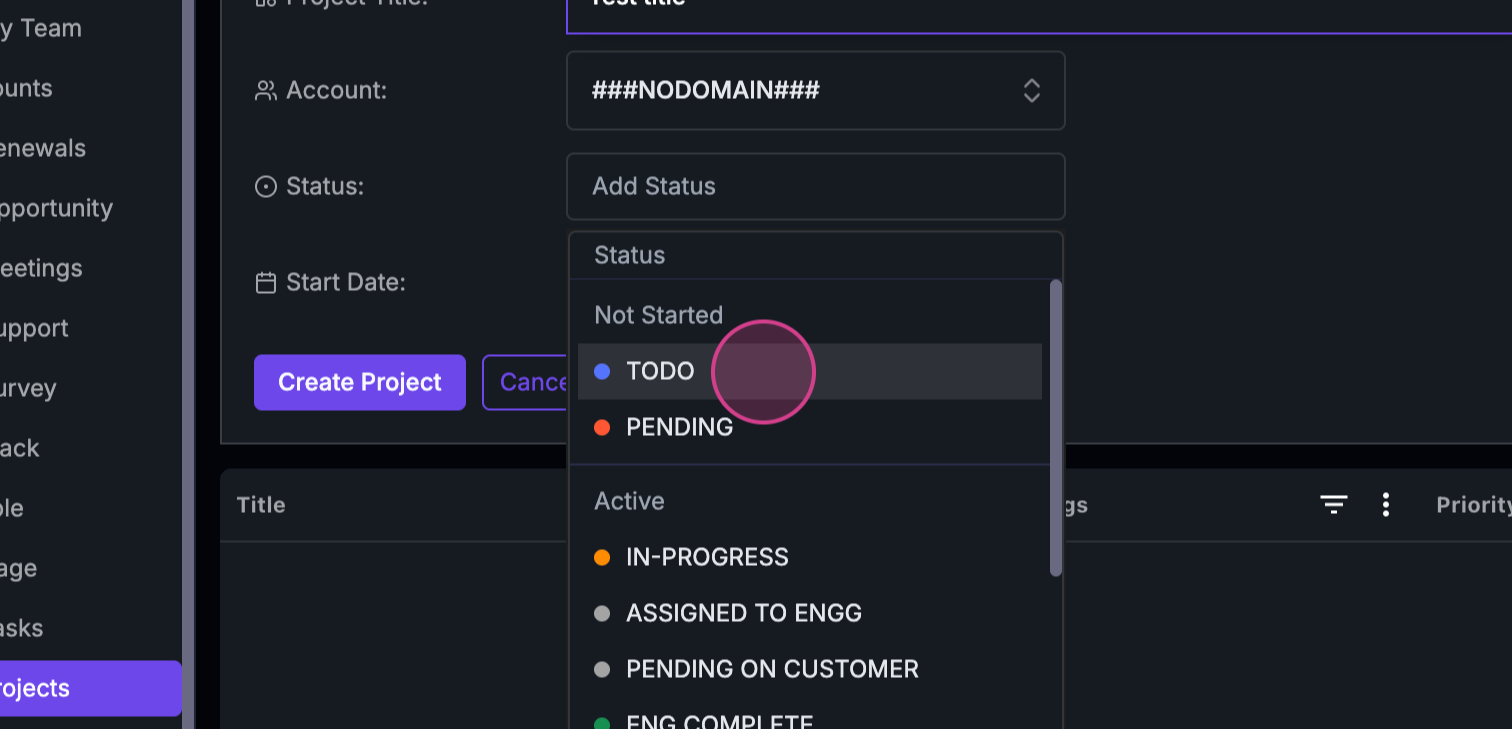
 Step 7: Set the project status.
 Step 8: Select a start date for the project. We’re choosing today’s date for this example.
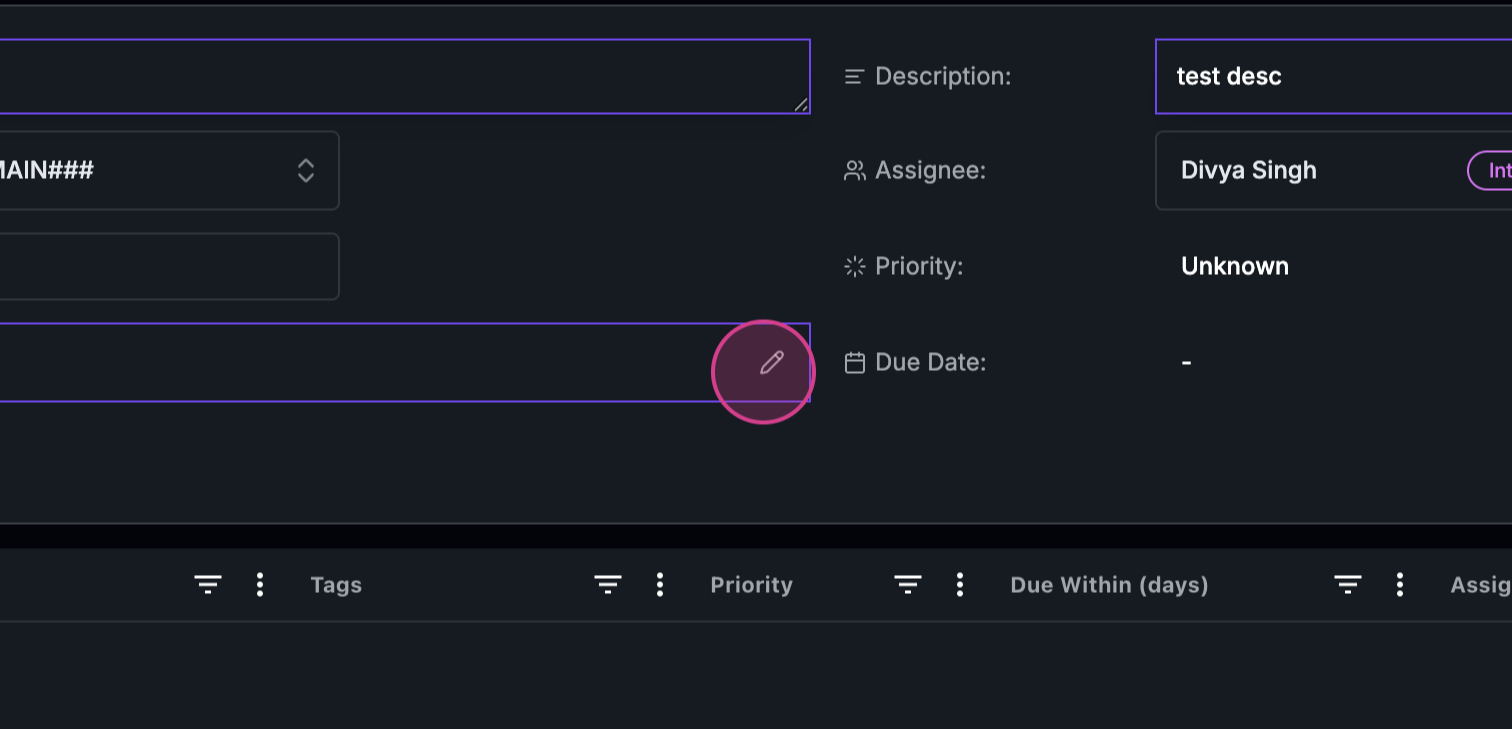
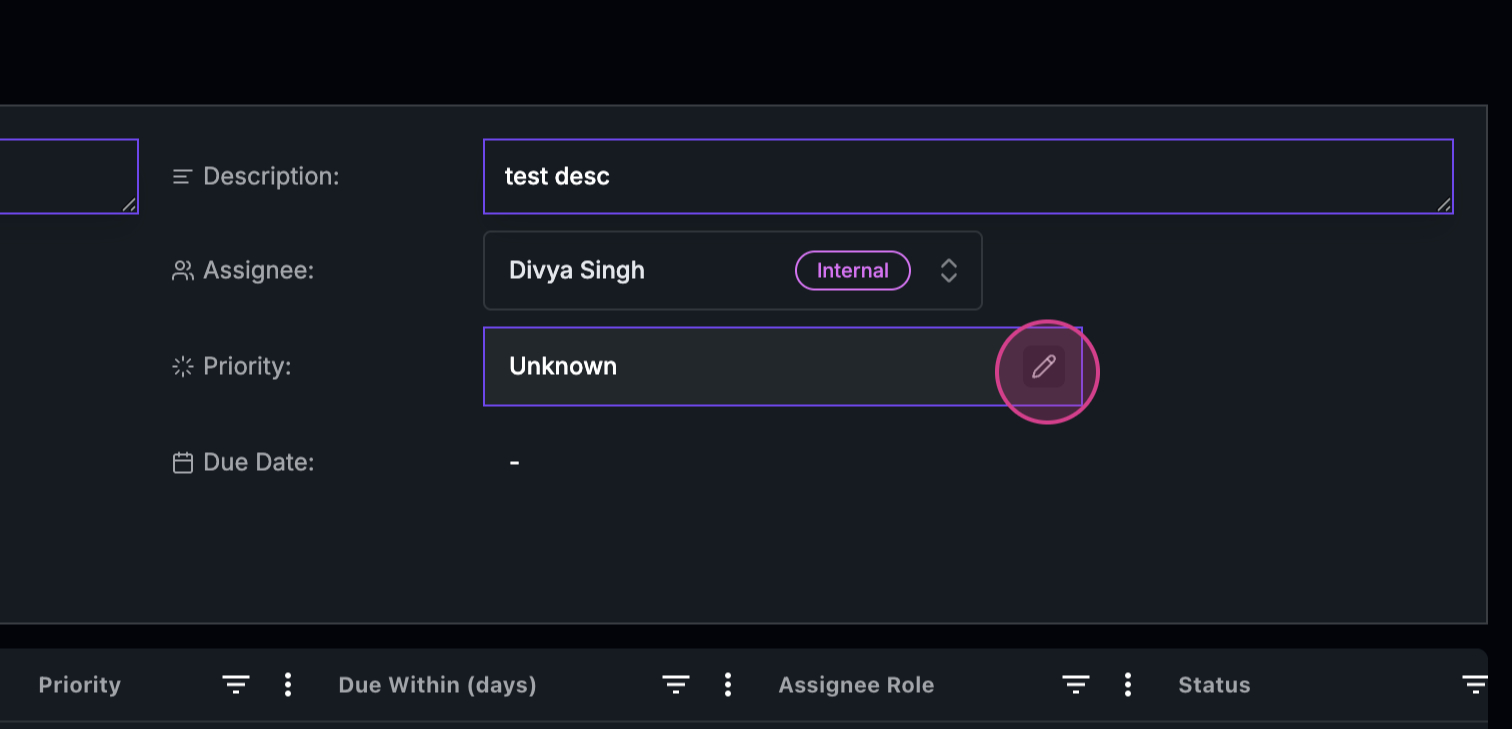
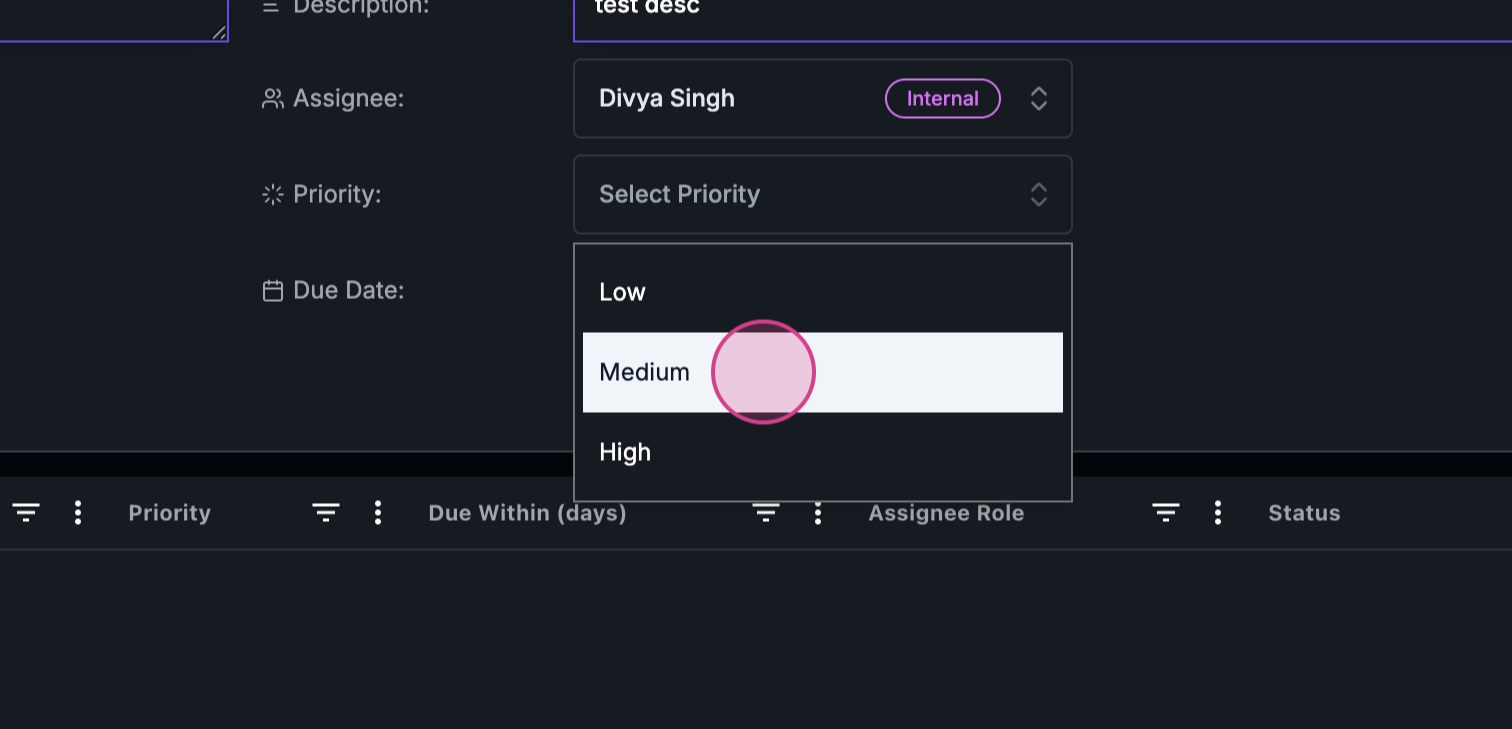
 Step 9: Set the project priority.
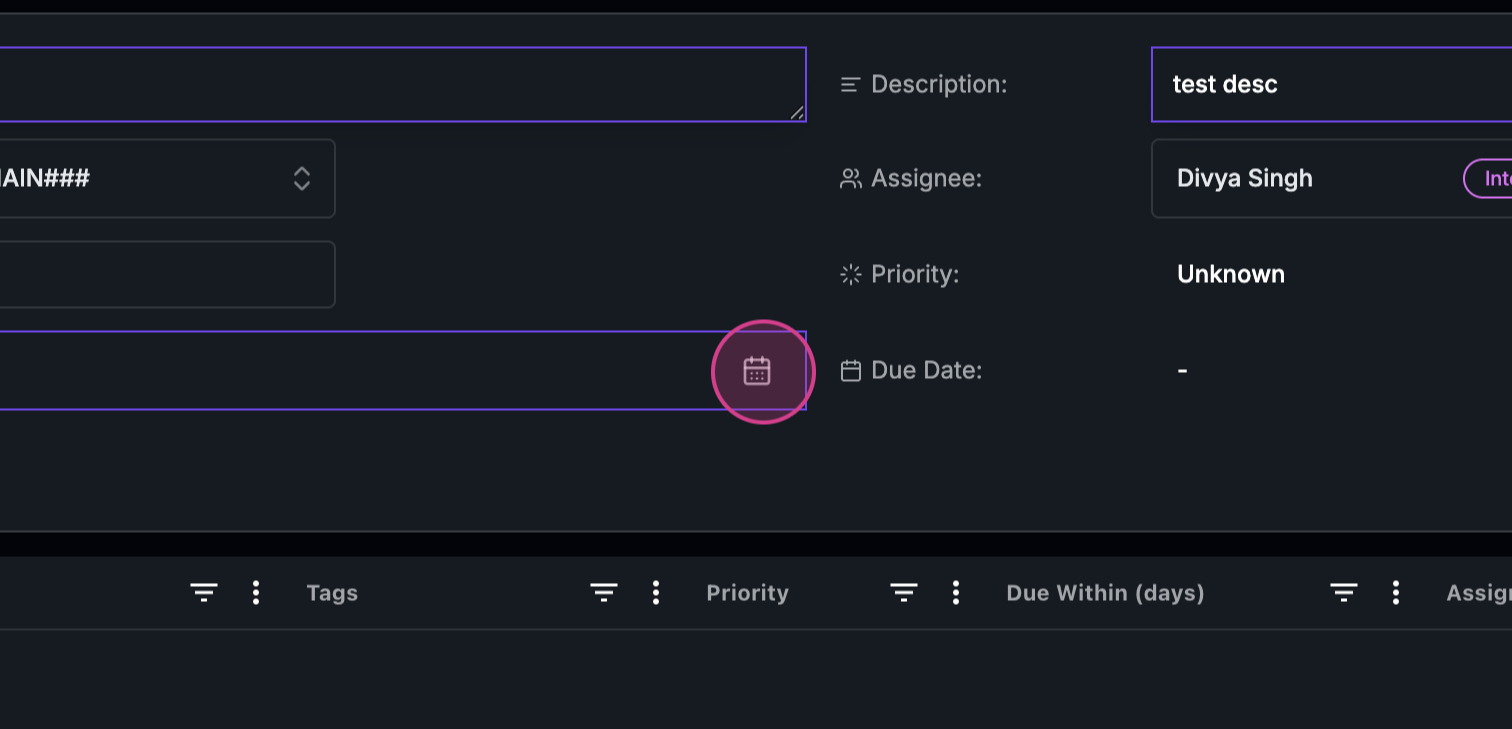
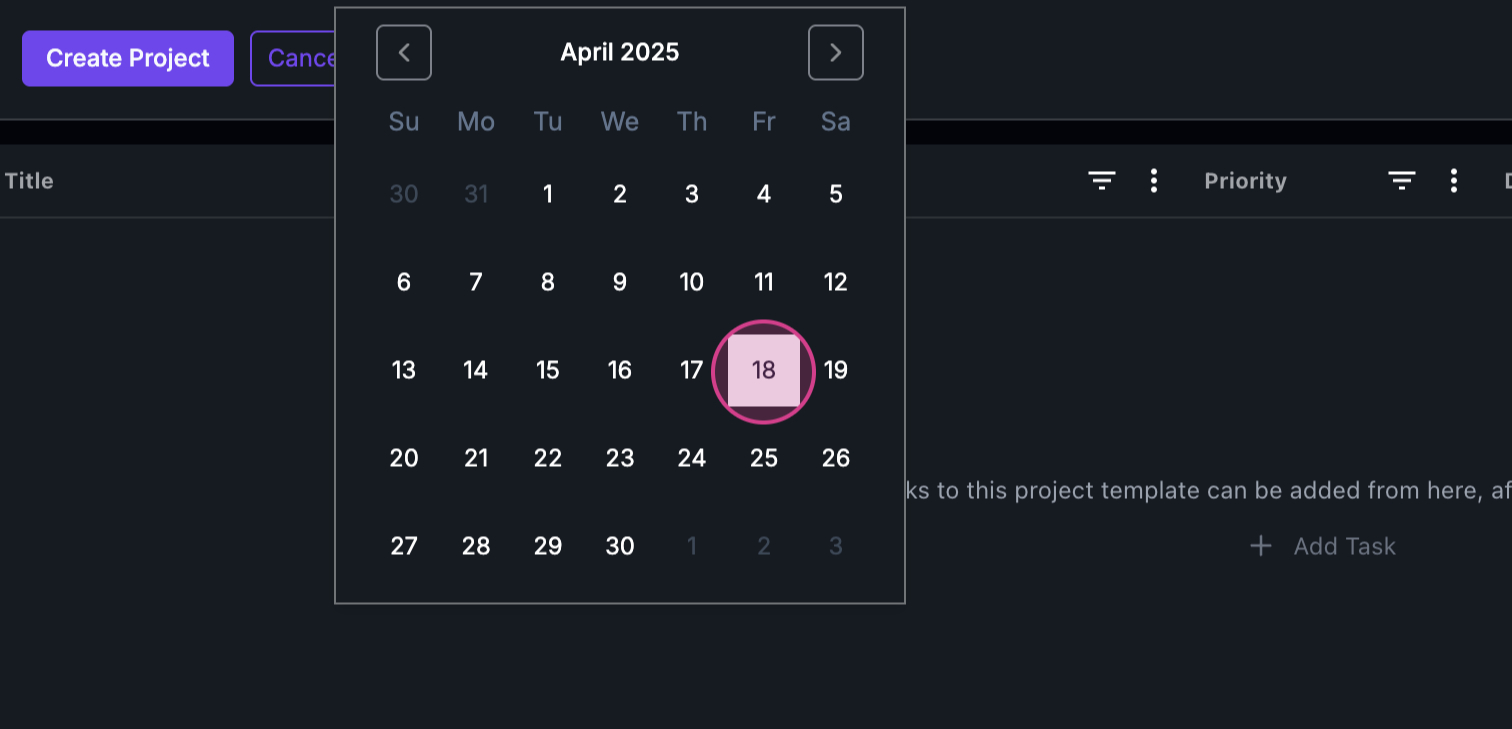
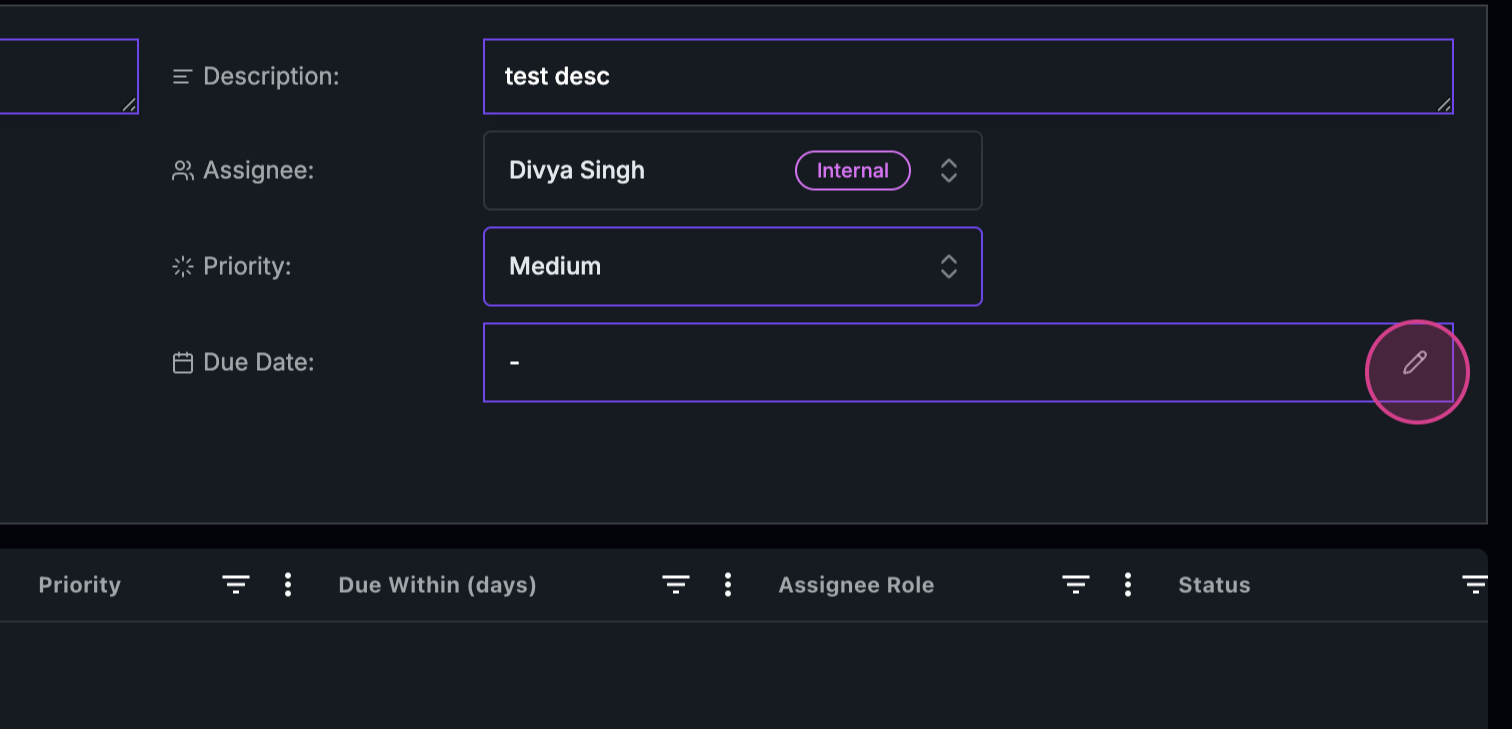
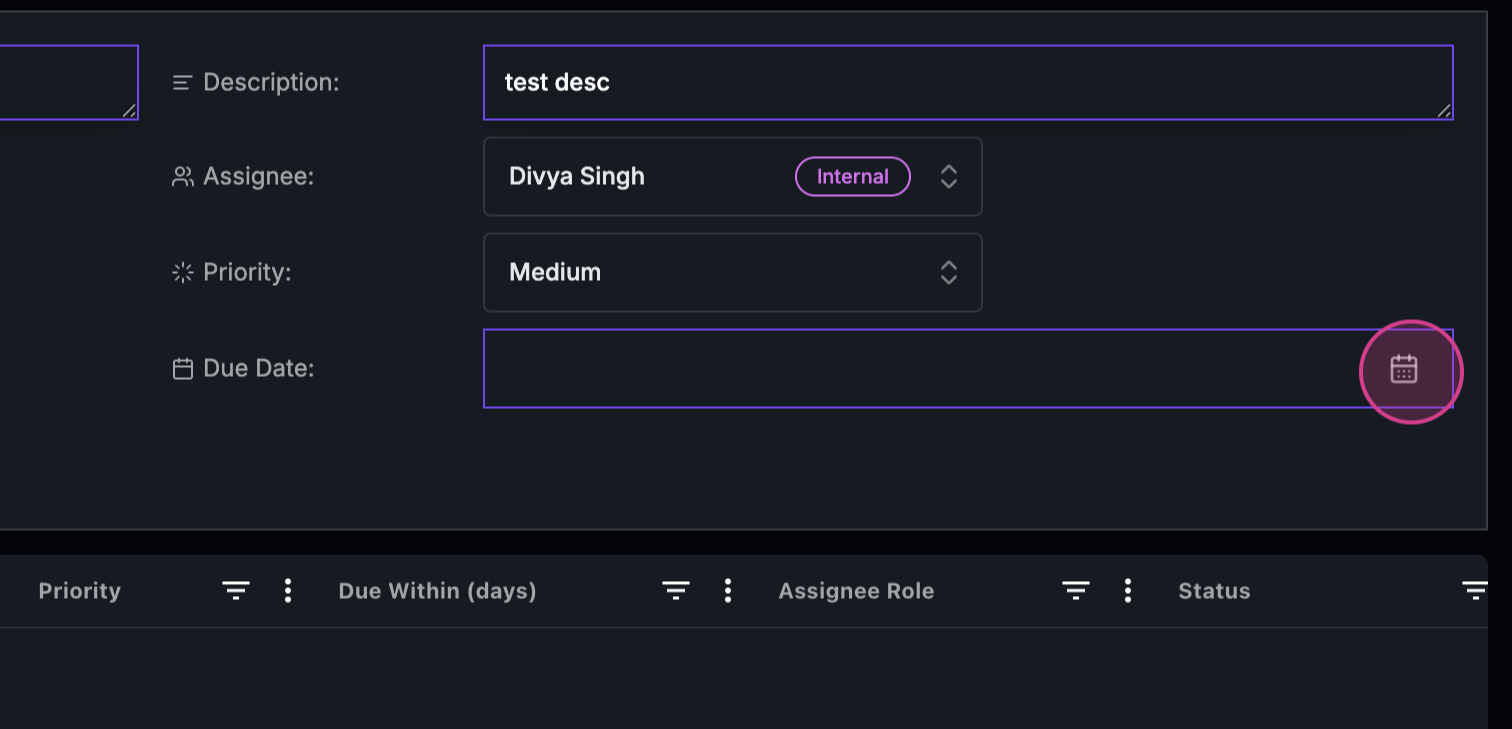
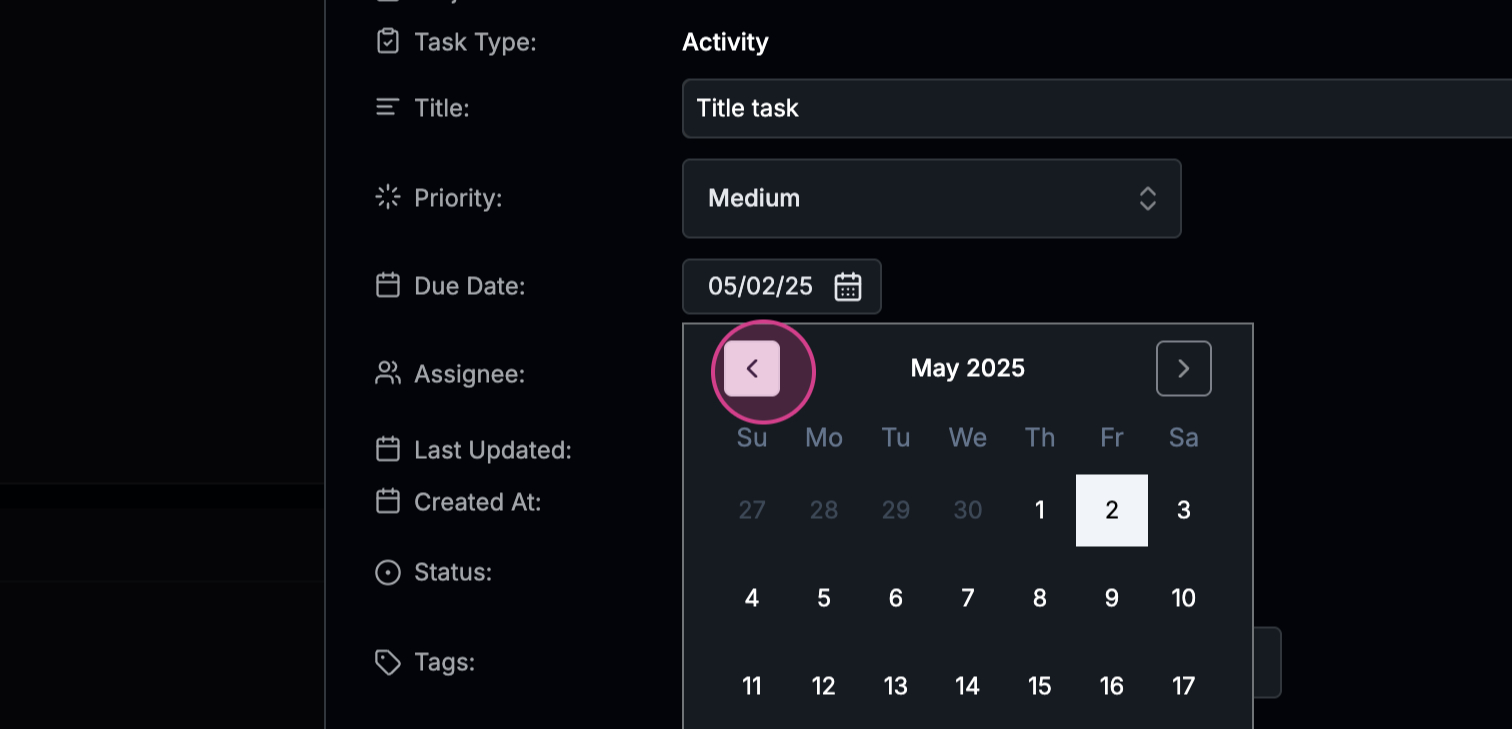
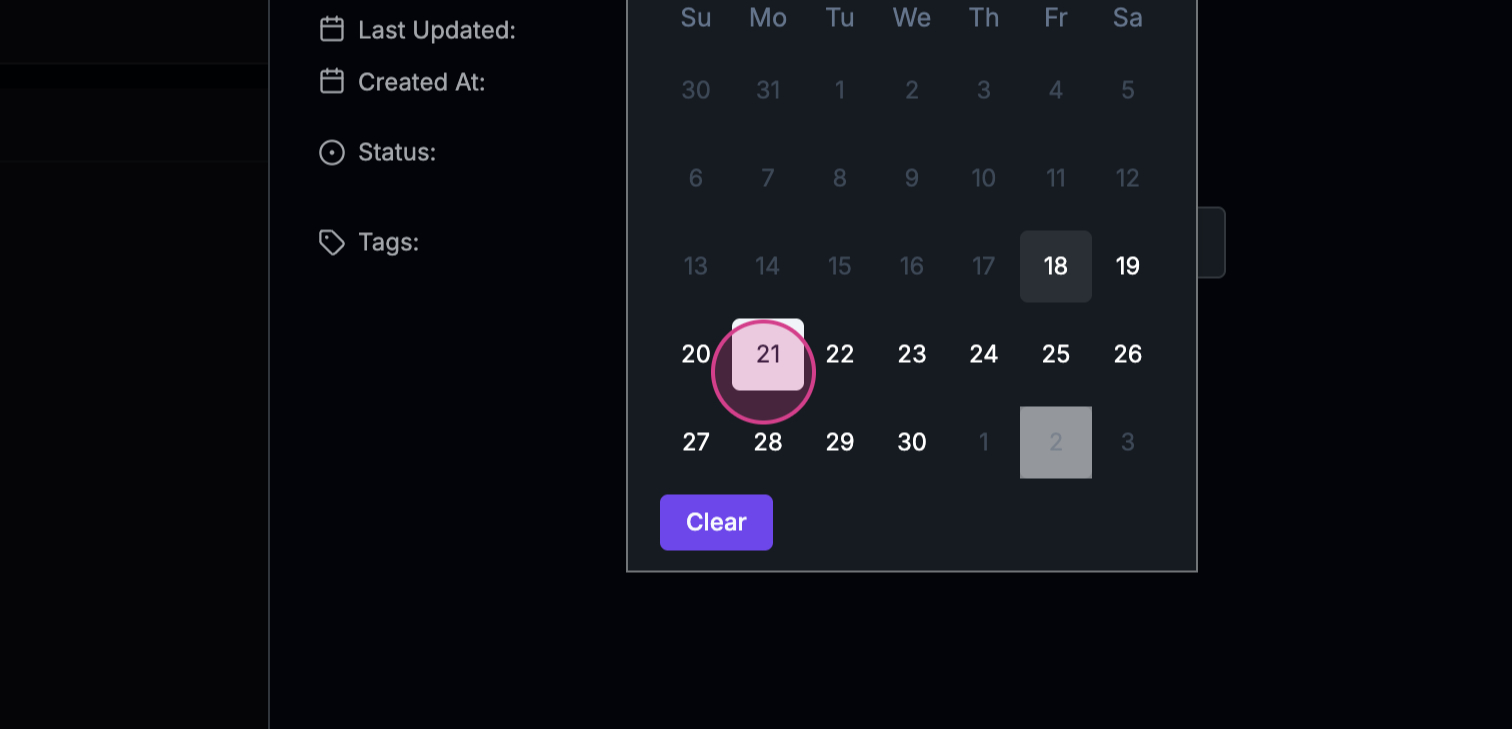
 Step 10: Choose a due date for the project.
 Step 11: Click on Create Project to finalize the project creation.
 Now, let’s add tasks to the project.
Step 12: Click on the Add Task icon.
Now, let’s add tasks to the project.
Step 12: Click on the Add Task icon.
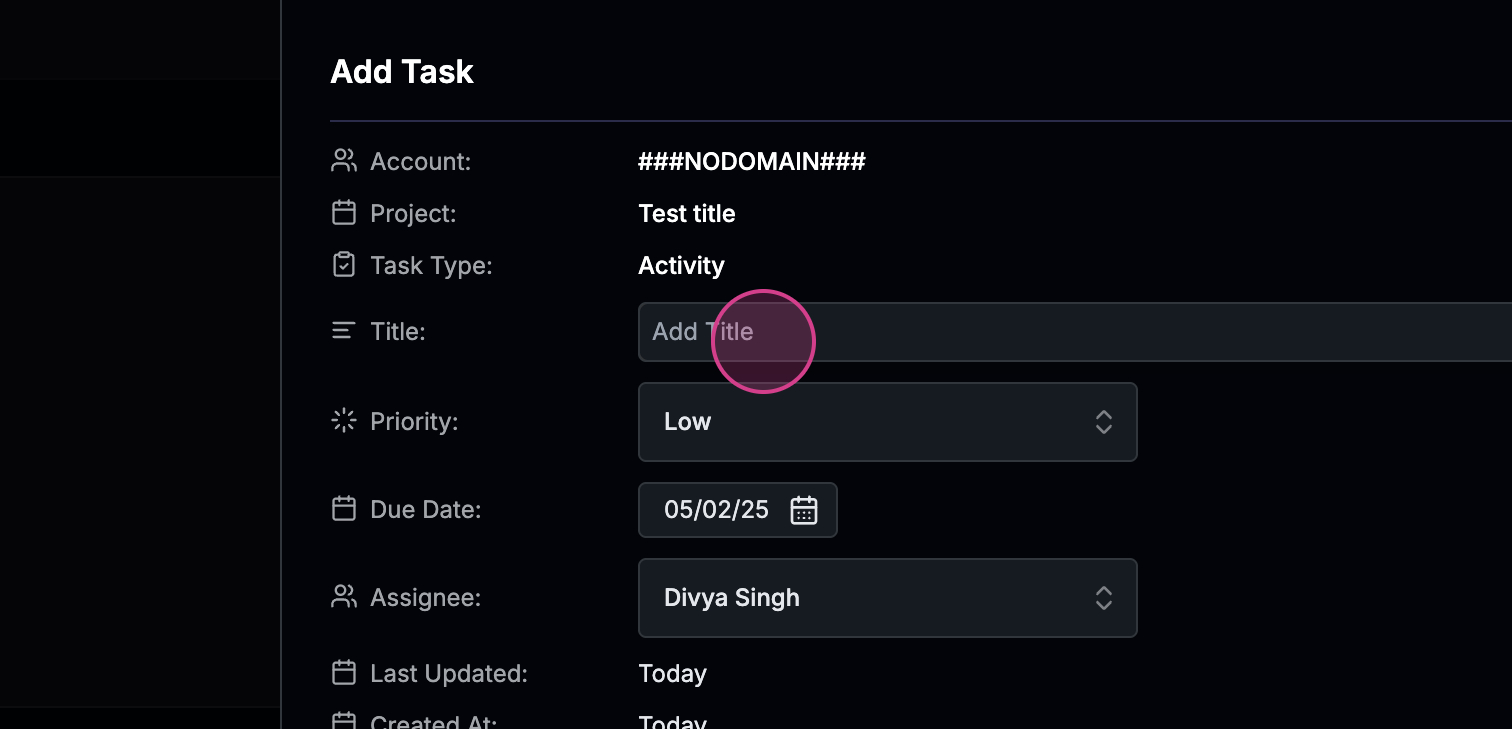
 Step 13: Give your task a title.
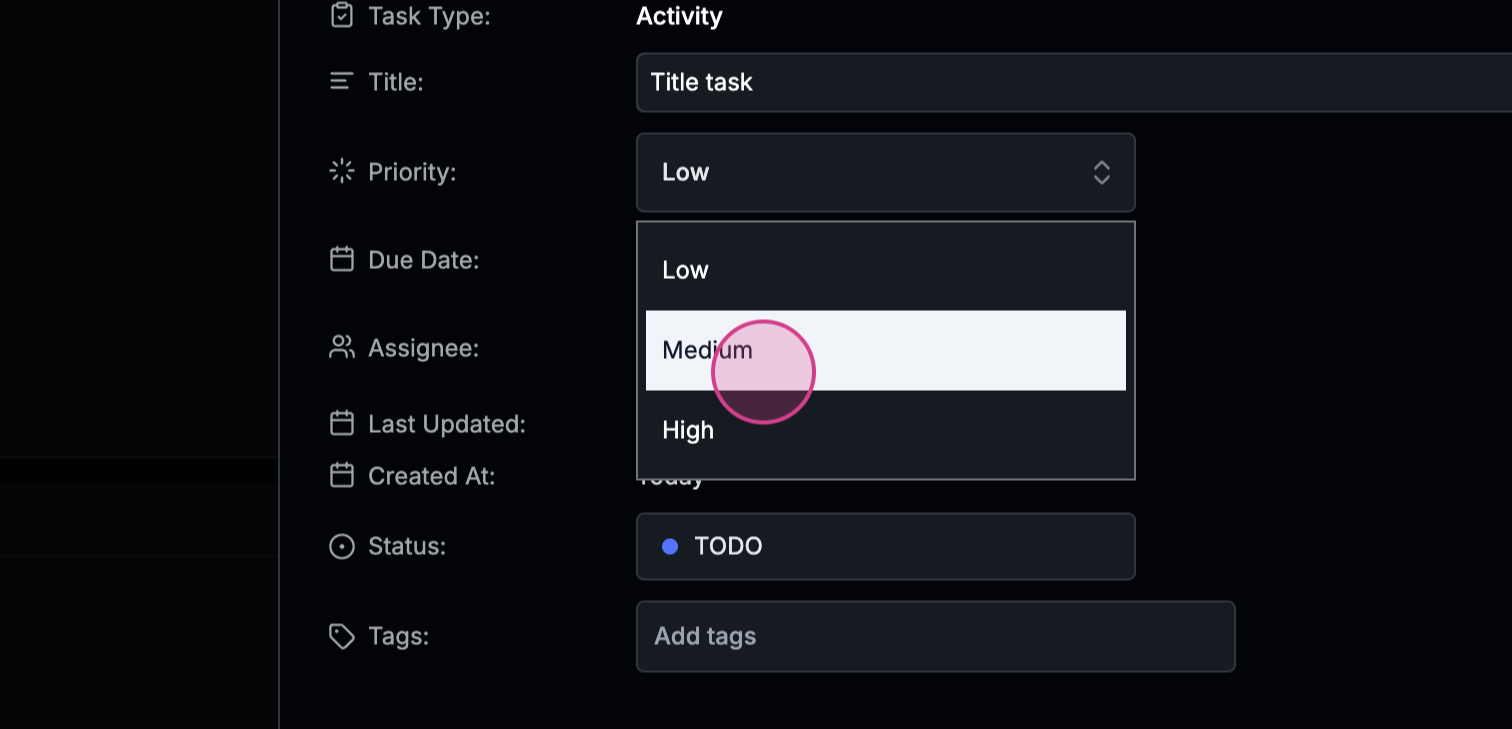
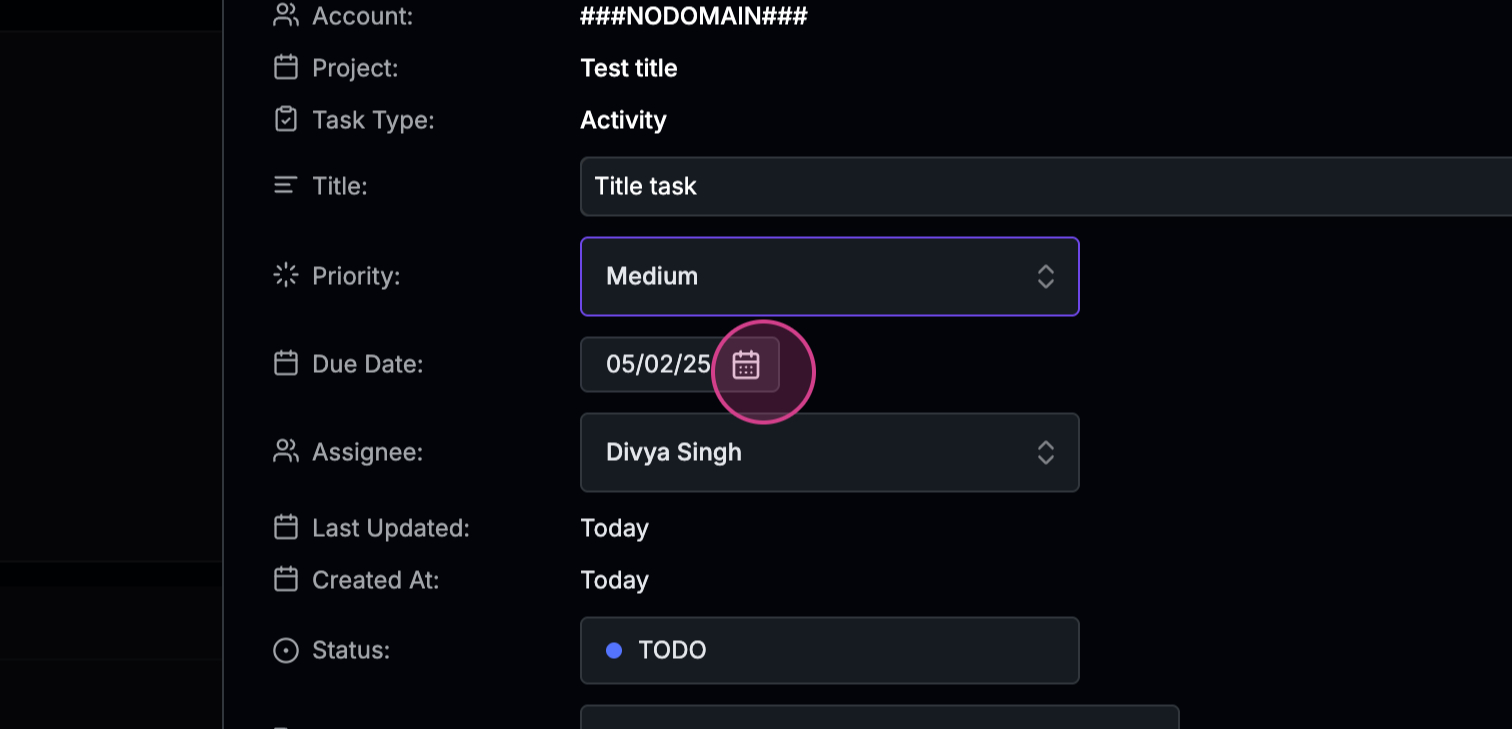
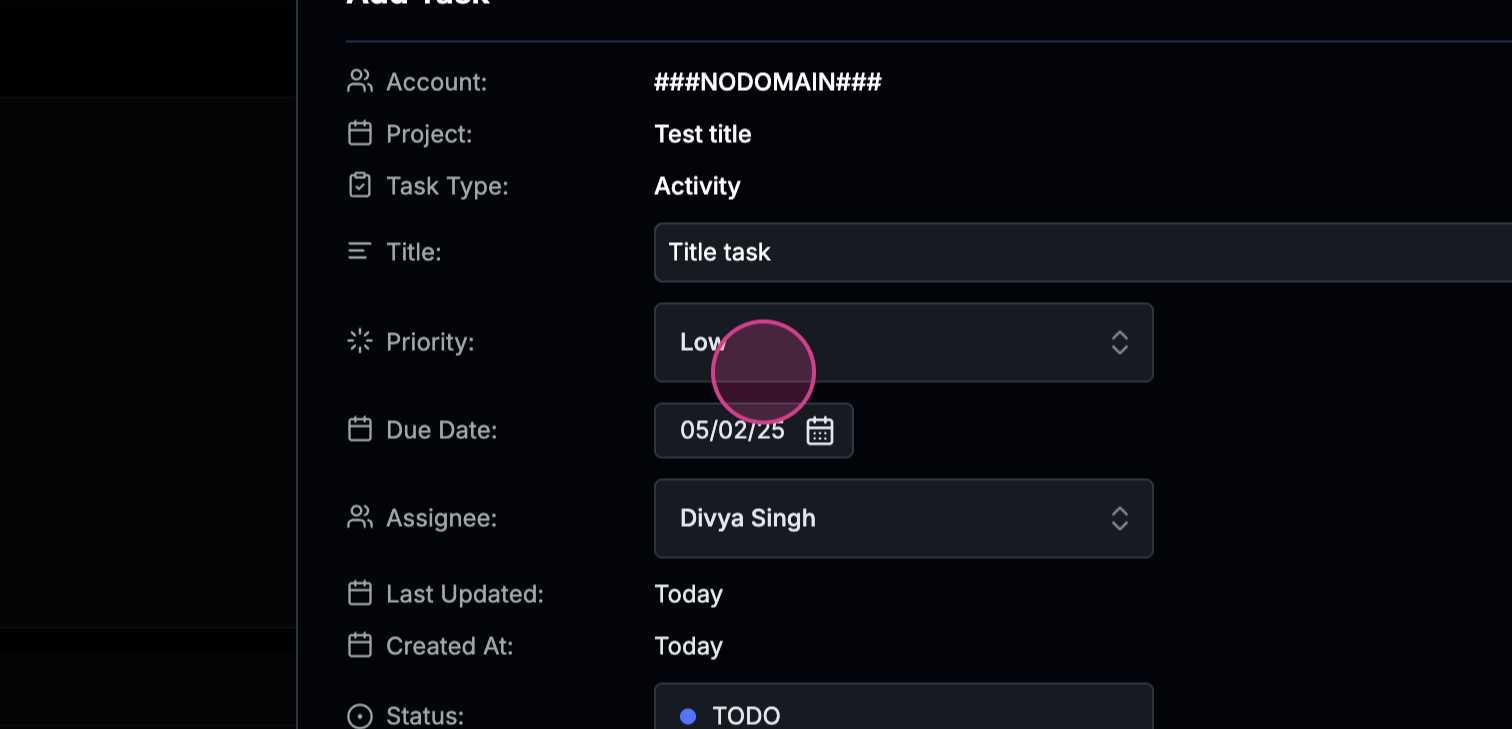 Step 14: Set the task priority and due date.
 Step 15: Choose an assignee and set the task status.
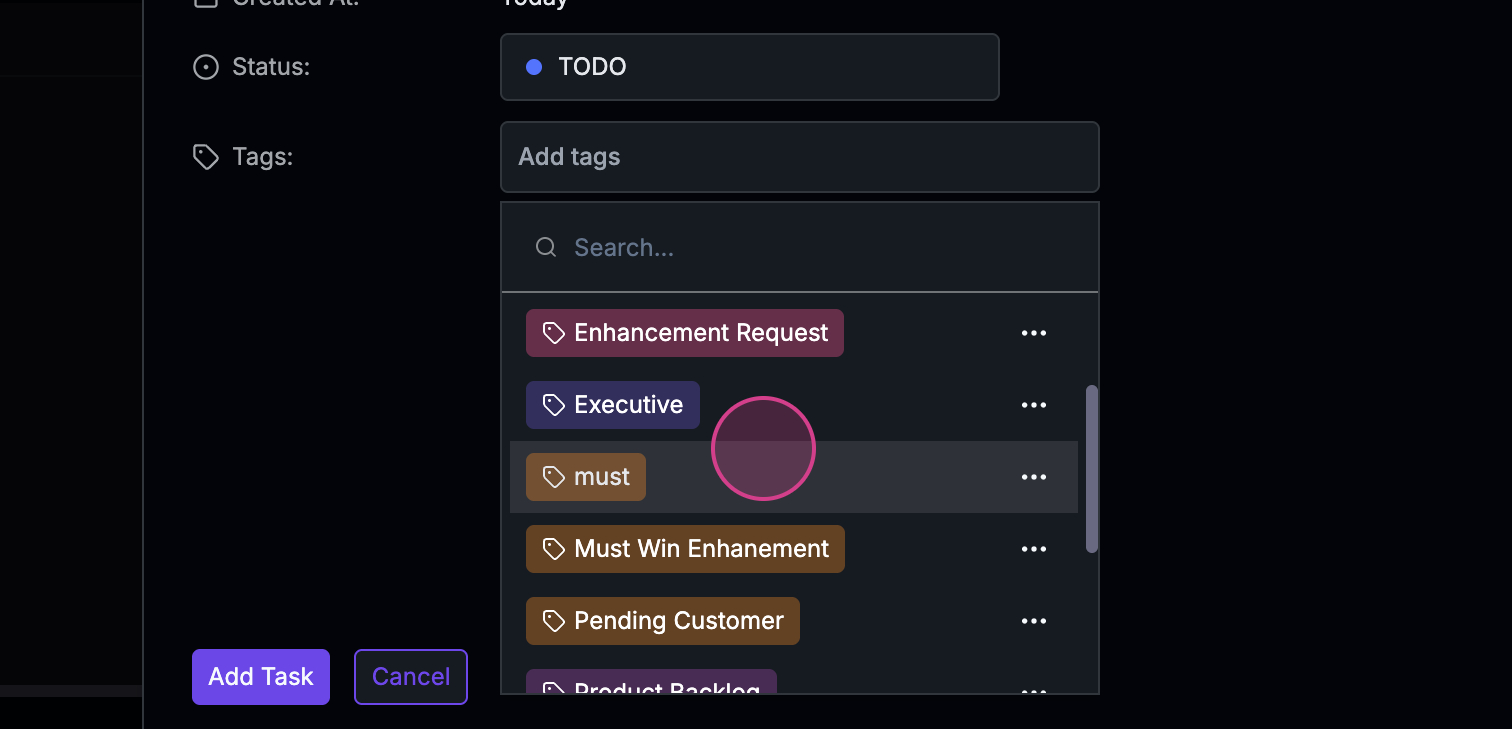
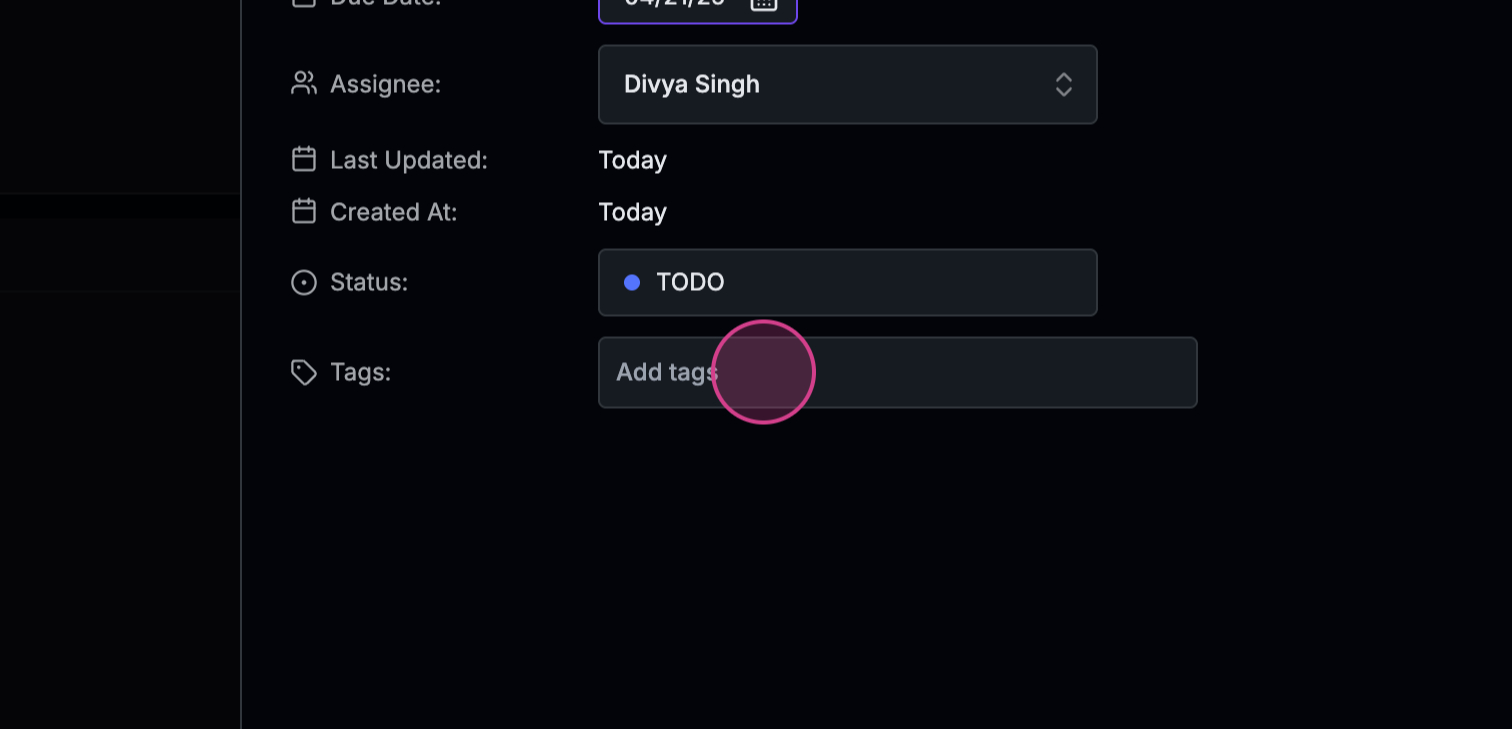 Step 16: Add tags to your task.
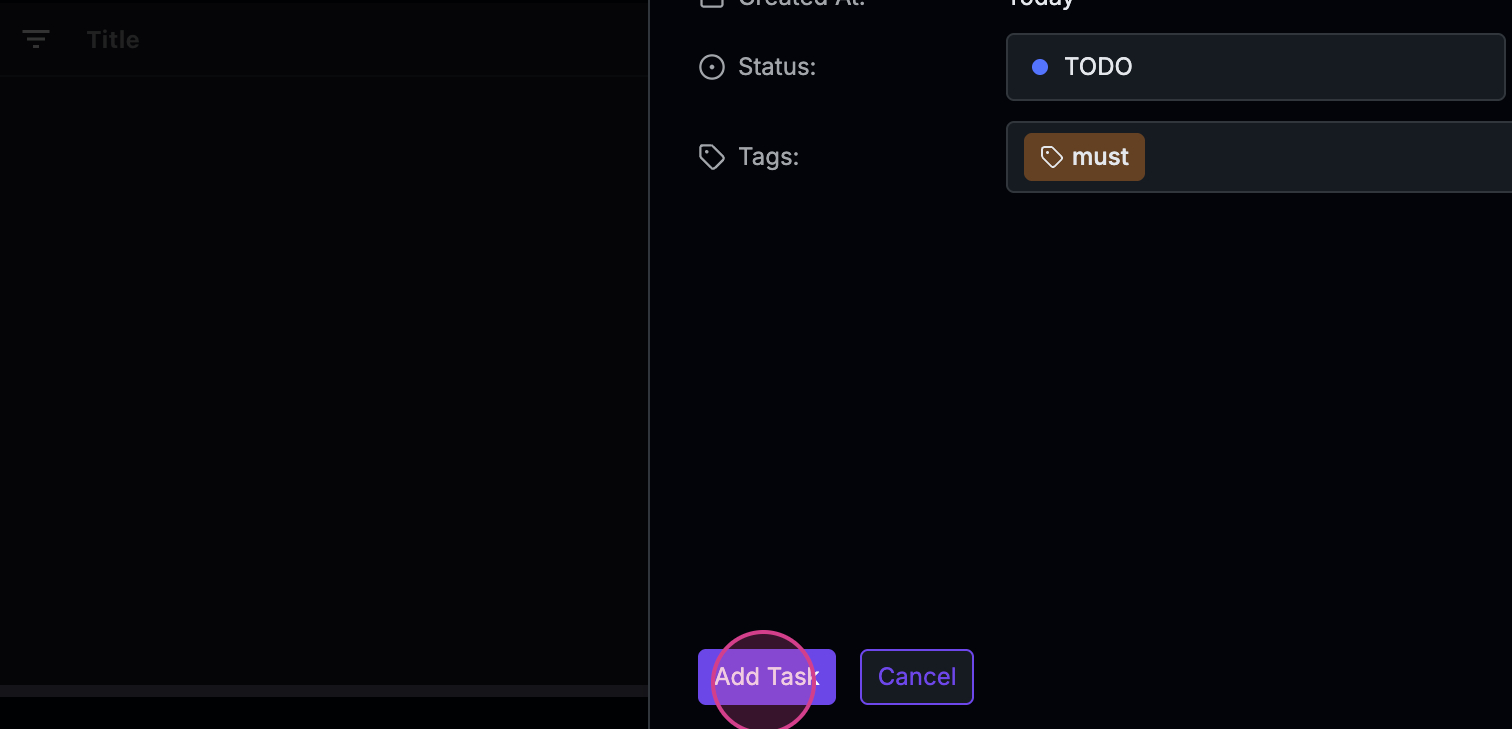
 Step 17: Finally, click on Add Task to add the task to your project.
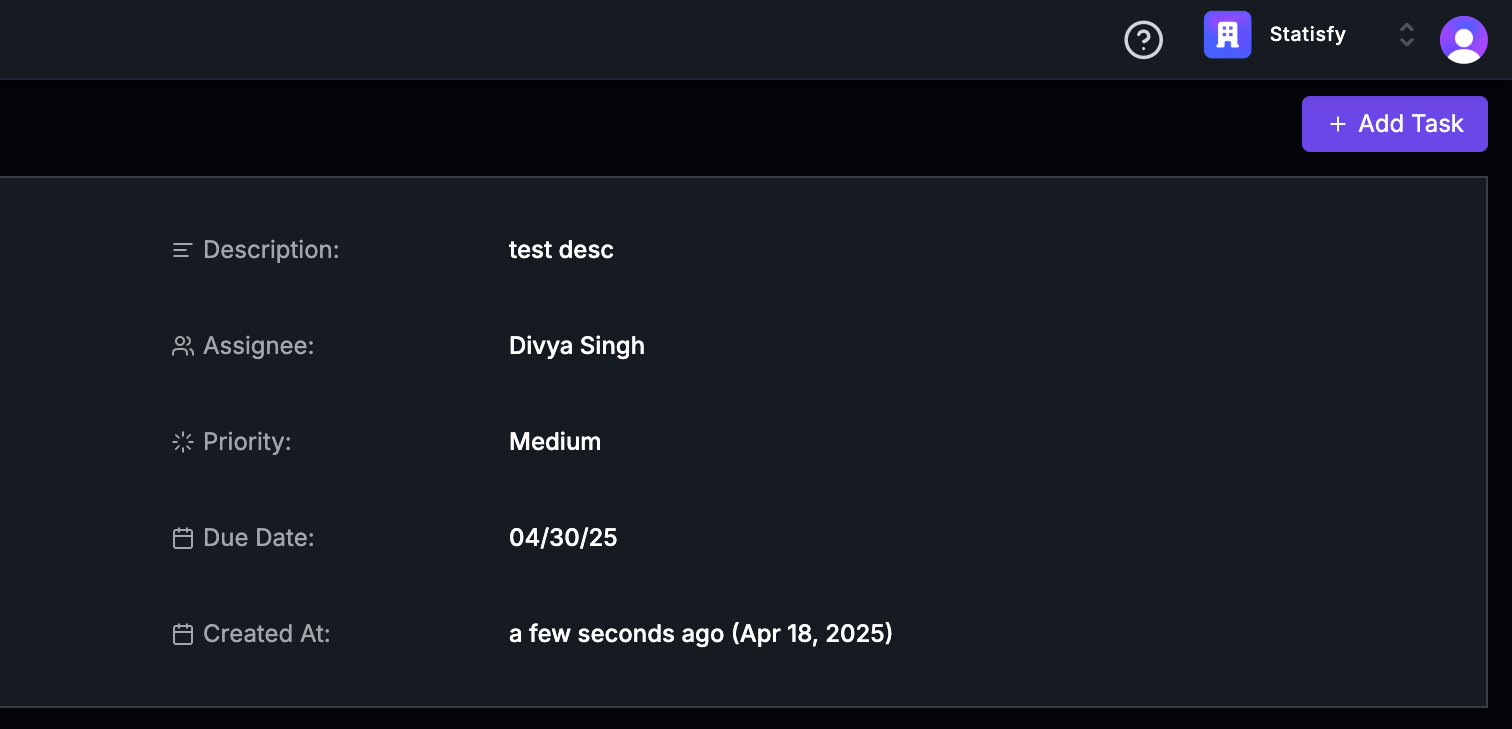
 And that’s it! You’ve successfully created a new project and added a task to it.