Video Tutorial
Transcript
Transcript
This tutorial covers how to navigate Stella AI and use its features:
- Navigate to the Stella AI module in the left side pane
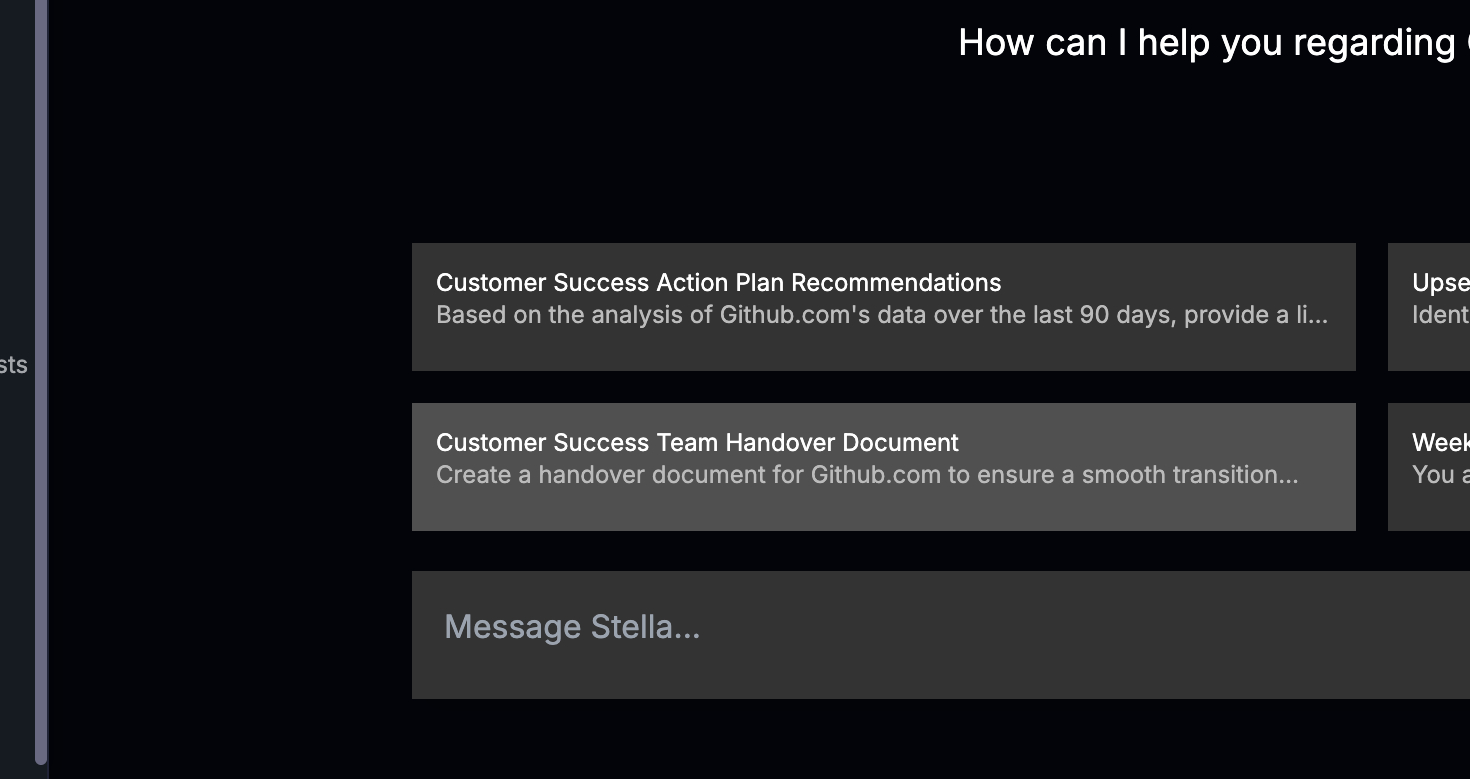
- On the main page, find four predefined queries - click any to edit
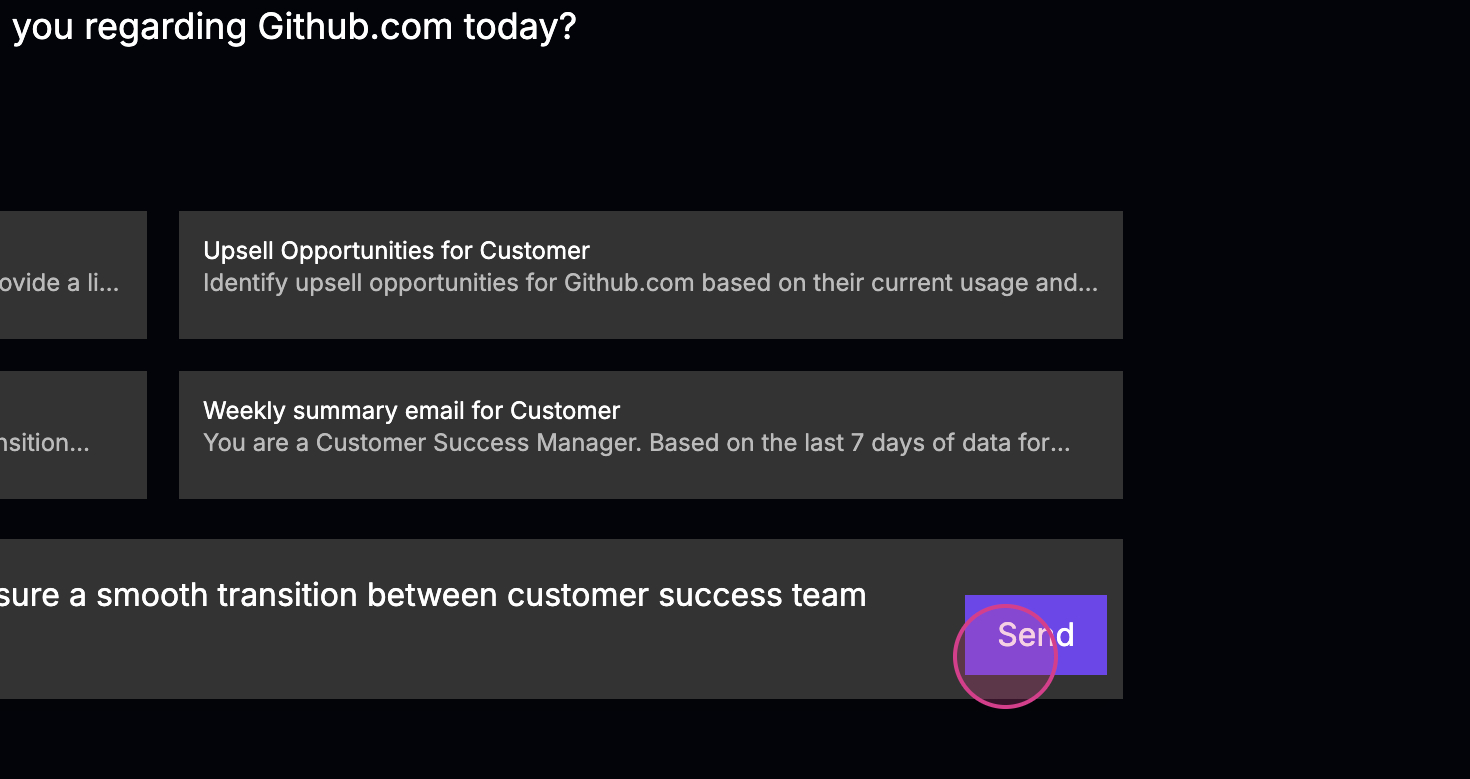
- After editing, click Send to get a response from Stella
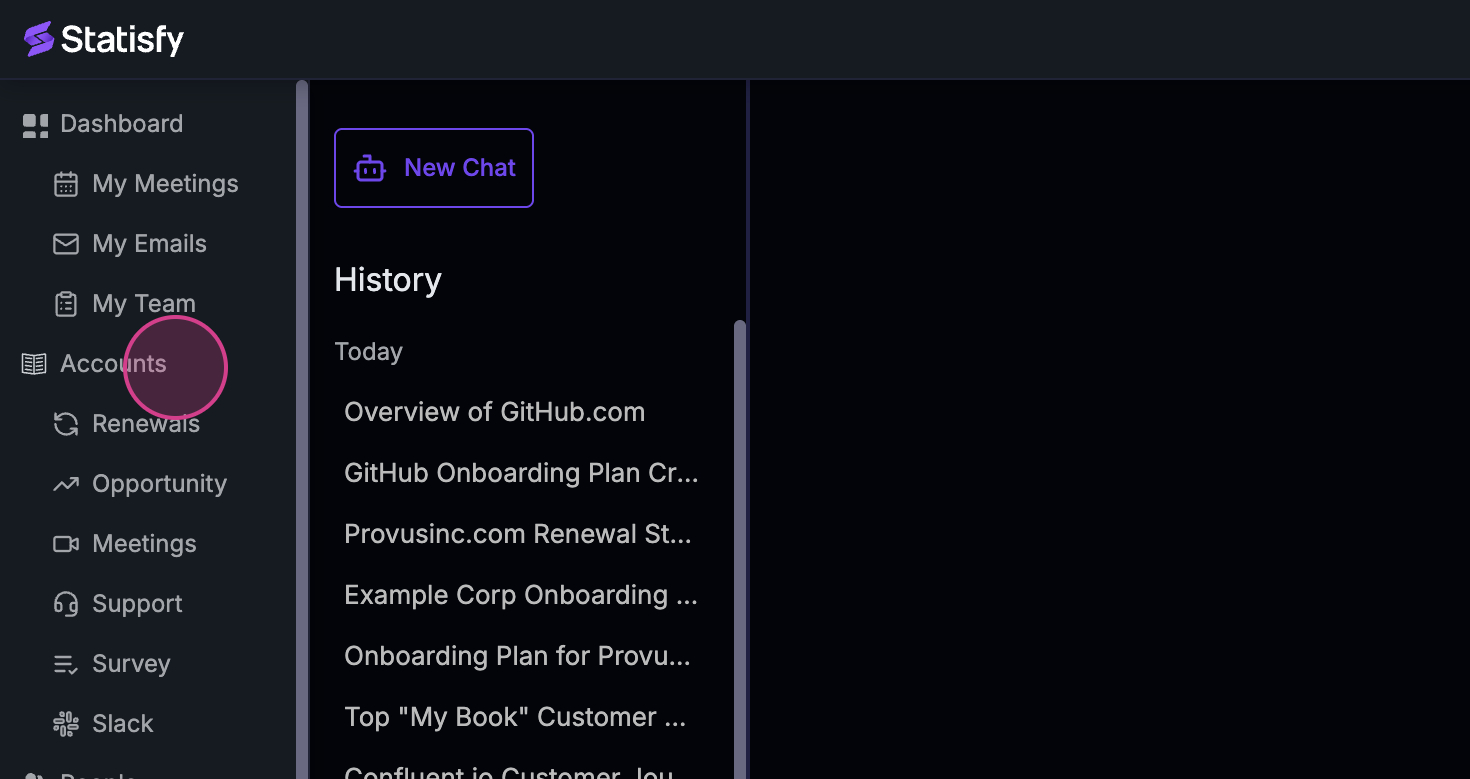
- Use the history pane on the left to view and reuse past queries
- Click New Chat to start a fresh query
- Visit the Prompt Library for more query templates
- Access Stella from any account by going to the account section
- Select an account name, then click Ask Stella to make queries
- Use the handover book option to get customer overviews for new CSMs
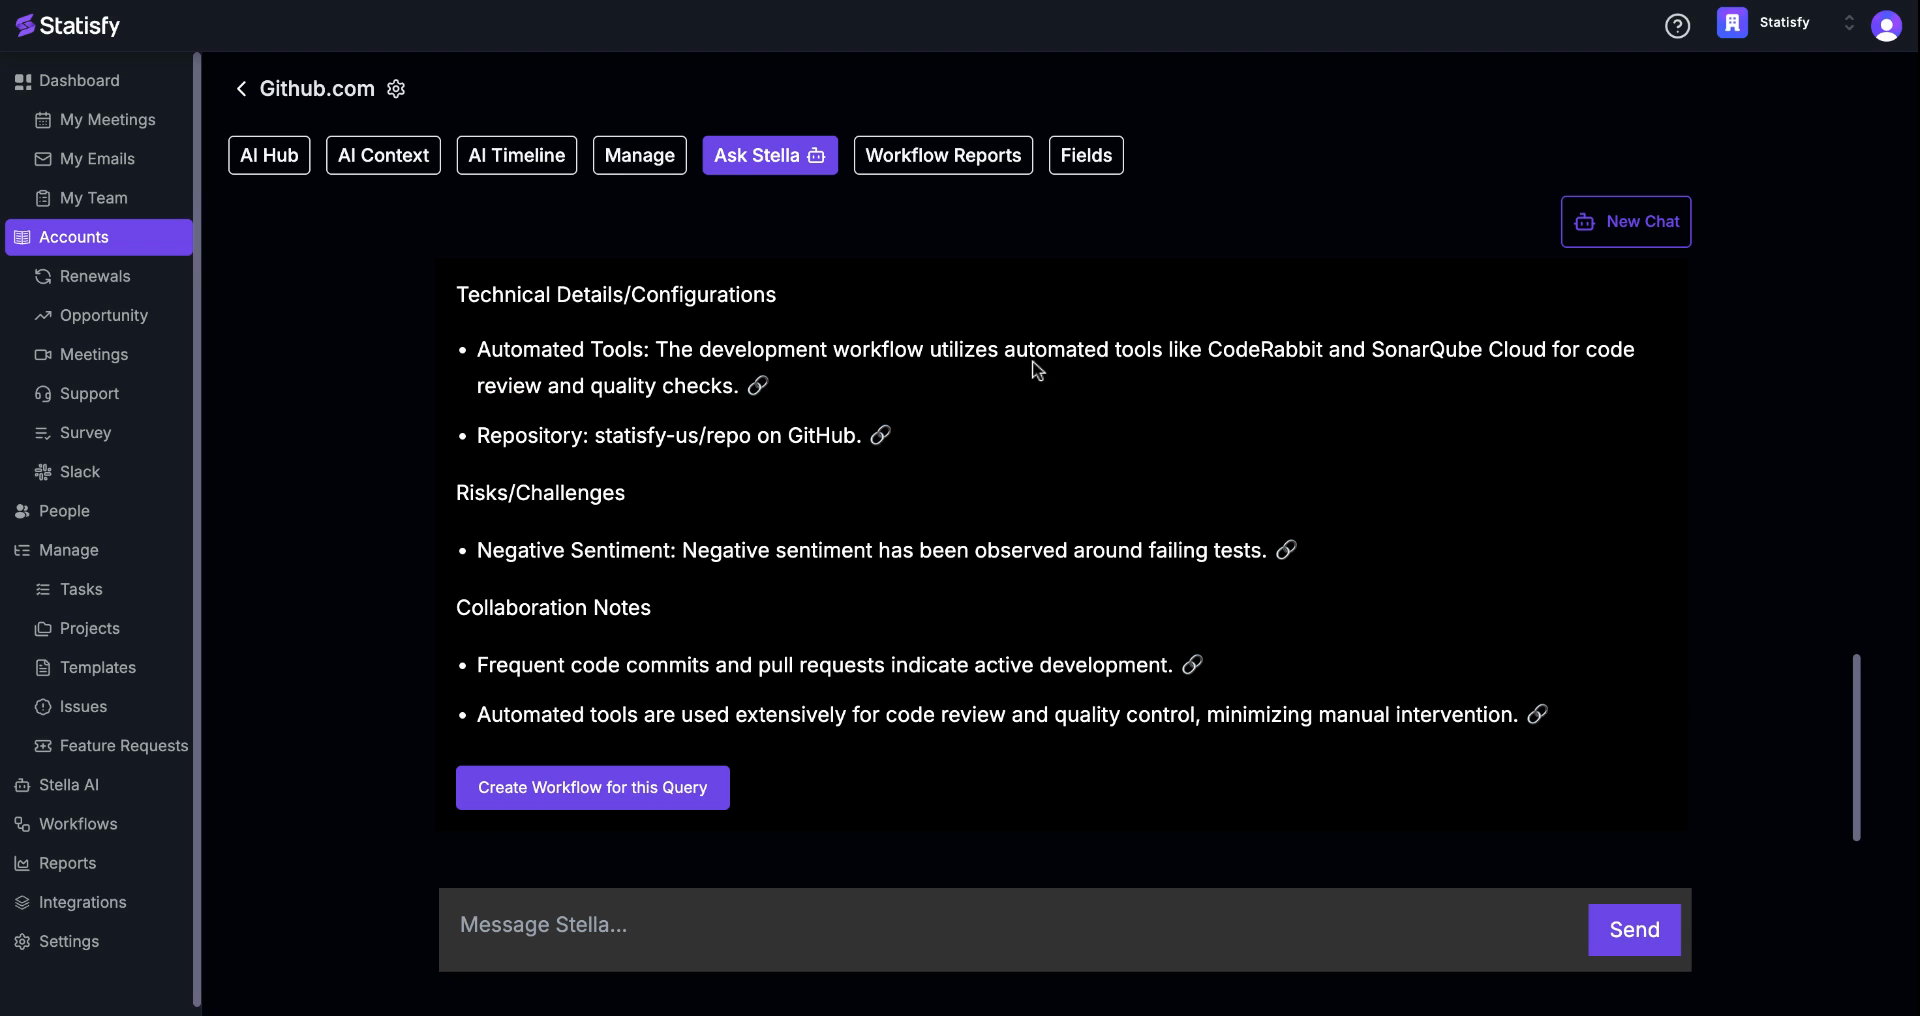
- Stella generates details including meetings, key POCs, health status, and sentiment
- Links to related meetings and discussions provide context for each point
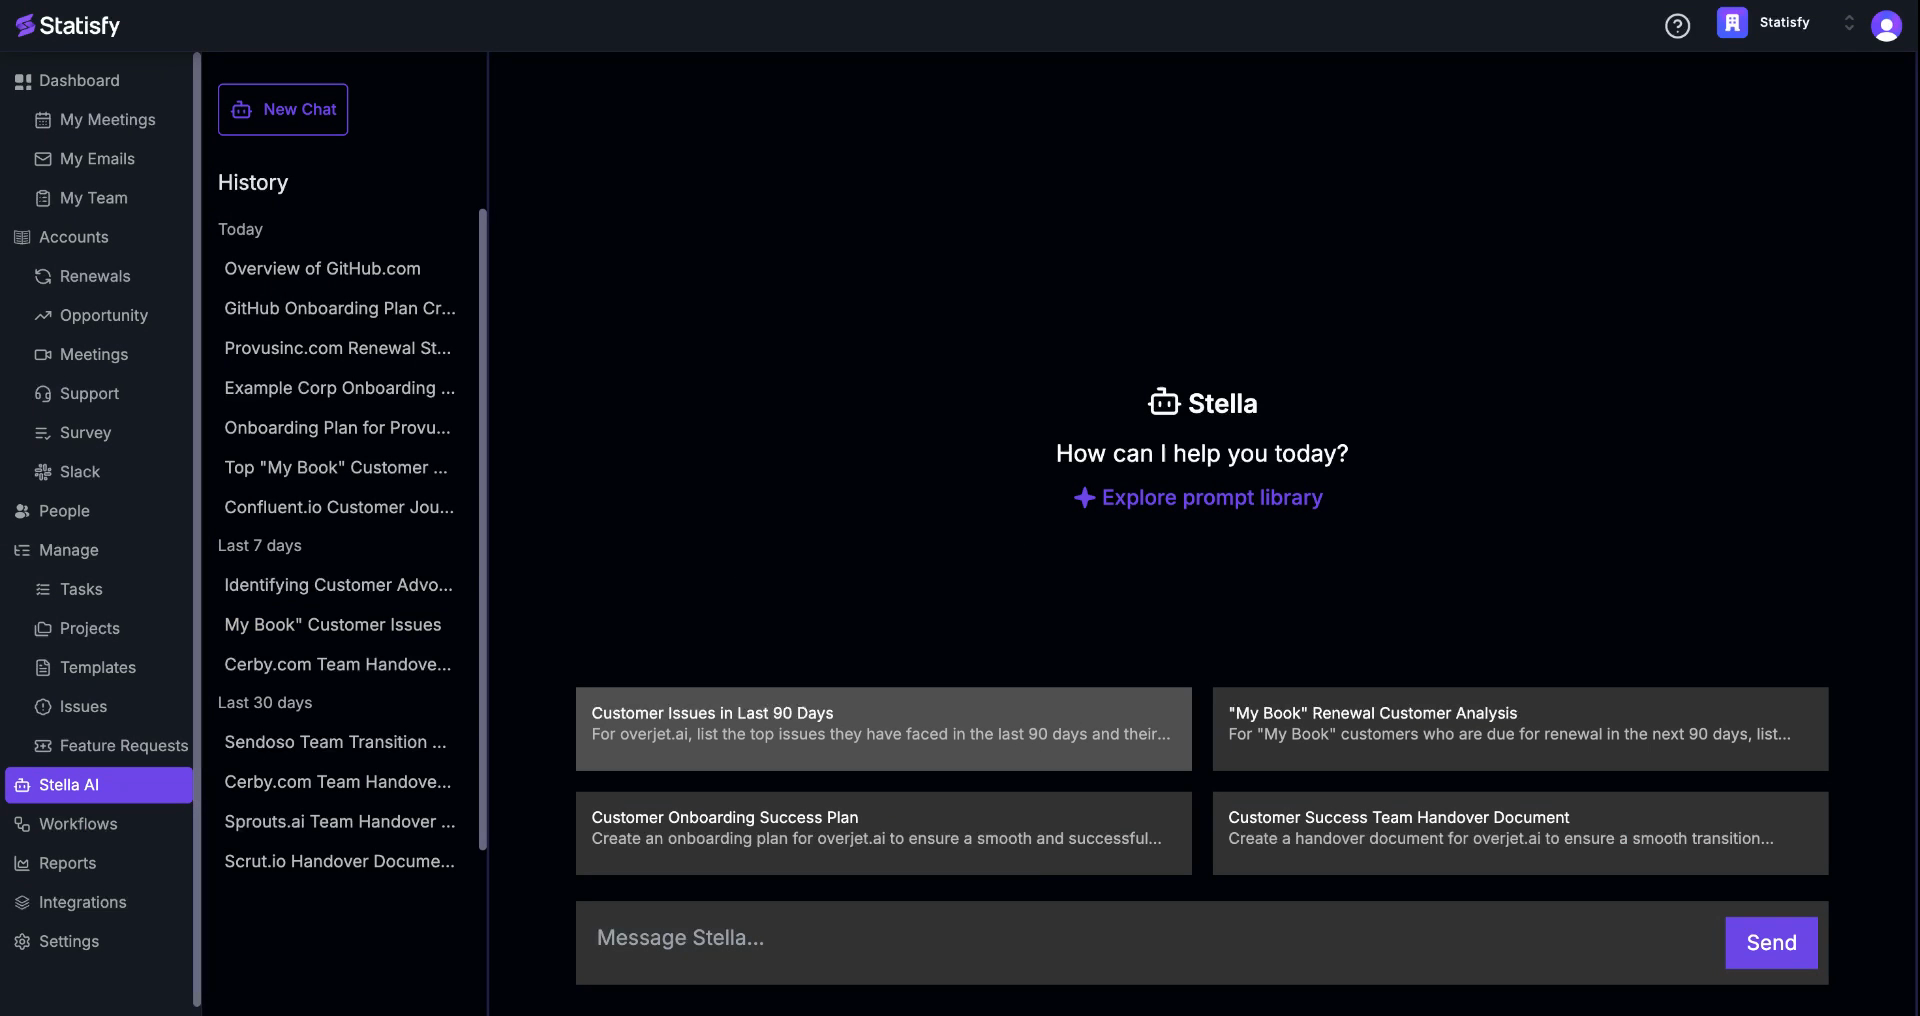
 Step 2: Observe the main page where you’ll find four predefined queries. Click on any of these queries to edit them.
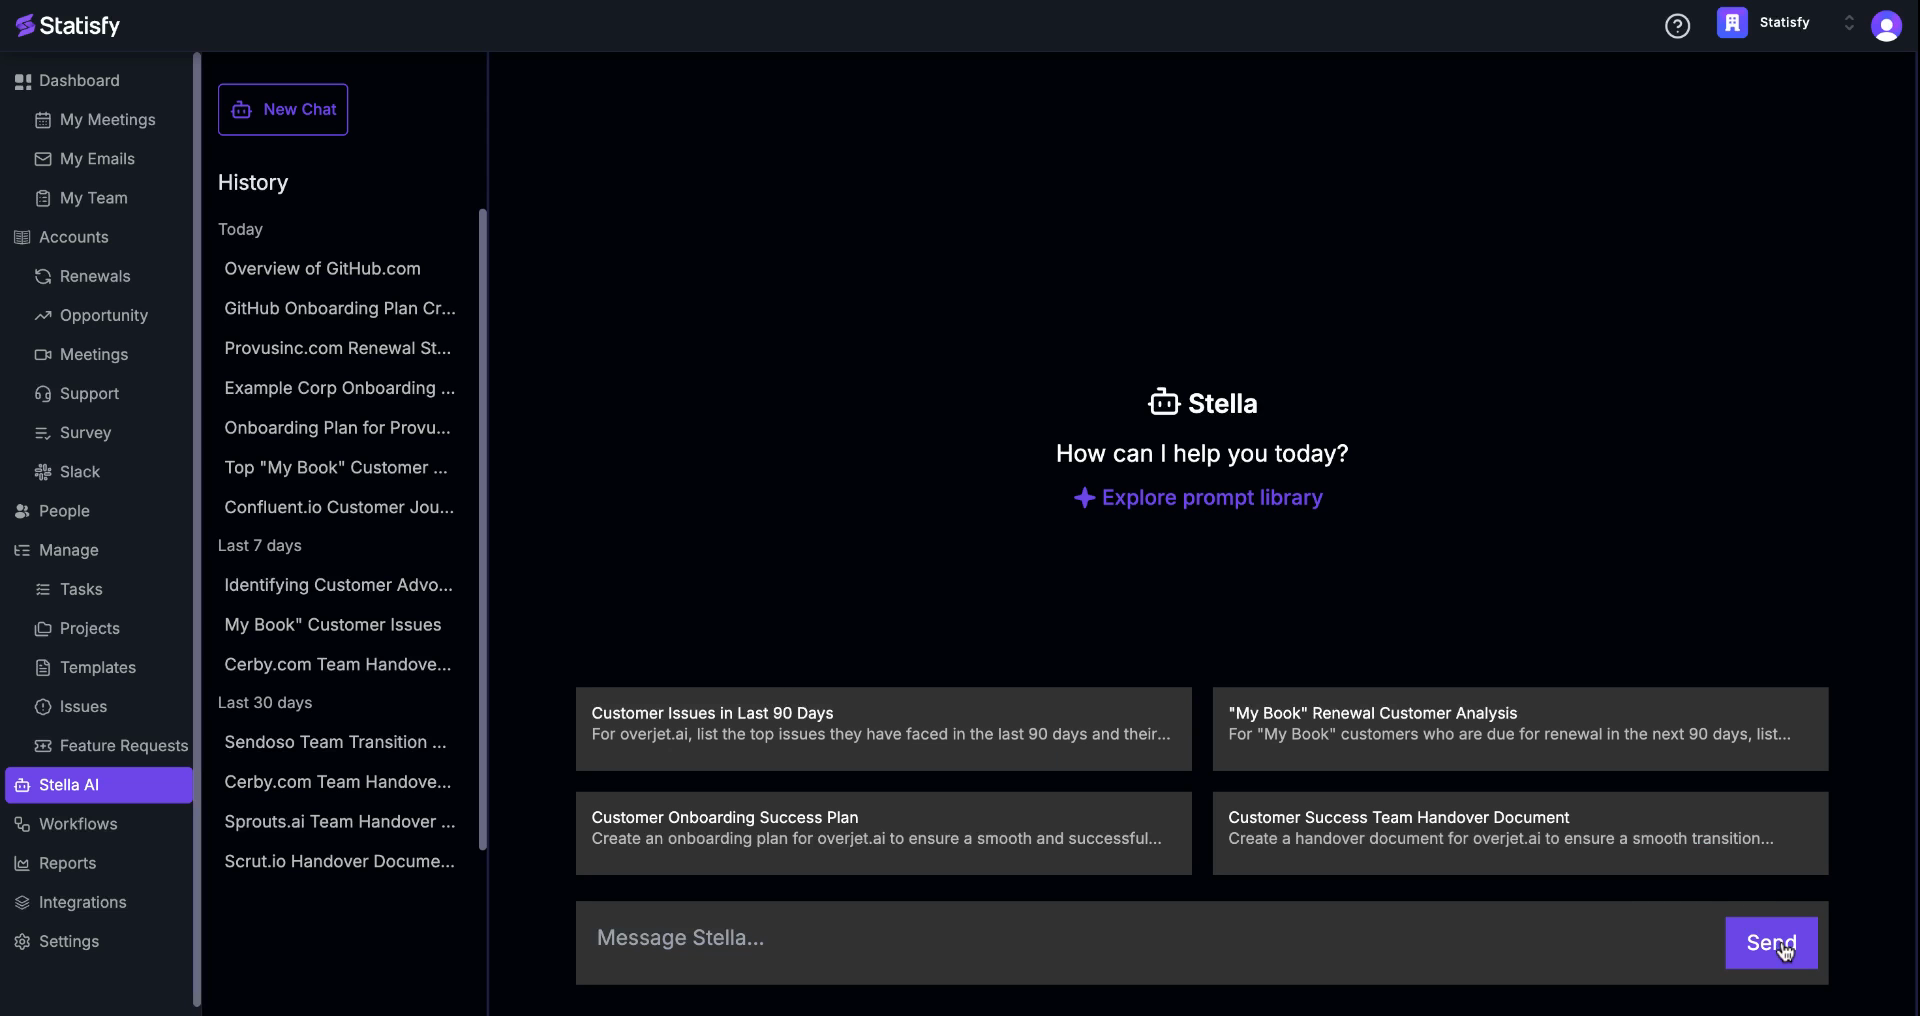
 Step 3: After making your edits, click on the Send button to get a response from Stella.
 Step 4: To reuse a previous query, look at the history pane on the left side. This pane shows all your past queries and the days you used them. Click on any query to view it.
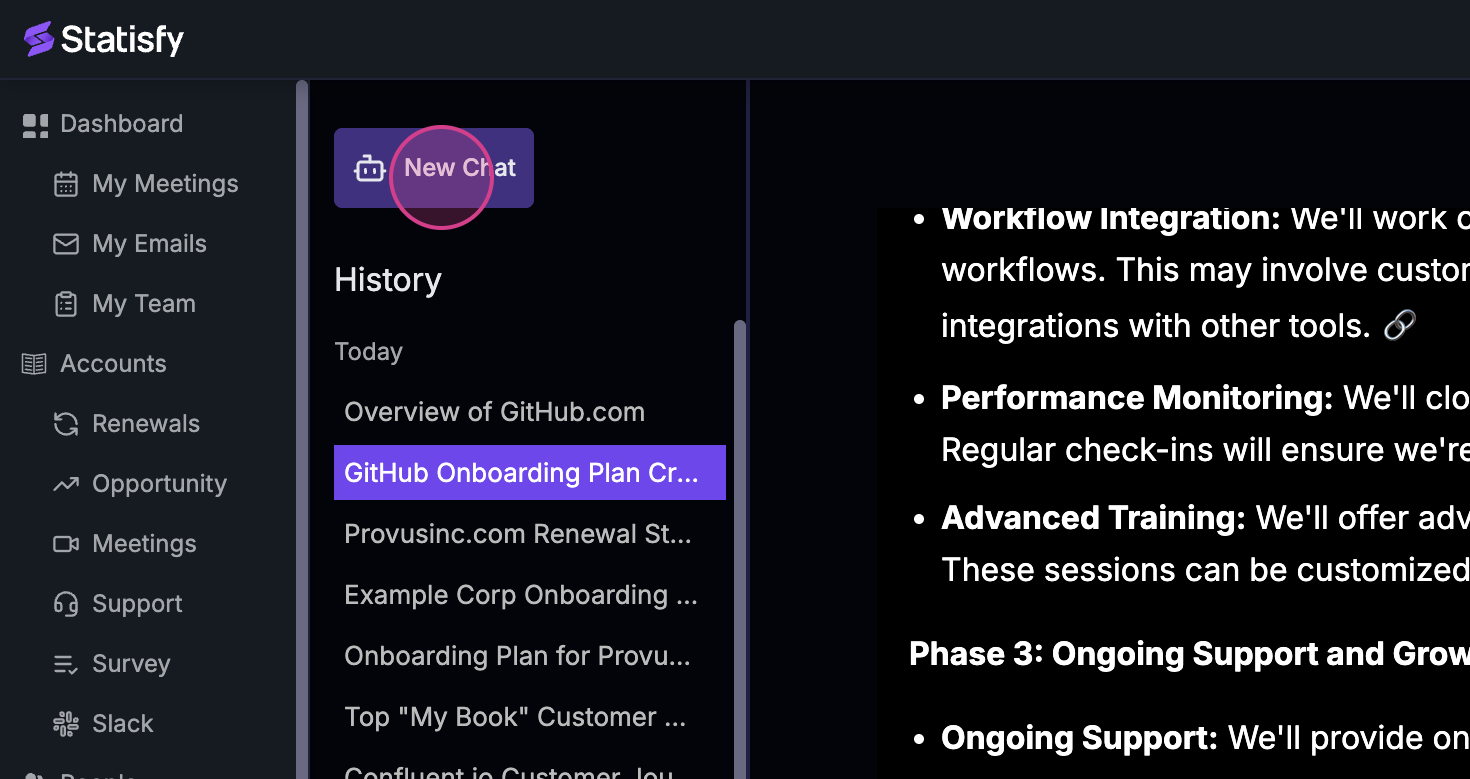
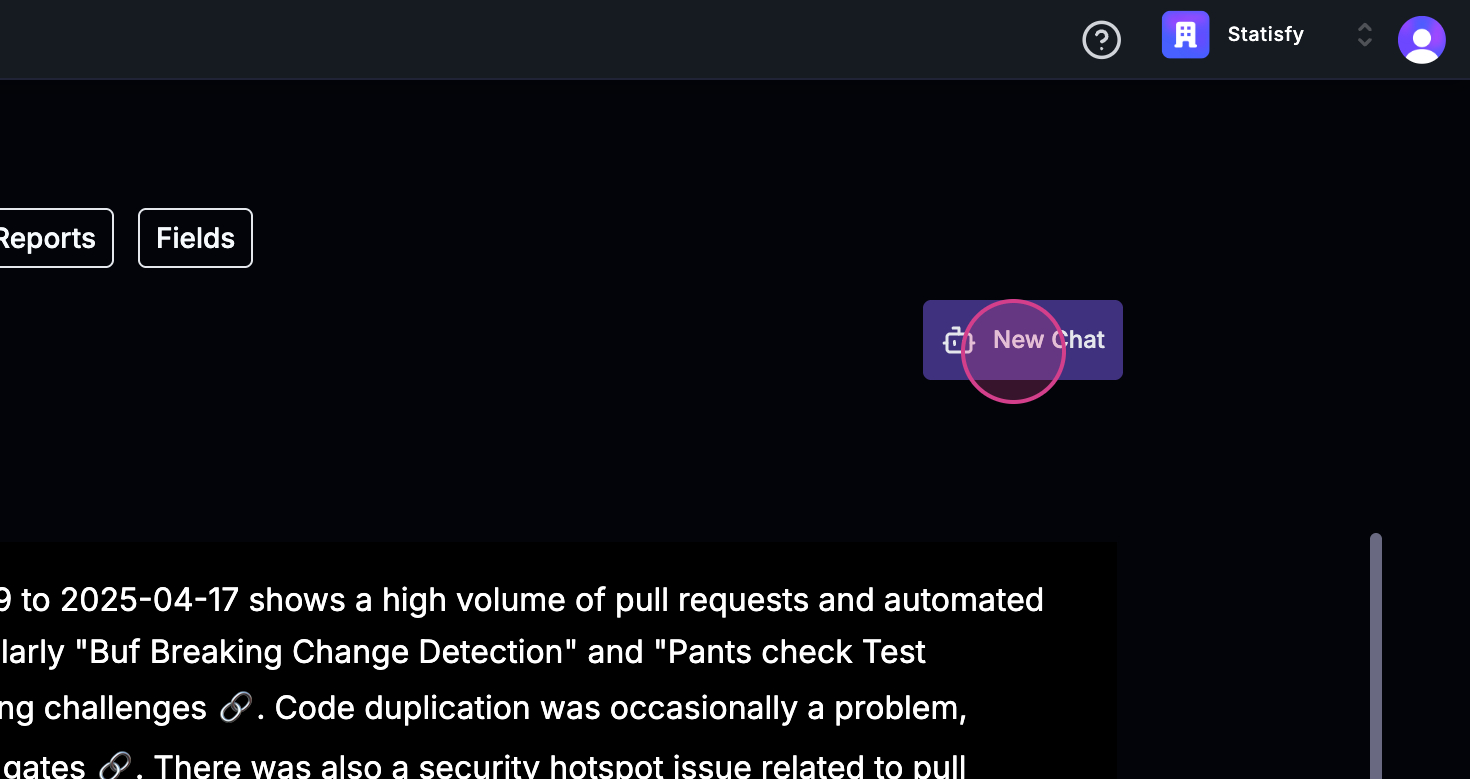
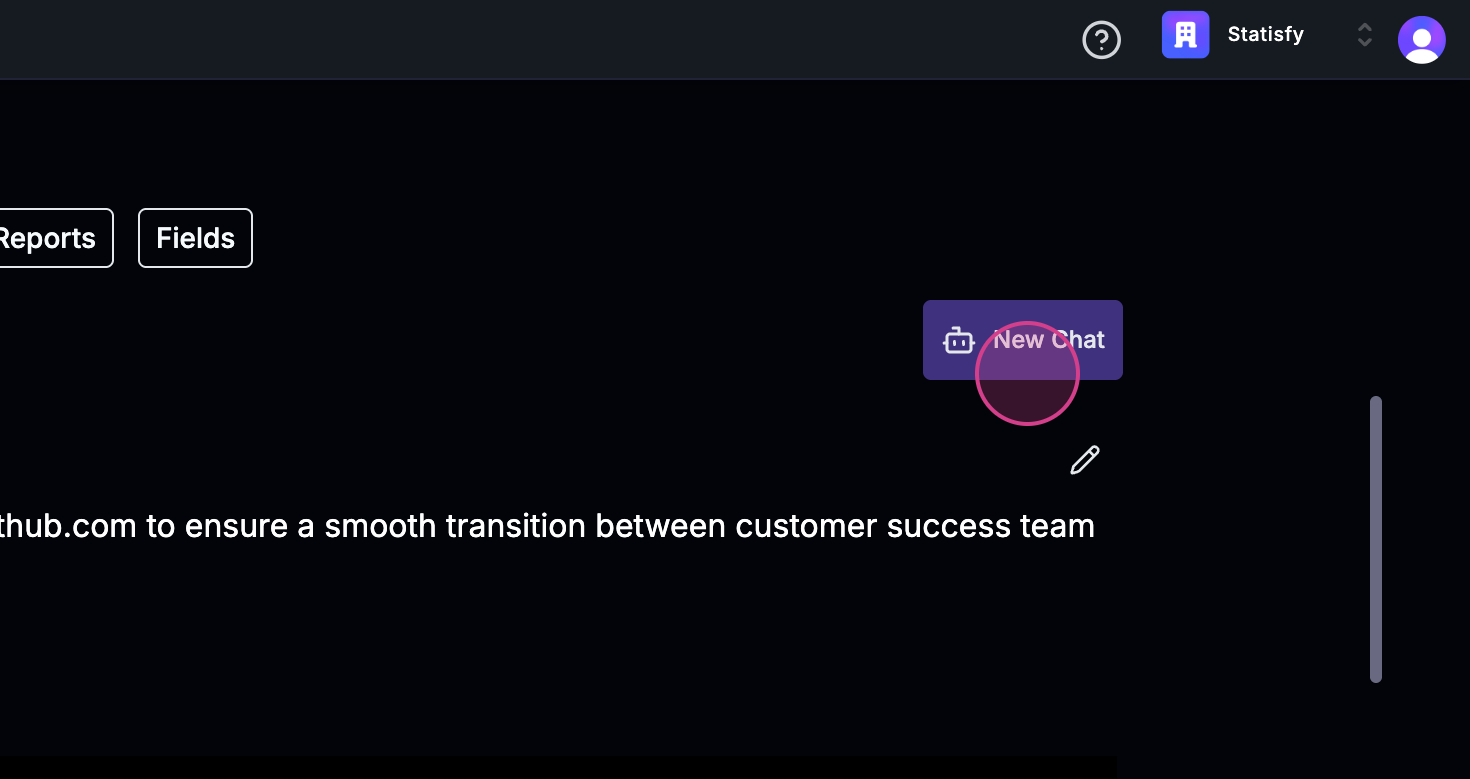
 Step 5: To start a new query, click on New Chat. This refreshes the page and prompts you for a new query.
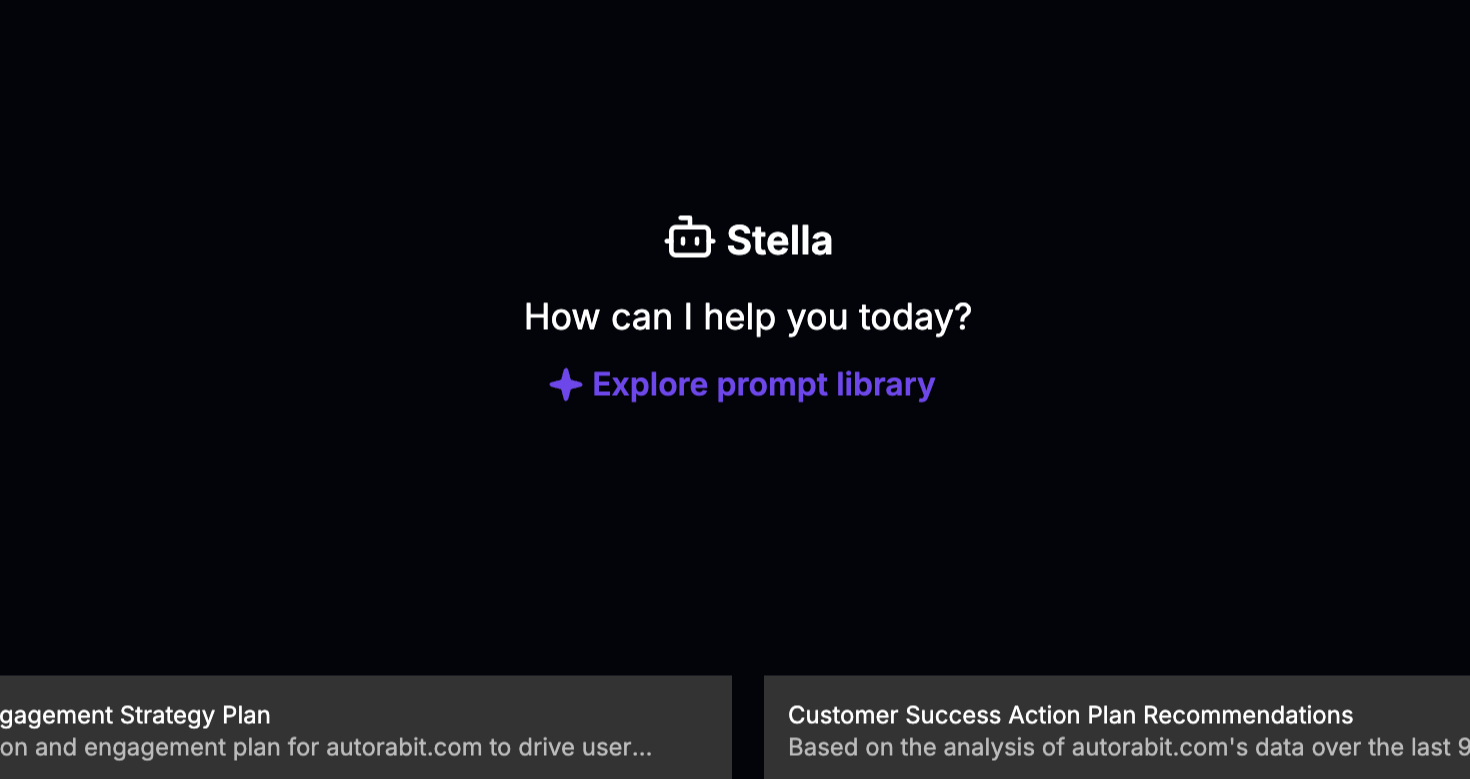
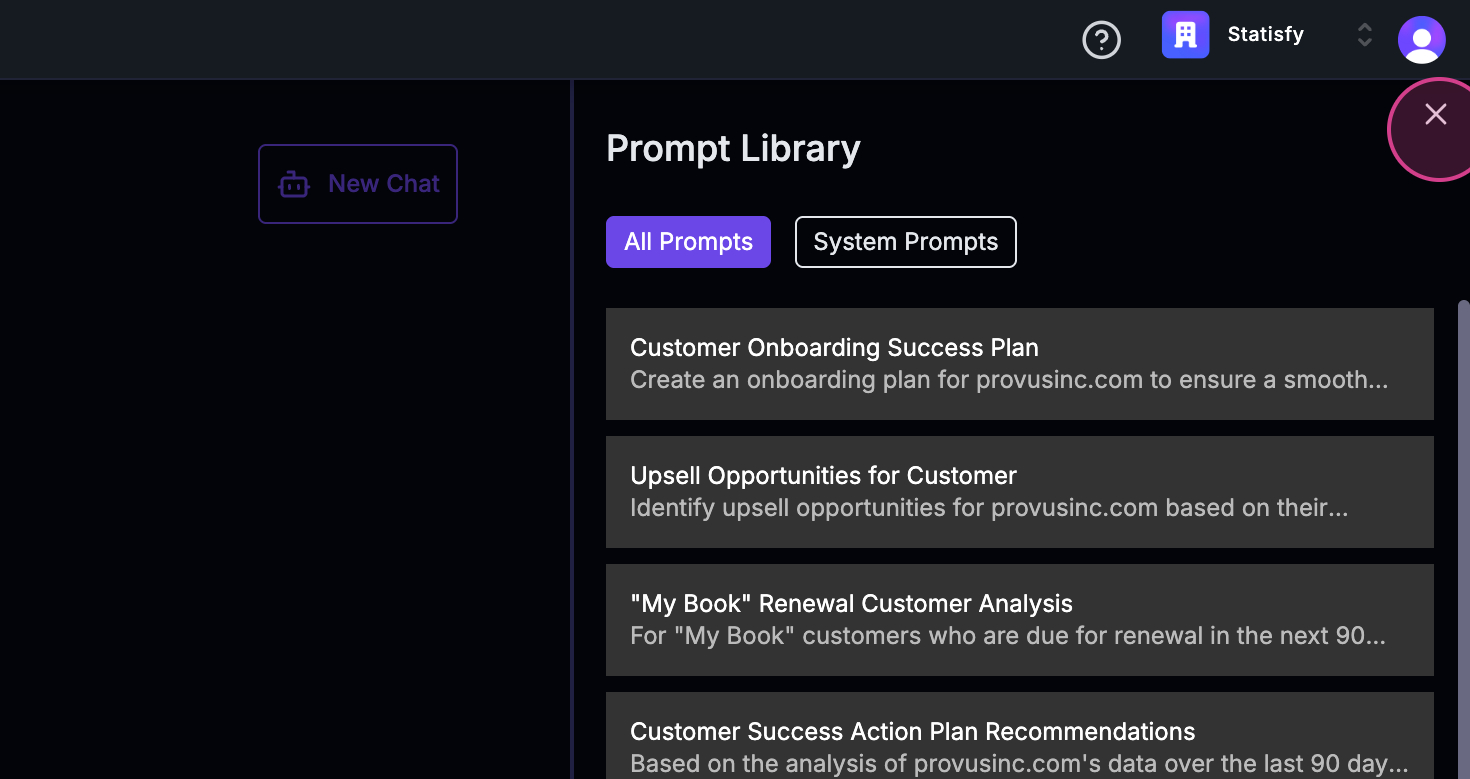
 Step 6: To explore more prompts, visit the Prompt Library. Here, you’ll see a list of queries that Stella can answer. Click on any prompt to edit and use it.
 Step 7: To navigate to Stella from an account, go to the account section.
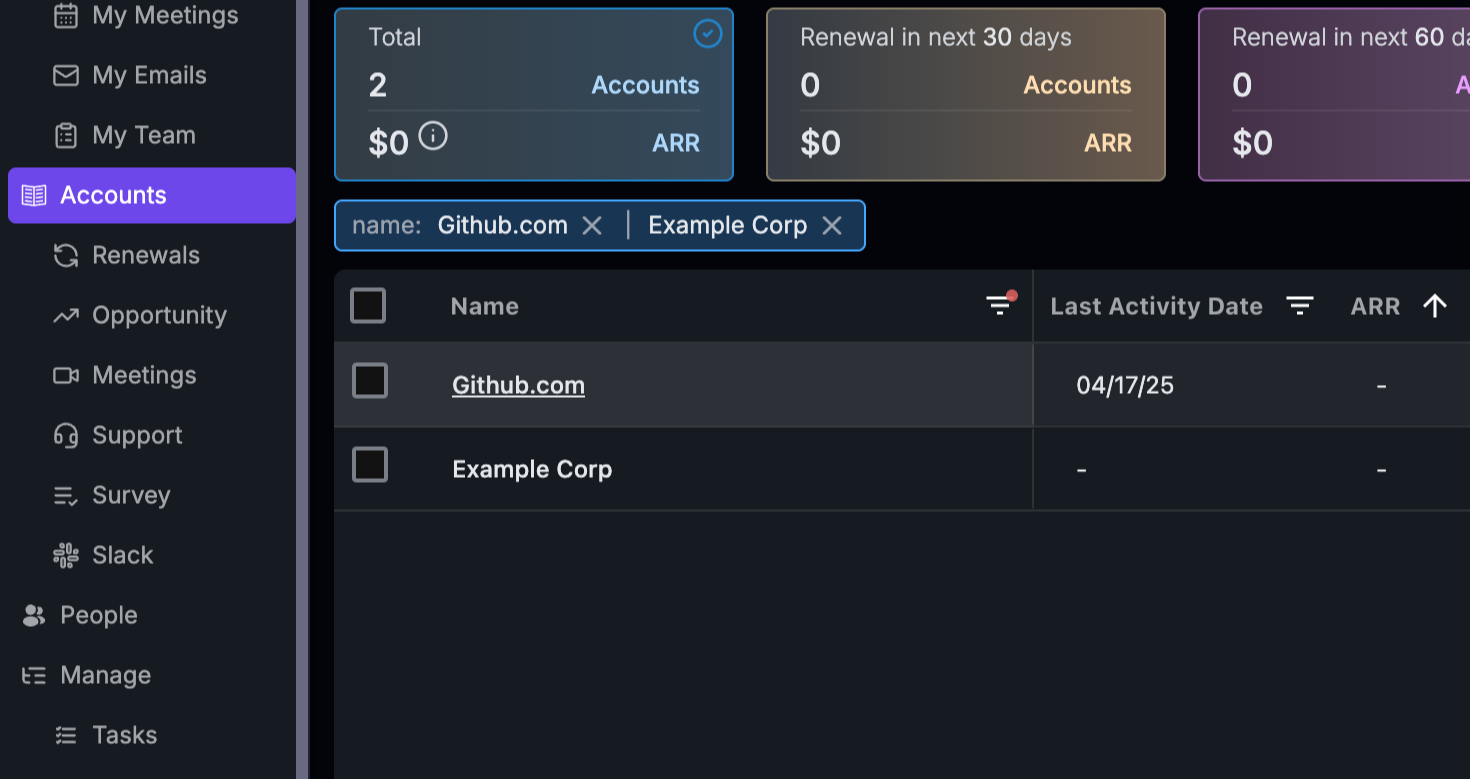
 Step 8: Inside the account section, select an account name.
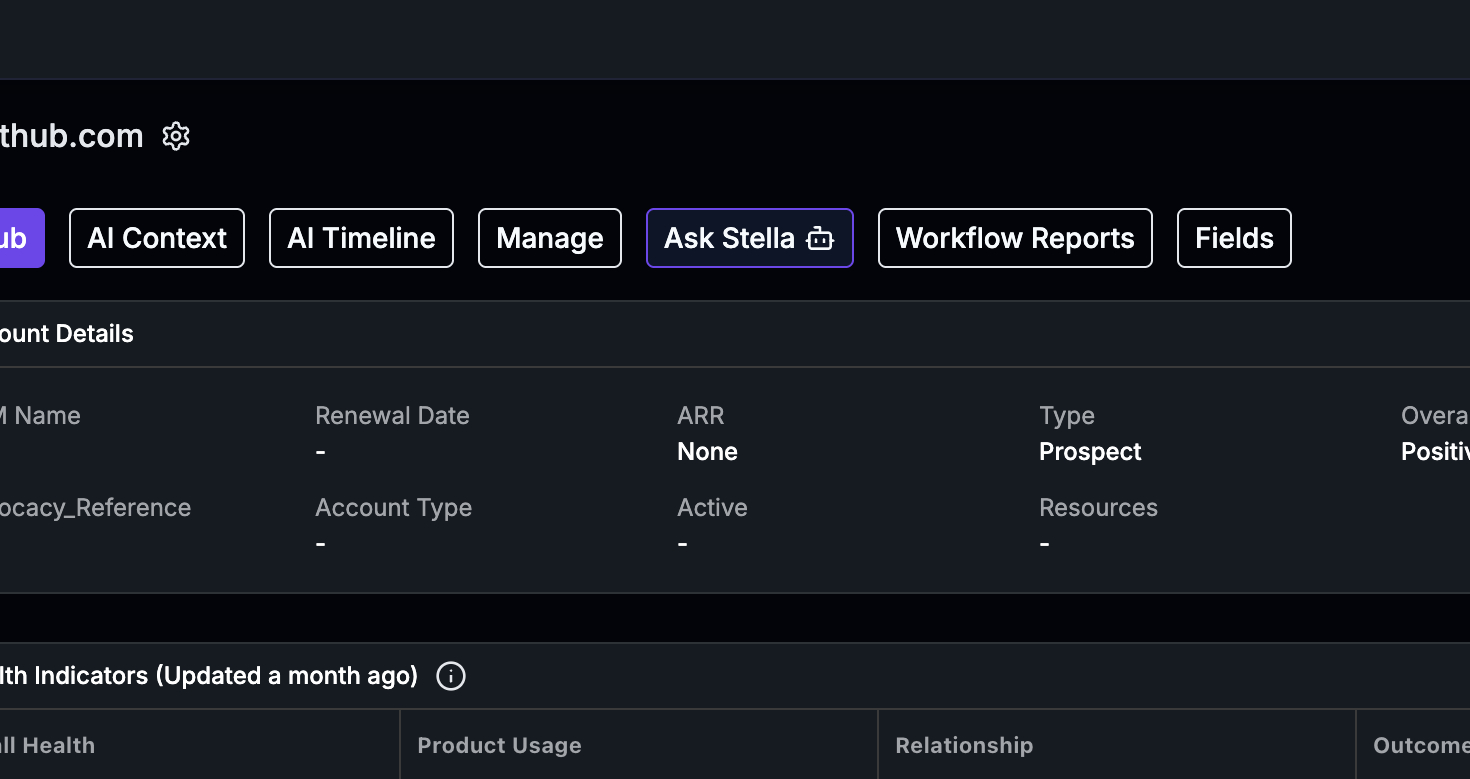
 Step 9: Inside the selected account, click on Ask Stella to make a query.
 Step 10: Click on New Chat to start a new query. The same four predefined queries will appear here.
 Step 11: If you’re a new CSM and need a handover book about a customer, click on the relevant option. Stella will generate an article detailing previous meetings, key POCs, current health, and other details.
 Step 12: Wait a few moments for Stella to generate the customer overview. This includes ongoing projects, discussions, and other relevant details.
 Step 13: You’ll also find a link to the meetings or discussions related to each point. This link provides context for why each point was included.
 Step 14: If there’s any negative sentiment, it’ll be displayed here.
 Step 15: To start another new query, click on New Chat again. Stella will provide answers related to the specific account you’re in.
 Remember, you can edit and ask queries in any account using Ask Stella. You can also access account-specific details. That’s it for this tutorial. Thank you!