Video Tutorial
In this article, you’ll learn how to manage the status of Tasks.The steps below edit your organization’s global status list — the default set of statuses used everywhere. Individual projects and project templates can also use their own status lists instead. See Use a different status list for a project below.
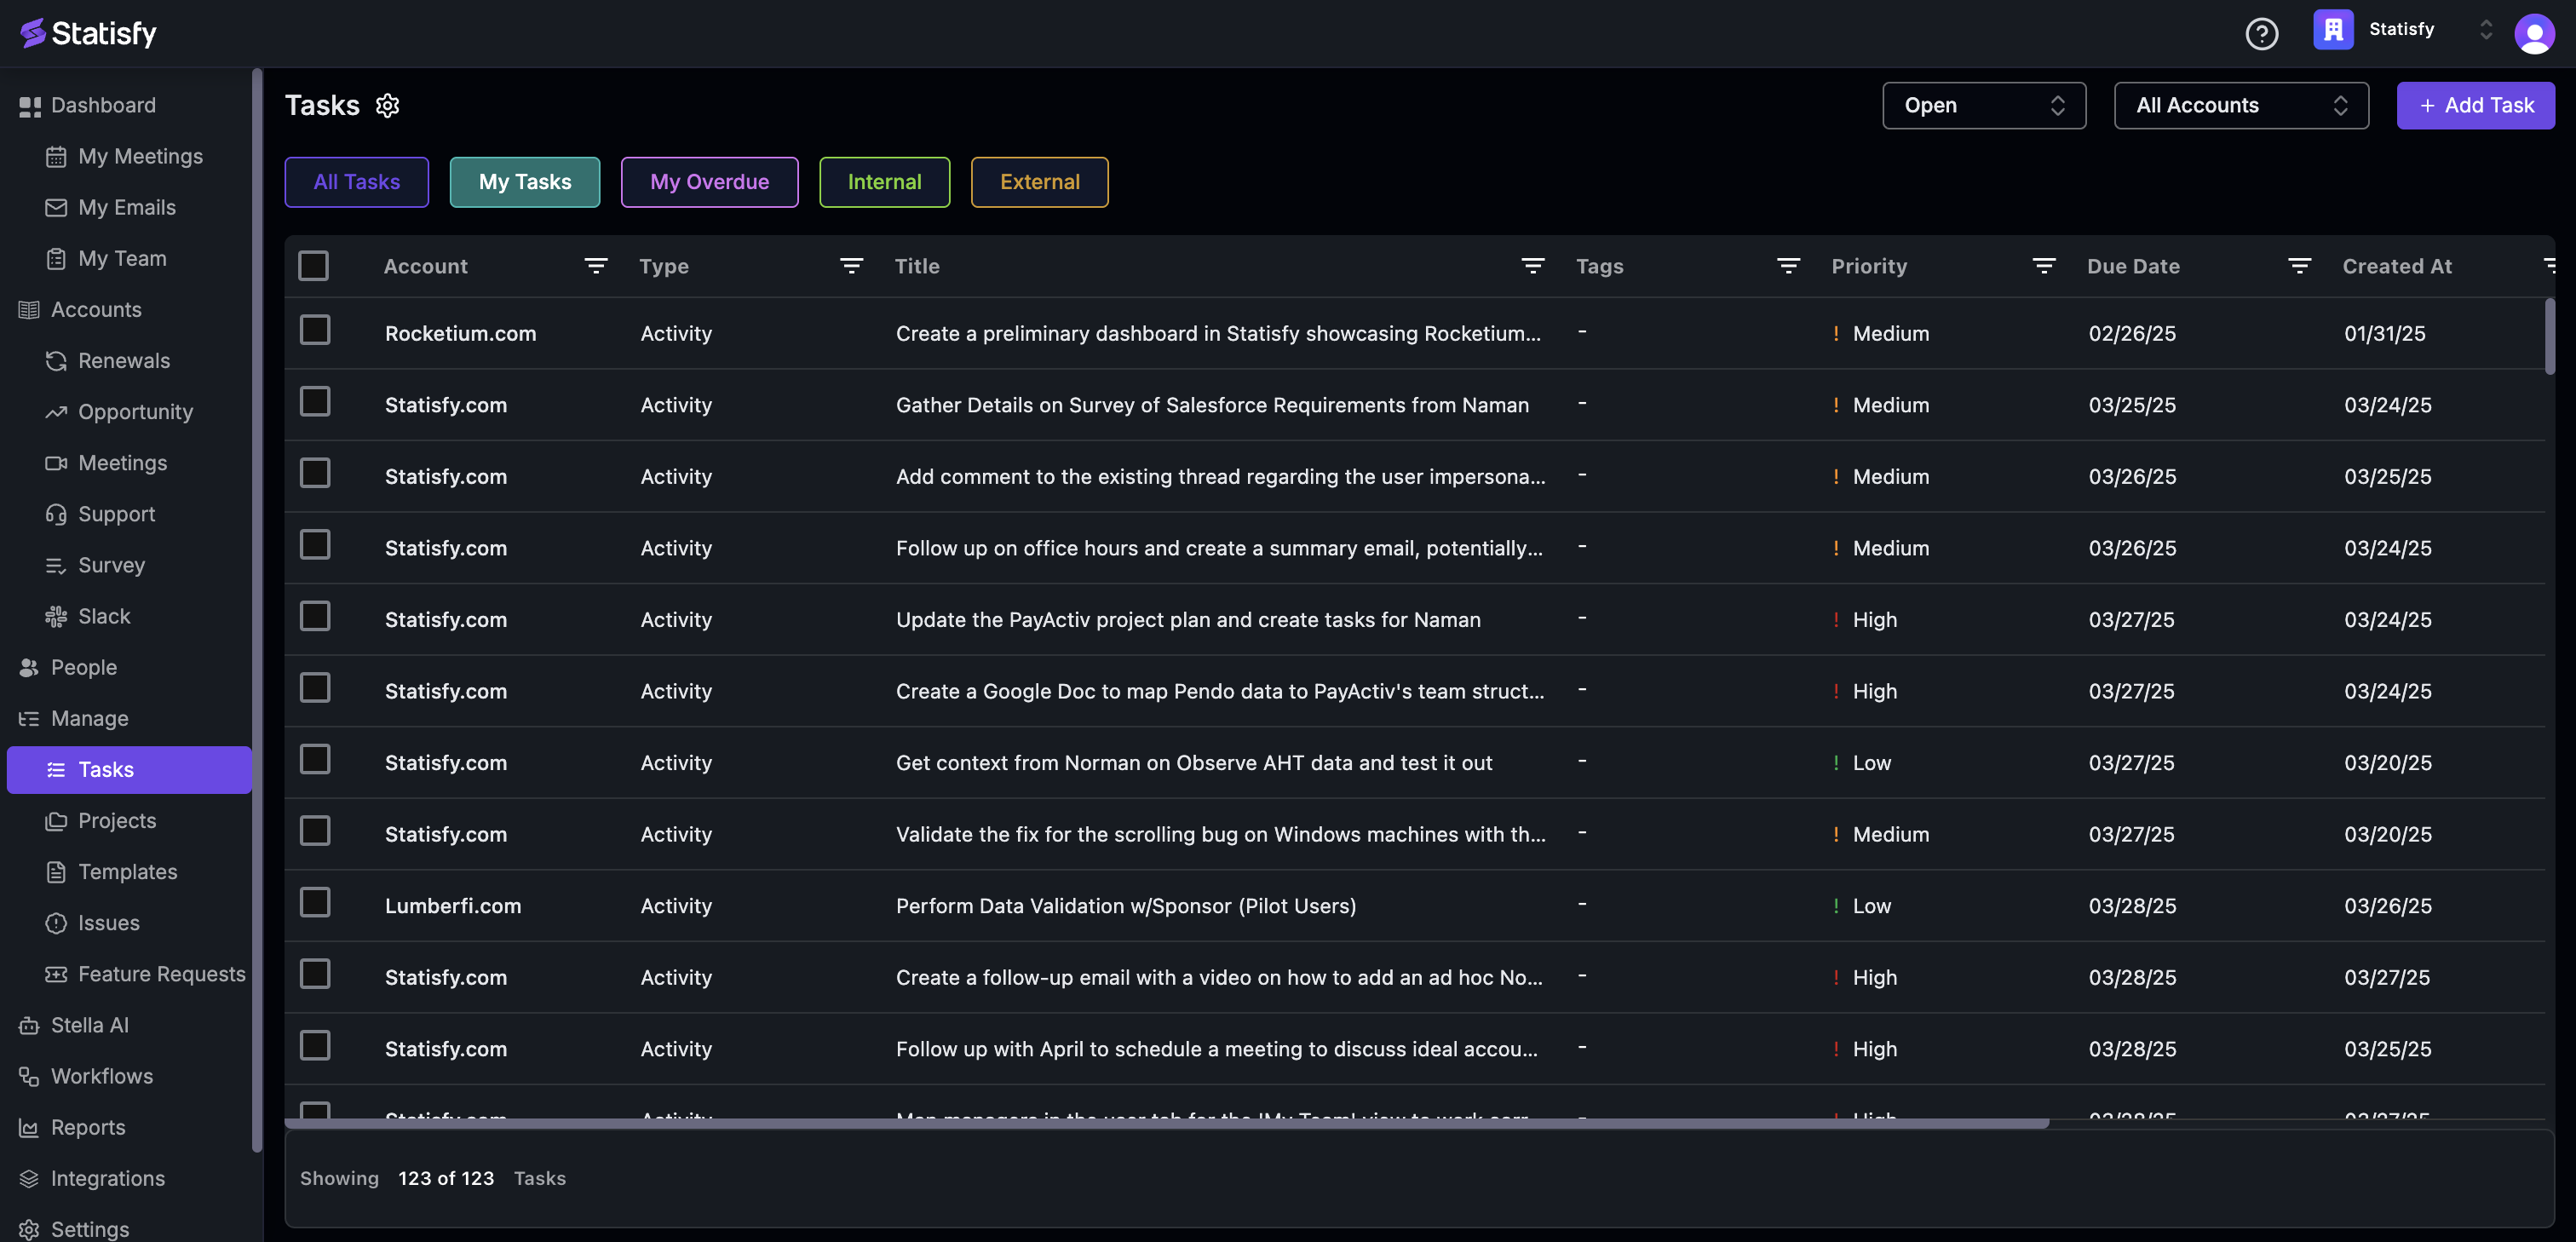 Step 2: Next, you have the option to create a new status.
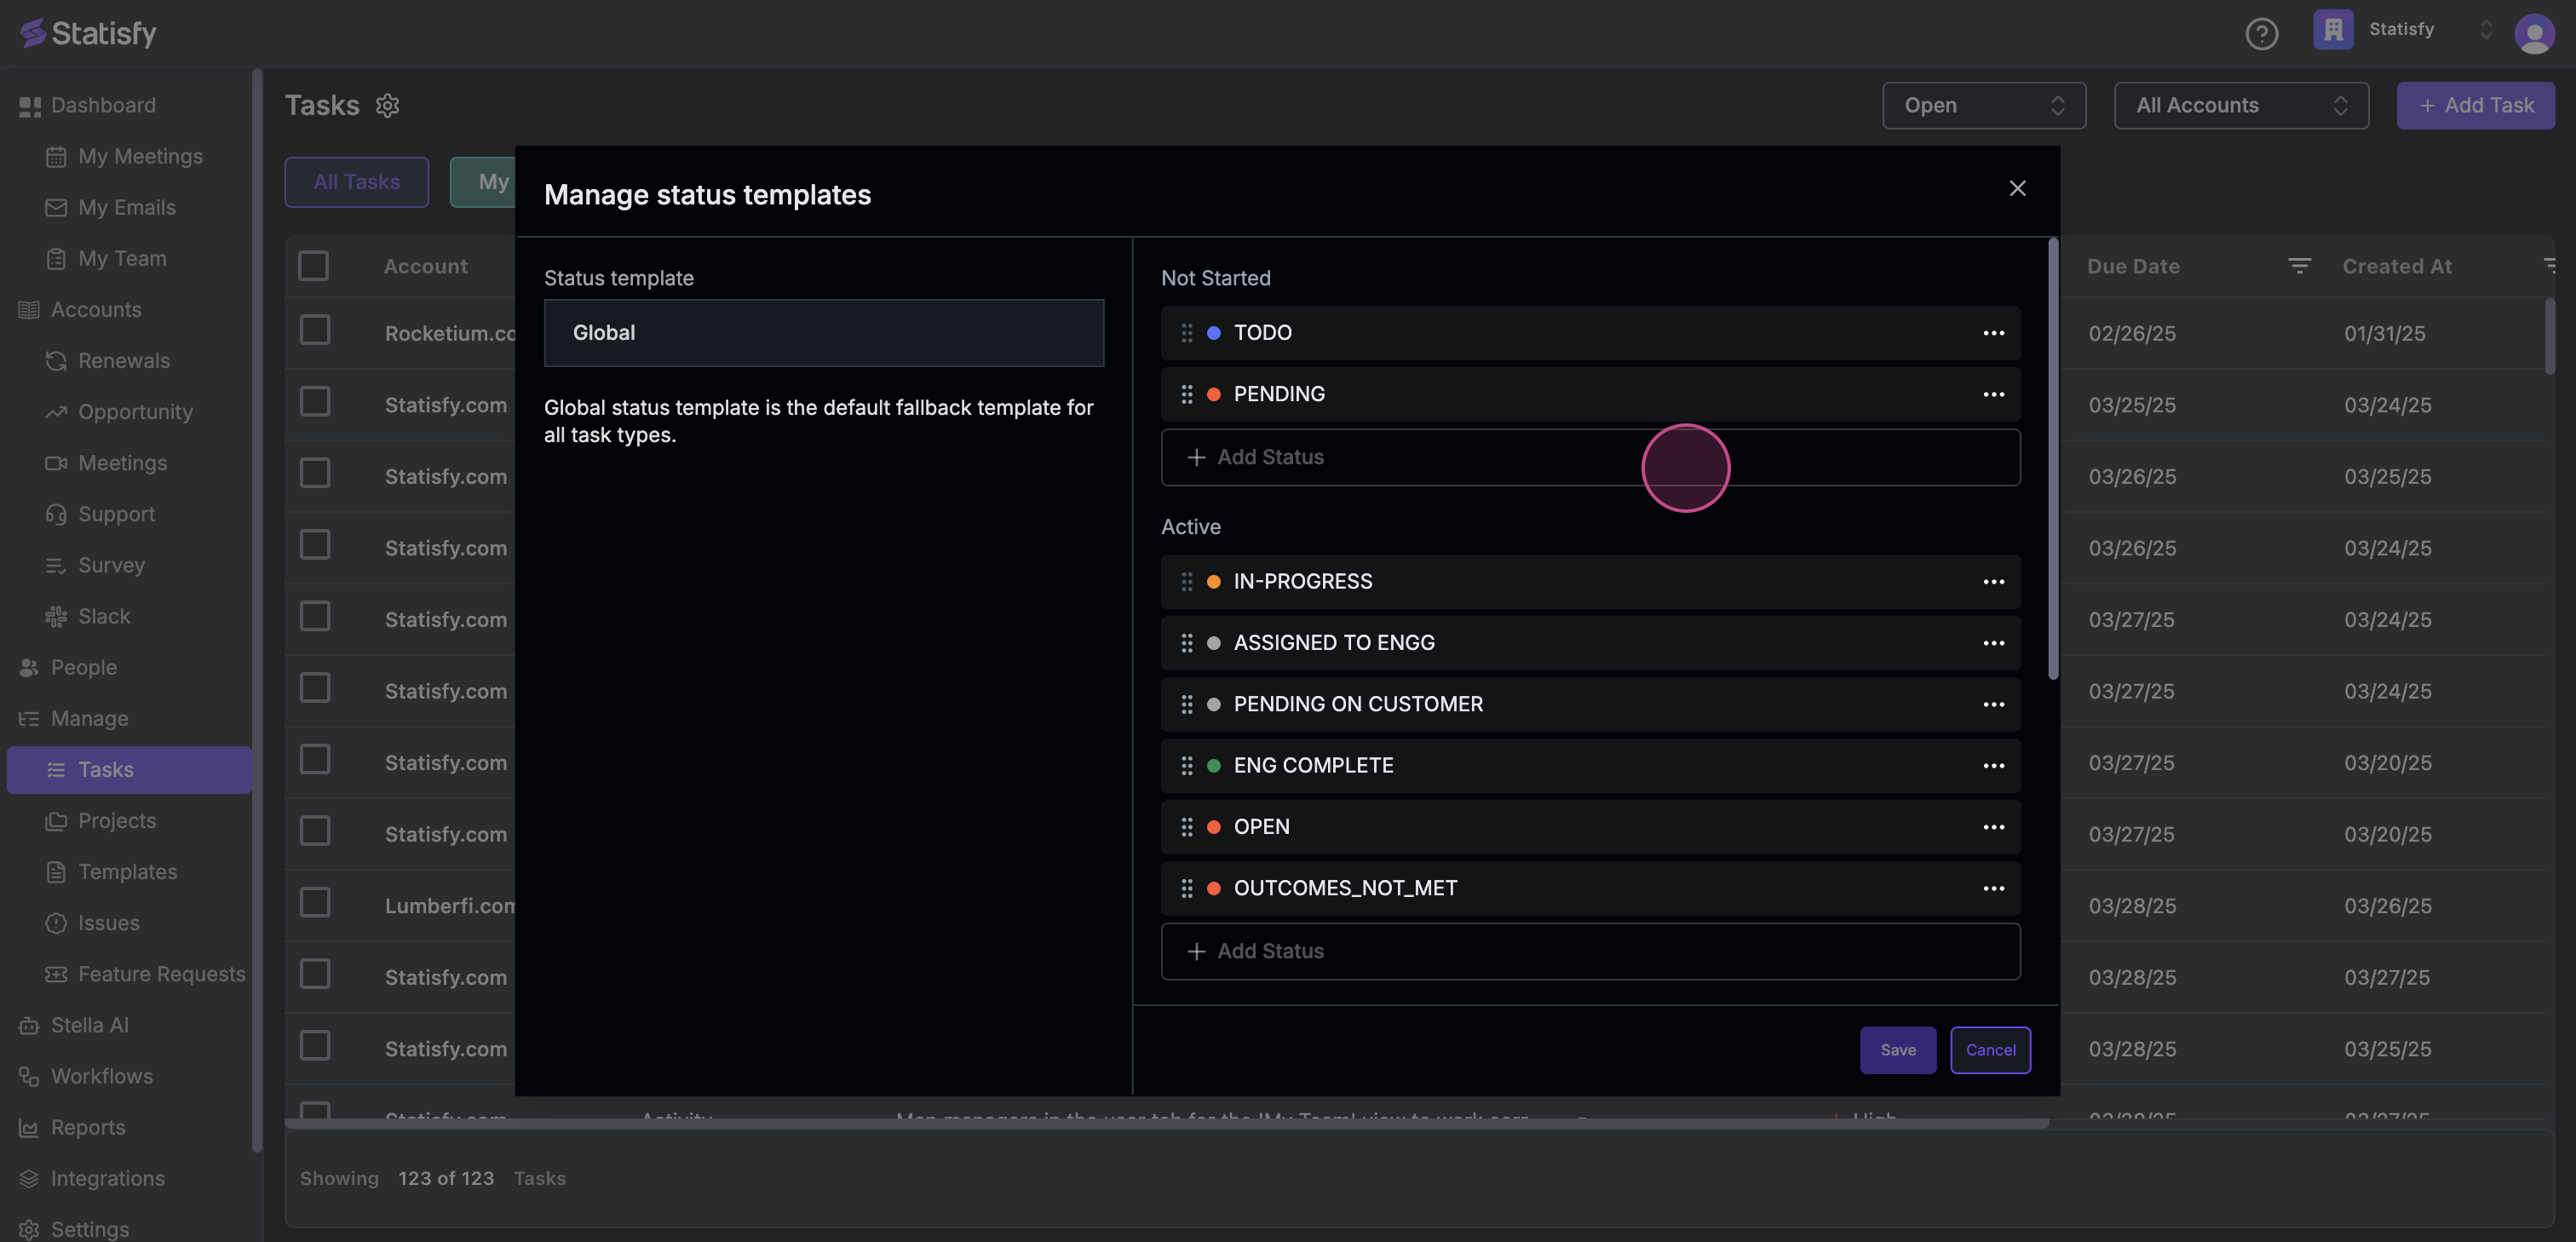
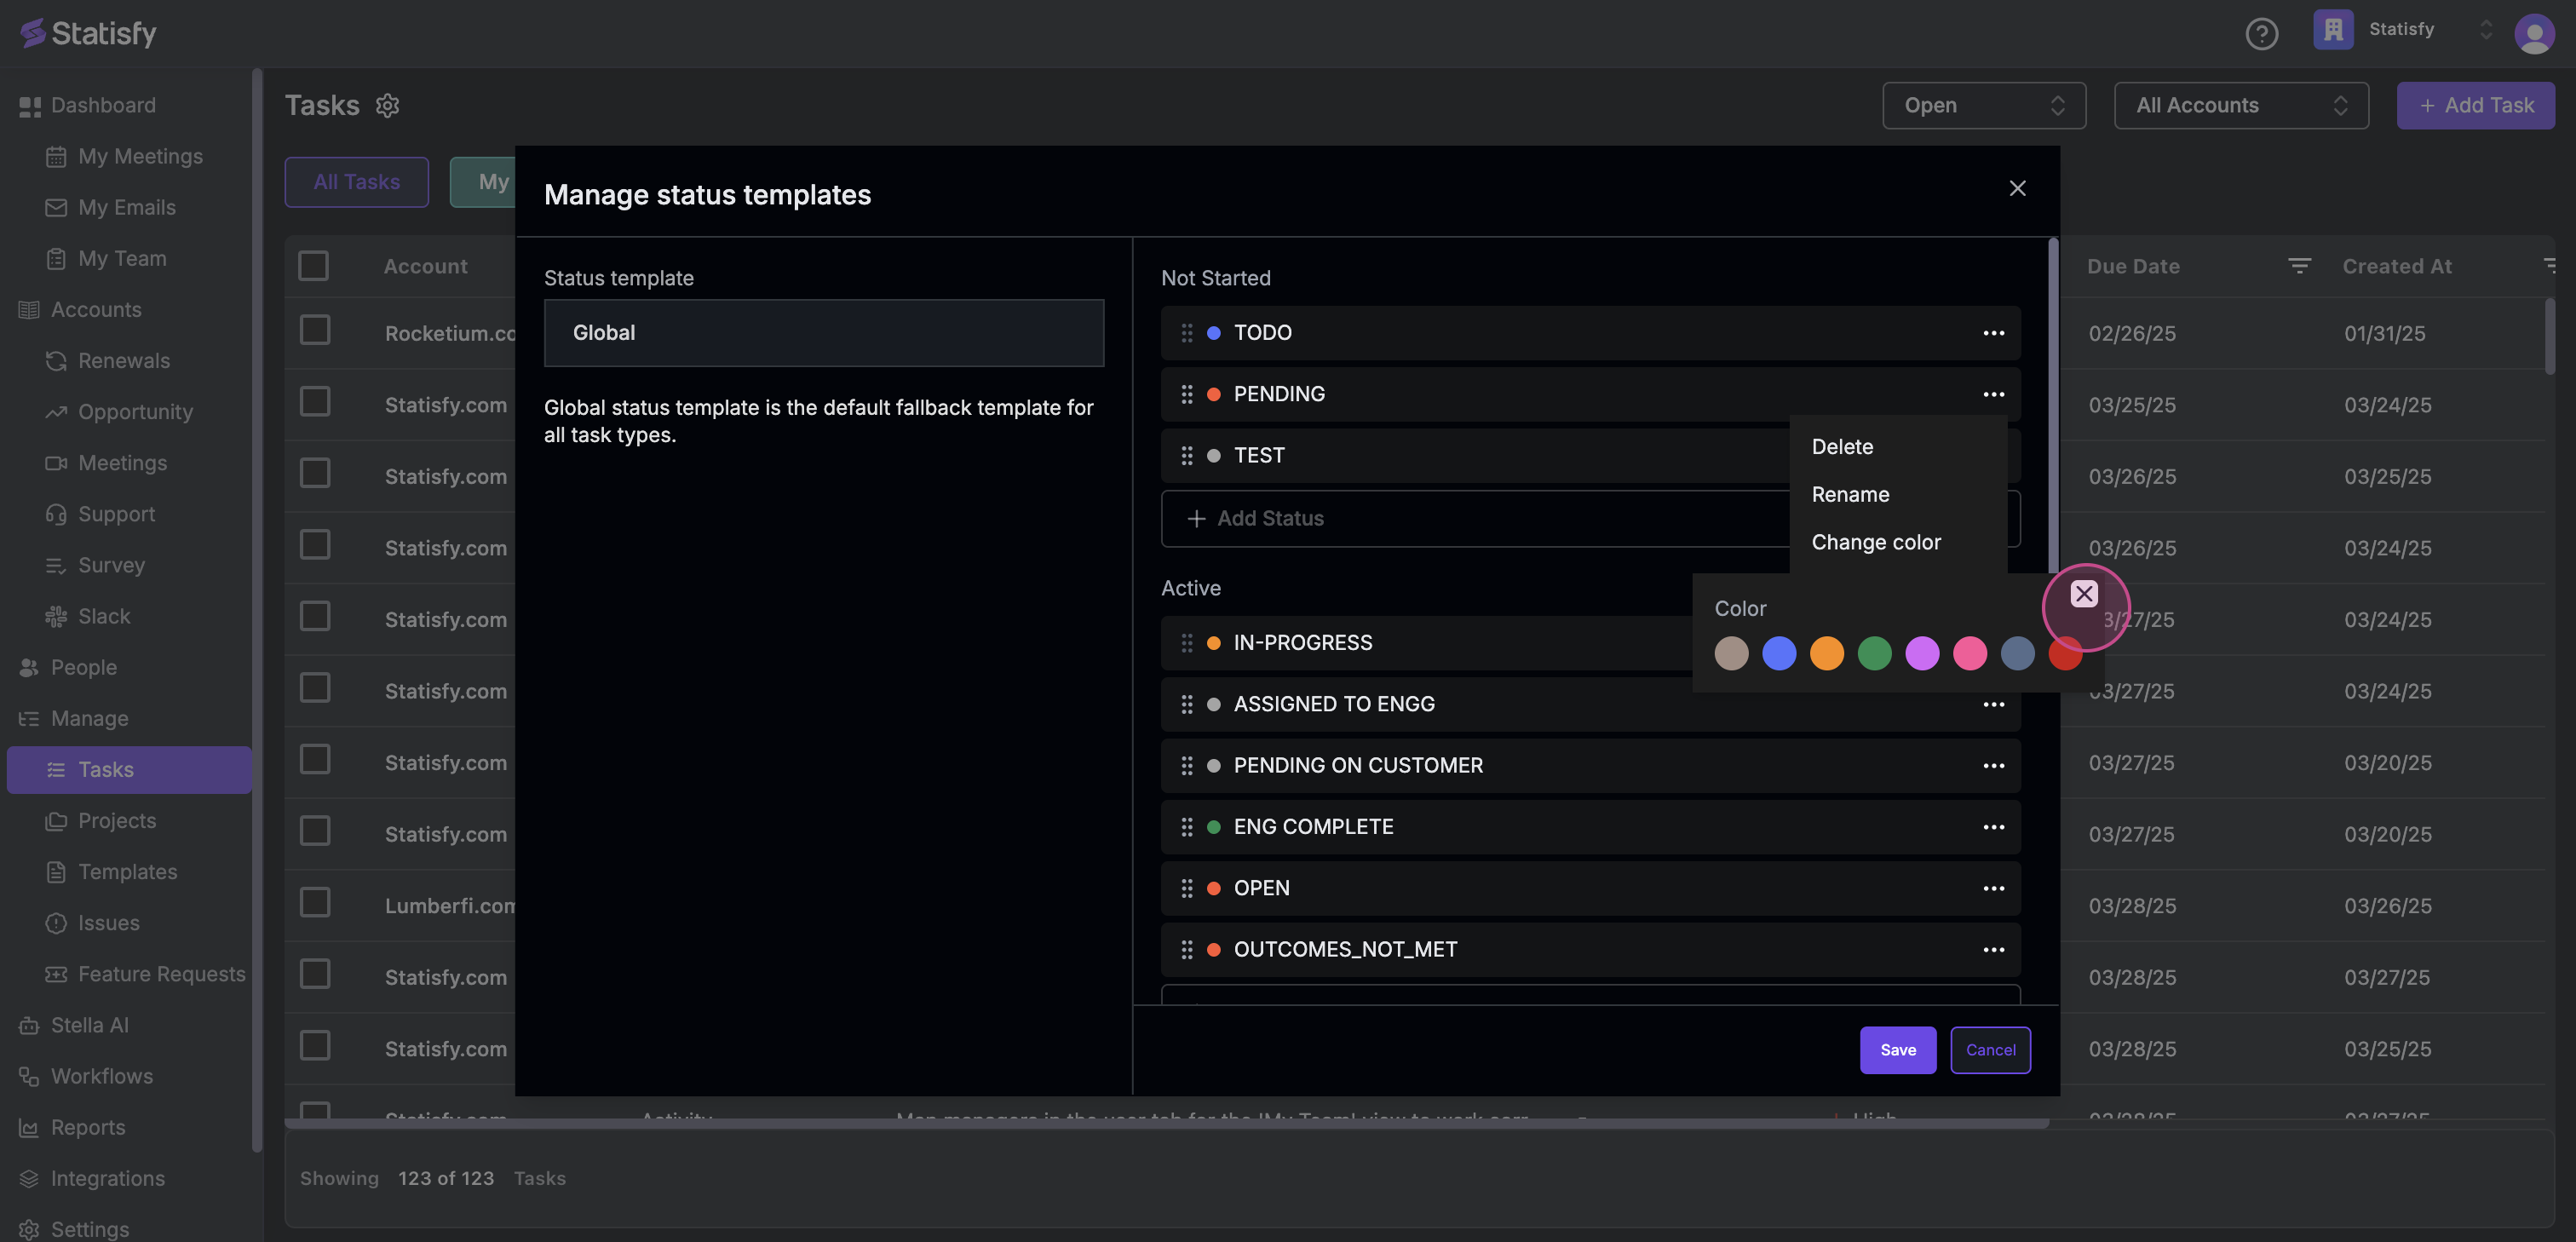
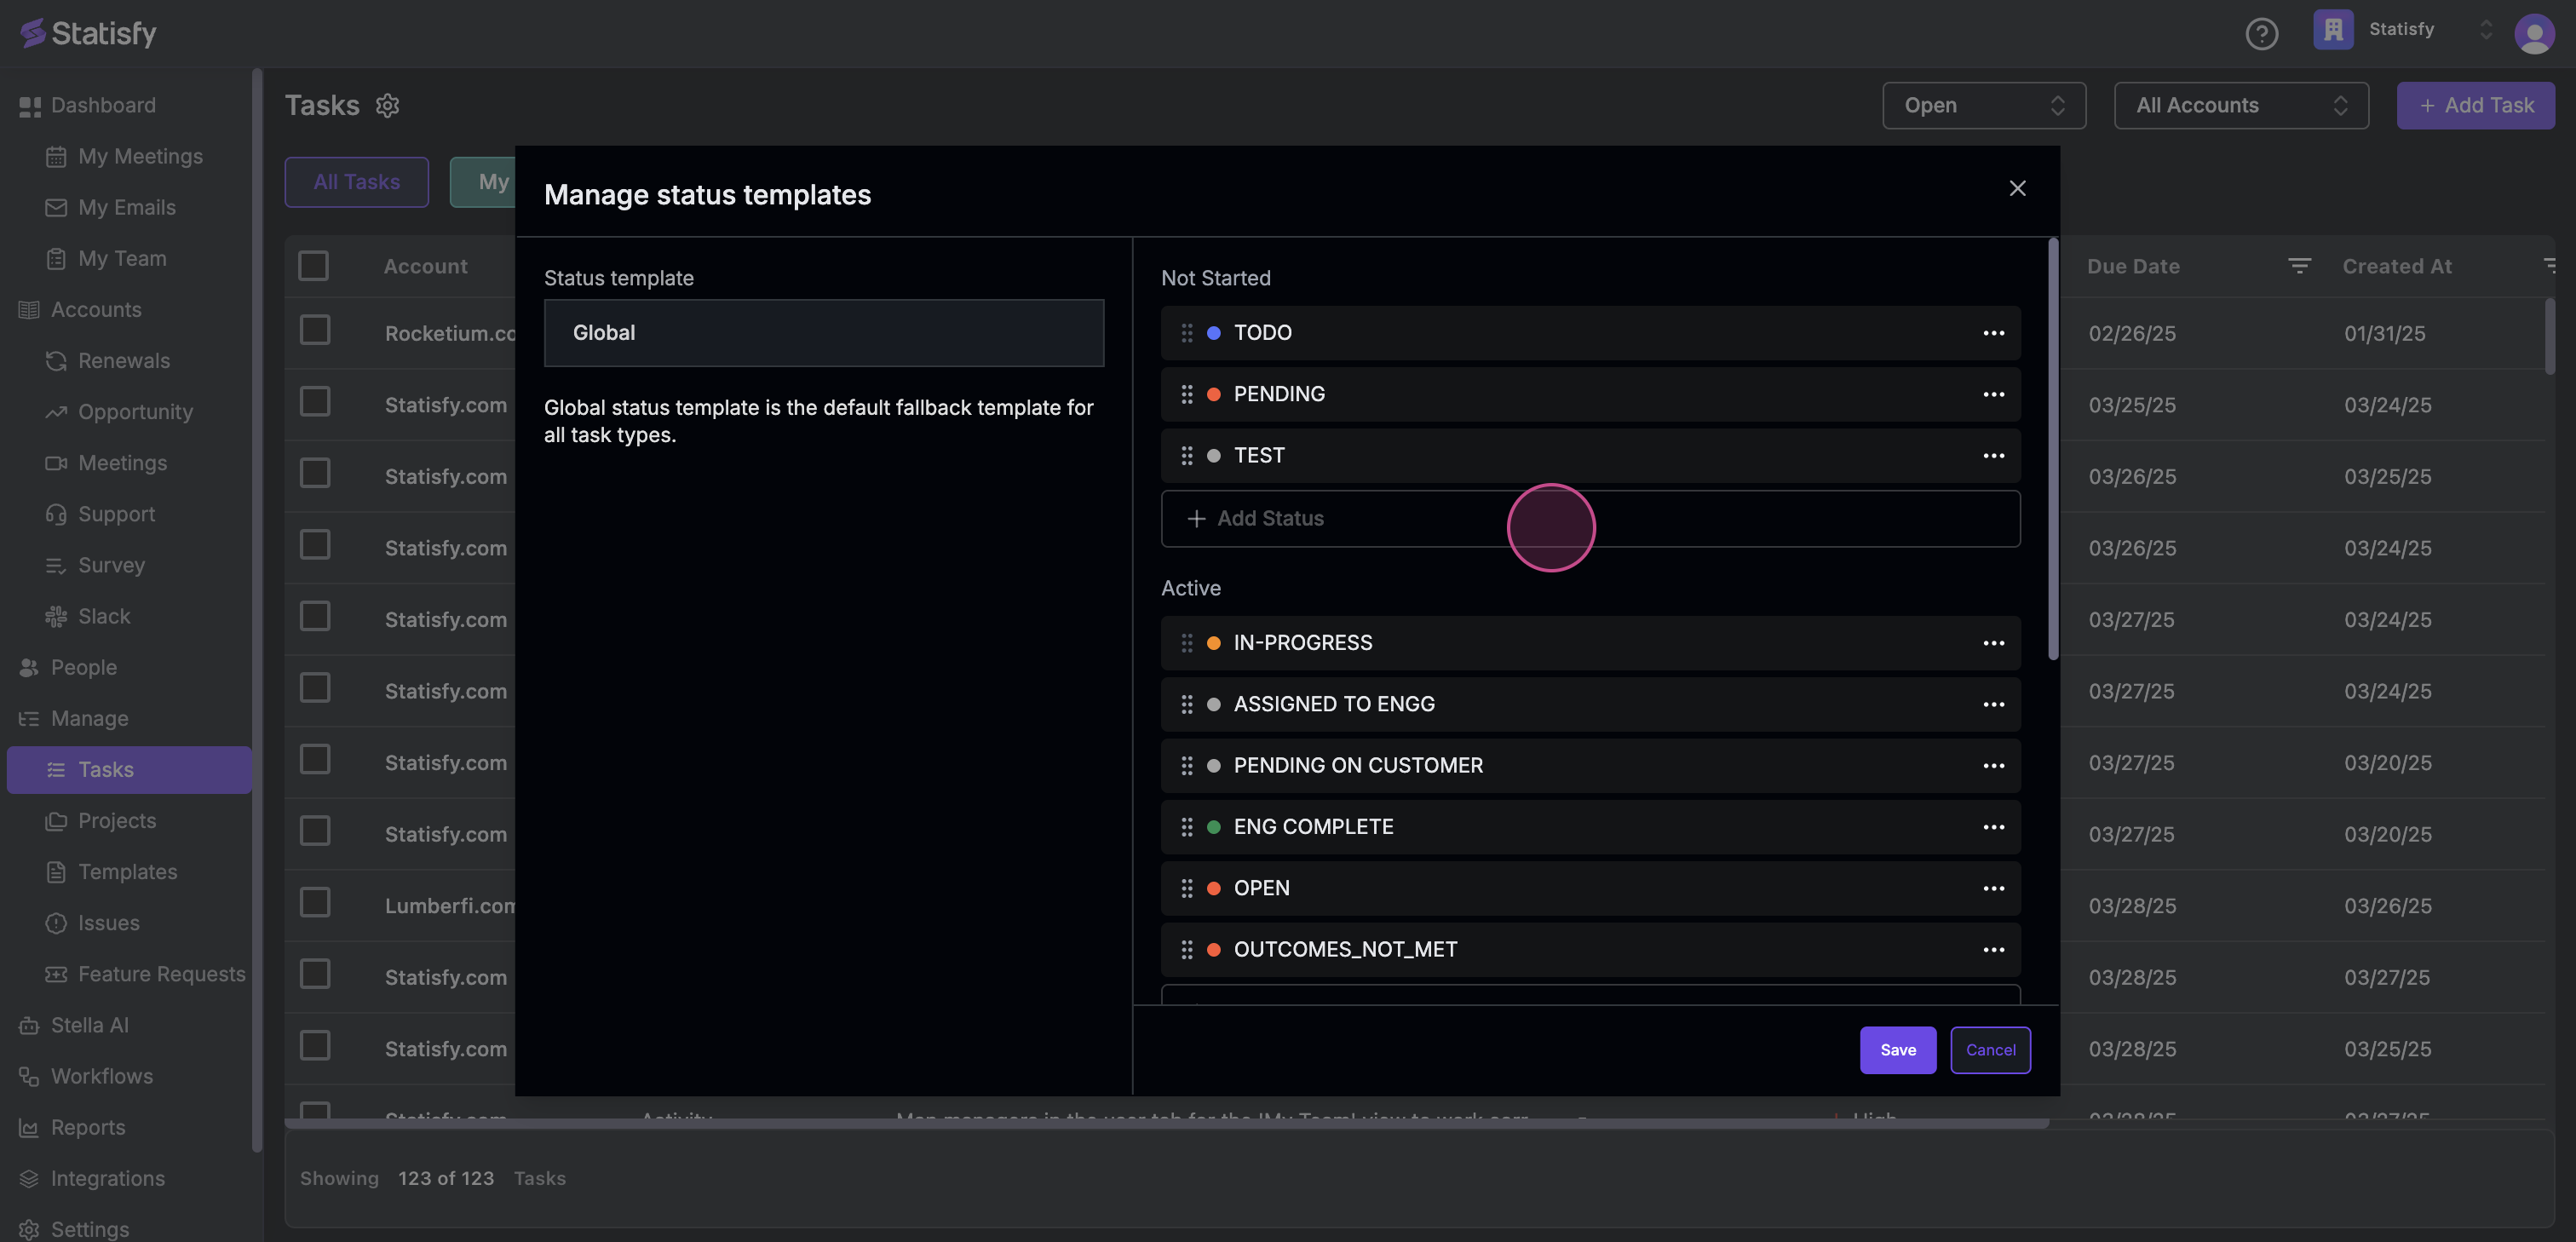 Step 3: Alternatively, you’re free to delete or rename the existing statuses.
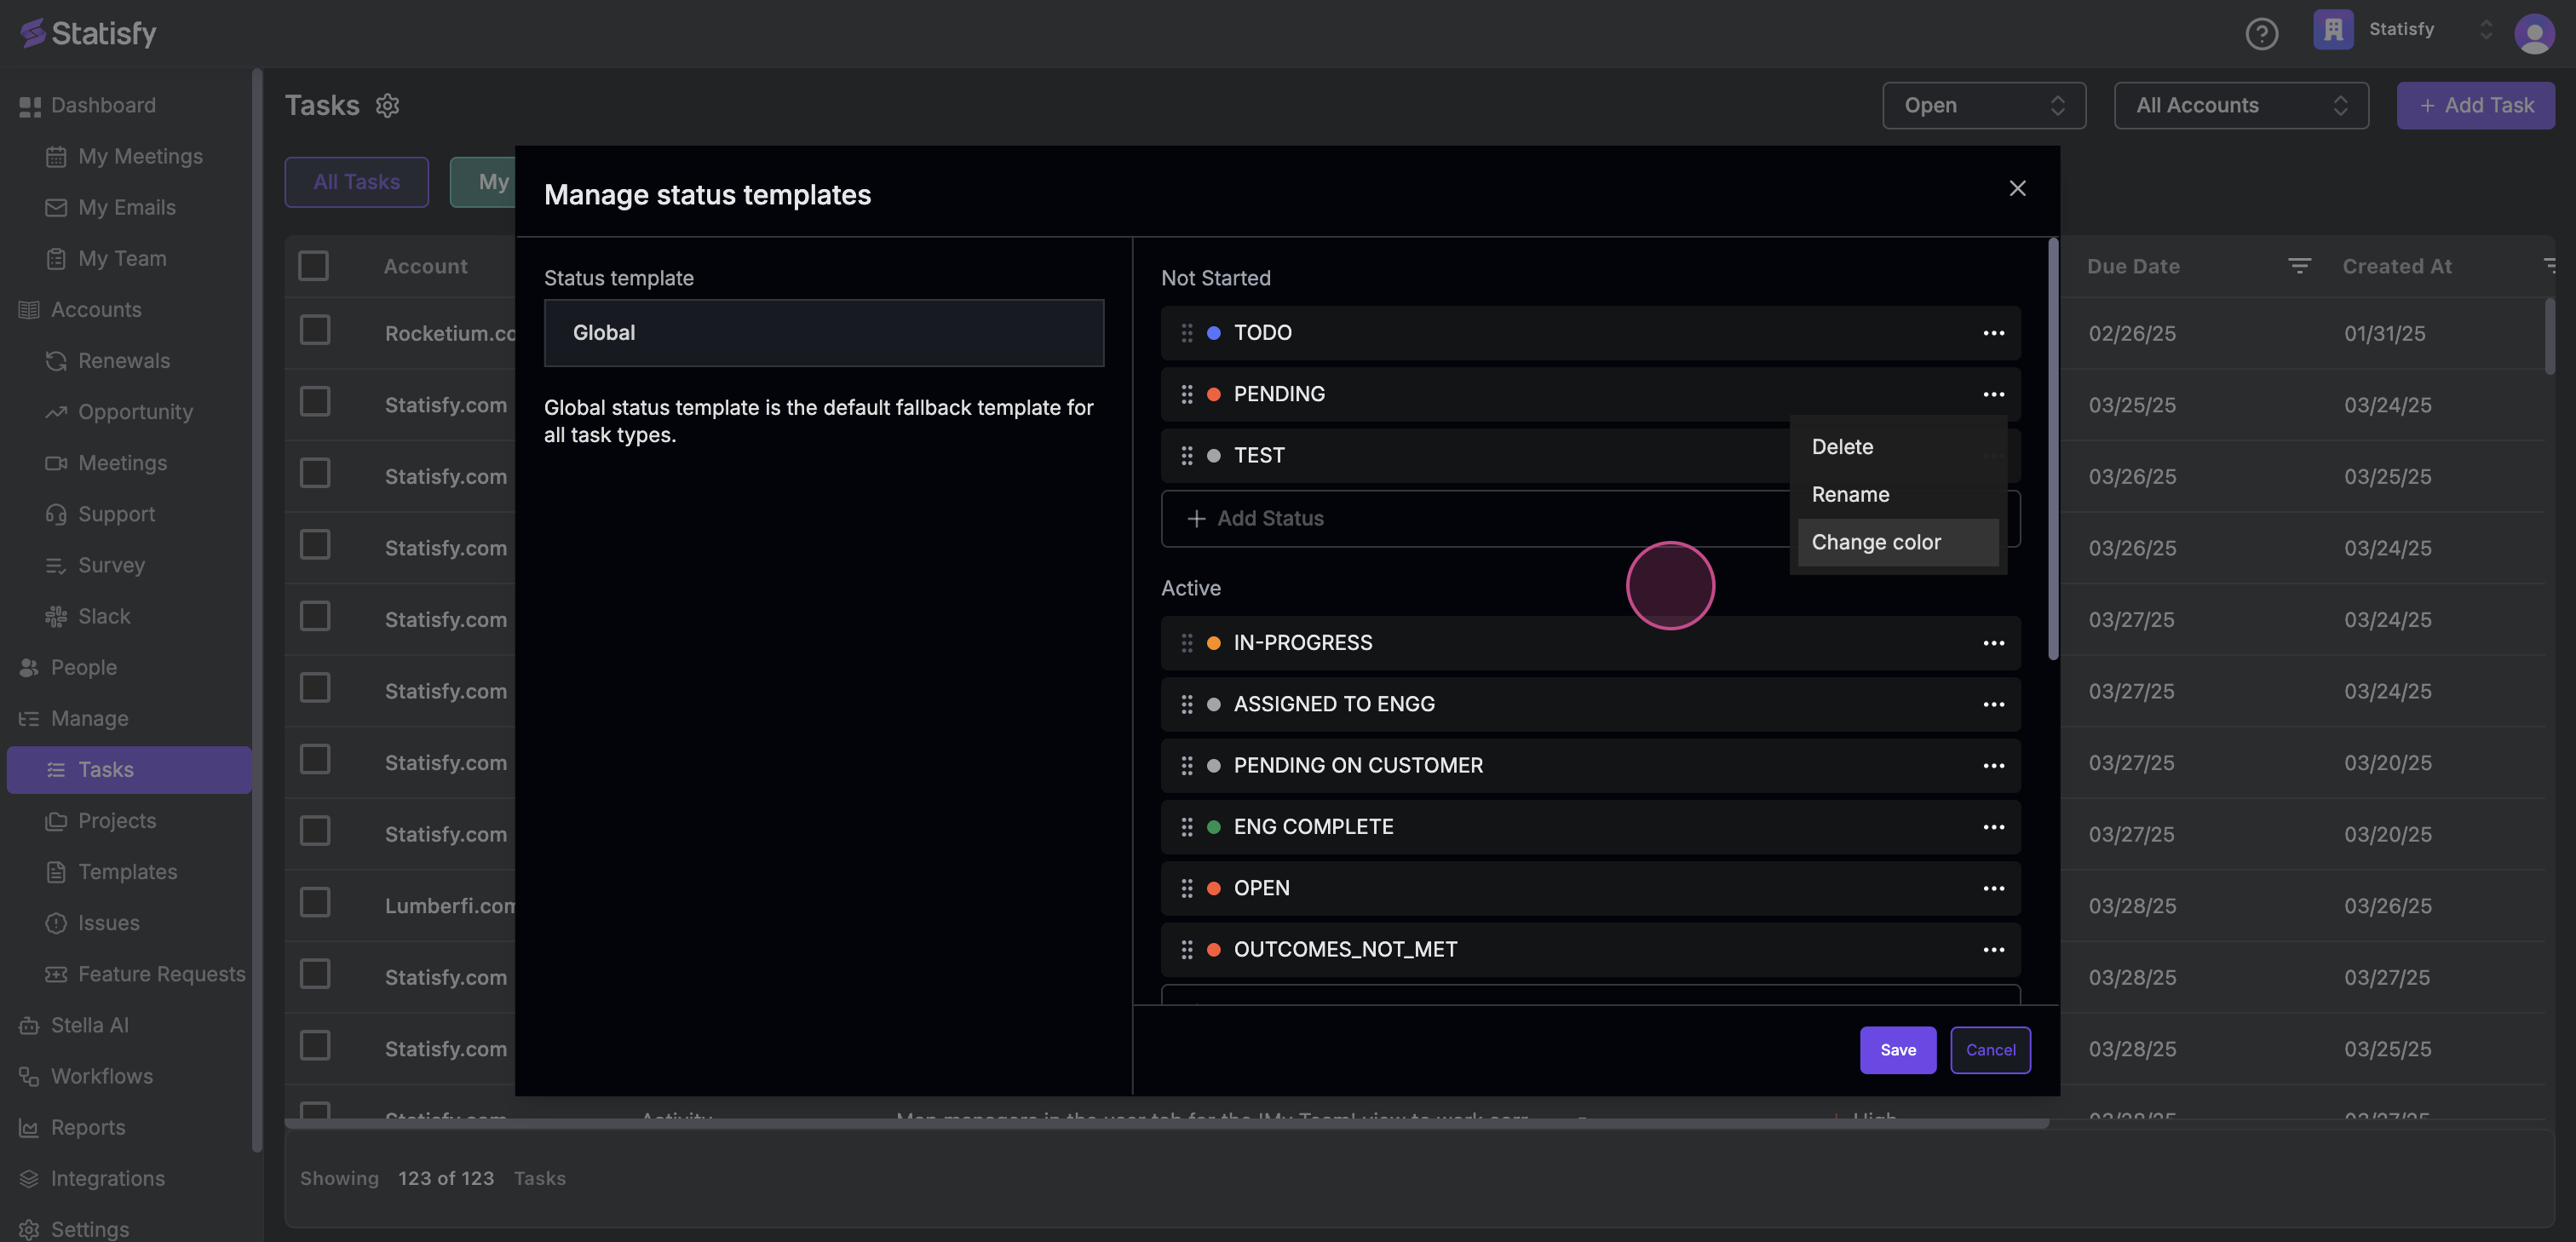
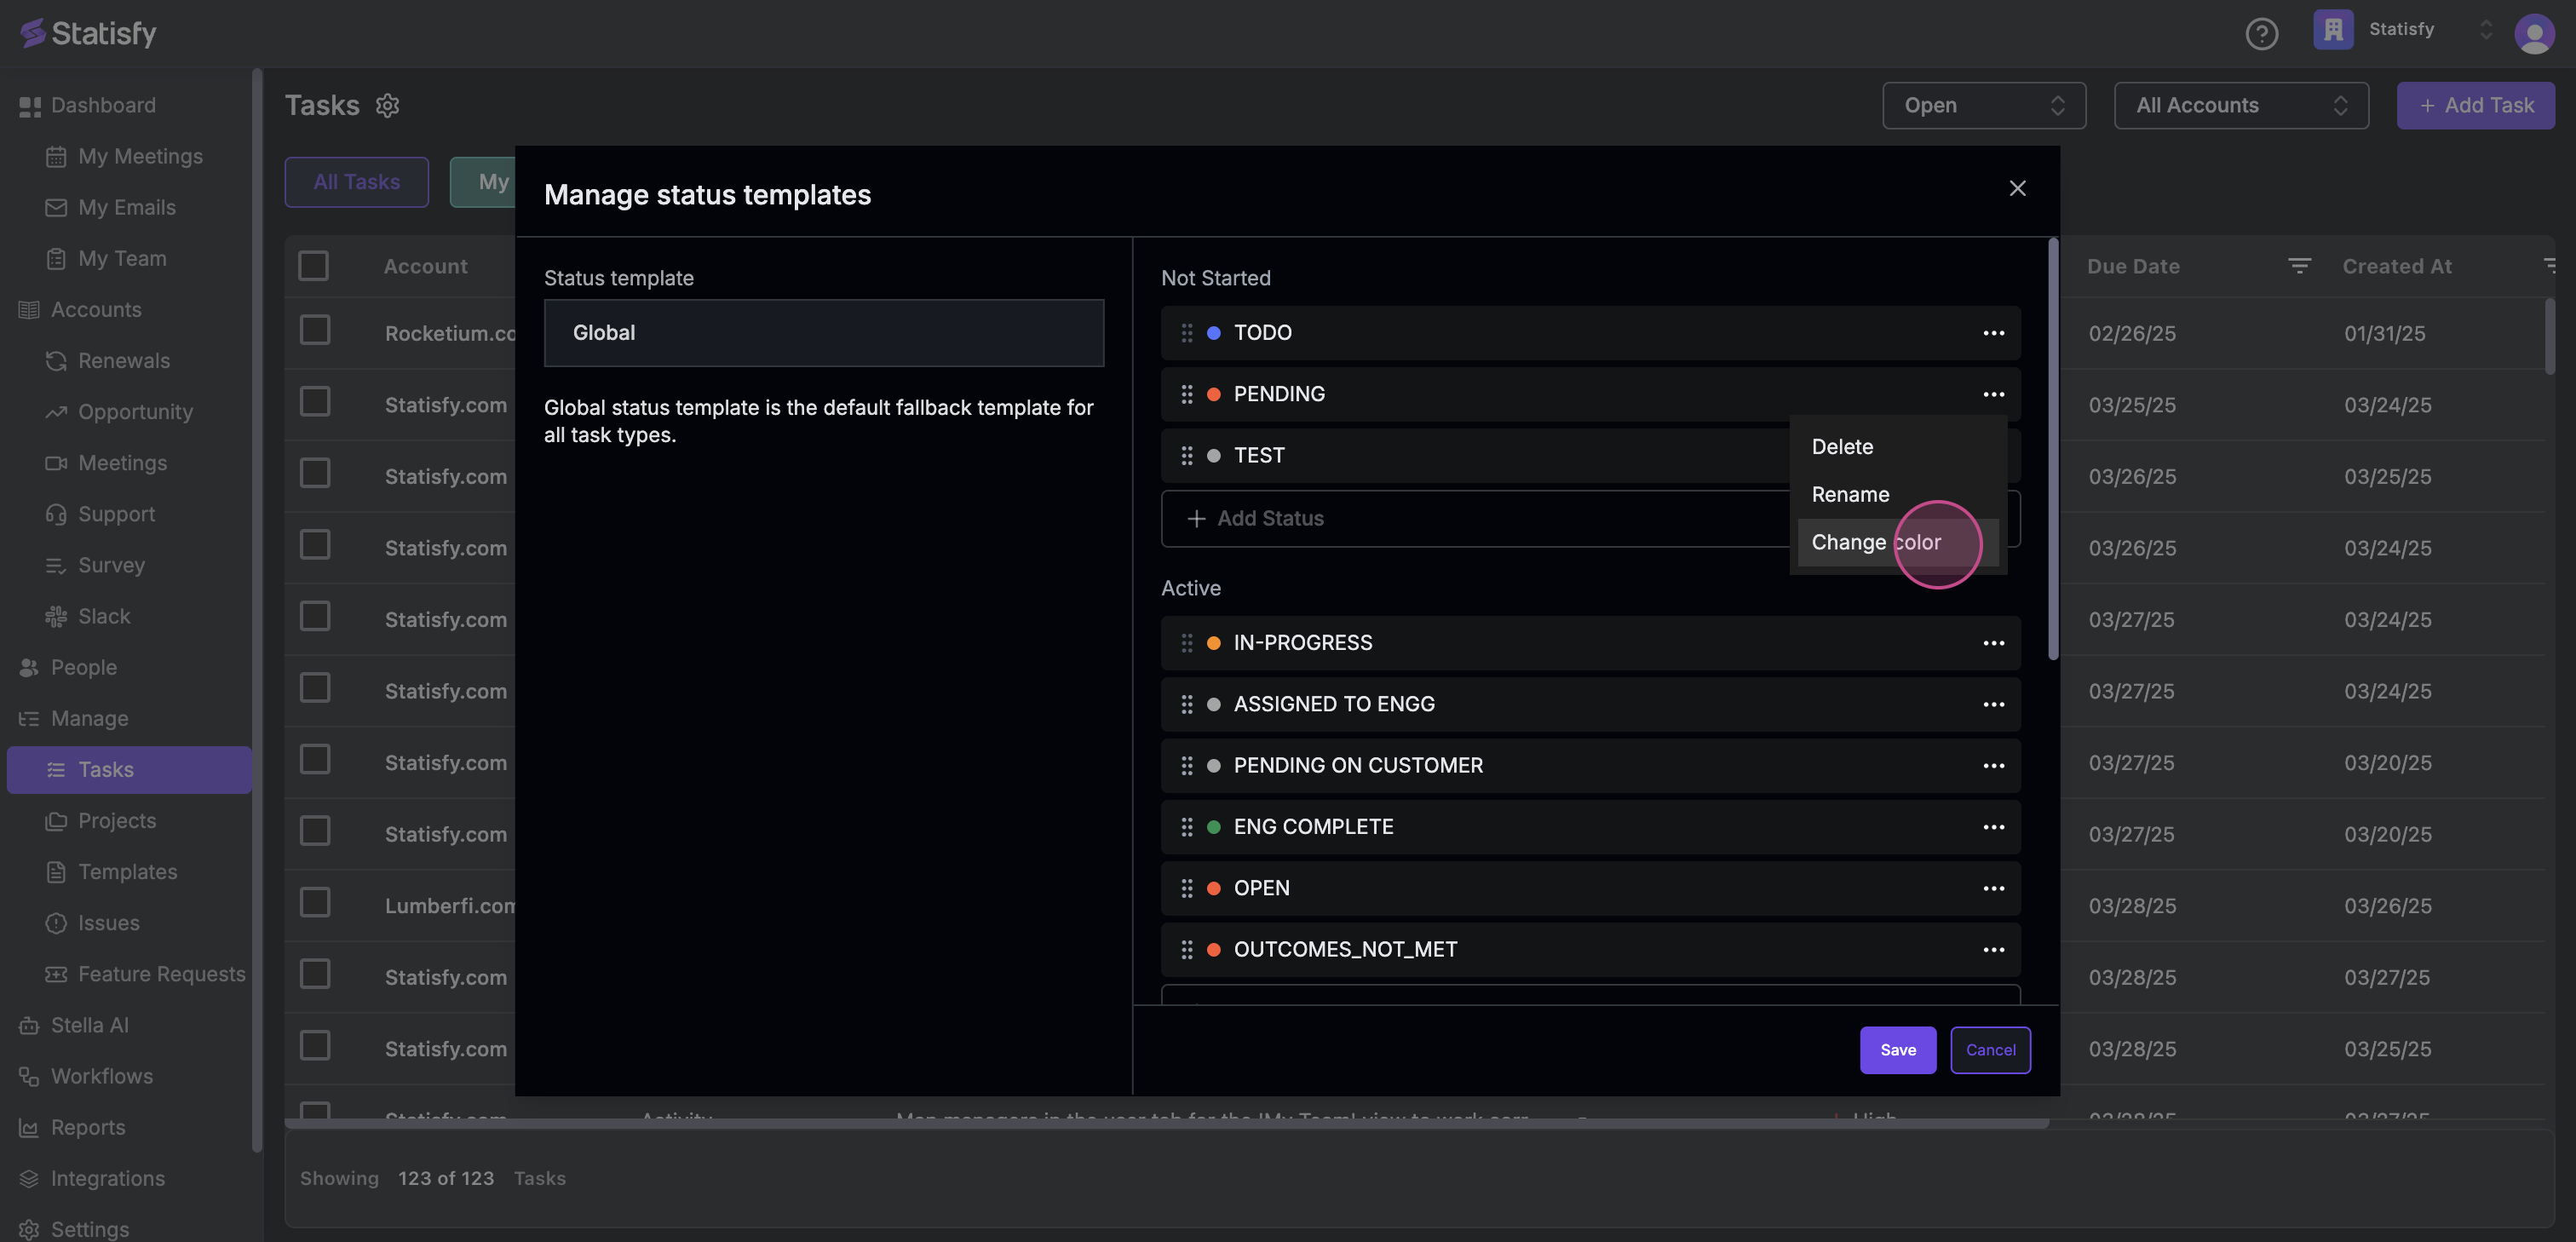 Step 4: You’re also able to change the color of the status to any of the existing colors.
 Step 5: Finally, don’t forget to hit Save to ensure your changes are stored.

Use a different status list for a project
Sometimes a single global status list isn’t enough — for example, an onboarding project may need stages like “Kickoff scheduled” that don’t make sense elsewhere. Status templates let a project or project template use its own set of statuses instead of the global list. Step 1: Open a project (or project template) and click Customize in the top-right, then select Manage Status Templates. You’ll need edit access to the project and settings permission to see this option. Step 2: In the Manage Status Templates window, switch between the two tabs to choose which statuses you’re customizing:- Project (or Project Template) — the statuses of the project itself.
- Project Tasks (or Project Template Tasks) — the statuses available to tasks inside the project.
How Statisfy decides which status list applies (resolution order)
How Statisfy decides which status list applies (resolution order)
When several status templates could apply, Statisfy uses the most specific one. “Resolution order” simply means the order in which it checks for a template, stopping at the first match:
- For the project itself: project → project template → global list
- For tasks in the project: project task → project template task → task type → global list