

Prerequisites
- A Statisfy account — creating a portal needs no special permission; anyone on your team can create one, edit it, and preview it. (Taking a portal live later needs the manage portals permission, which admins and builders have — see Building & Publishing.)
- An active developer key — Statisfy uses it to wire up your portal’s live data. If you don’t have one yet, you can generate it right from the create dialog (see the note below).
- A name for your portal (the content is all editable later)
Create a Portal
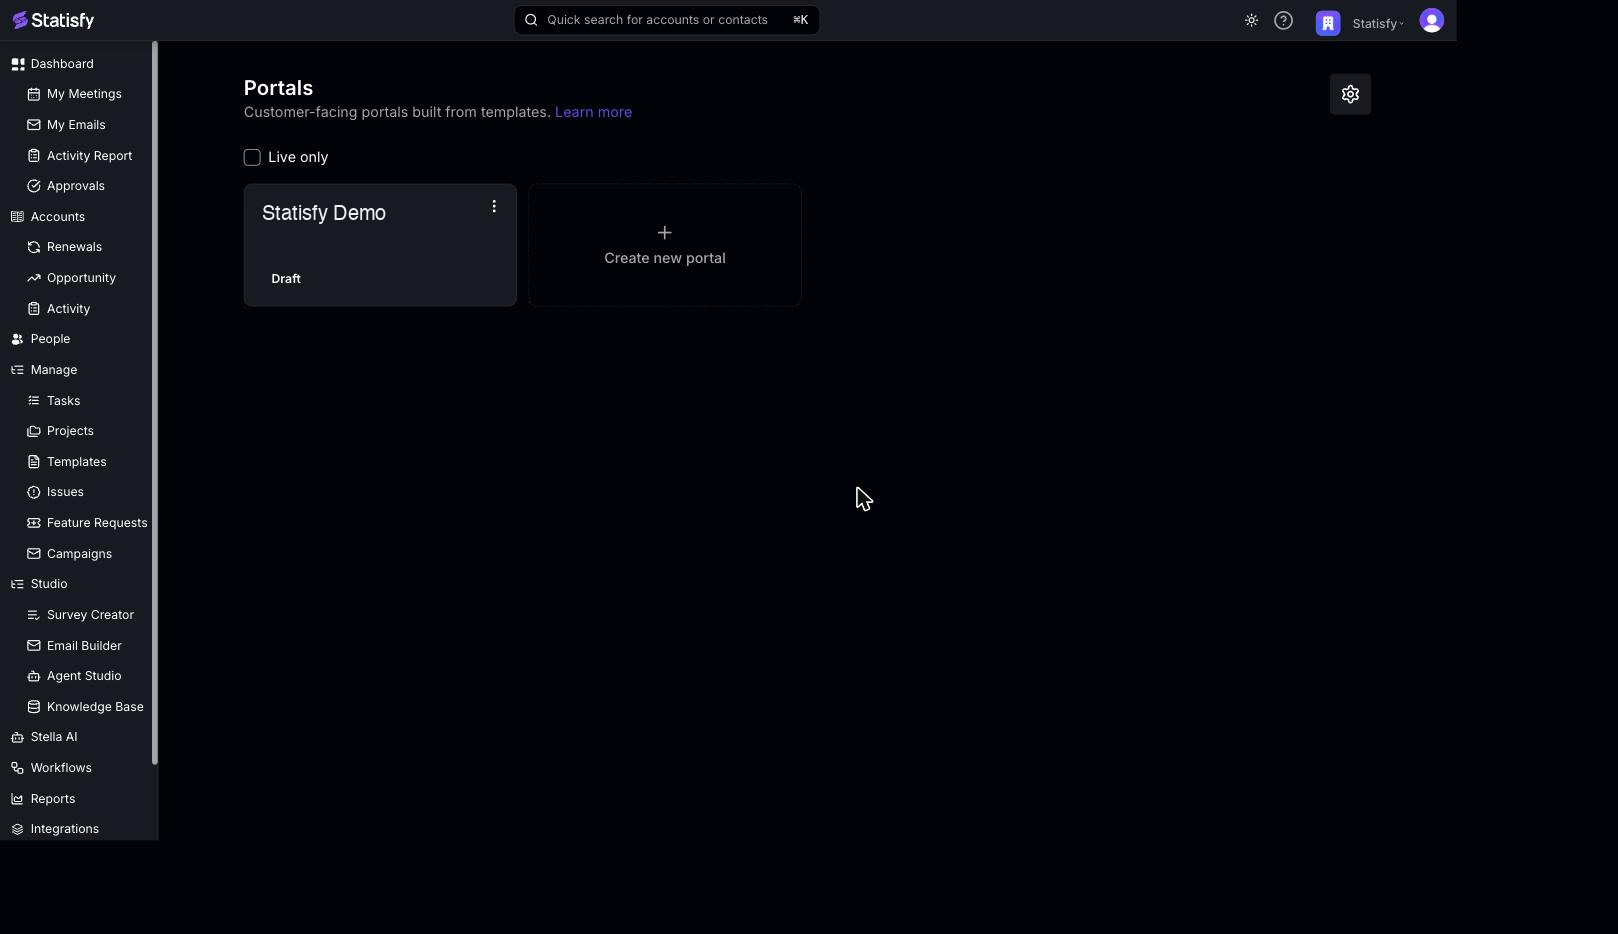
- Open the Portals page at app.statisfy.com/portals. Portals is in Alpha and isn’t in the main sidebar yet, so reach it by URL.
-
Select Create new portal. (If you don’t have any portals yet, select Create portal in the empty state.)
-
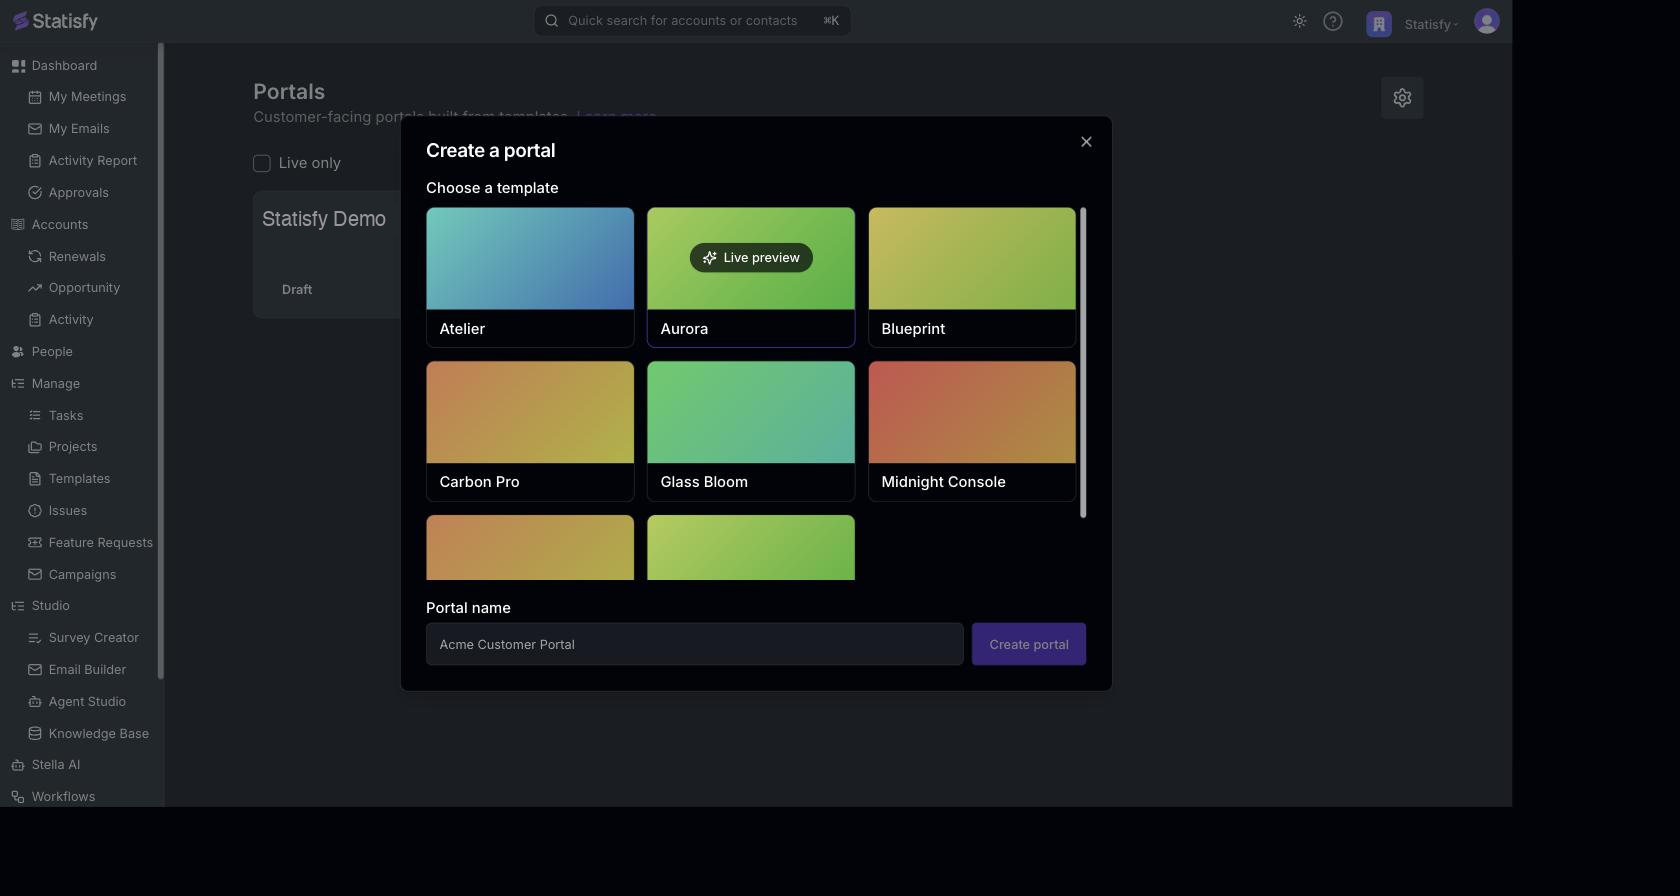
In the Create a portal dialog, choose a template. Each template is a different starting layout for your portal. Select Live preview on a template card to open it in a new tab and see what it looks like before you commit.
-
Enter a Portal name — for example,
Acme Customer Portal. Names can be up to 255 characters. - Select Create portal.
You need a developer key to create a portal. If you don’t have one, Create portal stays disabled and a Generate key button appears next to it — select it, generate a key, and you can then create the portal. You only do this once; later portals reuse the same key. See Publishable Keys & Secrets.
A new portal starts in Draft status — it isn’t visible to your customers until you take it live for the first time. See Building & Publishing.
Next Steps
- Building & Publishing — Customize your portal and publish it live
- Portals Overview — How portals fit together