Video Tutorial
In this article, you’ll learn how to perform a bi-directional sync in Salesforce. Step 1: Navigate to Settings.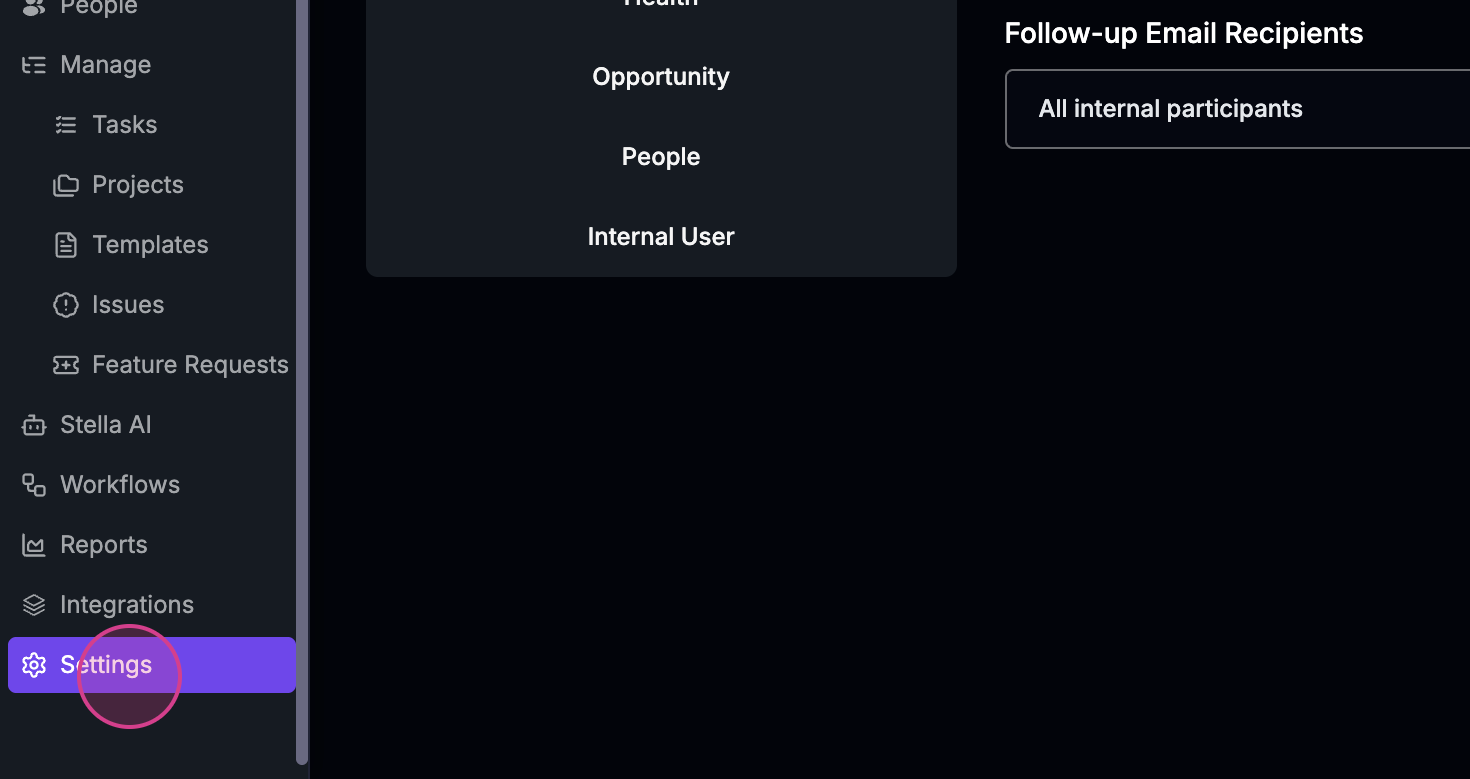 Step 2: Proceed to the Object Manager.
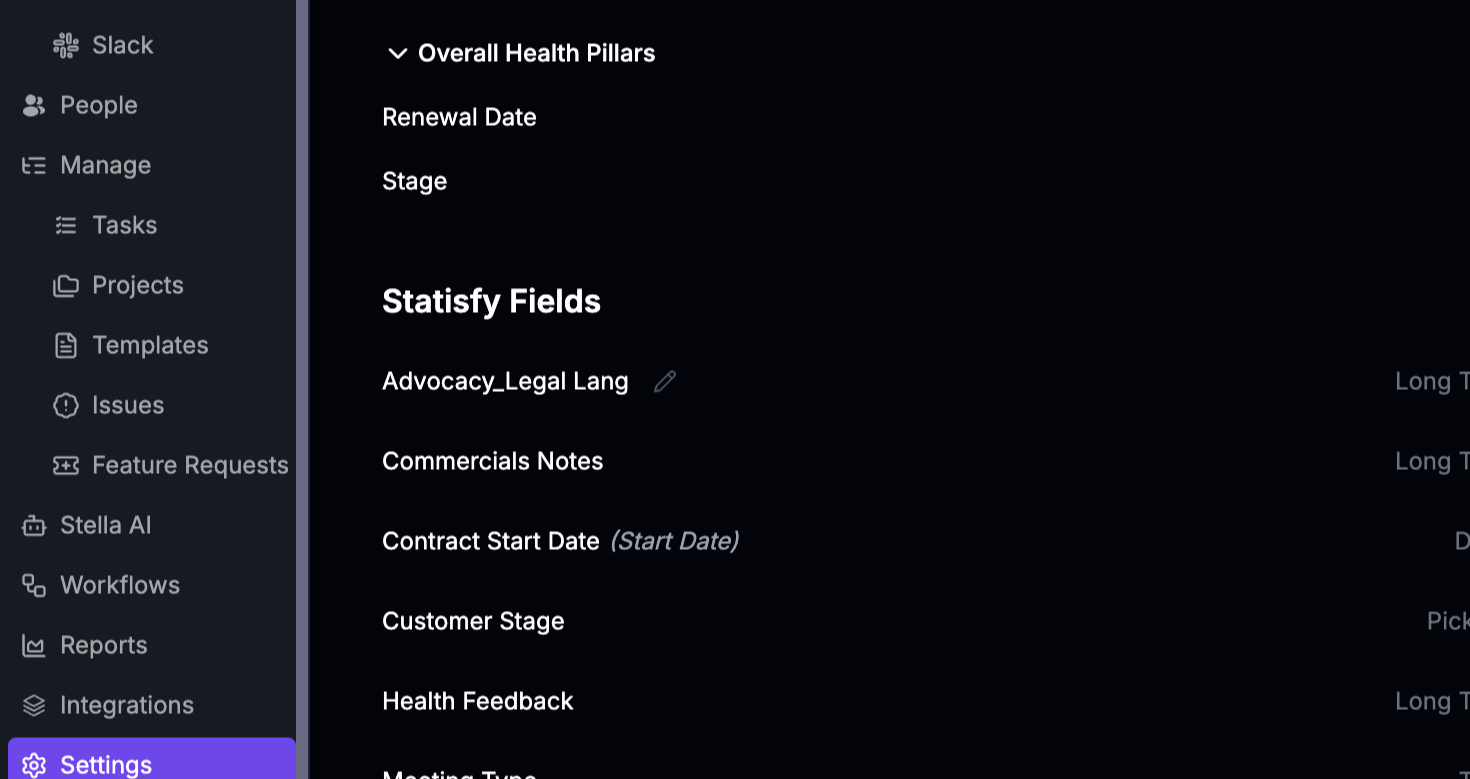
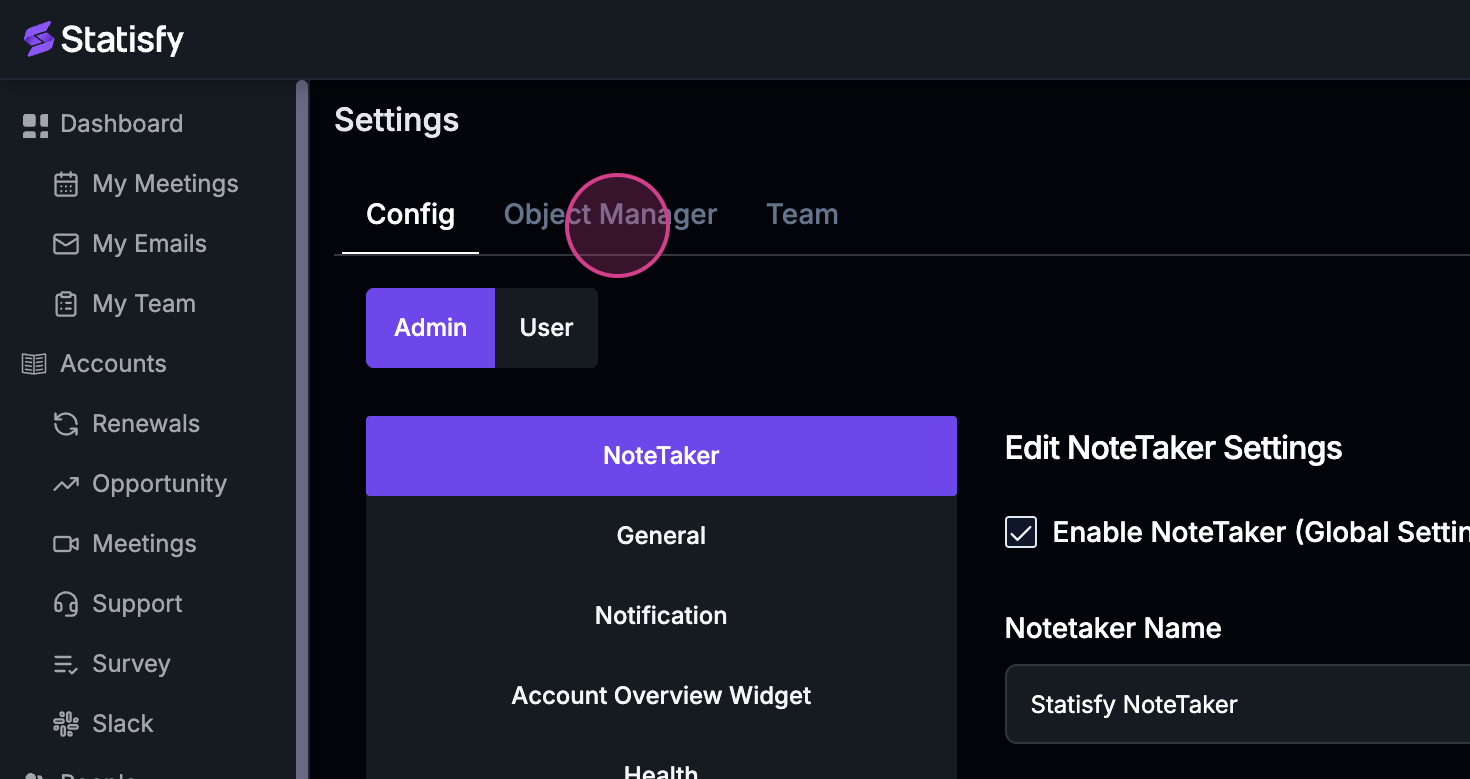 Here, you’ll see fields already synced with Salesforce and Statisfy.
Step 3: Look for the Edit option.
Here, you’ll see fields already synced with Salesforce and Statisfy.
Step 3: Look for the Edit option.
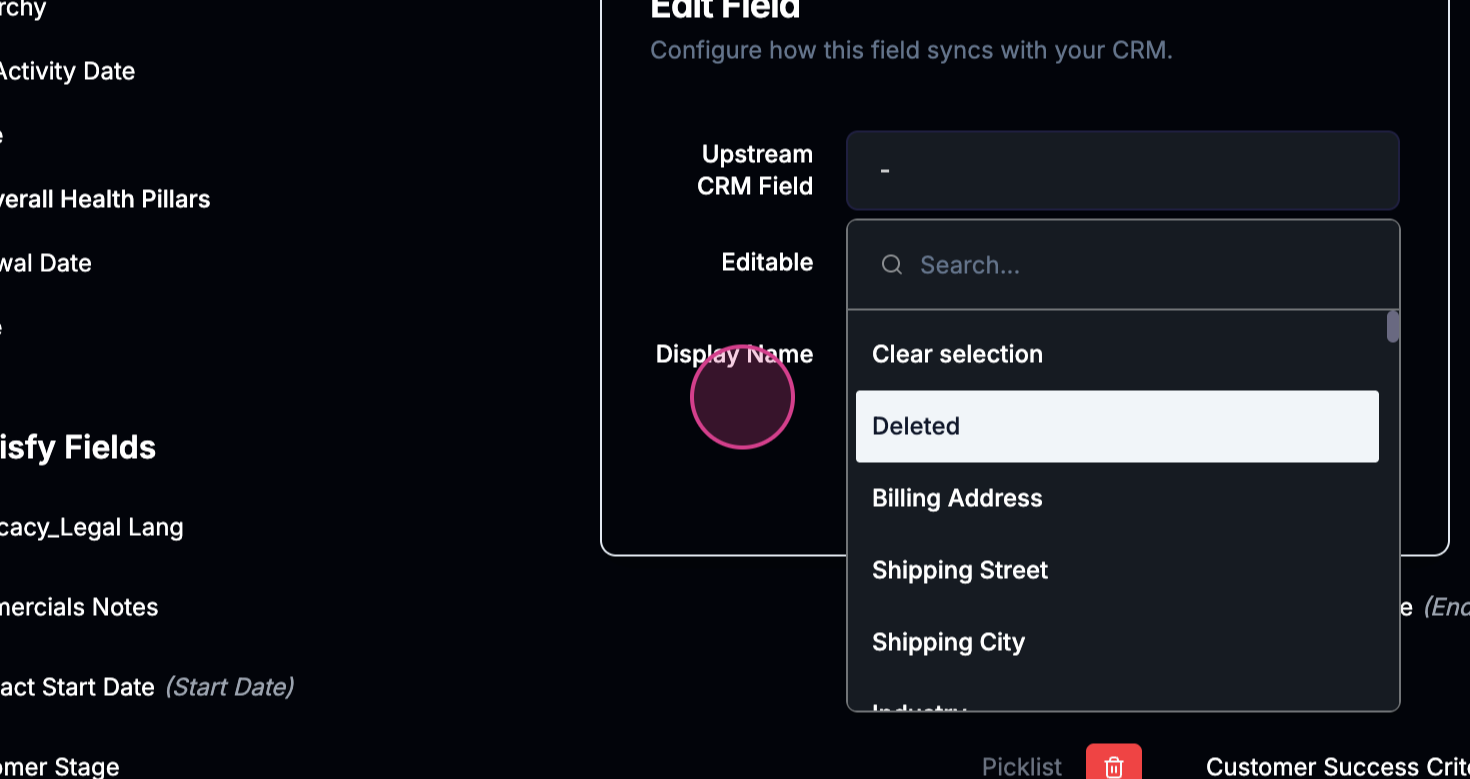
 This option lets you input the following:
Step 4: Enter the field available in the CRM.
This option lets you input the following:
Step 4: Enter the field available in the CRM.
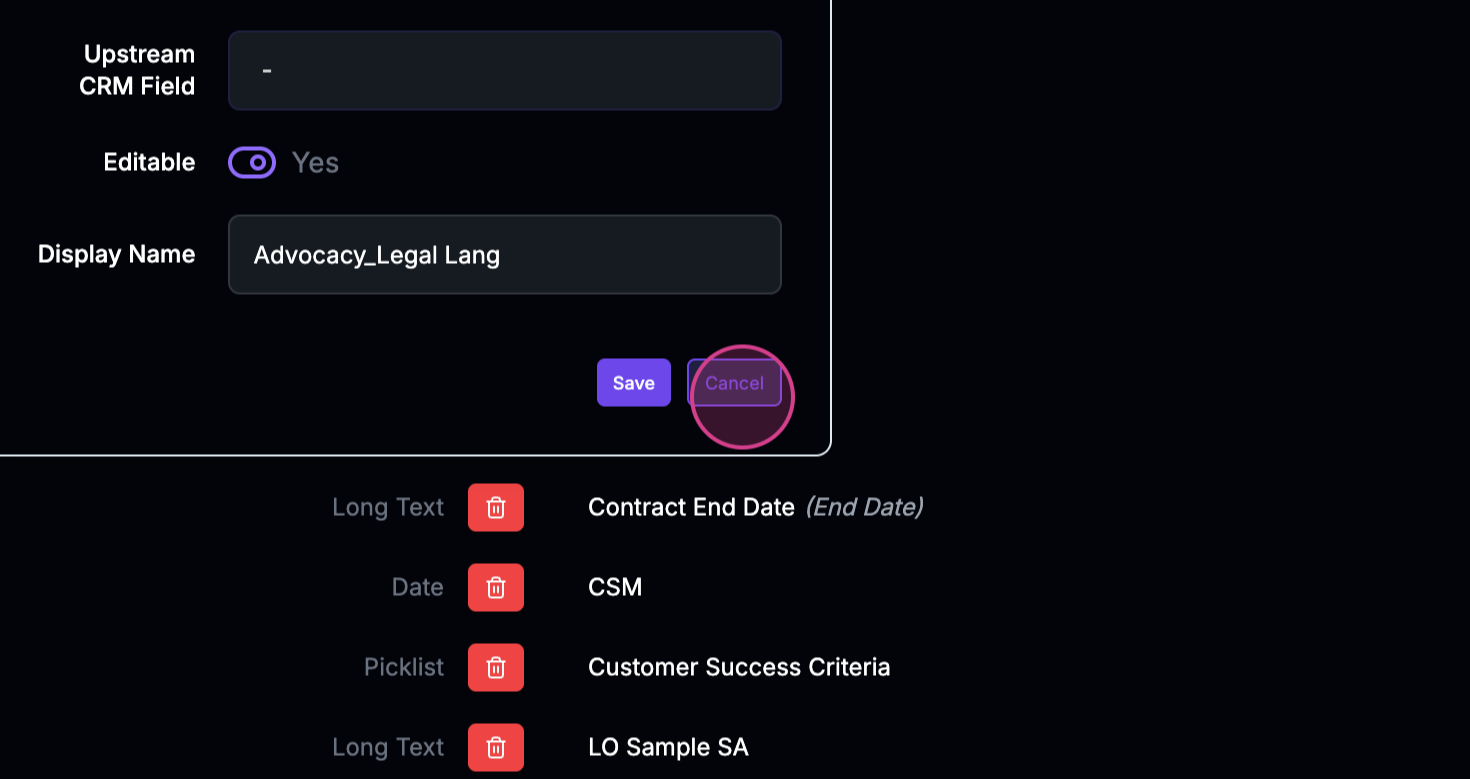
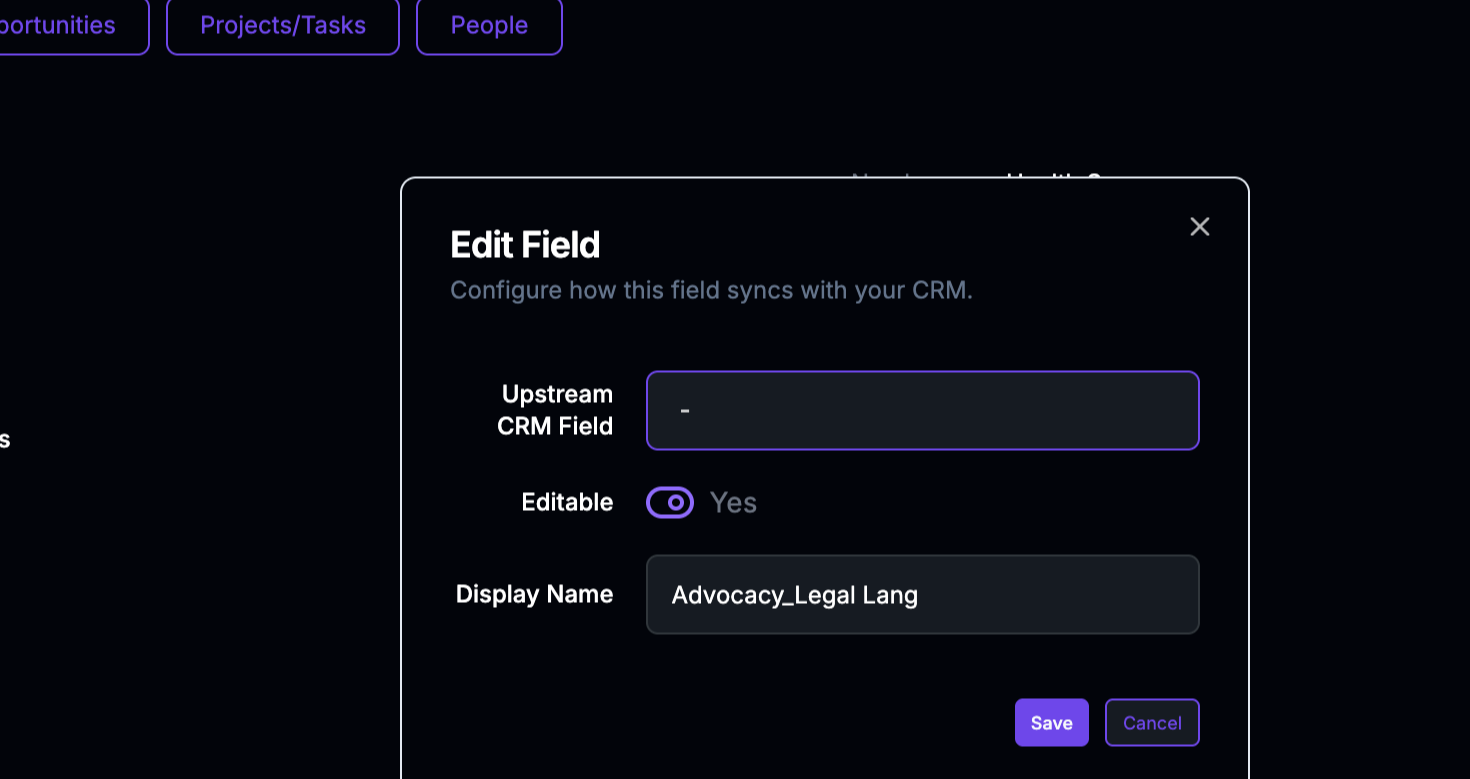 Step 5: Specify the display name in Statisfy for the Salesforce field.
 After editing, you’ll need to save your changes.
Step 6: Click on Save.
After editing, you’ll need to save your changes.
Step 6: Click on Save.
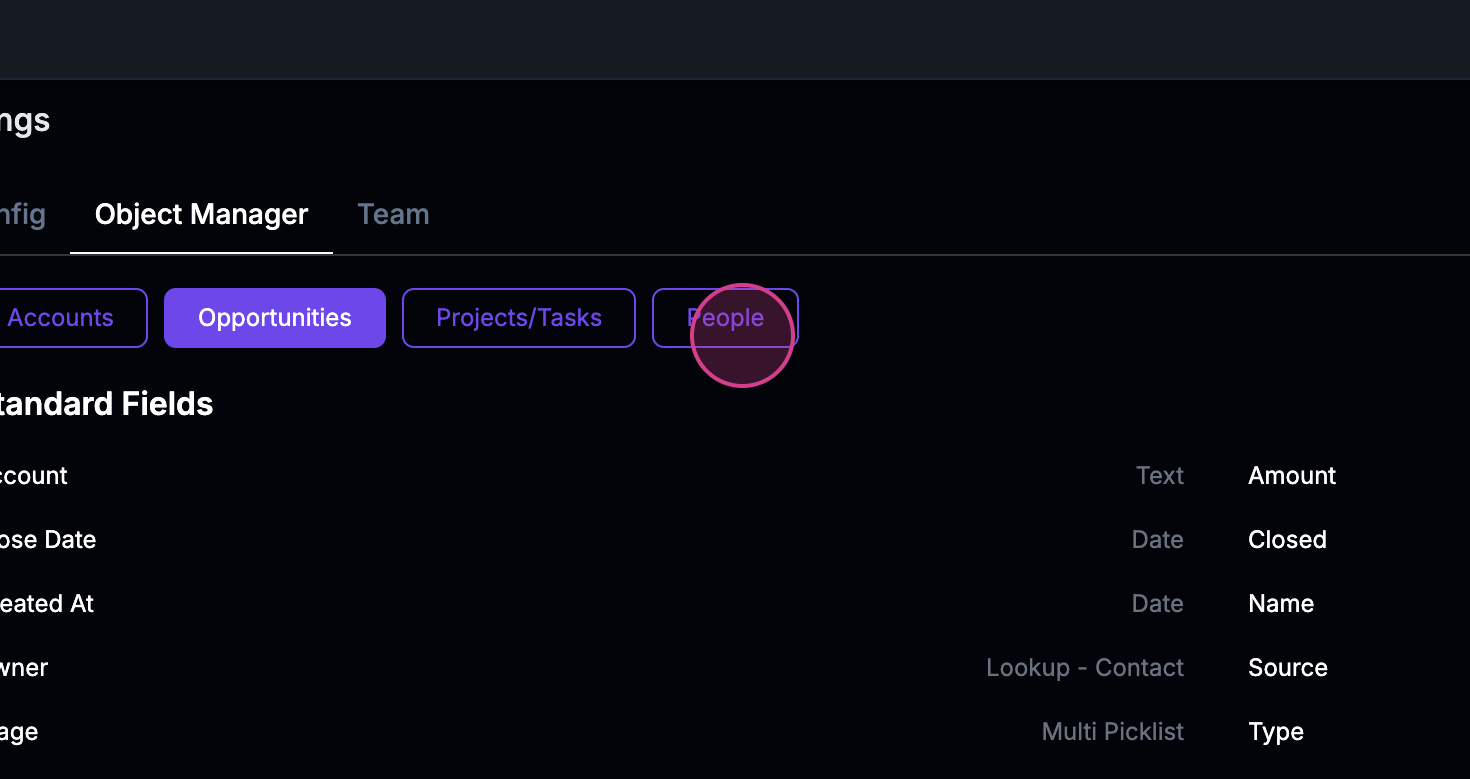
 This sync feature is applicable for accounts, opportunities, and people.
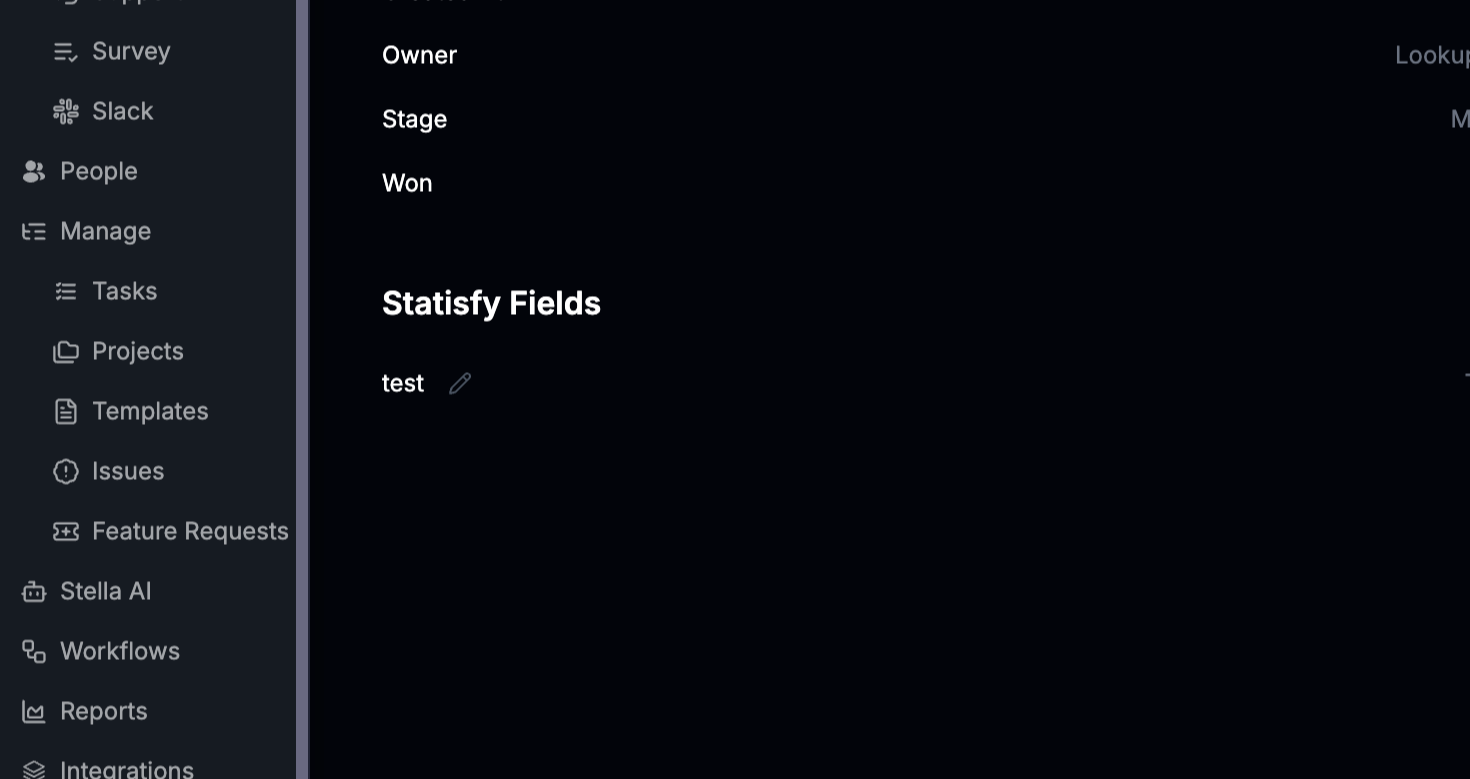
Step 7: Under Opportunities, you’ll see both Statisfy fields and Salesforce fields.
This sync feature is applicable for accounts, opportunities, and people.
Step 7: Under Opportunities, you’ll see both Statisfy fields and Salesforce fields.
 If you’ve already integrated these, you can edit the field and sync it.
Step 8: Edit the field.
If you’ve already integrated these, you can edit the field and sync it.
Step 8: Edit the field.
 Step 9: Perform the sync.
 You can repeat these steps for people as well.
Step 10: Repeat the process for People.
You can repeat these steps for people as well.
Step 10: Repeat the process for People.
 That’s it! You’ve successfully performed a bi-directional sync in Salesforce.
Syncing Custom Object Edits Back to Salesforce
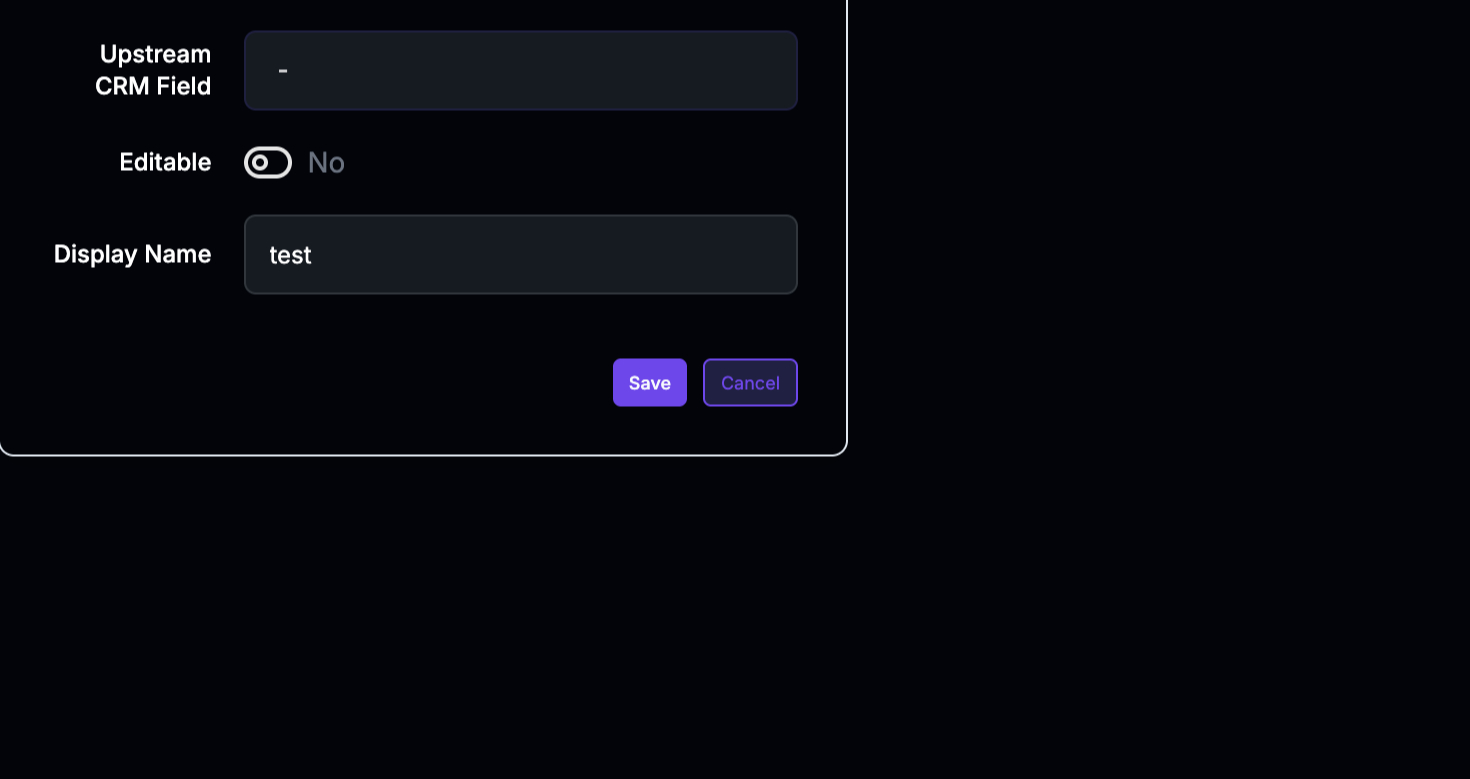
Custom objects you’ve brought in from Salesforce (see the Salesforce Integration) can also push edits back. Two switches control this: 1. Turn on writeback for the object. In Settings → Object Manager → Custom Objects, find the object and check Sync to Salesforce. You’ll see a confirmation that writeback is enabled. 2. Make the fields you want pushable. Open a field on that object to edit it:- Turn on Editable so users can change the value in Statisfy.
- For fields that came from Salesforce, edits push back to the original field automatically.
- For fields you created in Statisfy, fill in Salesforce field API name to tell Statisfy which Salesforce field to update — leave it blank to keep the field local to Statisfy.
A field only pushes back when the object has Sync to Salesforce checked and the field is Editable with a Salesforce field to write to. If an edit isn’t reaching Salesforce, check those two settings first.