Statisfy no longer shows separate Gmail and Google Calendar cards on the Integrations page. Google users now connect both email and calendar in one step through the single Google Workspace card. If you connected Gmail or Google Calendar before this change, see Moving to Google Workspace — your data is still syncing, and that guide explains how to move over.
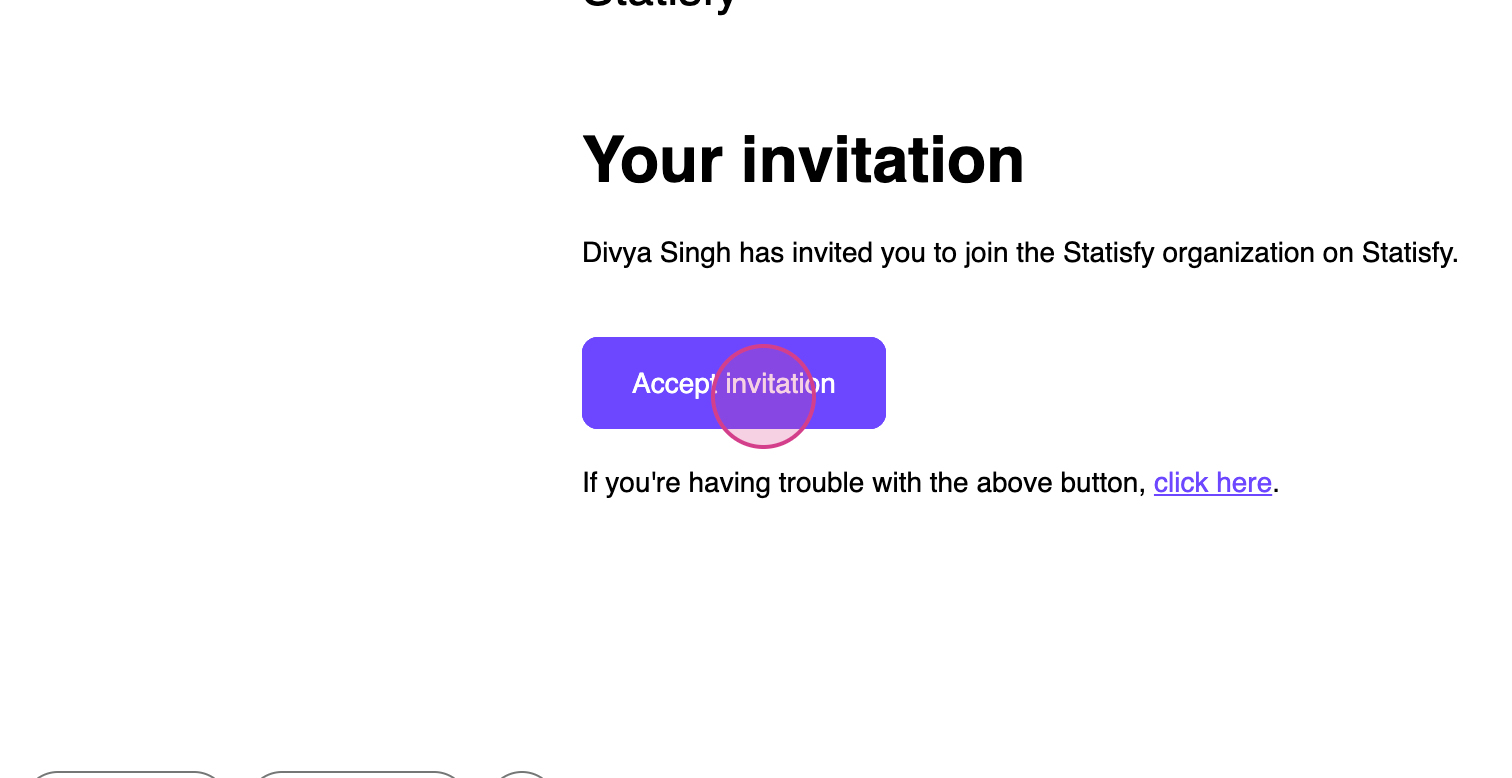 Step 2: Click on Accept Invitation. This initiates the account provisioning process.
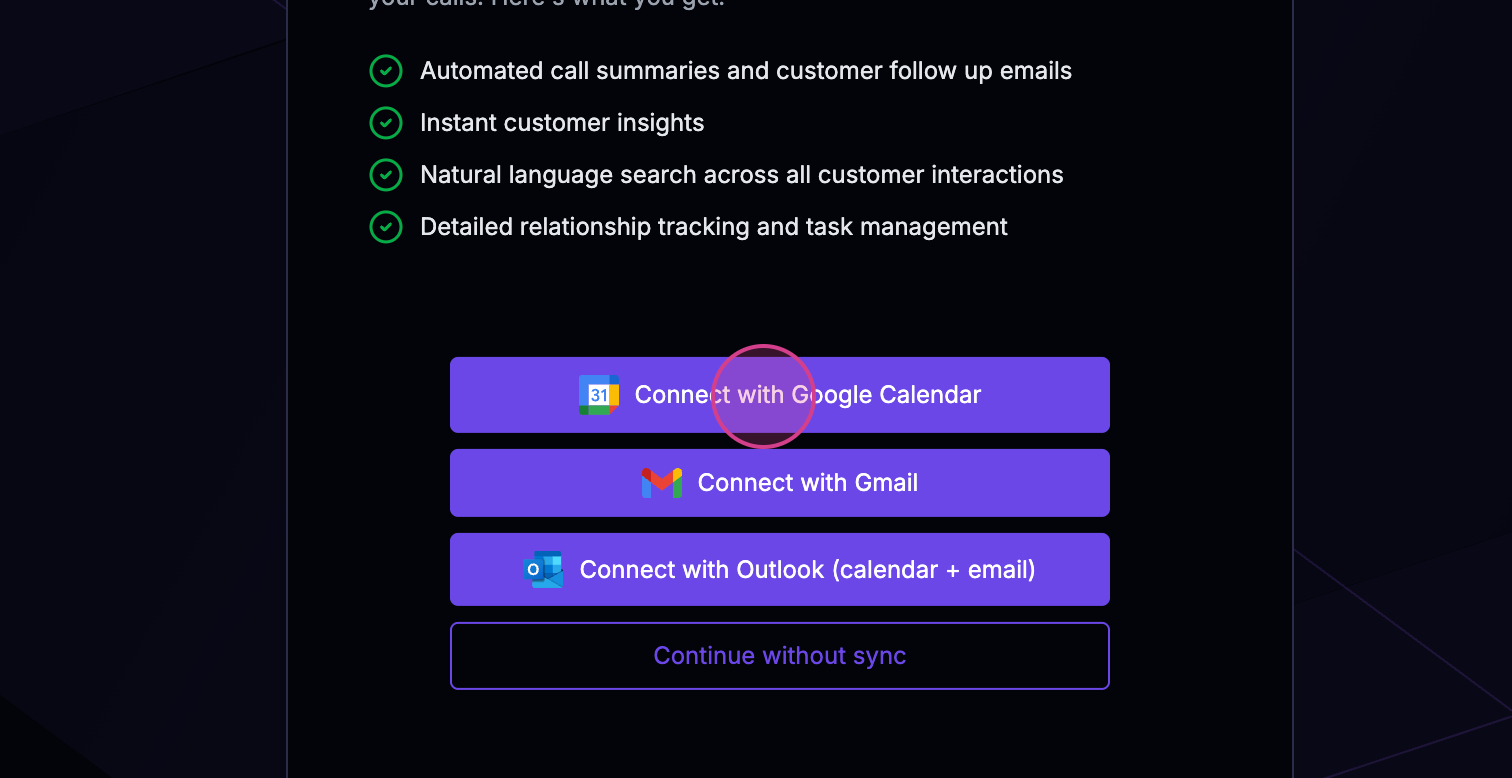 Step 3: Once you’re signed in, go to Integrations and look under User Apps.
Step 4: Click the Google Workspace card. A connect dialog opens with three permission checkboxes — Read email, Read calendar, and Send email on your behalf. Tick the ones you want Statisfy to use; all three are selected by default.
Step 5: Click Connect your account. A Google sign-in window opens — sign in, review the requested permissions (they match exactly what you checked), and click Continue → Allow. This uses OAuth, the standard way of authorizing an app without sharing your password.
Step 6: The pop-up closes automatically, and the Google Workspace card shows Connected within a few seconds. Statisfy backfills your last 30 days of email and calendar activity, then stays in sync in near real-time.
For permission details, managing your connection, and troubleshooting, see the Google Workspace Integration guide.
You’re now all set! Thank you for following along.
Step 3: Once you’re signed in, go to Integrations and look under User Apps.
Step 4: Click the Google Workspace card. A connect dialog opens with three permission checkboxes — Read email, Read calendar, and Send email on your behalf. Tick the ones you want Statisfy to use; all three are selected by default.
Step 5: Click Connect your account. A Google sign-in window opens — sign in, review the requested permissions (they match exactly what you checked), and click Continue → Allow. This uses OAuth, the standard way of authorizing an app without sharing your password.
Step 6: The pop-up closes automatically, and the Google Workspace card shows Connected within a few seconds. Statisfy backfills your last 30 days of email and calendar activity, then stays in sync in near real-time.
For permission details, managing your connection, and troubleshooting, see the Google Workspace Integration guide.
You’re now all set! Thank you for following along.