> ## Documentation Index
> Fetch the complete documentation index at: https://help.statisfy.com/llms.txt
> Use this file to discover all available pages before exploring further.
# Building & Publishing
> Customize a portal in Portal Studio, preview it, take it live, and manage it.
After you create a portal, you customize it in **Portal Studio** — the in-browser editor — preview your work, and take it live when it's ready. This guide covers the editor, drafts and versions, previewing, going live, and managing your portals.
### Prerequisites
* A portal you've already created (see [Creating a Portal](/portals/creating_a_portal))
### Portal Studio
Open a portal from the **Portals** page to open it in **Portal Studio**. The editor is organized into five tabs:
| Tab | What it's for |
| ------------ | ------------------------------------------------------------------------------- |
| **Preview** | See your portal exactly as a customer would, on different screen sizes. |
| **Code** | Edit your portal's files, with live compile feedback. |
| **History** | Browse saved versions and roll back to an earlier one. |
| **Settings** | View portal details, configure its components, set its address, and archive it. |
| **Auth** | Customize the sign-in email your customers receive when they log in. |
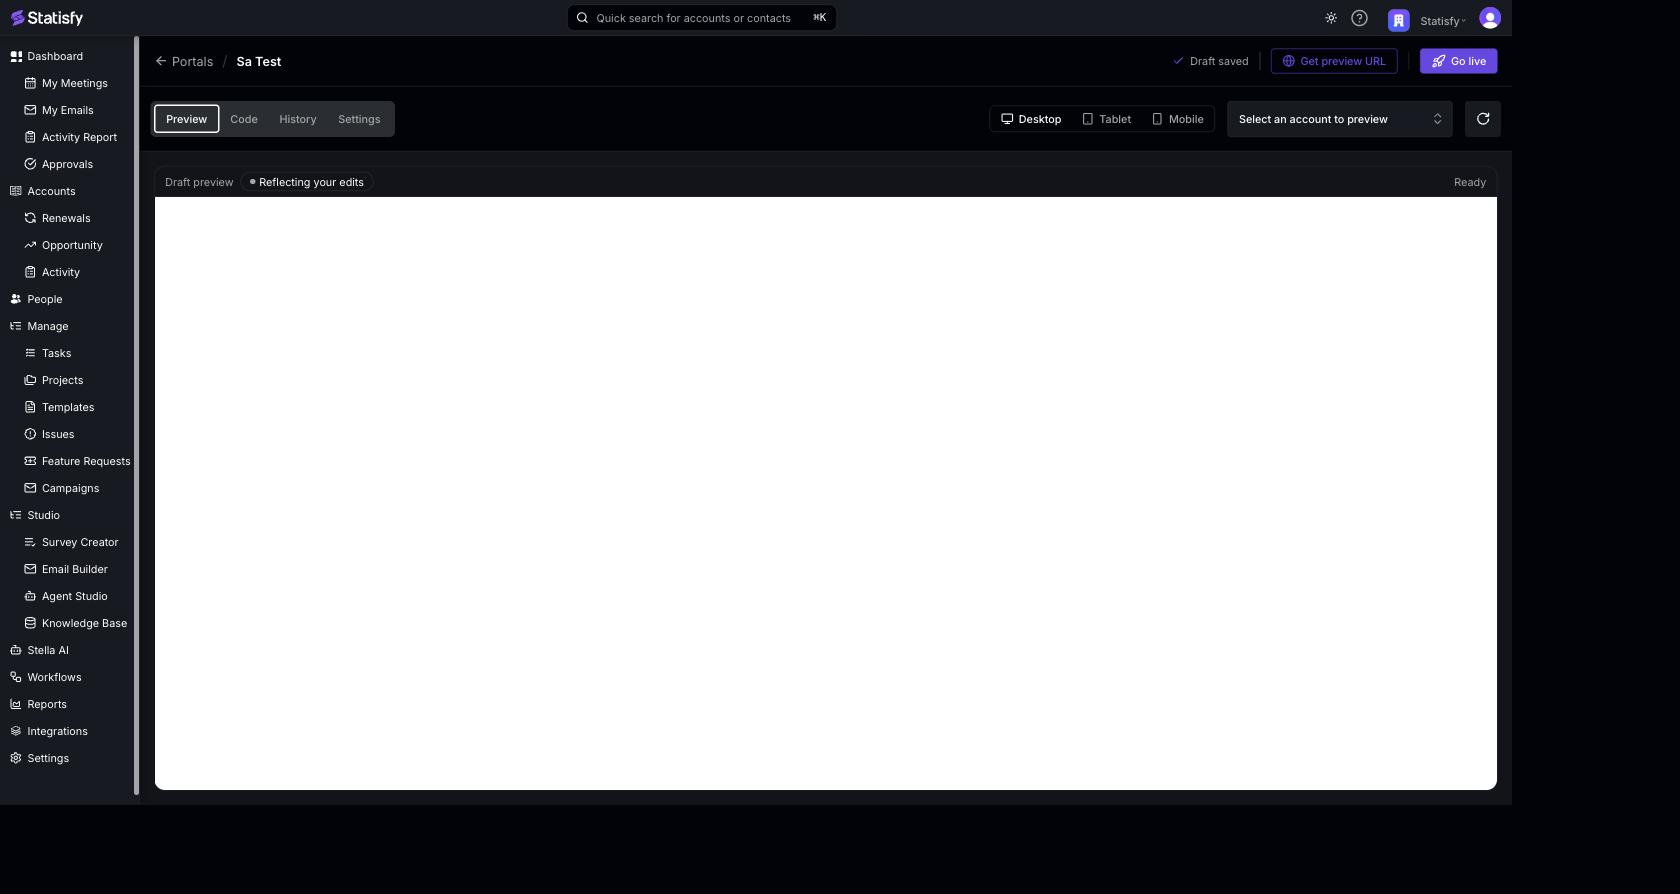
Your edits are **saved automatically as a draft** shortly after you stop typing. The editor header shows **Saving draft…** while it saves and **Draft saved** once it's done. Drafts are kept separate from the live version, so:
* You can leave and come back later, and your in-progress work is still there.
* The live version your customers see does **not** change until you go live.
### Previewing Your Work (Preview tab)
The **Preview** tab renders your draft live as you edit — it's labeled **Draft preview** and updates to reflect your latest changes. You can:
* Switch the preview between **Desktop**, **Tablet**, and **Mobile** to check how your portal looks on different screens.
* **Refresh** the preview if you want to reload it.
* Use **Preview as** to pick a specific account (and person) and see the live, account-specific data your customers would see when signed in.
### Editing Code (Code tab)
The **Code** tab shows your portal's files in a tree alongside an editor. A problems bar under the editor reports compile issues as you type — when everything is valid you'll see **No problems — preview compiles cleanly**. Use **Split preview** to view your changes next to the code.
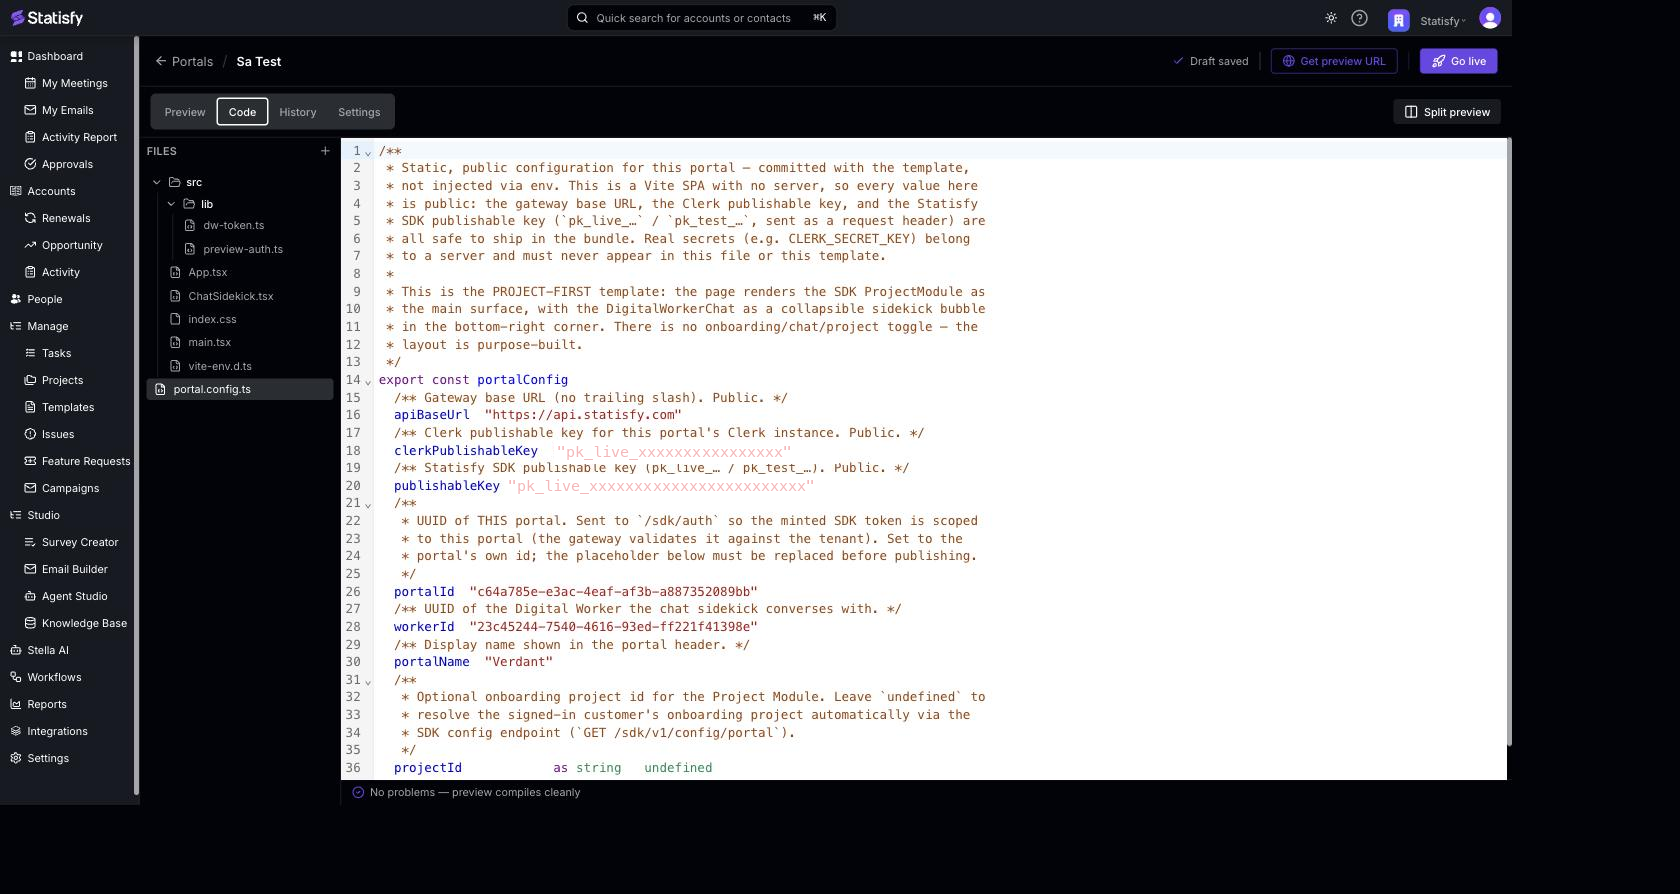
Portals are built with React and TypeScript. A small set of packages is ready to use right away — there's nothing to install:
* **React** — for creating your pages and components.
* **Statisfy packages** — anything that starts with `@statisfy/`, such as ready-made components for showing customer data and other Statisfy features in your portal.
* **Customer sign-in** — `@clerk/clerk-react`, for letting your customers sign in to the portal.
These are the only packages you can import. For anything else, you're free to write your own code and components — you just can't import other outside libraries. This keeps portals lightweight and quick to load.
Image and other asset files appear in the file tree too; they open in a read-only viewer (you can **View source** for SVGs).
Your portal's main page file (`index.html`) is set up and managed for you. You don't need to create or change it — just build your content in the **`src`** folder.
### Configuring Components (Settings tab)
Some of the ready-made Statisfy components you can drop into a portal — like the **Digital Worker chat** or the **onboarding project** module — need to be told *which* Digital Worker or data they should use before they'll work. You set that in **Settings → Components**, without touching code.
A Statisfy component you haven't configured shows a placeholder instead of its content — for example, *"This chat isn't configured yet — set its Worker in the portal's Settings."* Choose its Worker here to make it live.
The Components panel has two views:
* **Draft** — the settings you're editing. These are what your draft **Preview** uses.
* **Live** — a read-only look at the settings your published portal is using right now. Use **Copy to draft** to pull a live value back into your draft.
For each component, set its properties one of two ways:
* **Set a value** — type or pick a fixed value (for example, choose a **Digital Worker** from the list).
* **From a field** — bind the value to an account field, so it resolves per customer when they sign in.
Some properties are **Locked** by Statisfy and shown read-only — you don't need to set these. **Shared** values apply to every component that uses them.
Unlike code edits, component settings are **not autosaved** — select **Save changes** when you're done. Saved settings show in your preview right away; they reach your live portal at your next **Go live**, together with your code — so a banner reminds you when your draft settings differ from what's live.
Editing component settings needs permission to manage portals. Without it, the Components panel is read-only.
### Saving Versions (History tab)
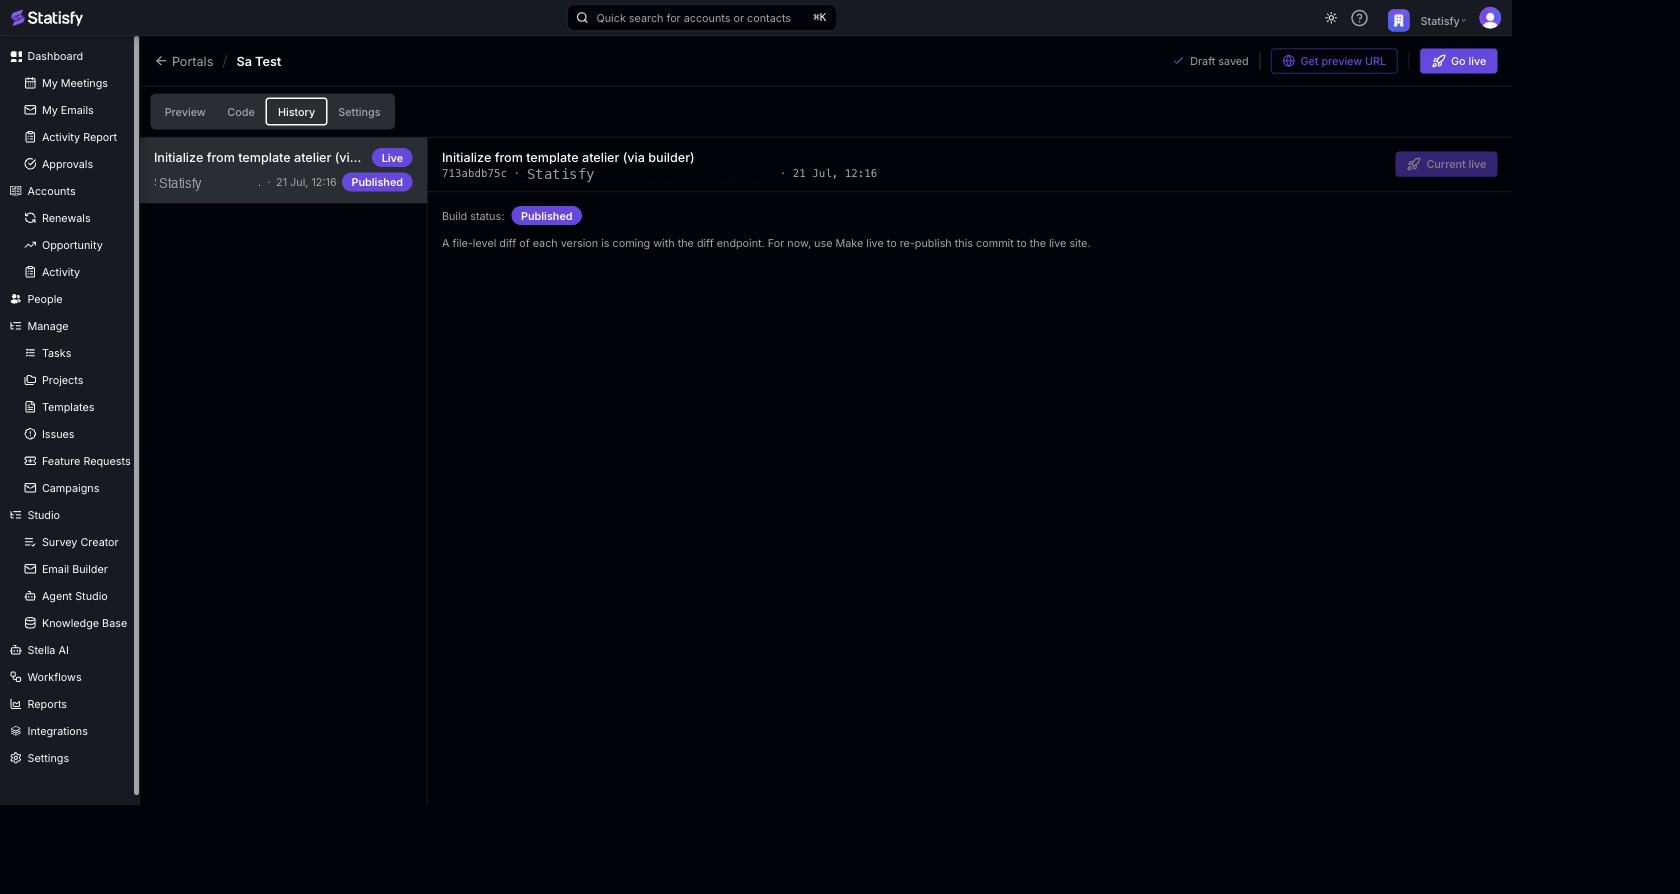
Autosave keeps your latest work as a **Working draft** (shown as **Uncommitted**). When you reach a milestone you want to keep, open the **History** tab and select **Save as version** to record a named checkpoint.
Each saved version shows a build status (for example, *building*, *built*, or *published*), and the version currently serving your customers is marked **Live**. Saving a version doesn't change your live site on its own — see Going Live below.
### Customizing the Login Email (Auth tab)
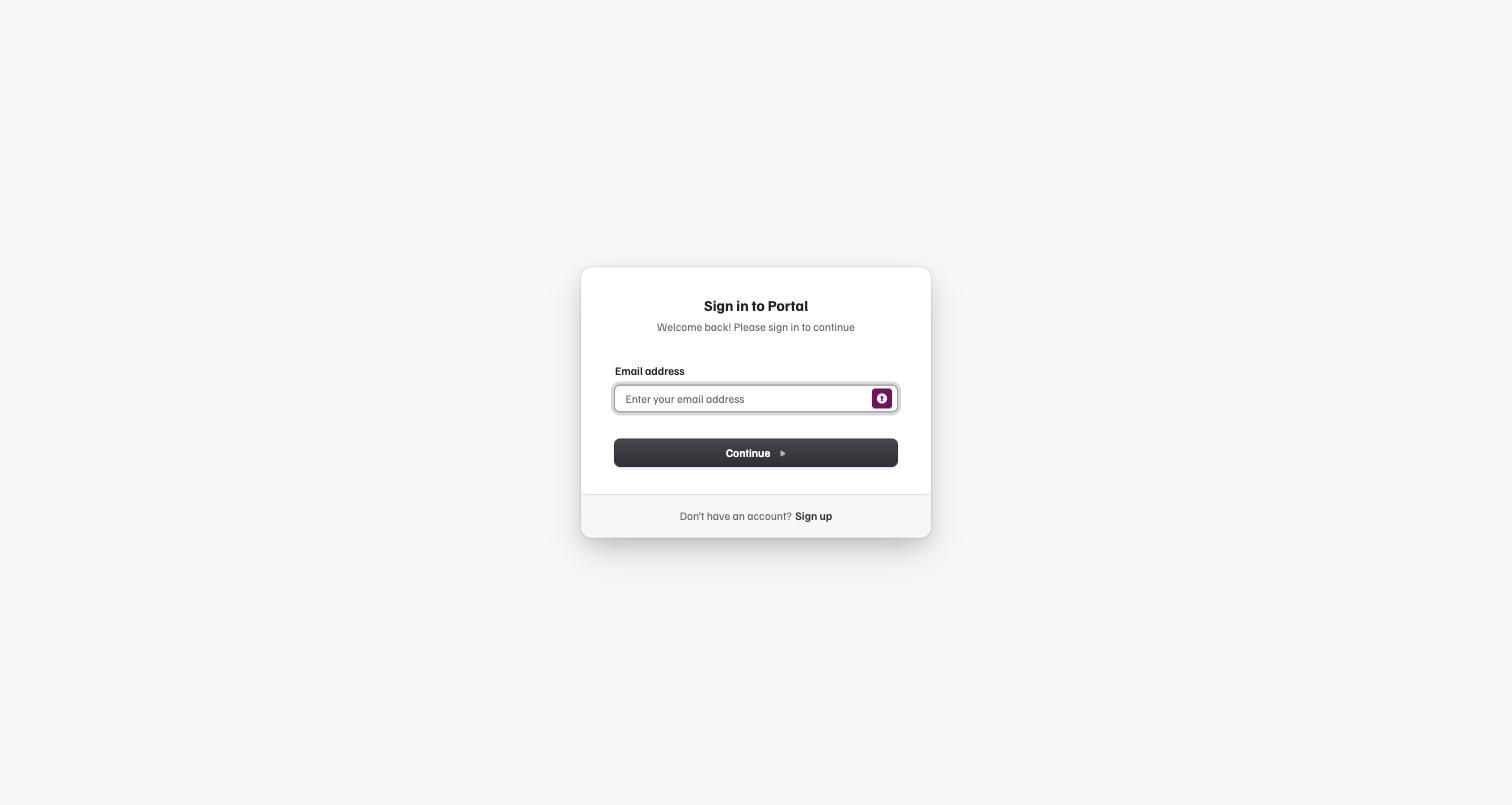
When a customer signs in to your portal, Statisfy emails them a one-time sign-in code. The **Auth** tab lets you tailor that email to match your brand — who it comes from, its subject, and its full HTML body.
You can set:
* **Sender email** — the "From" address customers see. It must be on one of your workspace's [verified sending domains](/admin/dns_setup); an address on an unverified domain is rejected when you save. A good pattern is `login@your-domain.com`.
* **Sender name** — the display name shown next to the address (for example, your company name).
* **Subject** — the email's subject line.
* **Code expires after (minutes)** — how long a sign-in code stays valid (1–60, default 10). This sets **both** the `{{expiry_minutes}}` value shown in the email **and** the code's real lifetime, so the email never misstates when the code stops working.
* **Email body (HTML)** — the full HTML of the message.
#### Placeholders
Use these tokens anywhere in the **subject** or **body** — Statisfy fills them in when it sends each email:
| Placeholder | Replaced with |
| -------------------- | --------------------------------------------------------------------------------------------------------------------------------------------------------------------------------------------------------------- |
| `{{otp_code}}` | The customer's one-time sign-in code. |
| `{{expiry_minutes}}` | How many minutes the code stays valid. |
| `{{portal_url}}` | Your portal's live URL (e.g. `https://acme.statisfy.app/`). Resolves to an empty string until the portal is live. Not included in the default template — add it yourself if you want a link back to the portal. |
Include `{{otp_code}}` somewhere in the body so customers can see their code — for example:
```html theme={null}
Your sign-in code is {{otp_code}}.
It expires in {{expiry_minutes}} minutes.
```
#### Send a test
Enter any email address and select **Send preview** to receive a sample of the login email (with a placeholder code) using your currently saved template — so you can see exactly what customers will get.
You don't have to customize this email. If you leave it as is, Statisfy sends a clean built-in default, so customer sign-in works out of the box.
### Previewing and Going Live
Taking a portal live is a **two-step** flow, so you can review your changes at a real URL before any customer sees them:
1. **Get a preview URL.** Select **Get preview URL** in the editor header. Statisfy saves your draft, builds it, and deploys it to a **preview** address (the link is copied for you). Select **Open** to view it. This does **not** change your live site.
2. **Go live.** When the preview looks right, select **Go live**. You'll confirm, then Statisfy promotes that deployed version to your live, customer-facing site. The portal's status changes from **Draft** to **Live**.
Builds usually finish within a minute or two.
A preview deploy is for your review only — going live is always a separate, deliberate step. Your customers only ever see the version you've taken live.
If a preview deploy or go-live doesn't finish, you'll see a message that it failed or timed out. Try again; if it keeps failing, contact [support@statisfy.com](mailto:support@statisfy.com).
### Choosing Your Portal's Address
When you go live, you choose the **subdomain** your portal is served at. In the **Go live** dialog (or under **Settings → Domains → Add domain**), enter a subdomain — your portal is then served at `your-subdomain.statisfy.app`. Leave it blank to get an auto-generated address.
Subdomains use lowercase letters, numbers, and hyphens; your Statisfy domain is added automatically.
### Rolling Back to a Previous Version
If you need to undo a change after going live, open the **History** tab, select an earlier built version, and choose **Make live**. Statisfy re-publishes that version to your live site. The version that's currently live is shown as **Current live**.
### Managing Portals
* **Open a portal** — On the **Portals** page, select its card to return to Portal Studio.
* **Archive a portal** — Use the **⋮** (more) menu on a portal card and choose **Archive**, or open **Settings → Danger zone** in the editor and select **Archive portal**, then confirm. Archiving may require admin permissions.
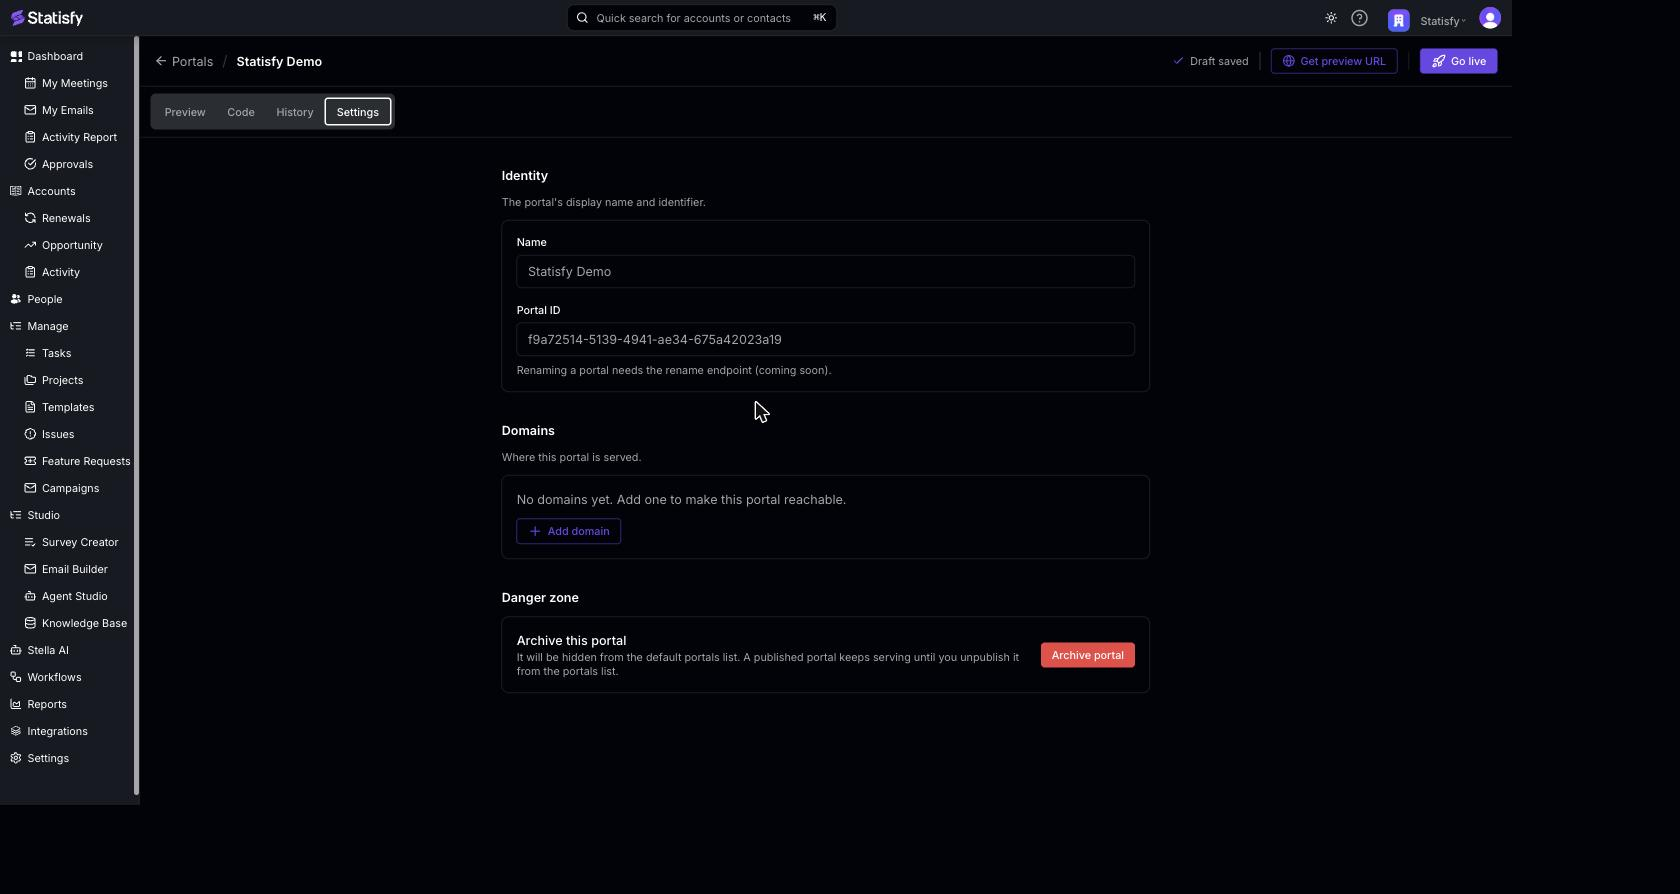
**What archiving does**
* The portal is hidden from the default list (unchecking **Live only** shows it, with an **Archived** badge; a live-and-archived portal still shows while **Live only** is checked).
* An archived portal **can't be edited** — saving, previewing, and going live are all blocked until it's restored. The editor will tell you the portal is archived if you try.
* The git history and built versions are kept, so an archive is recoverable — it's a soft-delete, not a permanent removal.
**Unpublishing while you archive**
If the portal is **live**, the archive dialog offers **Also unpublish this portal**. Archiving alone leaves the live site serving (so customers aren't interrupted by accident); tick this box to also take it offline:
* It clears the live pointer and removes the portal's host mapping, so its URL stops serving and the subdomain frees up for reuse.
* This is recorded for your workspace's audit trail.
* It can't be undone automatically — you'd publish the portal again to bring it back online.
A live portal that's archived **without** unpublishing keeps serving at its URL. The **Archived** badge in the list is there so you can notice and unpublish it if that wasn't intended.
### Next Steps
* [Portals Overview](/portals/overview) — Lifecycle, statuses, developer keys, and portal addresses
* [Publishable Keys & Secrets](/admin/publishable_keys) — Authenticate embedded portal experiences